15 Delicious Cheesecake Variations: Classic to Creative Recipes
Cheesecake is that dessert that never fails to impress, whether it’s a cozy family dinner or a festive gathering with friends. Its creamy texture, rich flavors, and buttery crust make it the ultimate indulgence. Imagine slicing into a perfectly baked cheesecake, the luscious filling gliding effortlessly onto your plate — pure heaven!
Get ready to whip up a delicious cheesecake with this easy-to-follow recipe. The total time is about 2 hours, including cooling, and it’s simple enough for beginners. This recipe serves 8 people, making it perfect for sharing!
| Prep Time | Cook Time | Total Time | Servings | Difficulty |
|---|---|---|---|---|
| 30 minutes | 60 minutes | 2 hours | 8 | Easy |
Cheesecake Origins
Understanding the origins of cheesecake gives us insight into its cultural significance and the various ingredient combinations that have evolved over centuries. Cheesecake has a rich history that reflects the culinary practices and preferences of different societies.
Historical Background
- Ancient Greece: The earliest known cheesecake dates back to ancient Greece, where it was made with simple ingredients like cheese, honey, and flour. This version was often served to athletes during the Olympic Games, highlighting its importance as a source of energy.
- Roman Influence: As the Romans conquered Greece, they adopted and adapted the cheesecake recipe, introducing new flavors and techniques. They added eggs to the mixture, which contributed to a richer texture.
- Medieval Europe: During the Middle Ages, cheesecake recipes began to spread throughout Europe, particularly in England and France. Cream cheese became a popular ingredient, leading to the creation of various regional styles.
Cultural Variations
- New York Style: This thick and creamy version is made with cream cheese, heavy cream, and sugar. Known for its dense texture, it’s often served plain or with fruit toppings.
- Italian Ricotta Cheesecake: Made with ricotta cheese, this variation is lighter and often flavored with citrus zest or chocolate. It showcases the Italian love for fresh ingredients.
- Japanese Cotton Cheesecake: This fluffy, airy dessert is made with cream cheese, eggs, and whipped cream. It has a unique soufflé-like texture, demonstrating the innovative twists on traditional recipes.
Ingredients for Classic Cheesecake
In this section, we’ll outline the essential ingredients needed to create a classic cheesecake that is both creamy and rich. Understanding the precise amounts and types of ingredients will help you achieve the perfect texture and flavor every time you make this beloved dessert.
| Item | Amount/Specification | Notes |
|---|---|---|
| Cream Cheese | 24 ounces (680g) | Softened to room temperature for easier mixing |
| Sugar | 1 cup (200g) | Granulated sugar works best for sweetness |
| Sour Cream | 1 cup (240ml) | Adds tanginess and creaminess |
| Eggs | 3 large | Room temperature for even mixing |
| Vanilla Extract | 1 teaspoon (5ml) | Pure vanilla is recommended for best flavor |
| Graham Cracker Crumbs | 1 ½ cups (150g) | For the crust, finely crushed |
| Unsalted Butter | ½ cup (113g) | Melted, for binding the crust |
- For a gluten-free option: Use gluten-free graham cracker crumbs or almond flour for the crust.
- Common mistake: Avoid overmixing the batter, as this can incorporate too much air and cause cracks.
- Ensure all dairy ingredients are at room temperature for a smoother, lump-free batter.
Essential Kitchen Equipment
Having the right kitchen tools is essential for making a perfect cheesecake. The key equipment not only simplifies the process but also ensures that your cheesecake achieves the desired texture and flavor. Below are two critical tools that will help you create a delicious cheesecake every time.
| Item | Amount/Specification | Notes |
|---|---|---|
| Mixer | Stand mixer or hand mixer | Required for blending the cream cheese until smooth. A stand mixer is ideal for larger batches. |
| Springform Pan | 9-inch (23cm) diameter | Allows for easy removal of the cheesecake. Ensure the pan is tightly sealed to avoid leaks. |
- Tip: If you don’t have a springform pan, you can use a regular round cake pan, but be prepared for a more challenging removal process.
- Tip: When using a mixer, start on low speed to avoid splattering the cream cheese. Gradually increase to medium until smooth.
- Tip: Always ensure your cream cheese is at room temperature for easier mixing, which helps prevent lumps.
Step-by-Step Baking Instructions
This section will guide you through preparing the crust and baking the filling for your cheesecake. These steps are essential to achieving that perfect balance of flavor and texture that makes cheesecake so beloved.
Preparing the Crust
- Preheat your oven to 350°F (175°C). This ensures that the crust bakes evenly. While the oven is heating, you can prepare the crust.
- In a medium bowl, combine 1 ½ cups (150g) of graham cracker crumbs, ⅓ cup (40g) of granulated sugar, and ½ cup (115g) of melted unsalted butter. Mix until the crumbs are fully coated and the mixture resembles wet sand.
- Press the crumb mixture firmly into the bottom of a 9-inch (23cm) springform pan. Use the back of a measuring cup to evenly compact the crust. Bake in the preheated oven for 10 minutes. The crust should be lightly golden and fragrant.
Baking the Filling
- While the crust cools, prepare the cheesecake filling. In a large mixing bowl, beat 24 ounces (680g) of cream cheese at room temperature with an electric mixer on medium speed until smooth and creamy, about 2-3 minutes.
- Gradually add 1 cup (200g) of granulated sugar and continue to beat until well combined and fluffy, scraping down the sides of the bowl as needed. This should take another 2 minutes.
- Next, beat in 3 large eggs, one at a time, ensuring each egg is fully incorporated before adding the next. The mixture should be smooth and slightly thick.
- Finally, add 1 teaspoon of vanilla extract and 1 tablespoon of lemon juice for extra flavor. Mix until just combined. Pour the filling over the cooled crust.
- Bake the cheesecake in the oven at 325°F (160°C) for 55-60 minutes. The edges should be set while the center remains slightly jiggly. This will firm up as it cools.
- Once done, turn off the oven and leave the cheesecake inside for an additional 1 hour to cool gradually. This prevents cracks from forming on the surface.
Pro Tips for Perfect Cheesecake
Creating a flawless cheesecake involves mastering a few key techniques to prevent cracks and ensure a smooth, creamy texture. Understanding how to cool your cheesecake properly is just as crucial as the ingredients you choose. Here are some expert tips to help you achieve that perfect cheesecake every time.
Preventing Cracks
- Room Temperature Ingredients: Always use room temperature cream cheese (16 oz or 450g) for a smooth batter. Cold ingredients can lead to lumps that contribute to cracking.
- Don’t Overmix: Mix your batter just until combined. Overmixing introduces excess air, which can expand during baking and cause cracks. Aim for a creamy consistency without lumps.
- Water Bath Method: Bake the cheesecake in a water bath for even cooking. Wrap the springform pan in aluminum foil and place it in a larger pan filled with hot water. This helps regulate temperature and moisture, preventing cracks.
Cooling Techniques
- Gradual Cooling: After baking, turn off the oven and crack the door open, allowing the cheesecake to cool gradually for 1 hour. This prevents sudden temperature changes that can cause cracks.
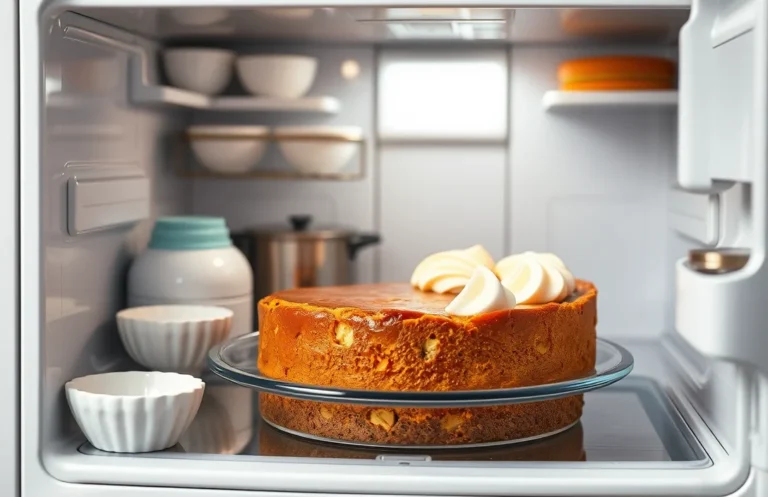
- Chill in the Fridge: Once cooled, refrigerate the cheesecake for at least 4 hours, preferably overnight. This helps set the filling and enhances flavors.
Chef’s tip: If your cheesecake does crack, don’t worry! A delicious topping like whipped cream or fruit can easily hide imperfections.
| Common Mistakes | Solution |
|---|---|
| Using cold ingredients | Let cream cheese and eggs sit at room temperature for 30 minutes. |
| Opening the oven door too soon | Do not open the oven door during the first 20 minutes of baking. |
Cheesecake Variations
Cheesecake is a wonderfully versatile dessert that can be adapted to suit a variety of flavors and dietary preferences. In this section, we will explore two popular cheesecake variations: Chocolate Cheesecake and Fruit-Topped Cheesecake. Each variation brings its own unique taste and texture to the classic cheesecake base.
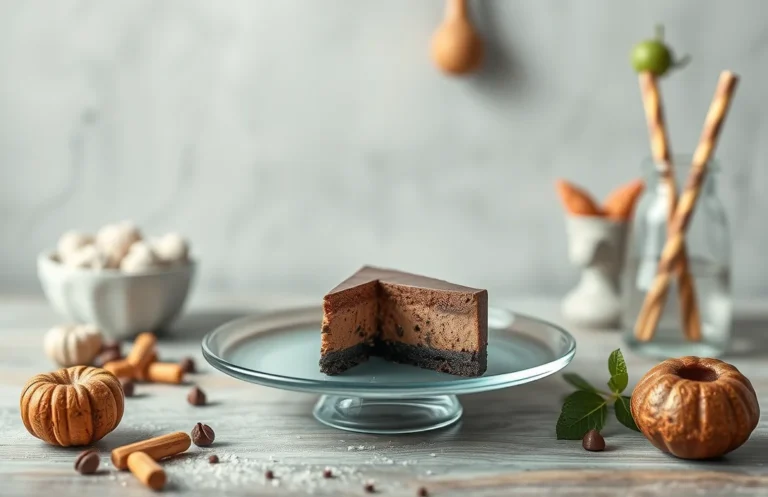
Chocolate Cheesecake
This rich and creamy chocolate cheesecake is perfect for chocolate lovers. The addition of melted chocolate not only enhances the flavor but also gives the cheesecake a decadent texture.
- 1 ½ cups (150g) graham cracker crumbs
- ½ cup (100g) granulated sugar
- ½ cup (115g) unsalted butter, melted
- 24 oz (680g) cream cheese, softened
- 1 cup (200g) granulated sugar
- 3 large eggs
- 8 oz (225g) semi-sweet chocolate, melted
- 1 teaspoon vanilla extract
- Preheat your oven to 325°F (160°C). Prepare a 9-inch springform pan by greasing the bottom and sides with butter.
- In a medium bowl, mix the graham cracker crumbs, ½ cup sugar, and melted butter until well combined. Press this mixture firmly into the bottom of the prepared pan.
- In a large bowl, beat the softened cream cheese with 1 cup sugar until smooth and creamy. Add the eggs one at a time, mixing well after each addition. Finally, fold in the melted chocolate and vanilla extract.
- Pour the chocolate filling over the crust and spread evenly. Bake for 55-60 minutes, until the edges are set but the center still has a slight jiggle. Turn off the oven and let the cheesecake cool in the oven with the door ajar for 1 hour.
Chef’s tip: For a glossy finish, top the cooled cheesecake with ganache made from equal parts cream and chocolate.
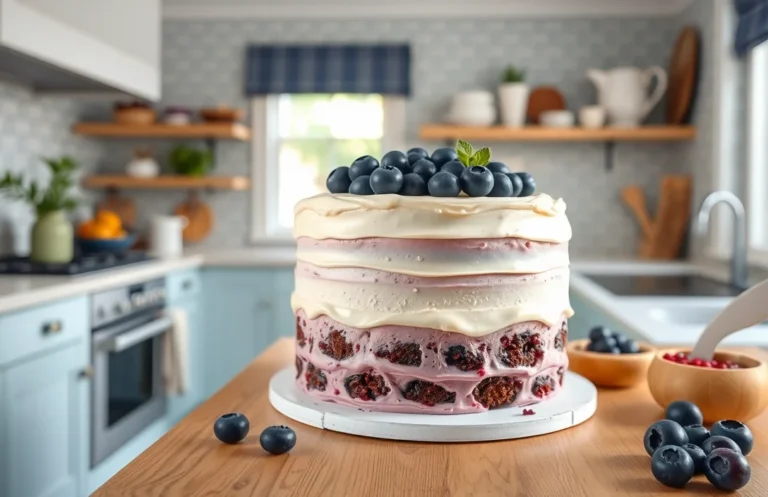
Fruit-Topped Cheesecake
This variation is bright, fresh, and can be made with your choice of berries or seasonal fruits. The fruity topping adds a delightful contrast to the creamy cheesecake base.
- 1 ½ cups (150g) graham cracker crumbs
- ½ cup (100g) granulated sugar
- ½ cup (115g) unsalted butter, melted
- 24 oz (680g) cream cheese, softened
- 1 cup (200g) granulated sugar
- 3 large eggs
- 1 teaspoon vanilla extract
- 2 cups (300g) mixed berries (strawberries, blueberries, raspberries)
- Preheat your oven to 325°F (160°C). Grease a 9-inch springform pan.
- Prepare the crust as for the chocolate cheesecake by combining graham cracker crumbs, sugar, and melted butter. Press into the bottom of the pan.
- Beat the cream cheese with sugar until smooth. Add eggs one at a time, mixing well after each. Stir in vanilla extract.
- Pour the filling over the crust and bake for 55-60 minutes until set at the edges. Cool in the oven, then refrigerate for at least 4 hours before topping with fresh
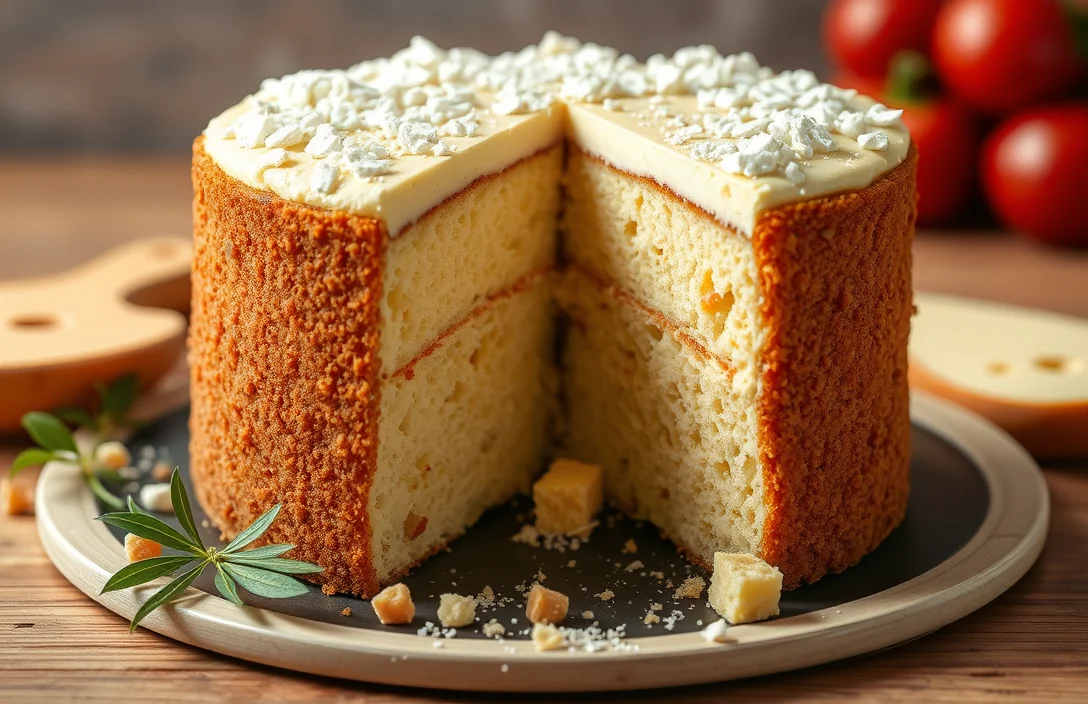
Serving and Plating Ideas
Presenting your cheesecake beautifully can enhance the overall experience, making it not only a treat for the taste buds but also for the eyes. Here are some garnishing tips and beverage pairings that will elevate your cheesecake serving game.
Garnishing Tips
- Start with a clean, smooth slice of cheesecake. Use a hot, dry knife to cut through the cheesecake for perfect, clean edges. Wipe the knife with a damp cloth between cuts to maintain cleanliness.
- Top your cheesecake with fresh fruit for a pop of color and flavor. Consider using sliced strawberries, blueberries, or raspberries—about ½ cup total will work well. Arrange them artistically on top of the cheesecake, or scatter them around the plate for a more casual look.
- Drizzle with a sauce for added flair. A simple chocolate ganache or berry coulis made from 1 cup of mixed berries cooked down with 2 tablespoons of sugar works wonderfully. Allow it to cool slightly before drizzling over the cheesecake.
Beverage Pairings
- For a classic pairing, serve with a cup of freshly brewed coffee. The bitterness of the coffee balances the sweetness of the cheesecake nicely. Aim for a medium roast to complement the flavors of the dessert.
- If you’re feeling indulgent, a glass of dessert wine, such as a late harvest Riesling or a Moscato, pairs beautifully. A 5-ounce pour will offer just the right amount without overpowering the cheesecake.
- For a non-alcoholic option, consider serving iced herbal tea, such as chamomile or hibiscus. Brew about 2 cups of tea and chill it; its floral notes enhance the richness of the cheesecake.
Quick Summary
| Prep Time | Cook Time | Total Time | Servings |
|---|---|---|---|
| 20 minutes | 60 minutes | 4 hours | 8 servings |
- Preheat oven to 325°F (163°C) before mixing ingredients.
- Crust preparation: Combine 1.5 cups graham cracker crumbs, 1/3 cup sugar, and 1/2 cup melted butter.
- Filling mix: Beat 24 oz cream cheese with 1 cup sugar until smooth.
- Add eggs: Incorporate 3 large eggs one at a time for a creamy texture.
- Bake in water bath for even cooking and to prevent cracks.
- Chill for 3 hours after baking for the best flavor and texture.
- Tip: Use room temperature ingredients for a smoother filling.
- Tip: Avoid overmixing to prevent air bubbles that cause cracks.
- Tip: Let the cheesecake cool in the oven with the door ajar for 1 hour.
Frequently Asked Questions
Can I make this ahead of time? How to store and reheat?
You can definitely make this cheesecake ahead of time; it actually tastes better after chilling for at least 4 hours. Store it tightly covered in the refrigerator for up to 5 days, and avoid reheating as it’s best served cold.
What can I substitute for cream cheese?
If you need a substitute, you can use ricotta cheese blended until smooth or a vegan cream cheese alternative for a dairy-free option. Just keep in mind that the texture may be slightly different.
How do I know when it’s done?
Your cheesecake is done when the edges are set but the center still has a slight jiggle, about 45-50 minutes at 325°F (163°C). It will continue to firm up as it cools, so don’t overbake!
Can I freeze this? How long does it last?
Yes, you can freeze cheesecake for up to 3 months if wrapped tightly in plastic wrap and aluminum foil. Thaw it overnight in the refrigerator before serving for the best texture.
What if I don’t have a springform pan?
If you don’t have a springform pan, you can use a regular round cake pan lined with parchment paper to make removal easier. Just be sure to let it cool completely before attempting to take it out.

- Decadent Peanut Butter No-Bake Cheesecake: Easy Recipe to Indulge - April 3, 2026
- Delicious Mango No-Bake Cheesecake: Step-by-Step Recipe - April 3, 2026
- Decadent Raspberry No-Bake Cheesecake: Easy Step-by-Step Recipe - April 3, 2026