Can You Freeze Baked Cheesecake? Safe Tips for Best Results
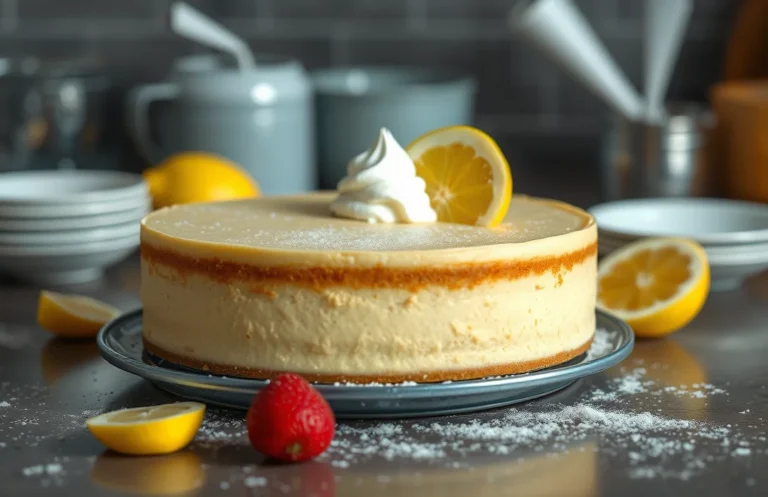
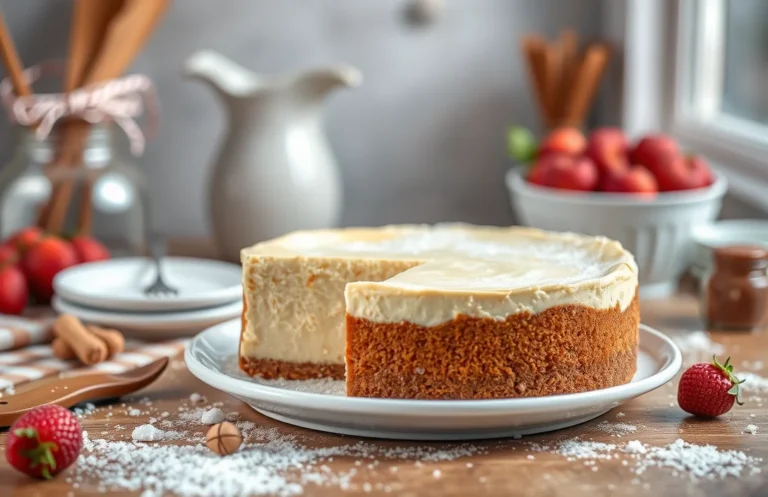
There’s something incredibly satisfying about a homemade baked cheesecake. Creamy, rich, and just the right amount of sweetness, it’s the dessert that always impresses. Whether it’s a special occasion or a simple weeknight treat, this cheesecake is sure to delight your taste buds and those of your loved ones.
Wondering if you can freeze that delectable cheesecake once it’s cooled? The answer is yes! You’ll find clear instructions on freezing, thawing, and serving your cheesecake, along with tips to maintain its creamy texture and flavor.
| Prep Time | Cook Time | Total Time | Servings | Difficulty |
|---|---|---|---|---|
| 20 minutes | 1 hour | 1 hour 20 minutes | 8 servings | Easy |
Baked Cheesecake Story
The baked cheesecake is a classic dessert that has charmed palates across the globe for centuries. Understanding its origins and significance can help you appreciate this delicious treat even more, especially when considering how to store it after baking.
- Origin of Cheesecake: Cheesecake dates back to ancient Greece, where it was served to athletes during the first Olympic Games. The Romans later adopted it, introducing various versions throughout Europe, leading to the rich and creamy baked cheesecake we cherish today.
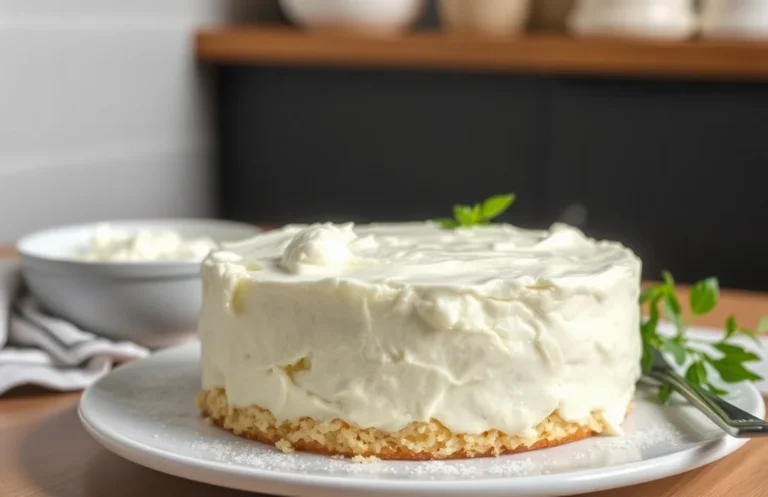
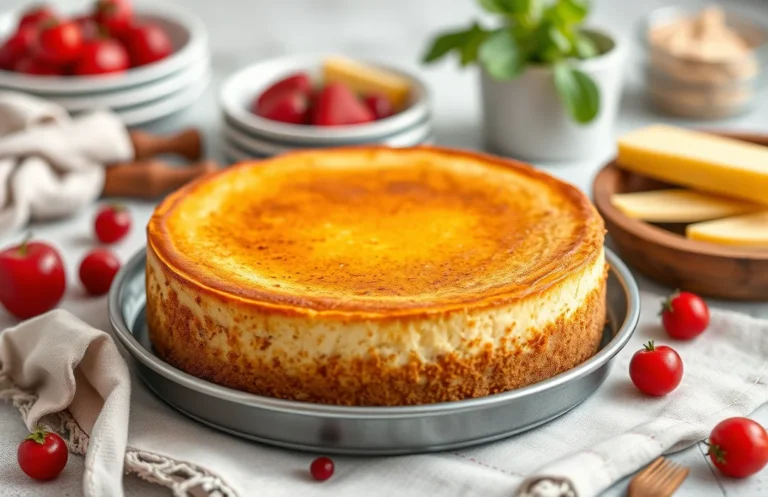
- Special Characteristics: A baked cheesecake is known for its dense and creamy texture, typically made with cream cheese, eggs, and sugar. The slow baking process at a low temperature (around 325°F or 160°C) allows the cheesecake to set perfectly while developing a delightful golden brown top.
- When to Serve: This dessert is perfect for special occasions such as birthdays, anniversaries, or holiday gatherings. Its elegant taste and presentation make it a favorite finale to any meal, and it can be topped with fruits, chocolate, or caramel to elevate the experience.
As you consider whether to freeze your baked cheesecake after it has come out of the oven, keep in mind its historical significance and delightful characteristics, which may influence how you choose to store and serve it.
Ingredients List
This section provides a detailed list of the essential ingredients needed to create a baked cheesecake that can be frozen after baking. Understanding the exact measurements and specifications ensures your cheesecake turns out perfectly every time, even when you plan to store it for later enjoyment.
| Item | Amount/Specification | Notes |
|---|---|---|
| Cream Cheese | 16 ounces (450g) | Softened to room temperature for easy mixing |
| Sugar | 1 cup (200g) | Granulated sugar for sweetness |
| Eggs | 3 large | Room temperature for better incorporation |
| Vanilla Extract | 1 teaspoon | Pure vanilla extract enhances flavor |
| Graham Cracker Crumbs | 1 ½ cups (150g) | For the crust, finely crushed |
| Unsalted Butter | ½ cup (113g) | Melted for binding the crust |
- For a gluten-free option, substitute graham cracker crumbs with almond flour or gluten-free cookie crumbs.
- Make sure the cream cheese is fully softened to avoid lumps—if it’s too cold, your cheesecake will be unevenly mixed.
- For a richer flavor, consider adding a tablespoon of sour cream or heavy cream to the cream cheese mixture.
Necessary Kitchen Equipment
To successfully freeze a baked cheesecake and ensure it maintains its delicious texture and flavor, you’ll need a few essential kitchen tools. These items will help you prepare, bake, and store your cheesecake properly, making the freezing process straightforward and effective.
| Item | Amount/Specification | Notes |
|---|---|---|
| Mixing Bowls | 2 medium bowls | For mixing crust and filling separately |
| Springform Pan | 9-inch (23cm) | Essential for easy removal of the cheesecake |
| Mixer | Stand or hand mixer | Able to handle creamy textures without lumps |
| Oven | Preheat to 350°F (175°C) | For baking the cheesecake |
- Tip: Make sure your springform pan is tightly sealed to prevent any leaks during baking.
- Tip: Use a rubber spatula to scrape down the sides of your mixing bowl for a smooth filling.
- Warning: Always check the cheesecake for a slight jiggle in the center before removing it from the oven; it should not look liquidy.
Freezing Steps
Freezing a baked cheesecake can extend its shelf life while preserving its delicious flavors and creamy texture. Following these steps will ensure that your cheesecake freezes well and remains enjoyable when you decide to indulge later.
- Cool the Cheesecake: Once you’ve baked your cheesecake, remove it from the oven and place it on a wire rack. Let it cool at room temperature for about 1 hour, then refrigerate for an additional 3-4 hours until completely chilled. The cheesecake should feel firm to the touch and will have a slightly jiggly center.
- Wrap Properly: After cooling, carefully remove the cheesecake from its springform pan. Wrap it tightly in plastic wrap, ensuring there are no gaps to prevent freezer burn. For added protection, wrap it in aluminum foil or place it in an airtight container. This double-wrapping will help maintain its moisture and flavor.
- Freeze Duration: Place the wrapped cheesecake in the freezer. It can be stored for up to 2-3 months without losing its quality. To check, it should feel solid and retain its shape. If you notice any freezer burn upon unwrapping, simply slice away the affected parts before serving.
Thawing Instructions
Thawing your frozen baked cheesecake properly is essential to maintaining its creamy texture and rich flavor. Whether you prefer to thaw it in the refrigerator or at room temperature, following these steps will ensure you avoid any potential mishaps.
- Refrigerator Thawing: The best method for thawing a baked cheesecake is in the refrigerator. Simply transfer the cheesecake from the freezer to the fridge and let it thaw for 6-8 hours, or overnight if possible. This slow thawing process helps preserve the texture and prevents any condensation from forming on the surface.
- Room Temperature Thawing: If you’re short on time, you can thaw the cheesecake at room temperature. Remove the cheesecake from the freezer and let it sit out for about 1-2 hours. Keep it covered with plastic wrap to prevent it from drying out. Be aware that this method may slightly alter the texture, making it less creamy than refrigerator thawing.
- Avoiding Temperature Shock: To prevent any drastic changes in texture, avoid placing a frozen cheesecake directly in a hot environment. If you must use the microwave for a quick thaw, set it to low power and check every 15 seconds to avoid melting the edges. This will help maintain the integrity of your cheesecake.
Texture and Flavor Impact
Understanding how freezing affects your baked cheesecake is crucial for maintaining its quality. Freezing can alter both the texture and flavor, so it’s important to know what to expect and how to best preserve your cheesecake for future enjoyment.
- Texture Changes: Freezing a baked cheesecake can lead to changes in its creamy texture. Upon thawing, the cheesecake may become slightly grainy or lose its smoothness, especially if it has a high cream cheese content. To mitigate this, ensure the cheesecake is cooled completely before freezing, and wrap it tightly in plastic wrap followed by aluminum foil.
- Flavor Preservation: While freezing can impact texture, the flavor of your cheesecake typically remains intact. To preserve the rich, delicious taste, store the cheesecake in an airtight container or vacuum-sealed bag to prevent freezer burn and absorption of other odors. This can help maintain its delightful flavor profile when you’re ready to enjoy it again.
- Tips for Best Results: To ensure the best outcome when freezing your cheesecake, consider slicing it before freezing. This allows you to thaw only what you need. Additionally, freeze it for no longer than 2-3 months for optimal taste and texture. When ready to serve, remember to thaw it in the refrigerator overnight for the best results.
Serving After Freezing
Once your baked cheesecake has been successfully frozen and thawed, it’s time to serve it up to your guests. This section will guide you on how to elevate your cheesecake with garnishes, pairing suggestions, and the ideal serving temperature to ensure a delightful experience.
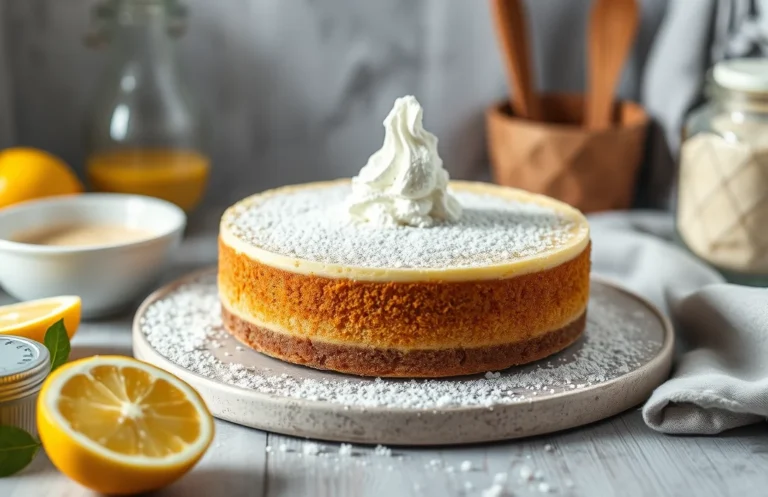
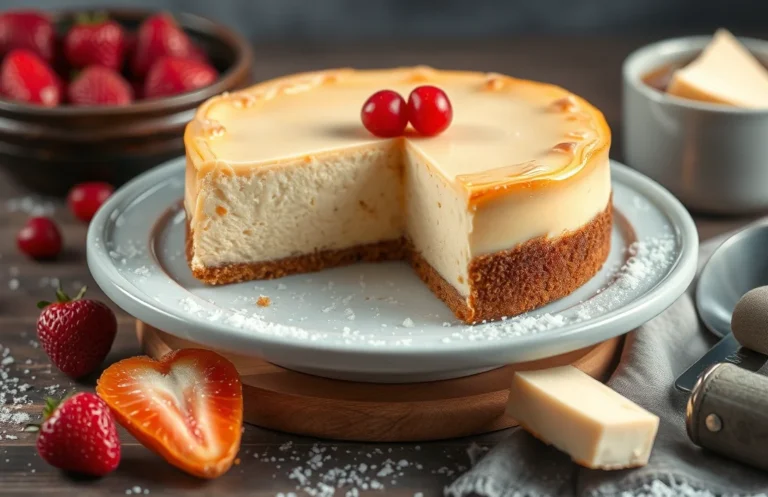
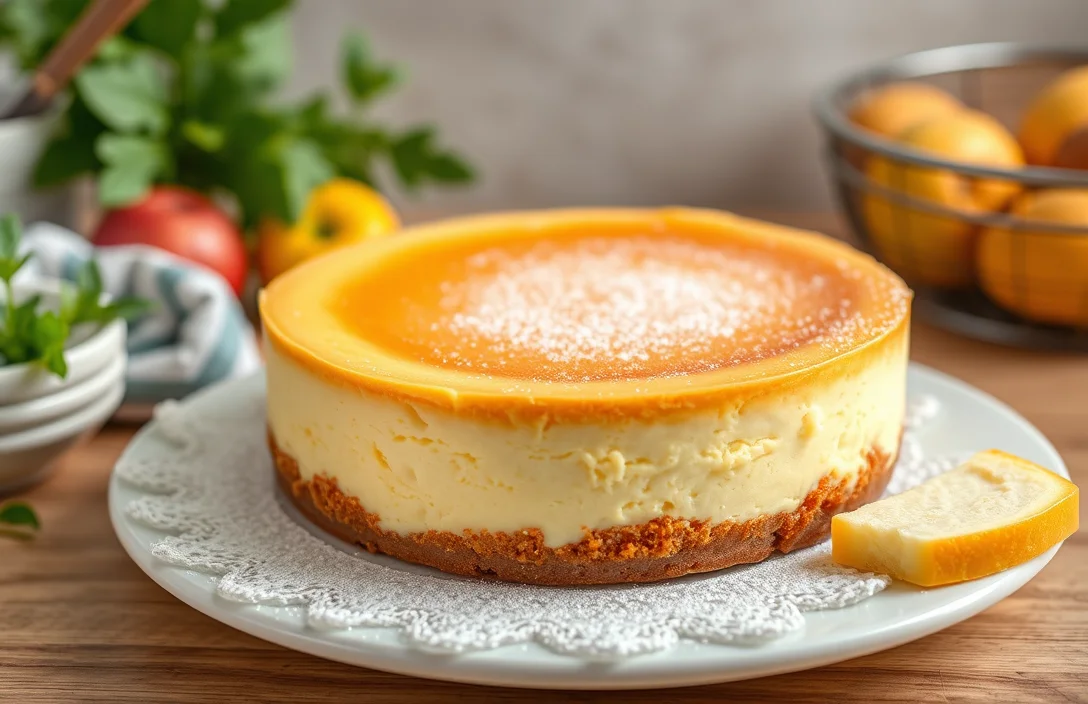
- Garnishing Ideas: To add a touch of flair, consider garnishing your cheesecake with fresh berries such as raspberries or blueberries. A drizzle of chocolate sauce or caramel can enhance the visual appeal and flavor. For a refreshing twist, add a dollop of whipped cream mixed with a teaspoon of vanilla extract for sweetness.
- Pairing Suggestions: A slice of cheesecake pairs beautifully with a cup of coffee or tea, which can balance the richness. If you want to go a step further, serve it with a side of citrus fruit like orange slices or a berry compote made from simmering 1 cup of mixed berries with 2 tablespoons of sugar until thickened, about 5-7 minutes.
- Ideal Serving Temperature: For the best texture and flavor, serve your cheesecake at room temperature. Remove it from the refrigerator about 30 minutes before serving. If you prefer it slightly chilled, you can serve it straight from the fridge, but avoid serving it too cold, as it can dull the flavors.
Chef’s tip: Always use a hot knife to cut the cheesecake for clean slices. Simply dip the knife in hot water, wipe it dry, and cut through the cheesecake for a beautiful presentation.
Quick Summary
| Prep Time | 20 minutes |
|---|---|
| Cook Time | 60 minutes |
| Total Time | 1 hour 20 minutes |
| Servings | 8 slices |
- Cool Completely: Let the cheesecake cool for at least 2 hours before freezing.
- Wrap Properly: Use plastic wrap and aluminum foil to prevent freezer burn.
- Freeze Flat: Place cheesecake in a flat area in the freezer for even freezing.
- Thaw Gradually: Move to the fridge for 6-8 hours before serving.
- Check Texture: Freezing may affect creaminess; serve with fresh toppings.
Frequently Asked Questions
Can I make this ahead of time? How to store and reheat?
You can definitely make a baked cheesecake ahead of time! Just refrigerate it for up to 5 days in an airtight container, and when you’re ready to serve, let it come to room temperature or reheat in a low oven at 250°F (120°C) for about 15 minutes.
What can I substitute for cream cheese?
You can substitute cream cheese with an equal amount of mascarpone cheese for a slightly different flavor and texture. Alternatively, you can use a mixture of 1 cup of ricotta cheese and 1/2 cup of sour cream.
How do I know when it’s done?
Your cheesecake is done when the edges are set, but the center still has a slight jiggle; it will firm up as it cools. A good test is to gently shake the pan and look for ripples in the center, but no liquid movement.
Can I freeze this? How long does it last?
Yes, you can freeze a baked cheesecake after it has completely cooled; wrap it tightly in plastic wrap and then in aluminum foil. It will last for up to 3 months in the freezer, but for the best quality, try to consume it within 1-2 months.
What if I don’t have a springform pan?
If you don’t have a springform pan, you can use a regular round cake pan, but be sure to line the bottom with parchment paper for easy removal. Just allow it to cool completely before carefully inverting it onto a plate or serving dish.

- Make Cheesecake Up to 3 Days Ahead: Tips for Best Flavor & Texture - March 4, 2026
- Easy No-Bake Cool Doen Cheesecake: Quick Recipe & Tips - March 4, 2026
- Decadent Dulce de Leche Cheesecake: Easy Step-by-Step Recipe - March 4, 2026