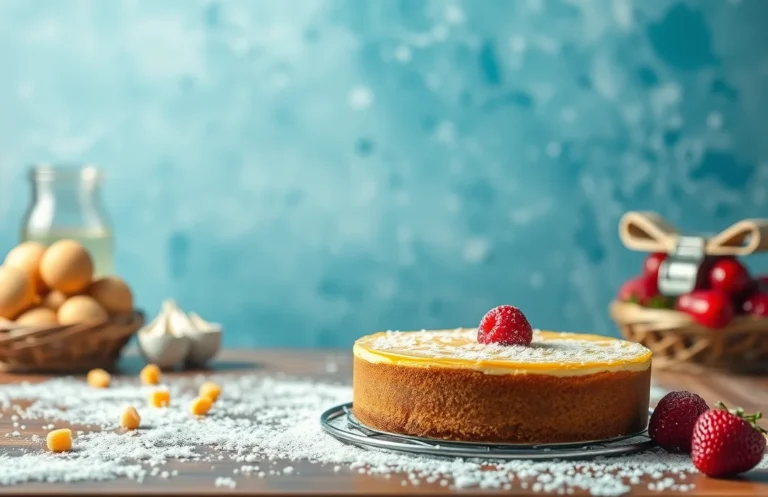
Safe Cheesecake for Pregnancy: Recipes and Ingredient Tips
Cheesecake is one of those desserts that wraps you in a warm hug, with its creamy texture and rich flavors. Whether it’s a special occasion or simply a weeknight craving, a slice of cheesecake can turn any evening into a cozy celebration. Trust me, once you take that first bite, you’ll want more!
Many expectant mothers wonder if they can savor this delightful treat. Here’s what you’ll get: Total time: 5 hours, Difficulty: Easy, Servings: 8. You’ll learn about safe cheesecake options, ingredients to avoid, and I’ll share my favorite tested recipes.
| Prep Time | Cook Time | Total Time | Servings | Difficulty |
|---|---|---|---|---|
| 30 minutes | 1 hour | 5 hours (includes chilling) | 8 | Easy |
Cheesecake History and Significance
Cheesecake has a rich history that dates back to ancient Greece, where it was served to athletes during the first Olympic Games in 776 B.C. Its evolution over the centuries reflects its cultural significance in celebrations and gatherings around the world.
- Ancient Greece: The earliest known cheesecake recipe, made with simple ingredients like cheese, flour, and honey, was served as a source of energy for athletes.
- Roman Influence: The Romans adapted the cheesecake recipe, adding layers of flavor and complexity, which spread throughout Europe.
- Modern Variations: Today, cheesecake varies widely, from the classic New York style to no-bake versions, each with its own regional significance.
Cheesecake is often associated with celebrations such as birthdays, weddings, and holidays, making it a beloved dessert worldwide. However, when considering whether pregnant women can indulge in cheesecake, it’s essential to acknowledge both its traditional significance and the safety aspects regarding its ingredients.
“Chef’s tip: Always choose pasteurized cheeses when making cheesecake for pregnant women to ensure safety.”
Understanding the history of cheesecake not only deepens our appreciation of this delightful dessert but also highlights the importance of making informed choices about ingredients during pregnancy. With the right precautions, cheesecake can still be a part of joyful occasions.
Safe Ingredients for Cheesecake
Understanding which ingredients are safe for cheesecake is crucial for pregnant women who want to indulge in this creamy dessert. While traditional cheesecake can pose some risks, many ingredients can be safely enjoyed when prepared properly. Below is a list of common cheesecake ingredients, their specifications, and notes on their safety during pregnancy.
| Item | Amount/Specification | Notes |
|---|---|---|
| Cream Cheese | 16 ounces (450g) | Use pasteurized cream cheese to avoid listeria. |
| Sour Cream | 1 cup (240g) | Opt for pasteurized sour cream. |
| Granulated Sugar | ¾ cup (150g) | Safe for consumption. |
| Eggs | 3 large | Use well-cooked eggs or pasteurized eggs to minimize salmonella risk. |
| Vanilla Extract | 1 teaspoon (5ml) | Ensure it is alcohol-free or cooked into the cheesecake. |
| Butter | ½ cup (115g) | Standard unsalted butter is safe. |
| Graham Cracker Crust | 1 ½ cups (150g) | Check for pasteurization in any added dairy. |
- Always read labels to ensure ingredients are pasteurized.
- Consider using a no-bake cheesecake recipe to further reduce risks.
- If you’re unsure about any ingredient, consult a healthcare provider.
Kitchen Tools for Cheesecake
Before diving into making cheesecake, it’s essential to gather the right kitchen tools to ensure a smooth and successful baking experience. The right equipment not only makes the process easier but also helps achieve the perfect texture and flavor, especially when considering safety for pregnant women.
- Springform Pan: A high-quality 9-inch springform pan is crucial for cheesecakes. The removable sides allow you to easily release the cheesecake without damaging it. Ensure the pan is properly sealed to prevent any water from leaking in during baking.
- Mixing Bowls: You’ll need several mixing bowls in different sizes, preferably glass or stainless steel. A large bowl for mixing the cream cheese and sugar, a medium bowl for eggs, and a smaller one for any additional flavorings like vanilla extract or lemon zest.
- Electric Mixer: An electric mixer (stand or hand-held) is vital for achieving a smooth and creamy batter. Whip the cream cheese until it’s completely free of lumps, which is especially important for a silky cheesecake. Avoid over-mixing once you add eggs to prevent cracks.
- Rubber Spatula: A sturdy rubber spatula is essential for folding ingredients together gently. Use it to scrape down the sides of the bowl to ensure everything is evenly mixed without incorporating too much air.
- Measuring Cups and Spoons: Accurate measurements are key to successful baking. Have a set of dry and liquid measuring cups, as well as measuring spoons, on hand for precise ingredient quantities.
- Food Processor (optional): If you’re making a graham cracker crust, a food processor can save time by easily crushing the crackers into fine crumbs. If you don’t have one, you can place the crackers in a zip-lock bag and crush them with a rolling pin.
Cheesecake Preparation Steps
Making cheesecake can be a delightful experience, especially when ensuring it’s safe for pregnant women. This section will guide you through the preparation of a cheesecake using safe ingredients, ensuring a delicious treat without any health concerns.
- 8 ounces (225g) cream cheese, softened
- ½ cup (100g) granulated sugar
- 2 large eggs
- 1 teaspoon vanilla extract
- 1 cup (240ml) sour cream
- 1 cup (120g) graham cracker crumbs
- ½ cup (115g) unsalted butter, melted
- Preheat your oven to 325°F (160°C). This temperature is essential for a smooth bake. As the oven heats, prepare your crust.
- Prepare the crust by combining the graham cracker crumbs and melted butter in a bowl. Mix until the crumbs are evenly moistened. Press this mixture firmly into the bottom of a 9-inch (23cm) springform pan. Bake for 10 minutes until slightly golden, then remove from the oven to cool.
- Make the filling by beating the softened cream cheese in a large mixing bowl until smooth and creamy. This should take about 2-3 minutes. Scrape down the sides to ensure all lumps are gone, as this affects texture.
- Add the sugar to the cream cheese and continue beating until fully combined. Then, add the eggs one at a time, mixing just until incorporated. Overmixing can lead to cracks in your cheesecake.
- Incorporate the vanilla extract and sour cream into the filling, mixing until smooth. This should take an additional minute. The mixture should be glossy and creamy, with no lumps visible.
- Pour the filling over the cooled crust in the springform pan. Use a spatula to spread it evenly. This step is crucial for ensuring even baking and a beautiful finish.
- Bake the cheesecake in the preheated oven for 50-60 minutes. The edges should look set, while the center may still jiggle slightly. Let it cool in the oven with the door slightly cracked for about 1 hour to prevent cracking.
- Chill the cheesecake in the refrigerator for at least 4 hours, preferably overnight. This helps firm up the texture and enhances the flavors.
Chef’s tip: Always use pasteurized cream cheese and sour cream to ensure safety during pregnancy.
Pro Tips for Cheesecake Success
Making cheesecake is an art, especially when considering the dietary needs of pregnant women. It’s essential to ensure both flavor and safety, so here are some valuable tips to help you achieve a perfect cheesecake without compromising health.
- Choose pasteurized ingredients: Opt for pasteurized cream cheese and sour cream to reduce the risk of foodborne illnesses. Avoid using raw eggs in your recipes; instead, use egg substitutes like ¼ cup of unsweetened applesauce per egg to maintain texture.
- Cook to proper temperatures: Bake your cheesecake at 325°F (160°C) to ensure thorough cooking. The center should slightly jiggle when you take it out of the oven but firm up as it cools.
- Cool gradually: After baking, allow your cheesecake to cool in the oven with the door ajar for about an hour. This gradual cooling helps prevent cracks and maintains a smooth finish.
- Refrigerate properly: Chill your cheesecake for at least 4 hours, preferably overnight, before serving. This allows the flavors to meld and the texture to set up nicely, resulting in a creamy bite.
- Be mindful of crust ingredients: If you’re using pre-made crusts, double-check that they don’t contain raw eggs or unpasteurized dairy. Homemade crusts, like one made from 1½ cups of crushed graham crackers and ½ cup of melted butter, are safer and allow for customization.
Cheesecake Modifications for Pregnancy
When it comes to indulging in cheesecake during pregnancy, making a few modifications can ensure safety while still satisfying your sweet tooth. By using safe ingredients and thoughtful substitutions, you can enjoy this creamy dessert without worry.
Safe Ingredient Substitutions
- Cheese: Use pasteurized cream cheese, such as Philadelphia, to eliminate the risk of harmful bacteria.
- Eggs: Opt for pasteurized eggs or egg substitutes. For every egg, you can use 1/4 cup of applesauce or 1/4 cup of silken tofu blended until smooth.
- Sugar: Substitute with natural sweeteners like honey or agave syrup, keeping in mind to adjust the amounts to taste.
- Crust: If gluten is a concern, use almond flour or gluten-free graham crackers for the crust.
Cheesecake Recipe for Pregnant Women
Here’s a simple and safe cheesecake recipe you can try:
| Ingredient | Amount |
|---|---|
| Pasteurized cream cheese | 16 ounces (450g) |
| Granulated sugar | ¾ cup (150g) |
| Pasteurized eggs | 3 large |
| Vanilla extract | 1 teaspoon |
| Gluten-free graham cracker crumbs | 1 ½ cups (150g) |
| Butter, melted | 4 tablespoons (55g) |
- Preheat your oven to 325°F (160°C).
- In a mixing bowl, combine the gluten-free graham cracker crumbs and melted butter until the mixture resembles wet sand. Press this mixture firmly into the bottom of a 9-inch springform pan.
- In another bowl, beat the pasteurized cream cheese and sugar together until smooth and creamy. Add the eggs one at a time, mixing until just combined. Stir in the vanilla extract.
- Pour the cream cheese mixture over the crust in the springform pan. Smooth the top with a spatula.
- Bake for 45-50 minutes, or until the edges are set but the center still has a slight jiggle. It should be slightly puffed and lightly golden around the edges.
- Turn off the oven and crack the door open, letting the cheesecake cool in the oven for an hour. This prevents cracking.
- Chill in the refrigerator for at least 4 hours or overnight before serving.
Pro tip: Always check labels to ensure all ingredients are pasteurized for safety during pregnancy.
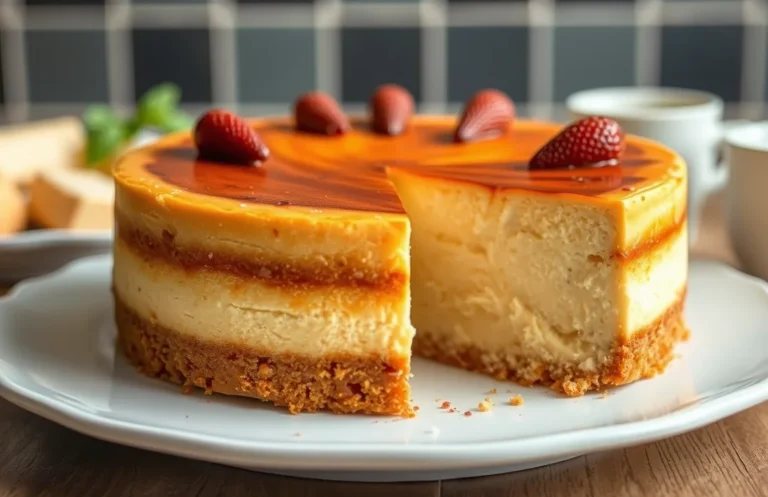
Serving and Pairing Cheesecake
When serving cheesecake, especially for pregnant women, it’s essential to focus on safety, presentation, and complementary flavors. A well-plated cheesecake not only looks appetizing but can also enhance the overall experience. Here are some ideas to ensure your cheesecake is both delicious and safe.
- Choose Safe Ingredients: Always opt for pasteurized cream cheese and avoid raw eggs in your cheesecake. This ensures that the dessert is safe for pregnant women. You can also use alternatives like Greek yogurt or tofu for a lighter version.
- Plating Techniques: For a beautiful presentation, slice the cheesecake into even pieces, about 1-2 inches thick. Place each slice on a chilled dessert plate. Drizzle with a fruit coulis or chocolate sauce for a pop of color and flavor.
- Garnishing: Top each slice with fresh berries like strawberries or blueberries, which not only add a burst of flavor but also provide a visual appeal. A dollop of whipped cream made from heavy cream (pasteurized) can elevate the dessert further.
- Complementary Beverages: Pair your cheesecake with a refreshing beverage. Herbal teas, like peppermint or chamomile, are excellent choices, as they are caffeine-free. Alternatively, serve with sparkling water infused with lemon or lime for a zesty contrast.
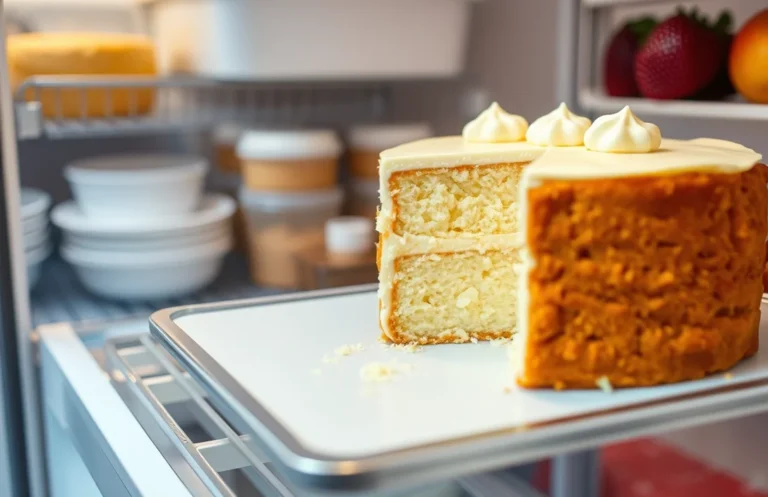
- Storage Tips: If you have leftovers, store them in an airtight container in the refrigerator for up to 5 days. To prevent sogginess, keep any toppings separate until ready to serve.
Chef’s tip: Always taste your cheesecake batter before baking to ensure the sweetness and flavor are to your liking, but remember to avoid raw eggs!
Quick Summary
| Prep Time | 15 minutes |
|---|---|
| Cook Time | 60 minutes |
| Total Time | 1 hour 15 minutes |
| Servings | 8 |
- Use pasteurized ingredients: Ensure cream cheese and eggs are pasteurized to reduce foodborne illness risk.
- Cool completely: Allow cheesecake to cool in the oven to prevent cracks on the surface.
- Bake in a water bath: This helps maintain moisture and even baking for a creamier texture.
- Chill before serving: Refrigerate for at least 4 hours for best flavor and texture.
- Garnish wisely: Fresh fruits or a berry compote are safe and delicious toppings for pregnant women.
Frequently Asked Questions
Can I make this cheesecake ahead of time?
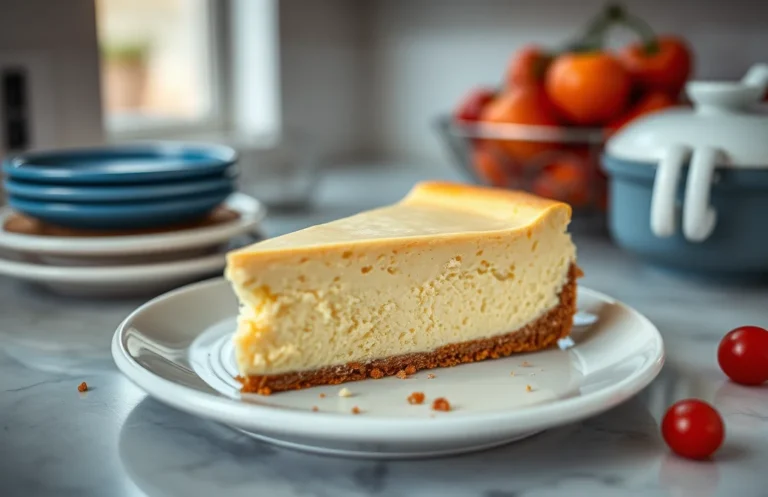
You can absolutely make cheesecake ahead of time; it actually tastes better after chilling for at least 4 hours. Store it in the refrigerator, covered, for up to 5 days.
What can I substitute for cream cheese?
If you’re looking for a substitute, you can use ricotta cheese blended until smooth or Greek yogurt for a lighter option. Just keep in mind that the texture and flavor may vary slightly.
How do I know when the cheesecake is done?
Your cheesecake is done when the edges are set but the center still has a slight jiggle, which usually takes about 50-60 minutes at 325°F (160°C). It will firm up as it cools, so don’t overbake it!
Can I freeze cheesecake? How long does it last?
You can freeze cheesecake for up to 3 months if wrapped tightly in plastic wrap and then foil. Just remember to thaw it in the refrigerator overnight before serving for the best texture.
What if I don’t have a springform pan?
If you don’t have a springform pan, you can use a regular 9-inch round cake pan lined with parchment paper. Just be prepared to run a knife around the edge to loosen it before removing the cheesecake.

- Make Cheesecake Up to 3 Days Ahead: Tips for Best Flavor & Texture - March 4, 2026
- Easy No-Bake Cool Doen Cheesecake: Quick Recipe & Tips - March 4, 2026
- Decadent Dulce de Leche Cheesecake: Easy Step-by-Step Recipe - March 4, 2026