Bake Cheesecake Crust in Advance: Tips for Perfect Texture and Flavor
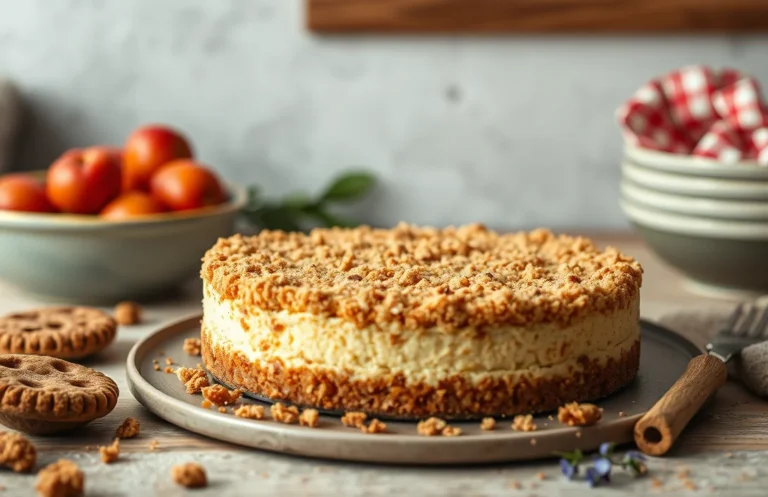
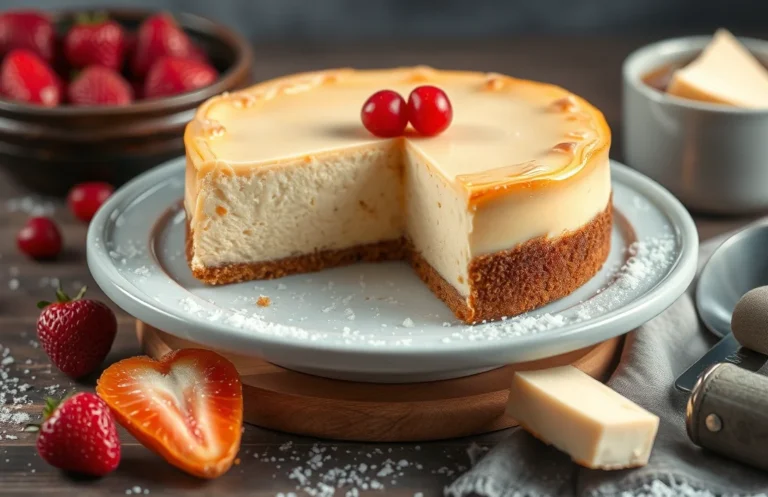
There’s something truly delightful about a homemade cheesecake, and the crust is the unsung hero that holds it all together. Imagine that buttery, crumbly base, perfectly baked and ready to cradle a rich, creamy filling. It’s a comforting dessert that always impresses friends and family, making it a staple for any gathering.
If you’re wondering can you bake cheesecake crust in advance, the answer is a resounding yes! This guide will give you clear, step-by-step instructions, including exact measurements, cooking temperatures, and timing. You’ll also discover how to store it properly and any effects on texture and flavor.
| Prep Time | Cook Time | Total Time | Servings | Difficulty |
|---|---|---|---|---|
| 15 minutes | 10 minutes | 25 minutes | 8 servings | Easy |
History of Cheesecake Crust
The cheesecake crust has a rich history that reflects the evolution of cheesecake itself, highlighting its importance in achieving the perfect balance of flavors and textures. Understanding this background not only deepens your appreciation for this beloved dessert but also clarifies why prepping the crust in advance can be beneficial.
- Origin of Cheesecake: Cheesecake dates back to ancient Greece, where it was served to athletes during the first Olympic Games. The simplicity of mixing cheese, honey, and flour laid the groundwork for what we now know as cheesecake.
- Importance of Crust: The crust serves as the foundation of the cheesecake, providing a necessary contrast to the creamy filling. Traditionally made with graham crackers, cookies, or even sponge cake, the crust enhances the overall taste and texture of the dessert.
- Modern Variations: Today, cheesecakes feature a variety of crusts, from classic graham cracker to gluten-free alternatives. The ability to bake the crust in advance allows for flexibility in preparing the dessert, making it easier for special occasions.
- Impact on Texture and Flavor: A well-prepared crust can absorb moisture from the filling, preventing it from becoming soggy. Baking the crust ahead of time helps it firm up, enhancing the final cheesecake’s texture and flavor.
By understanding the history and significance of the cheesecake crust, you can appreciate the art of baking and the reasons behind preparing it in advance for optimal results.
Ingredients for Cheesecake Crust
This section outlines the precise ingredients needed to create a delicious cheesecake crust, which can be prepared in advance. Knowing these measurements will ensure that your crust is both flavorful and has the right texture, whether you bake it right away or store it for later use.
| Item | Amount/Specification | Notes |
|---|---|---|
| Graham Crackers | 1 ½ cups (150g), crushed | Use plain or honey-flavored for added sweetness. |
| Butter | ½ cup (113g), unsalted | Melted; for richness and binding. |
| Sugar | ¼ cup (50g) | Granulated sugar; adjust based on sweetness preference. |
| Salt | ¼ teaspoon | Enhances flavor; can be omitted if using salted butter. |
- Storage Tip: If you prepare the crust in advance, store it in an airtight container in the refrigerator for up to a week or freeze for up to three months.
- Baking Tip: Make sure to press the crust mixture firmly into the bottom and up the sides of the pan to prevent it from crumbling after baking.
- If you notice the crust is too crumbly after preparing, add a bit more melted butter, a tablespoon at a time, until it holds together.
Essential Kitchen Equipment
Preparing your cheesecake crust in advance requires a few essential tools to ensure a smooth process and a perfect final product. The right equipment not only makes the task easier but also helps achieve the desired texture and flavor for your cheesecake crust.
| Item | Amount/Specification | Notes |
|---|---|---|
| Mixing Bowl | 1 large | For combining crust ingredients thoroughly. |
| 9-inch Springform Pan | 1 | Allows for easy removal of the cheesecake once baked. |
| Food Processor | 1 | Ideal for finely crushing graham crackers or cookies for the crust. |
| Oven | Preheated to 350°F (175°C) | Necessary for baking the crust until golden brown. |
- Make sure your mixing bowl is large enough to accommodate all ingredients without spilling.
- When using the food processor, pulse the graham crackers in short bursts to avoid over-processing, which can lead to a gummy texture.
- Preheat your oven while preparing the crust to ensure it goes in at the right temperature.
- If you don’t have a springform pan, you can use a regular pie dish, but it may be harder to remove the cheesecake.
Baking the Cheesecake Crust
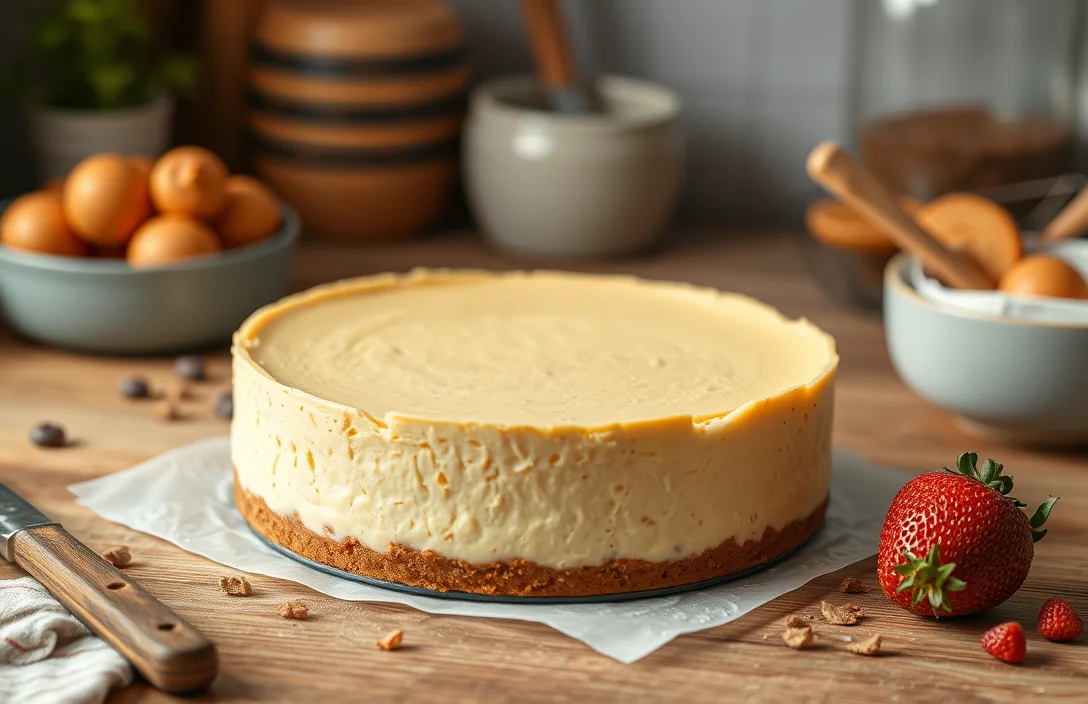
Baking your cheesecake crust in advance is a fantastic way to streamline the cheesecake-making process. Not only does it save time, but it also ensures that your crust is perfectly set and ready for the filling. Here’s how to do it step by step, along with some tips for the best results.
- 1 ½ cups graham cracker crumbs (150g)
- ⅓ cup granulated sugar (67g)
- ½ cup unsalted butter, melted (113g)
- Preheat the Oven: Start by preheating your oven to 350°F (175°C). This ensures that the crust will bake evenly and develop a nice golden color. Allow your oven to fully preheat before placing the crust inside.
- Mix Ingredients: In a large bowl, combine the graham cracker crumbs, sugar, and melted butter. Use a fork or your hands to mix until the crumbs are evenly moistened and resemble wet sand. The mixture should hold together when pressed, and you’ll notice a sweet, buttery aroma.
- Press into Pan: Transfer the crumb mixture into a 9-inch (23 cm) springform pan. Using your fingers or the bottom of a measuring cup, firmly press the mixture into the bottom and slightly up the sides of the pan. Aim for an even layer, which will create a sturdy base for your cheesecake. It should feel compact and solid when you’re finished.
- Bake Time: Place the pan in your preheated oven and bake for 10 minutes. The crust should look slightly golden and may feel firm to the touch. This step helps to set the crust, making it less soggy when you add the cheesecake filling later.
Chef’s tip: Allow the crust to cool completely before adding the filling. This prevents any melting and helps maintain the texture of your cheesecake.
Tips for Perfect Crust
When it comes to baking a cheesecake crust in advance, there are essential tips that can help you achieve the perfect base without compromising on texture or flavor. Understanding how to avoid common pitfalls will ensure your crust is as delightful as your filling.
- Avoiding Sogginess: To prevent a soggy crust, make sure to bake it at 350°F (175°C) for 10-12 minutes until it turns golden brown. This initial baking helps set the crust, creating a barrier that keeps moisture from seeping in during the cheesecake baking process. If you notice your crust is still soft after baking, consider returning it to the oven for an additional 2-3 minutes.
- Even Pressing Technique: When pressing your crust mixture into the pan, use the bottom of a measuring cup or a flat surface to ensure even pressure across the base and up the sides. This method helps prevent cracks and ensures a uniform thickness, which is crucial for consistent baking. Aim for about ¼ inch thickness for best results.
- After baking, allow your crust to cool completely in the pan on a wire rack for at least 30 minutes before adding your cheesecake filling. This cooling period is vital as it helps the crust firm up and prevents it from becoming too soft when the filling is added. If you’re in a hurry, you can place it in the refrigerator for 15-20 minutes to speed up the process.
Storage Methods for Crust
Preparing your cheesecake crust in advance can save you time and stress. This section will guide you on how to properly store your baked crust, ensuring it retains its delicious flavor and texture until you’re ready to use it.
- Refrigeration Tips: Once your crust has cooled completely, wrap it tightly in plastic wrap or aluminum foil. This prevents moisture from entering and helps maintain its crisp texture. The crust can be stored in the refrigerator for up to 5 days. When you’re ready to use it, simply remove it from the fridge and let it sit at room temperature for about 15-20 minutes before filling.
- Freezing Instructions: For longer storage, freezing is your best option. After cooling, wrap the crust tightly in plastic wrap, then place it in a resealable freezer bag. Make sure to remove as much air as possible to prevent freezer burn. The crust can be frozen for up to 3 months. When you’re ready to use it, thaw it overnight in the refrigerator and bring it to room temperature before filling.
- Storage Time Frame: Always label your wrapped crust with the date it was made, so you can keep track of its freshness. A refrigerated crust should be used within 5 days, while a frozen crust can be stored for up to 3 months. After these time frames, the crust may lose its flavor and texture, making it less enjoyable in your cheesecake.
Effects on Final Cheesecake
Understanding the effects of preparing your cheesecake crust in advance is crucial for achieving the best texture and flavor in your final dessert. While it can save time, how you store the crust can significantly influence the overall outcome.
Texture Considerations
- When you bake your crust in advance and let it cool completely, it should feel firm to the touch and slightly crisp around the edges. This initial firmness helps prevent the crust from becoming soggy once the cheesecake filling is added.
- However, if stored improperly, such as in a humid environment, the crust may absorb moisture and lose its desired crunch. Always keep the crust sealed in an airtight container to maintain its texture.
- For optimal results, consider chilling the crust in the refrigerator for at least 30 minutes before adding your filling. This step will help it set further, ensuring it holds up well during baking.
Flavor Impact
- Letting the crust sit in the fridge allows the flavors to meld and deepen. If you use ingredients like nuts or spices, their flavors can develop over time, enhancing the overall taste of your cheesecake.
- However, if you store the crust for too long, especially beyond a week, it may begin to lose its freshness and flavor intensity. Aim to use the baked crust within a few days for the best experience.
- For an added flavor boost, consider sprinkling a pinch of sea salt on the crust before pouring in the filling. This enhances the sweet and savory balance, making each bite more dynamic.
Serving and Pairing Suggestions
When it comes to enjoying your cheesecake, the right garnishes and beverage pairings can elevate your dessert experience. This section will provide you with ideas on how to serve your cheesecake, including optimal serving temperatures and delicious complements to enhance its flavor.
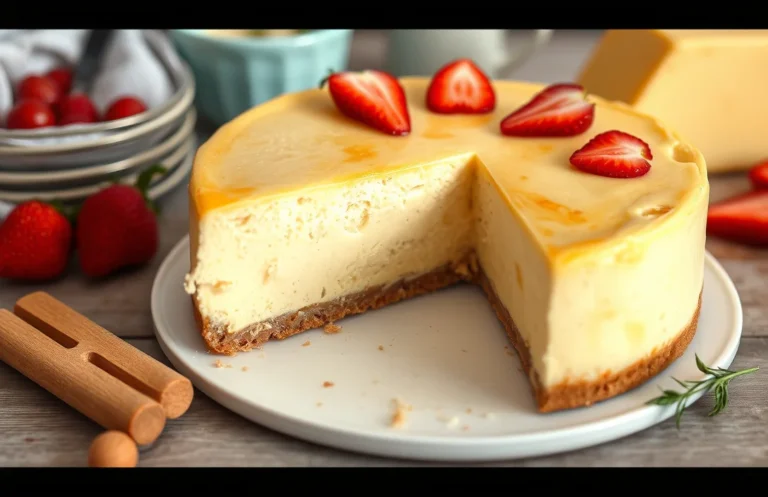
- Garnishes: Consider topping your cheesecake with a fresh fruit compote, such as a raspberry or strawberry sauce, made from 1 cup of berries simmered with ¼ cup of sugar over medium heat for about 10 minutes until thickened. Add a dollop of freshly whipped cream made by beating 1 cup of heavy cream with 2 tablespoons of powdered sugar until soft peaks form. This will add a touch of freshness and a creamy texture that balances the richness of the cheesecake.
- Beverage Pairings: Pair your cheesecake with a glass of dessert wine, such as a late-harvest Riesling or a Moscato, to complement the sweetness of the dessert. Alternatively, a well-brewed cup of coffee or espresso can offer a delightful contrast to the creamy cheesecake, enhancing its flavors. Aim for serving temperatures around 50°F (10°C) for the cheesecake and slightly warmer for the beverages to create a harmonious balance.
- Serving Temperature: Cheesecake is best served chilled. After baking, let it cool at room temperature for about 1 hour before refrigerating for at least 4 hours, ideally overnight. This allows the flavors to meld beautifully. Just before serving, take the cheesecake out of the fridge for about 15-20 minutes so it can soften slightly, making it easier to slice and enhancing its creamy texture.
Chef’s tip: Always serve your cheesecake with a side of fresh fruit or a drizzle of sauce for added flavor and visual appeal!
Quick Summary
| Prep Time | 15 minutes |
|---|---|
| Cook Time | 10 minutes |
| Total Time | 25 minutes |
| Servings | 1 crust |
- Preheat oven: Set your oven to 350°F (175°C).
- Prepare crust mixture: Combine 1 ½ cups crushed graham crackers, ⅓ cup sugar, and ½ cup melted butter.
- Press into pan: Firmly pack the mixture into a 9-inch springform pan.
- Bake until golden: Bake for 10 minutes until lightly browned.
- Cool completely: Let the crust cool before adding the cheesecake filling.
- Key Tip: Ensure the butter is fully melted for a cohesive crust.
- Key Tip: Allow the crust to cool completely to prevent sogginess.
Frequently Asked Questions
Can I make this ahead of time? How to store and reheat?
You can absolutely make the cheesecake crust ahead of time! Just store it in an airtight container in the refrigerator for up to 5 days or freeze it for up to 3 months; no need to reheat, just let it come to room temperature before using.
What can I substitute for graham cracker crumbs?
You can substitute digestive biscuits or vanilla wafer cookies for graham cracker crumbs in the crust. Just crush them to a fine consistency, and use the same measurement of 1 ½ cups.
How do I know when it’s done?
You’ll know the crust is done when it turns a light golden brown, which usually takes about 8-10 minutes at 350°F (175°C). Let it cool completely before adding the cheesecake filling.
Can I freeze this? How long does it last?
Yes, you can freeze the baked cheesecake crust for up to 3 months. Wrap it tightly in plastic wrap and then in aluminum foil to prevent freezer burn.
What if I don’t have a springform pan?
If you don’t have a springform pan, you can use a regular round cake pan lined with parchment paper for easy removal. Just be sure to grease the pan well and allow the crust to cool completely before attempting to remove it.

- Make Cheesecake Up to 3 Days Ahead: Tips for Best Flavor & Texture - March 4, 2026
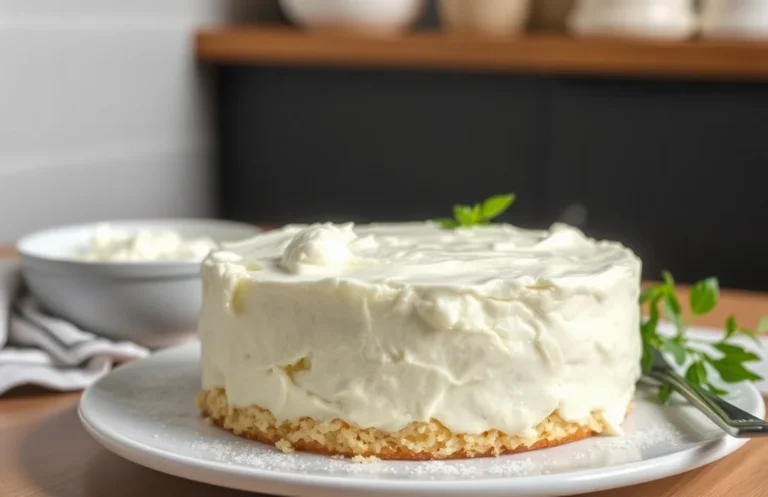
- Easy No-Bake Cool Doen Cheesecake: Quick Recipe & Tips - March 4, 2026
- Decadent Dulce de Leche Cheesecake: Easy Step-by-Step Recipe - March 4, 2026