Can You Freeze Baked Cheesecake? Tips for Perfect Results
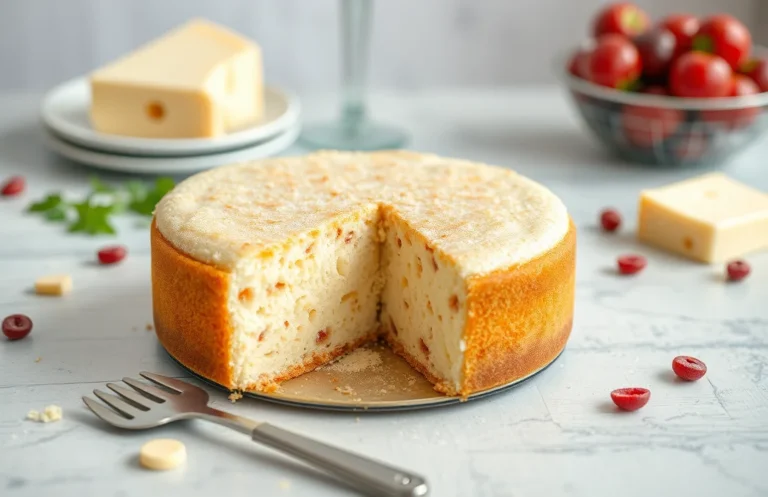
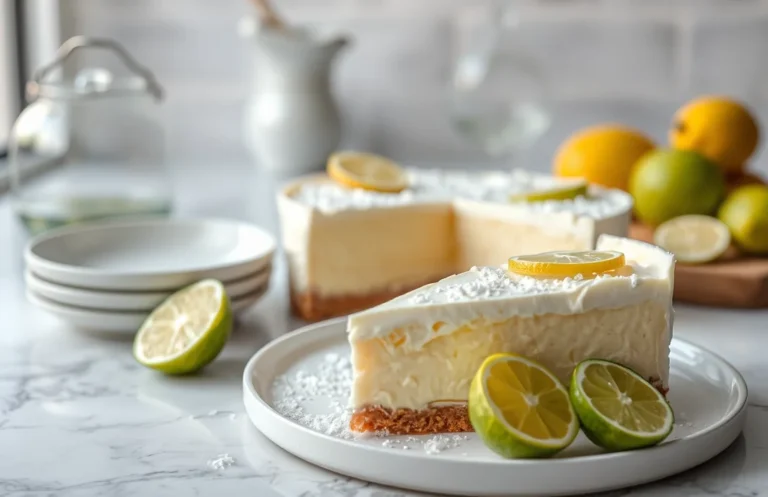
There’s something utterly irresistible about a creamy, rich baked cheesecake that just melts in your mouth. It’s the kind of dessert that turns an ordinary dinner into a celebration, with its smooth texture and luscious flavor that keeps everyone coming back for seconds. Imagine the delight of serving a slice that’s perfectly chilled, topped with fresh berries or a drizzle of caramel!
If you’ve ever wondered, can a baked cheesecake be frozen? The answer is yes! This guide will provide you with detailed steps for freezing and thawing your cheesecake, along with tips to maintain its delicious texture and flavor. Total time: 30 minutes prep, 60 minutes bake, serves 8, and is easy to make.
| Prep Time | Cook Time | Total Time | Servings | Difficulty |
|---|---|---|---|---|
| 30 minutes | 60 minutes | 90 minutes | 8 | Easy |
Baked Cheesecake Origins
The baked cheesecake has a storied history that reflects its evolution through various cultures and culinary practices. Understanding its origins and special characteristics can enhance your appreciation of this delicious dessert, especially when considering how to freeze and store it effectively.
Historical Background
Baked cheesecake is believed to have originated in ancient Greece, where cheese was a staple ingredient. The earliest known recipe dates back to 230 A.D. by the Greek physician Aegimus, who wrote about making a cheesecake for athletes. As the recipe spread throughout Europe, it took on various forms and ingredients, particularly gaining popularity in Italy and later in America.
- The Romans introduced cheesecake to England, where it became a dessert staple.
- In the 18th century, cream cheese was invented in the United States, leading to the rich and creamy texture we associate with modern baked cheesecakes.
Cultural Significance
Baked cheesecake holds a special place in many cultures, often served during celebrations and holidays. Its versatility allows for a variety of flavors and toppings, making it a beloved treat worldwide.
“Cheesecake is not just a dessert; it’s a celebration of flavor and texture, often bringing people together during special occasions.”
As you consider freezing baked cheesecake, keep in mind its historical significance. Proper freezing techniques can help maintain its delightful texture and flavor, ensuring that it remains a crowd-pleaser even when stored. In the following sections, we’ll explore how to properly freeze and thaw your cheesecake for the best results.
Ingredients for Baked Cheesecake
This section will detail the precise ingredients you’ll need to create a delicious baked cheesecake, a treat that can also be frozen for later enjoyment. Properly measuring and selecting these ingredients is essential for achieving the right texture and flavor, especially when you plan to freeze it.
| Item | Amount/Specification | Notes |
|---|---|---|
| Cream Cheese | 24 ounces (680g) | Softened to room temperature for easy mixing |
| Sugar | 1 cup (200g) | Granulated sugar for sweetness |
| Eggs | 4 large | Use room temperature eggs for better incorporation |
| Sour Cream | 1 cup (240g) | Adds creaminess and tang |
| Vanilla Extract | 1 teaspoon | Pure vanilla for flavor |
| Crust Ingredients | – 1 ½ cups (150g) graham cracker crumbs – ½ cup (100g) unsalted butter, melted – ¼ cup (50g) sugar |
Use unsalted butter to control salt levels |
- For gluten-free options, substitute graham crackers with gluten-free cookies.
- If you have dairy allergies, try using dairy-free cream cheese and sour cream alternatives.
- Ensure all ingredients are at room temperature to avoid lumps and achieve a smooth batter.
Essential Kitchen Equipment
Before we dive into the steps for freezing a baked cheesecake, it’s crucial to gather the right tools. Having the appropriate equipment not only makes the process smoother but also ensures that your cheesecake maintains its delicious flavors and textures when frozen and thawed.
- Mixing Bowls: You will need at least two mixing bowls—one for the crust and another for the filling. A medium-sized bowl (about 3 quarts) will work well for the filling, allowing you to mix the cream cheese and other ingredients without splattering. A smaller bowl (around 1-2 quarts) is sufficient for the crust ingredients.
- Springform Pan: A 9-inch springform pan is ideal for baking cheesecakes. This type of pan allows for easy removal of the cheesecake without damaging its shape. Make sure to grease the bottom and sides with butter or non-stick spray to prevent sticking.
- Electric Mixer: An electric mixer (handheld or stand) is essential for achieving a smooth and creamy filling. Mix the cream cheese on medium speed until it’s completely smooth and free of lumps, which should take about 2-3 minutes. Avoid overmixing, as this can incorporate too much air, leading to cracks in the cheesecake.
- Oven Preheating: Preheat your oven to 325°F (160°C) before baking the cheesecake. This step is crucial for ensuring even cooking. The cheesecake should bake slowly to avoid cracks; if your oven has hot spots, consider using an oven thermometer to monitor the temperature accurately.
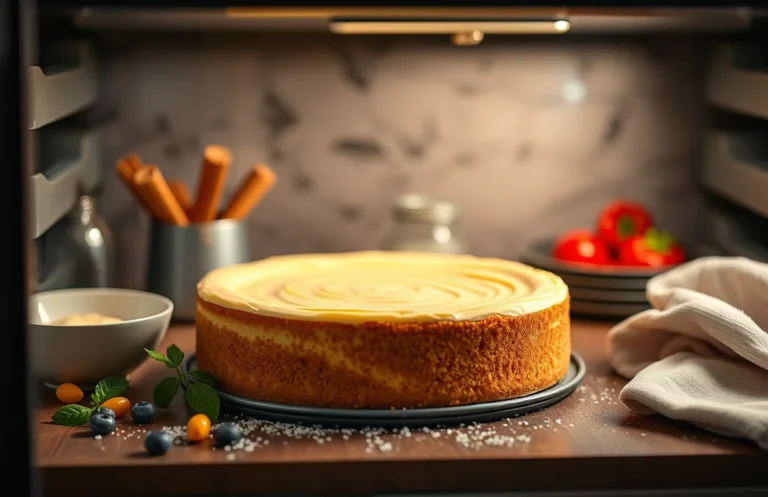
Freezing Baked Cheesecake Steps
Freezing your baked cheesecake can be a great way to preserve its flavor and texture for later enjoyment. Proper techniques ensure that your cheesecake retains its creamy consistency and delectable taste when you’re ready to indulge again. Follow these steps to freeze your cheesecake successfully.
- Cooling the Cheesecake: After baking your cheesecake at 325°F (160°C) for about 60-70 minutes, let it cool in the pan on a wire rack for at least 1 hour. This helps to set the texture and prevent condensation when freezing. Once it’s at room temperature, chill it in the refrigerator for at least 4 hours, preferably overnight, to firm up further.
- Wrapping Techniques: Once fully chilled, remove the cheesecake from the pan. Wrap it tightly in plastic wrap, ensuring there are no air pockets. For extra protection, wrap it again in aluminum foil. This dual-layer wrapping helps prevent freezer burn and preserves the cheesecake’s flavor. Make sure the wrap is snug but not overly tight to avoid damaging the cheesecake’s surface.
- Storage Container Options: If you prefer, you can place the wrapped cheesecake in an airtight freezer-safe container. Choose a container that fits snugly to minimize air exposure. Label the container with the date and type of cheesecake for easy reference. Cheesecake can be frozen for up to 3 months without significant loss of quality.
Thawing Instructions
Properly thawing your baked cheesecake is essential to maintain its creamy texture and rich flavor. Here are two effective methods to ensure your cheesecake is ready to enjoy without compromising its quality.
- Refrigerator Thawing: This is the best method for thawing your cheesecake. Simply remove the cheesecake from the freezer and take off any plastic wrap or foil. Place it on a plate and transfer it to the refrigerator for 6 to 8 hours, or overnight for best results. The gradual thawing helps preserve the texture, ensuring it remains smooth and creamy. Check the cheesecake to ensure it has fully thawed before serving; it should feel soft to the touch but not mushy.
- Quick Thawing Techniques: If you’re short on time, you can thaw your cheesecake more quickly. Remove the cheesecake from the freezer and unwrap it. Place it on a microwave-safe plate and set your microwave to the defrost setting (usually around 30% power). Heat it for about 10 to 15 minutes, checking every 2-3 minutes to ensure it doesn’t start cooking. The cheesecake should be soft and slightly cool, but be careful not to overheat, as this can alter the texture.
Chef’s tip: Always allow your cheesecake to come to room temperature for about 30 minutes after thawing for the best flavor and texture before serving.
Texture and Flavor Changes
Understanding the texture and flavor changes that occur when freezing baked cheesecake is essential for achieving the best possible results. While freezing can prolong the life of your cheesecake, it can also affect its creamy consistency and rich flavor if not done correctly.
Impact on Creaminess
Freezing can alter the smooth, creamy texture of a baked cheesecake. Here’s what to expect:
- The cream cheese may become slightly grainy after thawing, which can impact the mouthfeel.
- To minimize this effect, ensure the cheesecake is completely cooled before freezing; this helps maintain its structure.
- Wrap the cheesecake tightly in plastic wrap and then aluminum foil to prevent ice crystals from forming, which can lead to a watery texture.
Flavor Retention
The flavor profile of your cheesecake may also change after freezing:
- While the primary flavors will remain intact, some delicate notes, especially those from citrus or vanilla, might become muted.
- To enhance flavor retention, consider adding a touch more vanilla extract (about ½ teaspoon per cheesecake) before freezing.
Chef’s tip: To revive flavor after thawing, serve your cheesecake with a fresh fruit compote or a drizzle of chocolate sauce for added sweetness and freshness.
By following these guidelines, you can help preserve the delightful texture and flavor of your baked cheesecake, making it enjoyable even after freezing.
Tips for Successful Freezing
Freezing a baked cheesecake can be a convenient way to preserve its deliciousness for later enjoyment. However, to maintain its creamy texture and rich flavor, it’s essential to follow specific steps for wrapping, timing, and preventing ice crystals from forming.
Best Wrapping Methods
Properly wrapping your cheesecake is crucial for preventing freezer burn and maintaining its quality. Here’s how:
- After the cheesecake has cooled completely, remove it from the springform pan.
- Wrap it tightly in plastic wrap, ensuring there are no exposed areas.
- For added protection, wrap the cheesecake in aluminum foil over the plastic wrap.
- Label the wrapping with the date and type of cheesecake for easy identification later.
Timing for Freezing
To preserve the best quality, freeze your cheesecake within 2-3 days after baking. This will help maintain its flavor and texture:
- Place the wrapped cheesecake in the freezer, ensuring it’s not touching any strong-smelling foods, which can affect its flavor.
- A general guideline is to consume frozen cheesecake within 2-3 months for optimal taste.
Avoiding Ice Crystals
Ice crystals can ruin the texture of your cheesecake. Here are some tips to minimize their formation:
Chef’s tip: Freeze the cheesecake for about 2 hours uncovered, then wrap it tightly to lock in moisture and prevent ice crystals.
When you’re ready to enjoy your cheesecake, the thawing process is just as important:
- Thaw in the refrigerator for 6-8 hours or overnight; this will help maintain its texture.
- Avoid thawing at room temperature, as this can lead to condensation and create unwanted moisture.
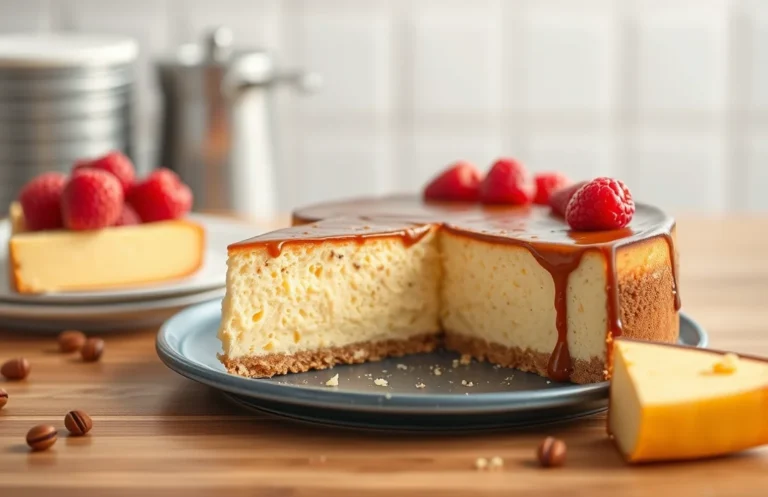
Serving Baked Cheesecake
After successfully freezing and thawing your baked cheesecake, it’s time to elevate your dessert experience with some delightful serving suggestions. The right garnishes and beverage pairings can truly enhance the flavors and presentation of your cheesecake, making it an even more enjoyable treat.
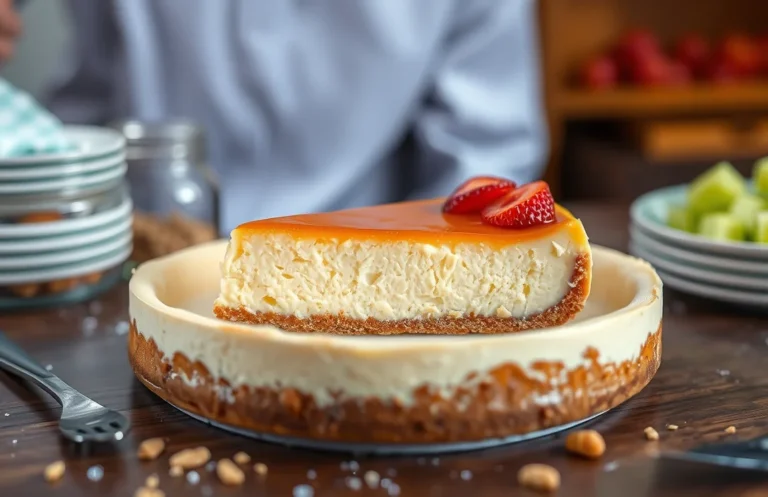
Garnishing Ideas
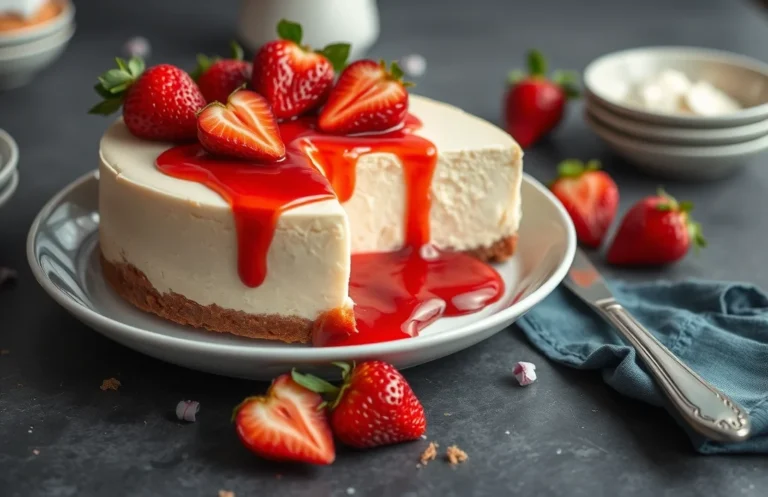
- Fresh Berries: Top your cheesecake with a mix of fresh strawberries, blueberries, and raspberries for a burst of color and natural sweetness.
- Fruit Compote: Drizzle a warm berry or peach compote over the cheesecake for added flavor. Simply simmer 1 cup of your chosen fruit with 2 tablespoons of sugar and a squeeze of lemon juice until thickened.
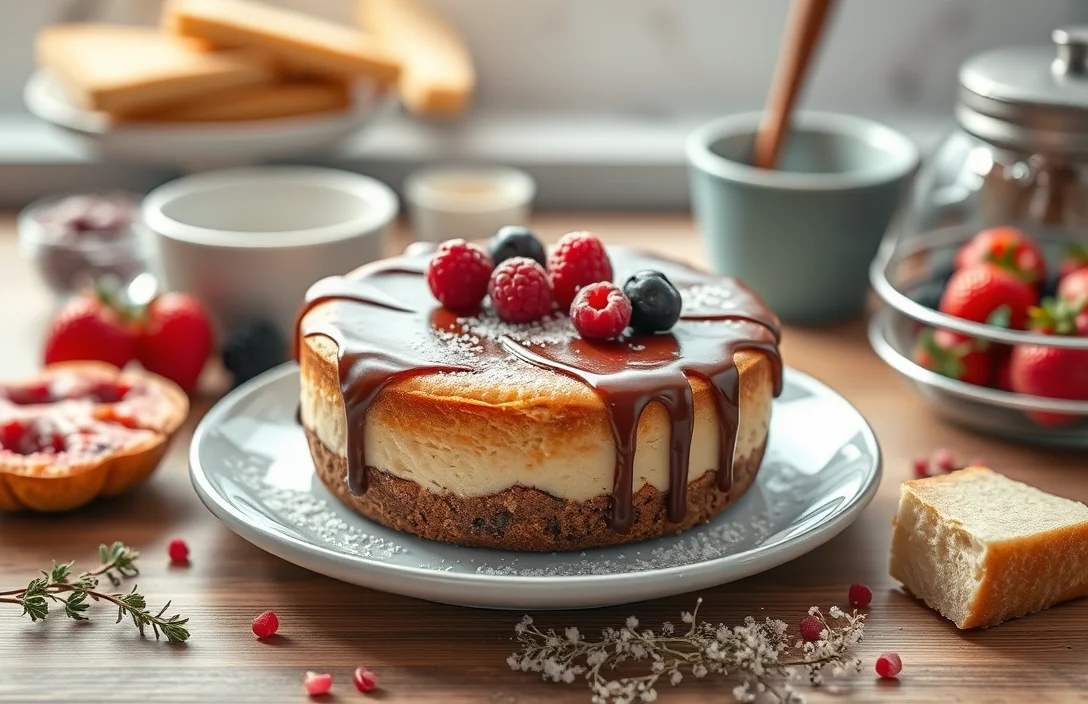
- Chocolate Ganache: Melt 4 ounces of chocolate with ½ cup of heavy cream and pour it over the cheesecake for a rich finish. Allow it to set before serving.
- Whipped Cream: Lightly sweetened whipped cream adds a soft, airy contrast. Whip 1 cup of heavy cream with 2 tablespoons of powdered sugar until soft peaks form.
Beverage Pairings
| Beverage | Flavor Profile |
|---|---|
| Espresso | Rich, bold flavors complement the creaminess of the cheesecake. |
| Sparkling Wine | Light acidity helps cut through the richness. |
| Herbal Tea | Chamomile or mint adds a soothing contrast. |
| Milkshake | A fun, indulgent pairing for a nostalgic touch. |
Chef’s tip: For the best experience, serve your cheesecake chilled, allowing the flavors to meld beautifully, and garnish just before serving for that fresh look!
Quick Summary
| Prep Time | Cook Time | Total Time | Servings |
|---|---|---|---|
| 20 mins | 60 mins | 4 hours (including cooling) | 8 slices |
- Cool Completely: Allow cheesecake to cool at room temperature for at least 2 hours before freezing.
- Wrap Properly: Use plastic wrap followed by aluminum foil to prevent freezer burn.
- Freeze in Portions: Cut into slices before freezing for easy serving later.
- Thaw Carefully: Defrost in the refrigerator overnight for best texture and flavor.
- Avoid Freezing Toppings: Freeze plain cheesecake and add toppings after thawing to maintain freshness.
Frequently Asked Questions
Can I make this ahead of time? How to store and reheat?
You can absolutely make your baked cheesecake ahead of time. Store it in the refrigerator, covered tightly with plastic wrap, for up to 5 days, or freeze it for longer storage.
What can I substitute for cream cheese?
If you’re looking for a substitute, you can use mascarpone cheese or ricotta cheese in equal amounts for a similar texture. Keep in mind that the flavor may be slightly different, so adjust your sugar accordingly.
How do I know when it’s done?
Your cheesecake is done when the edges are set but the center still has a slight jiggle, which usually takes about 50-60 minutes at 325°F (163°C). It will also firm up as it cools, so don’t worry if it seems a bit wobbly!
Can I freeze this? How long does it last?
Yes, you can freeze a baked cheesecake for up to 2-3 months. Just make sure it’s tightly wrapped in plastic wrap and then placed in an airtight container to prevent freezer burn.
What if I don’t have a springform pan?
If you don’t have a springform pan, you can use a regular 9-inch round cake pan; just be sure to line the bottom and sides with parchment paper for easy removal. It may take a bit longer to cool and set, so give it a little extra time before slicing.

- Make Cheesecake Up to 3 Days Ahead: Tips for Best Flavor & Texture - March 4, 2026
- Easy No-Bake Cool Doen Cheesecake: Quick Recipe & Tips - March 4, 2026
- Decadent Dulce de Leche Cheesecake: Easy Step-by-Step Recipe - March 4, 2026