Can You Freeze Cheesecake? Tips for Perfect Results
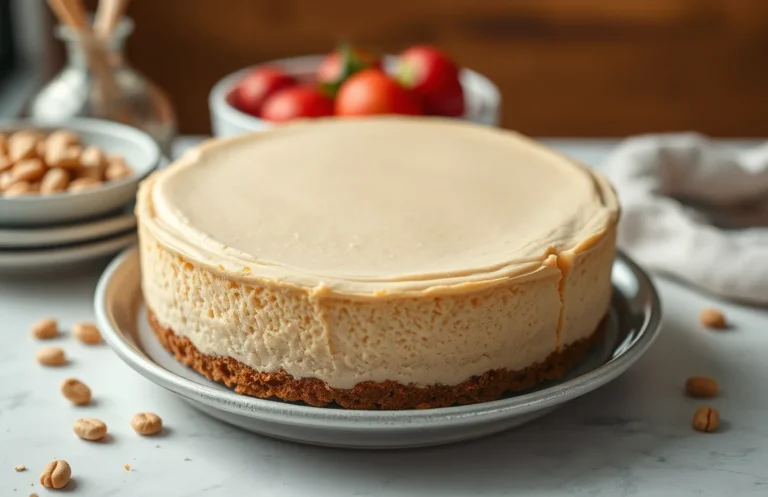
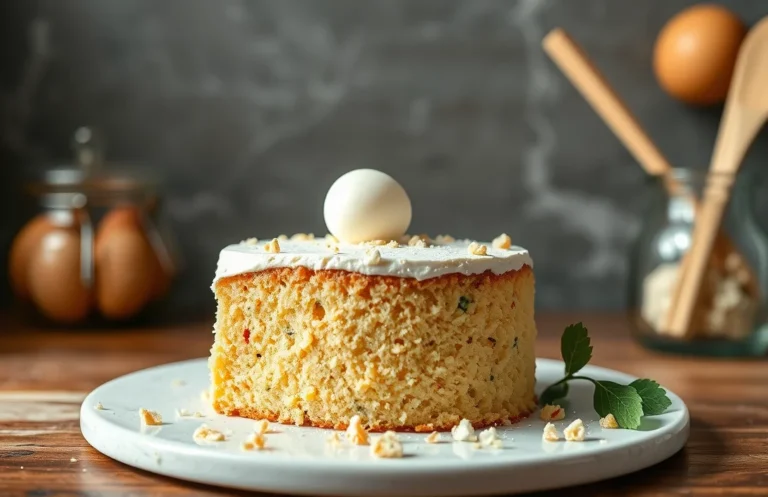
If you’ve ever experienced the creamy delight of cheesecake, you know it’s more than just dessert; it’s a moment of indulgence. With its velvety texture and rich flavor, cheesecake is the ultimate crowd-pleaser, perfect for celebrations or a cozy night in. Just imagine a slice topped with fresh berries or a drizzle of chocolate, melting in your mouth!
Wondering if cheesecake can be frozen? You’ll find the answer along with step-by-step instructions for freezing and thawing, tips for maintaining quality, and potential texture changes. Total time is about 30 minutes prep and 5 hours freeze, with a difficulty level of easy and it serves 8 people.
| Prep Time | Cook Time | Total Time | Servings | Difficulty |
|---|---|---|---|---|
| 30 minutes | 1 hour | 5 hours | 8 | Easy |
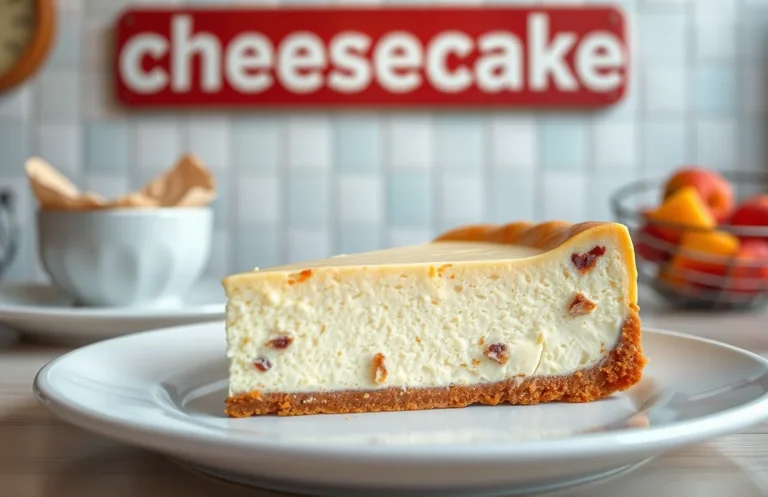
Cheesecake Origins and Appeal
Cheesecake has a rich history that dates back to ancient Greece, where it was served to athletes during the first Olympic Games. Over centuries, this delightful dessert has evolved into numerous regional variations, each boasting its own unique qualities. Understanding the origins and appeal of cheesecake helps us appreciate its versatility, especially when considering whether it can be frozen for later enjoyment.
- Historical Roots: The earliest known cheesecake recipes can be traced back to Greece around 2000 B.C., made with simple ingredients like cheese, flour, and honey.
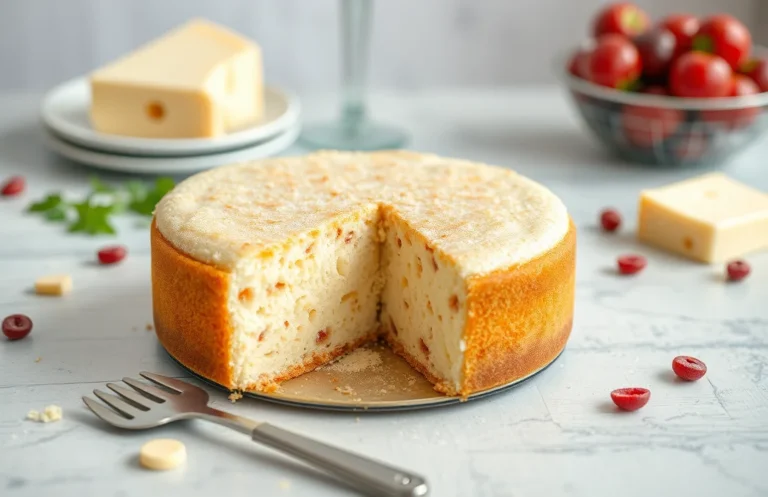
- Global Variations: From New York-style to Japanese soufflé cheesecake, each culture has added its own twist, making it a beloved dessert worldwide.
- Festive Occasions: Cheesecake is often served at celebrations such as birthdays, holidays, and weddings, making it a staple dessert for special moments.
“Chef’s tip: To enhance the flavors of your cheesecake, consider adding a splash of vanilla extract or a zest of lemon to the batter.”
When thinking about freezing cheesecake, it’s important to consider how its creamy texture and rich flavor can be affected. If done properly, freezing can be a convenient option for those who want to prepare ahead of time. However, not all cheesecakes freeze equally; understanding the ingredients and preparation methods can play a crucial role in maintaining their quality after thawing. Always ensure to wrap the cheesecake tightly to prevent freezer burn and retain its delicious taste.
| Cheesecake Type | Freezing Recommendation |
|---|---|
| New York Style | Freezes well; wrap tightly. |
| Japanese Soufflé | Freezes moderately; may lose fluffiness. |
| No-Bake Cheesecake | Freezes well; ensure firm setting. |
Ingredients for Freezing Cheesecake
To successfully freeze cheesecake, it’s essential to gather the right ingredients in precise amounts. This ensures that the cheesecake maintains its flavor and texture even after freezing and thawing. Below is a list of the key ingredients you’ll need to create a delicious cheesecake ready for the freezer.
| Item | Amount/Specification | Notes |
|---|---|---|
| Cream Cheese | 450g | Softened, for a smooth filling |
| Sugar | 200g | Granulated, to sweeten the cheesecake |
| Eggs | 3 large | Room temperature for better mixing |
| Sour Cream | 200g | Adds creaminess and tang |
| Vanilla Extract | 1 tsp | For flavor enhancement |
| Graham Cracker Crust | 200g | Store-bought or homemade |
- Ensure all ingredients are at room temperature before mixing to prevent lumps.
- If you have a dairy allergy, try using a dairy-free cream cheese alternative.
- For a gluten-free option, choose a gluten-free graham cracker crust.
- Make sure to blend the cream cheese and sugar thoroughly to achieve a creamy texture.
Essential Kitchen Tools
When preparing to freeze your cheesecake, having the right kitchen tools makes all the difference in achieving the best results. These tools will not only help you create a delicious cheesecake but also ensure it freezes well and maintains its texture and flavor.
| Item | Amount/Specification | Notes |
|---|---|---|
| Springform Pan | 9-inch (23 cm) | Ideal for easy removal of the cheesecake after baking. |
| Mixing Bowls | 2-3 sizes | Use one for the crust and one for the filling. |
| Electric Mixer | Hand or stand mixer | Ensures smooth and creamy filling. Be careful not to overmix. |
| Spatula | 1 large, 1 small | For folding in ingredients and smoothing the filling. |
| Plastic Wrap | 1 roll | Essential for wrapping the cheesecake before freezing. |
| Freezer Bags | 1-2 gallon-sized | For additional protection against freezer burn. |
- Use a non-stick springform pan for easier cheesecake removal.
- Ensure your mixing bowls are large enough to accommodate all ingredients without spilling.
- For best results, let the cheesecake cool completely before wrapping it up for freezing.
- Label your freezer bags with the date and type of cheesecake to keep track of freshness.
Step-by-Step Freezing Instructions
Freezing cheesecake is a fantastic way to preserve its deliciousness for later enjoyment. Properly following these steps will ensure that your cheesecake maintains its creamy texture and rich flavor, making it just as delightful when you decide to enjoy it again.
- Cool Cheesecake Completely: After baking, allow the cheesecake to cool at room temperature for about 1 hour. Then, refrigerate it for an additional 4 hours or overnight. This step is crucial; if the cheesecake isn’t completely cool, condensation can form, leading to a soggy texture when thawed.
- Wrap in Plastic Wrap: Once the cheesecake is chilled, use a sharp knife to gently loosen the sides from the pan. Carefully remove the cheesecake from the springform pan. Wrap it tightly in plastic wrap, ensuring there are no gaps or air pockets. This helps prevent freezer burn and preserves flavor.
- Place in Freezer Bag: After wrapping, place the cheesecake into a large freezer-safe resealable bag. Squeeze out as much air as possible before sealing the bag. For extra protection, you can double-bag it. This step ensures that the cheesecake remains fresh and protected from any strong odors in the freezer.
- Label with Date: Use a permanent marker to label the bag with the date of freezing. Cheesecake can be frozen for up to 3 months, but keeping track of the date will help you enjoy it at its best. It’s a simple yet effective way to ensure you don’t forget about your delicious dessert hidden in the freezer.
Tips for Perfect Freezing
Freezing cheesecake can be a great way to preserve its deliciousness, but certain techniques can ensure the texture and flavor remain top-notch. Here are some expert tips to help you freeze your cheesecake without compromising its quality.
- Use Fresh Ingredients: Start with the freshest ingredients you can find. This includes using fresh cream cheese, eggs, and dairy products. Fresh ingredients not only enhance the flavor but also help maintain a creamy texture even after freezing.
- Avoid Overmixing: When preparing your cheesecake batter, mix just until the ingredients are combined. Overmixing can incorporate too much air, leading to cracks and a grainy texture after freezing and thawing. Aim for a smooth, homogeneous mixture without lumps.
- Freeze in Individual Slices: If you plan to enjoy your cheesecake over time, consider freezing it in individual slices. This way, you can thaw only what you need while keeping the rest untouched. Wrap each slice tightly in plastic wrap and then in aluminum foil to prevent freezer burn.
Thawing Cheesecake Properly
Thawing cheesecake correctly is essential to preserve its creamy texture and rich flavor. Improper thawing can lead to a soggy crust or a grainy filling, so follow these steps to ensure your cheesecake tastes just as delightful as when it was freshly baked.
- Refrigerator Thawing: Remove the cheesecake from the freezer and take off any plastic wrap or foil. Place it on a plate and transfer it to the refrigerator. Allow it to thaw overnight or for at least 6-8 hours. This method ensures that the cheesecake thaws evenly, maintaining its texture and flavor.
- Avoid Room Temperature Thawing: While it may be tempting to speed things up by letting the cheesecake thaw at room temperature, this can result in a less desirable texture. The outer layer may become too soft while the inside remains frozen, leading to uneven consistency. Stick to the refrigerator method for the best results.
- Serve After Chilling: Once fully thawed, let the cheesecake chill in the refrigerator for an additional 1-2 hours before serving. This helps revive its original firmness and enhances the flavors. When ready to serve, garnish with fresh fruit, chocolate sauce, or whipped cream for an extra touch!
Common Freezing Issues
Freezing cheesecake can be a great way to preserve it, but it can also lead to a few common issues that affect the texture and taste. Understanding these problems and their solutions will help ensure your cheesecake remains delicious after thawing.
Cracks in Cheesecake
Symptom: You may notice unsightly cracks on the surface of your cheesecake after freezing.
Cause: Rapid temperature changes during freezing can cause the cheesecake to expand and contract, leading to cracks.
Fix: To minimize cracking, allow your cheesecake to cool completely to room temperature before wrapping it tightly in plastic wrap. Consider freezing it in a sturdy, airtight container to protect it from temperature fluctuations. When thawing, do so slowly in the refrigerator to prevent further cracking.
Soggy Crust
Symptom: The crust may become soggy or lose its crunch after freezing and thawing.
Cause: Moisture can accumulate in the crust during freezing, resulting in a less-than-ideal texture.
Fix: To keep your crust crunchy, bake it for an extra 5-10 minutes before adding the filling. Allow the crust to cool completely before pouring in the cheesecake batter. You can also consider using a thicker layer of graham cracker crumbs or a mixture of crumbs and nuts for added texture.
Loss of Flavor
Symptom: The cheesecake may taste less vibrant or flavorful after freezing.
Cause: Freezing can dull the flavors in certain ingredients.
Fix: To enhance flavor retention, consider adding a bit of extra vanilla extract or citrus zest before freezing. If using fruit in your cheesecake, opt for fresh or high-quality frozen fruit to maintain taste. Always ensure your cheesecake is well-wrapped to prevent freezer burn, which can impact flavor.
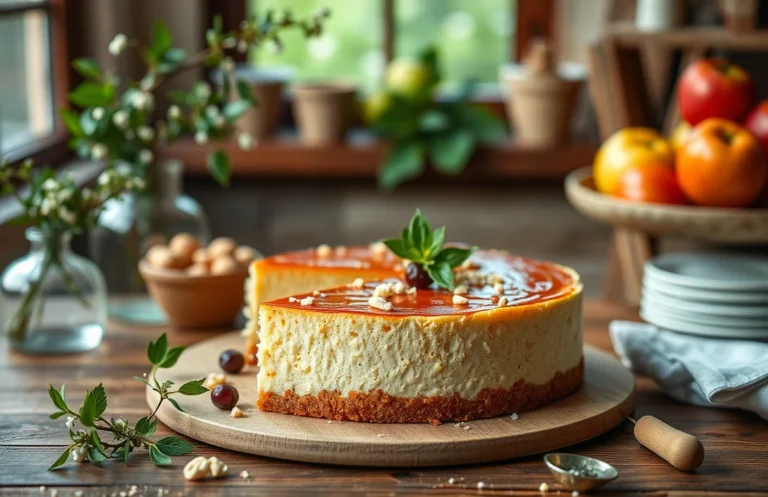
Serving and Pairing Suggestions
Serving cheesecake can elevate any occasion, and pairing it with complementary flavors enhances its rich, creamy texture. After freezing and thawing your cheesecake, adding fresh garnishes or sauces can bring it back to life and make it even more enjoyable.
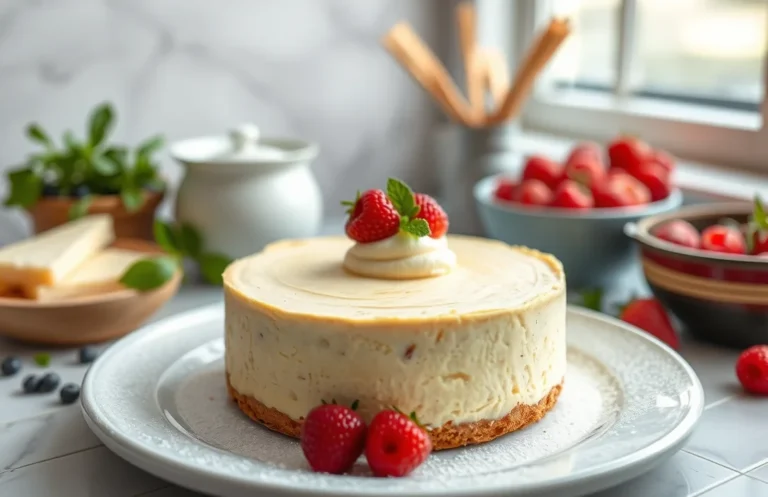
Fresh Berries
Fresh berries are a delightful way to add a burst of flavor and color to your cheesecake. Berries like strawberries, blueberries, and raspberries not only look beautiful on the plate but also provide a refreshing contrast to the creamy cheesecake. Here’s how to prepare them:
- 1 cup fresh strawberries, hulled and sliced
- 1 cup fresh blueberries
- 1 cup fresh raspberries
Simply wash the berries and arrange them on top of your cheesecake after it has thawed. They should be shiny and firm to the touch, indicating freshness.
Chocolate Sauce
A drizzle of chocolate sauce can add a decadent touch to your cheesecake. You can either buy a ready-made sauce or make your own:
Chef’s tip: Melt ½ cup semi-sweet chocolate chips and mix in 2 tablespoons of heavy cream for a quick homemade sauce.
Let the sauce cool slightly before drizzling it over the cheesecake. This adds a lovely shine and a rich flavor that complements the dessert beautifully.
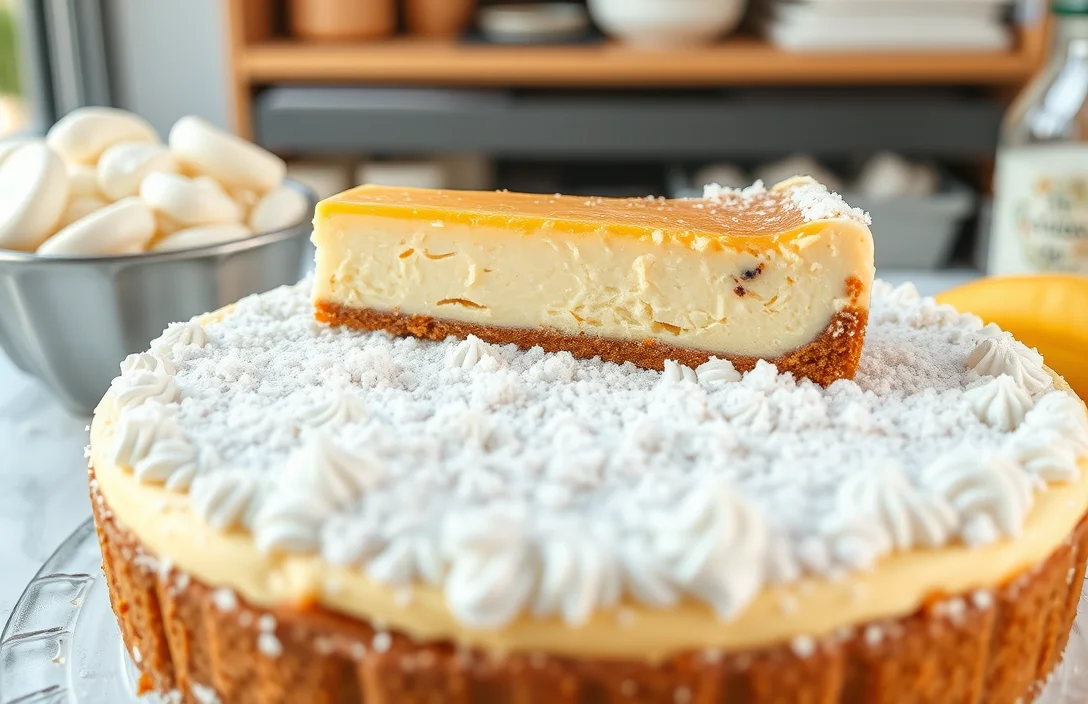
Whipped Cream
Whipped cream is a classic pairing with cheesecake. To make your own:
- In a mixing bowl, combine 1 cup of heavy whipping cream and 2 tablespoons of powdered sugar.
- Using a hand mixer, whip until soft peaks form, about 2-3 minutes.
- Top your thawed cheesecake with a generous dollop of whipped cream just before serving.
The whipped cream should be light and airy, enhancing the cheesecake’s texture without overwhelming it.
| Pairing | Flavor Profile |
|---|---|
| Fresh Berries | Sweet and tart |
| Chocolate Sauce | Rich and indulgent |
| Whipped Cream | Creamy and light |
Feel free to mix and match these toppings based on your preference and what you have available. Enjoy your cheesecake with these delicious pairings and make each bite a celebration!
Quick Summary
| Prep Time | Cook Time | Total Time | Servings |
|---|---|---|---|
| 20 minutes | 60 minutes | 4 hours (including cooling) | 8 slices |
- Chill before freezing: Allow cheesecake to set in the fridge for at least 4 hours.
- Wrap tightly: Use plastic wrap and aluminum foil to prevent freezer burn.
- Thaw correctly: Move to the fridge for 24 hours before serving.
- Check for cracks: Ensure the cheesecake is smooth before freezing for best results.
- Use a springform pan: It makes removing the cheesecake easier after freezing.
Frequently Asked Questions
Can I make this ahead of time? How to store and reheat?
You can definitely make cheesecake ahead of time! Store it in the refrigerator for up to 5 days, or freeze it tightly wrapped for up to 3 months; thaw in the fridge overnight before serving.
What can I substitute for cream cheese?
If you’re looking to substitute cream cheese, you can use mascarpone cheese or a vegan cream cheese alternative, but keep in mind that it may slightly alter the flavor and texture.
How do I know when it’s done?
Your cheesecake is done when the edges are set and the center still has a slight jiggle; it will continue to firm up as it cools.
Can I freeze this? How long does it last?
Yes, you can freeze cheesecake! It lasts for up to 3 months in the freezer, but be sure to wrap it tightly in plastic wrap and then foil to prevent freezer burn.
What if I don’t have a springform pan?
If you don’t have a springform pan, you can use a regular round cake pan lined with parchment paper, but be careful when removing the cheesecake as it may not come out as easily.

- 10 Best Cheese Knife With Holes For Smooth Slice 2026 - March 9, 2026
- Make Cheesecake Up to 3 Days Ahead: Tips for Best Flavor & Texture - March 4, 2026
- Easy No-Bake Cool Doen Cheesecake: Quick Recipe & Tips - March 4, 2026