Can You Freeze Lemon Lime Cheesecake? Tips for Perfect Results
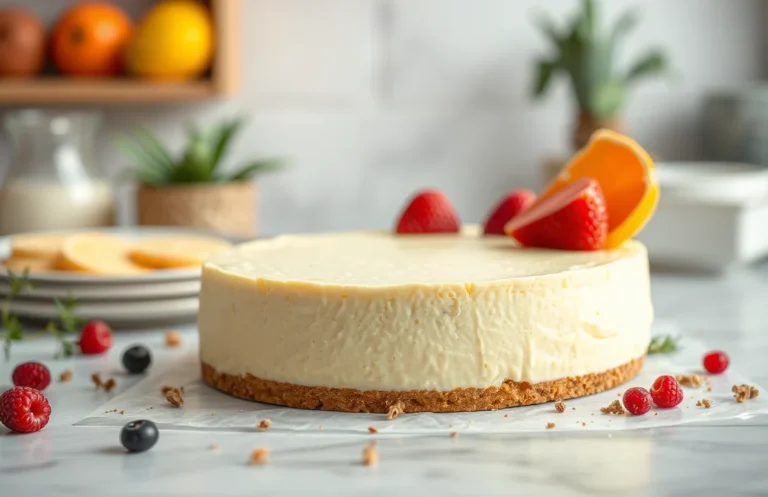
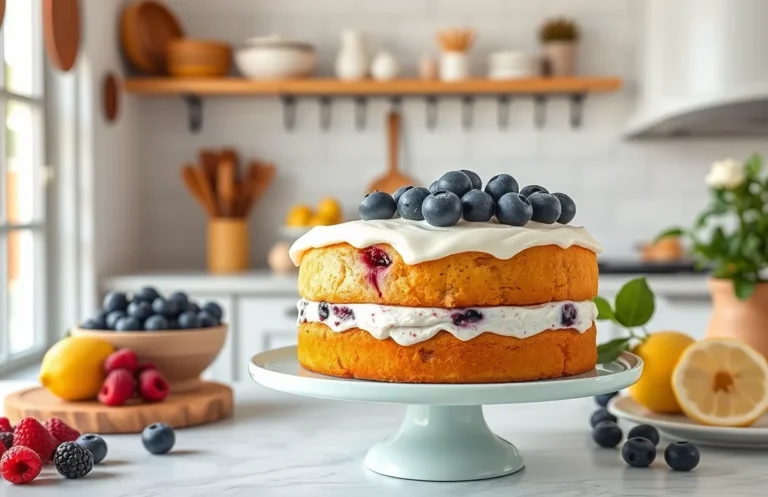
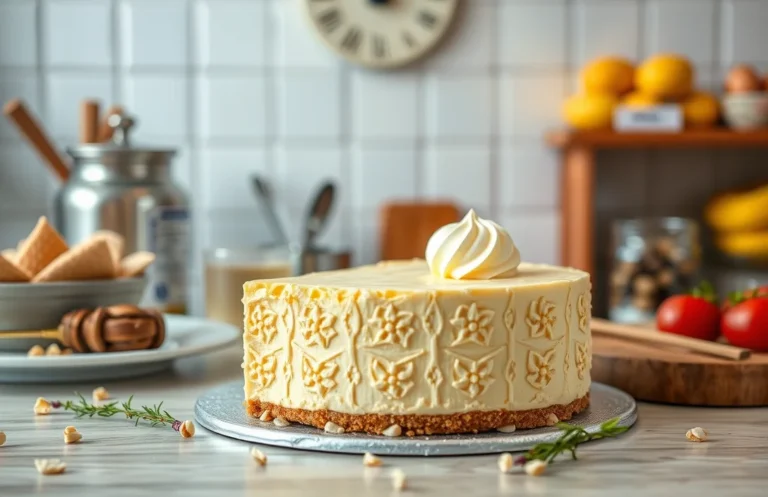
If you’re looking for a dessert that combines the zesty brightness of citrus with the creamy comfort of cheesecake, this lemon and lime cheesecake is a must-try! Its balanced sweetness and tangy flavors make it the perfect end to any meal, whether it’s a weeknight dinner or a festive gathering.
Total Time: 4 hours, Difficulty Level: Moderate, Servings: 8.
| Prep Time | Cook Time | Total Time | Servings | Difficulty |
|---|---|---|---|---|
| 30 minutes | 1 hour | 4 hours | 8 | Moderate |
Wondering if you can freeze that delectable cheesecake? This guide will walk you through the freezing process, including tips for maintaining its delicious texture and flavor, as well as how to properly thaw and serve it later. Let’s get started on preserving your cheesecake delight!
Lemon and Lime Cheesecake Story
This section delves into the origins of cheesecake and highlights the vibrant flavors of lemon and lime that make this dessert truly unique. Understanding its background not only enriches your appreciation but also sets the stage for what to expect when considering freezing this delightful treat.
Cheesecake has a rich history, dating back to ancient Greece, where it was served to athletes during the first Olympic Games in 776 B.C. Over time, this creamy dessert evolved, with various cultures adding their own twists. The New York-style cheesecake, characterized by its rich and dense texture, is perhaps the most famous, but lemon and lime variations have gained popularity for their refreshing qualities.
Why lemon and lime? The citrusy zest cuts through the richness of the cream cheese, creating a perfect balance that brightens the palate. This combination not only provides a delightful tartness but also adds a vibrant color to your dessert, making it visually appealing.
When considering freezing lemon and lime cheesecake, it’s essential to know:
- Cheesecake can be frozen successfully, but the texture may change slightly upon thawing.
- Proper preparation is key: ensure it is fully cooled and wrap it tightly to prevent freezer burn.
- Thawing should be done in the refrigerator for best results, maintaining its creamy consistency.
Chef’s tip: For optimal flavor preservation, consider freezing individual slices instead of the whole cheesecake.
By appreciating the history and unique flavor profile of lemon and lime cheesecake, you can make an informed decision about freezing and serving this delightful dessert.
Ingredients List
In this section, you’ll find a detailed list of ingredients needed to make a delicious lemon and lime cheesecake, perfect for freezing. Each ingredient is crucial for achieving the right texture and flavor, especially when it comes to preserving your cheesecake for future enjoyment.
| Item | Amount/Specification | Notes |
|---|---|---|
| Cream Cheese | 24 ounces (680g) | Softened for easy mixing |
| Sour Cream | 1 cup (240g) | Adds creaminess and tang |
| Granulated Sugar | 1 cup (200g) | For sweetness; can substitute with stevia |
| Lemon Juice | ½ cup (120ml) | Freshly squeezed for best flavor |
| Lime Juice | ¼ cup (60ml) | Freshly squeezed |
| Vanilla Extract | 1 teaspoon (5ml) | Enhances flavor |
| Graham Cracker Crumbs | 1 ½ cups (150g) | For the crust; can use gluten-free crumbs |
| Unsalted Butter | ½ cup (113g) | Melted for crust binding |
- Ensure cream cheese is fully softened to avoid lumps in your batter.
- For a lower-fat version, consider using reduced-fat cream cheese and sour cream.
- Be mindful of the amount of citrus juice; too much can affect the cheesecake’s texture post-freeze.
Required Kitchen Equipment
To successfully freeze your lemon and lime cheesecake, having the right kitchen equipment is essential. This will ensure that your cheesecake maintains its flavor and texture when thawed. Here’s what you’ll need to prepare your cheesecake for freezing.
- Stand Mixer or Hand Mixer: A stand mixer is ideal for making the cheesecake batter, as it can efficiently blend the cream cheese, sugar, eggs, and citrus juice until smooth and creamy. If using a hand mixer, be sure to mix until there are no lumps and the mixture is well combined, which should take about 3-4 minutes on medium speed.
- Springform Pan (9-inch): A springform pan is perfect for cheesecake as it allows for easy release without damaging the delicate crust and filling. Line the bottom with parchment paper for extra protection, and ensure the sides are greased to prevent sticking. After the cheesecake has set, you can carefully unclip the sides to reveal a beautiful dessert.
- Zester or Microplane: A zester is essential for extracting the fresh zest from lemons and limes, which adds a vibrant flavor to your cheesecake. Aim to zest only the outer yellow or green skin, avoiding the bitter white pith underneath. This will enhance the overall taste and aroma of your cheesecake.
Chef’s tip: Make sure to clean your equipment thoroughly before starting to prevent any cross-contamination, especially if you’re dealing with allergens.
Step-by-Step Instructions
This section will guide you through the precise steps for preparing lemon and lime cheesecake for freezing, ensuring that it remains delicious and enjoyable after thawing. Knowing how to properly prepare the cheesecake will help maintain its texture and flavor, making your future dessert experience a delight.
- Prepare the Crust: Begin by preheating your oven to 350°F (175°C). In a bowl, combine 1 ½ cups (150g) of graham cracker crumbs, ½ cup (100g) of granulated sugar, and ½ cup (115g) of melted unsalted butter. Mix until the crumbs are evenly moistened. Press the mixture firmly into the bottom of a 9-inch (23cm) springform pan. Bake for 10 minutes until lightly golden and fragrant, then allow it to cool completely.
- Make the Filling: In a large mixing bowl, beat together 16 ounces (450g) of cream cheese and 1 cup (200g) of granulated sugar using an electric mixer on medium speed until smooth and creamy, about 2-3 minutes. Add 3 large eggs, one at a time, mixing well after each addition. Incorporate the zest of 1 lemon and 1 lime, along with ½ cup (120ml) of fresh lemon juice and ½ cup (120ml) of fresh lime juice. Mix until fully combined and creamy.
- Bake and Cool: Pour the filling over the cooled crust, smoothing the top with a spatula. Bake in the preheated oven for 50-60 minutes, or until the edges are set and the center slightly jiggles when gently shaken. Turn off the oven and crack the door, allowing the cheesecake to cool gradually for about 1 hour. Once cooled, refrigerate for at least 4 hours or overnight before preparing for freezing.
Pro Tips and Common Mistakes
Freezing lemon and lime cheesecake can be a great way to preserve your dessert for later enjoyment, but it’s essential to follow specific guidelines to maintain its quality. This section outlines key tips to avoid common pitfalls during the freezing process and ensures your cheesecake remains delightful after thawing.
- Avoid Overmixing: When preparing your cheesecake batter, mix just until the ingredients are combined. Overmixing can incorporate too much air, leading to cracks during the baking process and an undesirable texture after freezing. Aim for a smooth, creamy consistency without excessive aeration.
- Proper Cooling Techniques: After baking, allow your cheesecake to cool at room temperature for at least 1 hour before transferring it to the refrigerator. This gradual cooling helps prevent condensation, which can lead to a soggy texture once frozen. Ideally, refrigerate for at least 4 hours or overnight before freezing to ensure it is fully set.
- Wrap it Right: Use plastic wrap or aluminum foil to securely wrap the cooled cheesecake. Make sure to cover it tightly to prevent freezer burn and preserve flavor. For added protection, consider placing it in an airtight container or a freezer-safe bag.
- Freeze in Portions: If you plan to enjoy the cheesecake over time, consider slicing it into individual portions before freezing. This makes thawing easier, and you can enjoy just what you need without exposing the entire cake to air and moisture.
- Thawing with Care: To thaw your cheesecake, place it in the refrigerator for at least 6-8 hours or overnight. Avoid thawing at room temperature, which can affect the texture and lead to separation of ingredients. Your cheesecake should feel firm yet slightly soft to the touch once fully thawed.
Variations and Substitutions
This section covers alternative ingredients and modifications for lemon and lime cheesecake, especially for those with dietary restrictions. It’s essential to understand how to adapt the recipe to ensure everyone can enjoy this delightful dessert, even if they have specific needs.
Gluten-Free Options
| Item | Amount/Specification | Notes |
|---|---|---|
| Gluten-Free Graham Crackers | 1 ½ cups (150g), crushed | Use a brand that’s certified gluten-free. |
| Almond Flour | ½ cup (50g) | Can be mixed with crushed nuts for crust. |
Vegan Substitutes
| Item | Amount/Specification | Notes |
|---|---|---|
| Coconut Cream | 1 cup (240ml) | Use instead of cream cheese for a creamy texture. |
| Maple Syrup | ¾ cup (180ml) | Replace sugar for natural sweetness. |
| Flaxseed Meal | 2 tablespoons mixed with 6 tablespoons water | Use as an egg substitute, let sit for 5 minutes. |
- For a firmer cheesecake, freeze for at least 4 hours before serving.
- If using alternative sweeteners, adjust the quantity to taste.
- Be cautious with vegan substitutes as they may alter the flavor slightly.
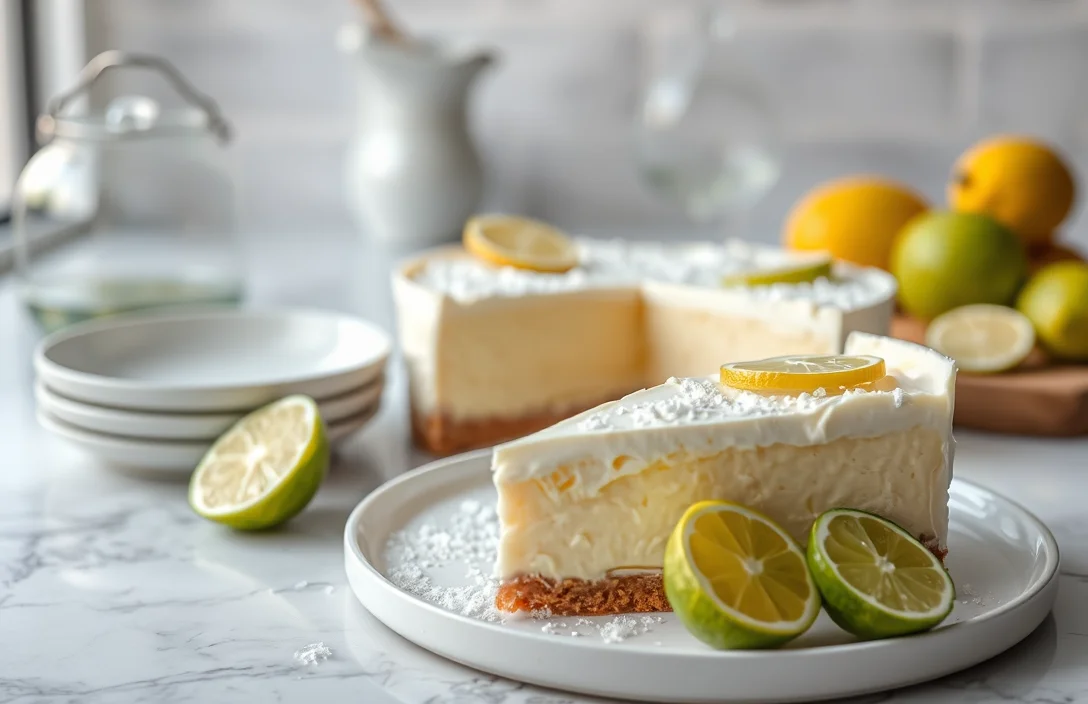
Serving Suggestions
Once you’ve successfully frozen and thawed your lemon and lime cheesecake, it’s time to elevate your dessert presentation. By adding a few garnishes and pairing it with delightful beverages, you can create an impressive dessert experience that complements the bright citrus flavors of the cheesecake.
Garnishes
- Whipped Cream: Top each slice with a generous dollop of freshly whipped cream, sweetened with a touch of powdered sugar and a hint of vanilla extract.
- Citrus Zest: Sprinkle freshly grated lemon or lime zest over the cheesecake for a pop of color and an extra burst of flavor.
- Fresh Berries: Serve with a side of mixed berries, such as raspberries and blueberries, to add a tart contrast to the creamy cheesecake.
- Mint Leaves: Garnish each plate with a sprig of fresh mint for a refreshing touch.
Drink Pairings
To complement the tangy flavors of your cheesecake, consider these delightful beverage options:
| Drink | Description |
|---|---|
| Iced Tea | Serve a glass of unsweetened iced tea with a slice of lemon for a refreshing balance. |
| Sparkling Water | Enhance the citrus notes with a glass of sparkling water infused with lemon or lime. |
| Moscato | This sweet wine pairs beautifully with the cheesecake’s tartness, adding a fruity finish. |
Chef’s tip: To keep the cheesecake chilled during serving, place the slices on a chilled plate or serve on ice to maintain their perfect texture.
Quick Summary
| Prep Time | Cook Time | Total Time | Servings |
|---|---|---|---|
| 20 minutes | 50 minutes | 1 hour 10 minutes | 8 servings |
- Chill before freezing: Let the cheesecake cool completely in the fridge for at least 4 hours.
- Wrap tightly: Use plastic wrap and aluminum foil to prevent freezer burn.
- Thaw correctly: For best texture, thaw in the refrigerator overnight before serving.
- Use fresh citrus: Fresh lemon and lime juice enhance flavor and texture.
- Check for cracks: A water bath during baking helps prevent cracks in the cheesecake.
Frequently Asked Questions
Can I make this ahead of time? How to store and reheat?
You can definitely make lemon and lime cheesecake ahead of time. Store it in the refrigerator for up to 3 days or in the freezer for up to 3 months; just thaw it in the fridge overnight before serving.
What can I substitute for cream cheese?
You can substitute Greek yogurt or mascarpone cheese for cream cheese to achieve a similar creamy texture, though it may alter the flavor slightly. Use the same amount—8 ounces—for best results.
How do I know when it’s done?
Your cheesecake is done when the edges are set but the center still has a slight jiggle; it will firm up as it cools. A toothpick inserted should come out mostly clean, with just a few moist crumbs.
Can I freeze this? How long does it last?
Yes, you can freeze lemon and lime cheesecake for up to 3 months if it’s well-wrapped in plastic wrap and then foil. To enjoy it later, simply thaw it in the refrigerator overnight before serving.
What if I don’t have a springform pan?
If you don’t have a springform pan, you can use a regular pie dish or a square baking pan lined with parchment paper for easy removal. Just make sure to adjust your serving method since it won’t come out as easily as a springform would.

- Make Cheesecake Up to 3 Days Ahead: Tips for Best Flavor & Texture - March 4, 2026
- Easy No-Bake Cool Doen Cheesecake: Quick Recipe & Tips - March 4, 2026
- Decadent Dulce de Leche Cheesecake: Easy Step-by-Step Recipe - March 4, 2026