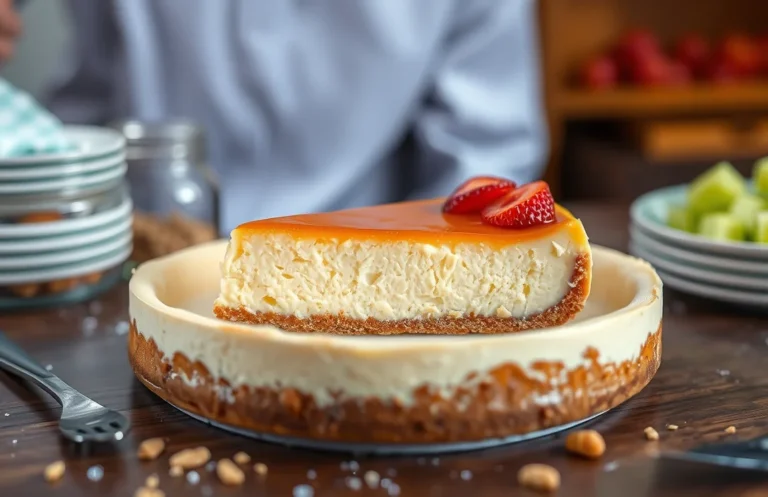
Can You Freeze Lemon Cheesecake? Tips for Perfect Storage & Thawing
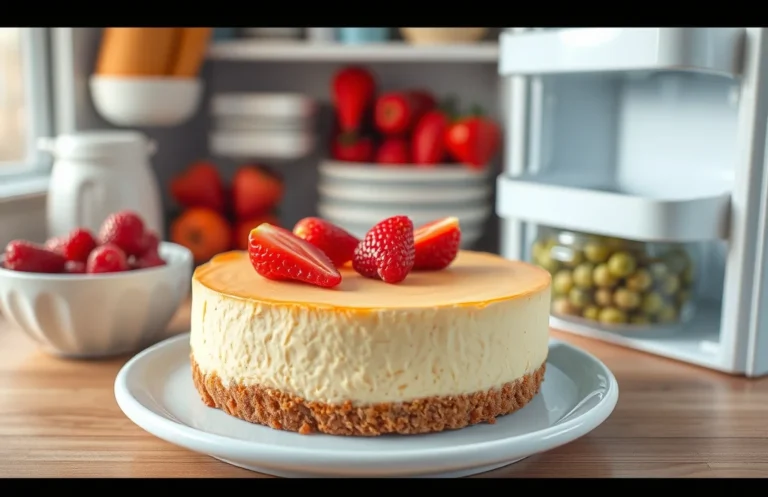
There’s something truly delightful about a velvety lemon cheesecake that perfectly balances tart and sweet flavors. It’s that dessert that brings smiles at gatherings and comforts during cozy nights in. The creamy texture, combined with a hint of citrus, makes every slice a refreshing treat that’s hard to resist.
Can you freeze lemon cheesecake? Yes, you can! This guide provides step-by-step instructions on freezing and thawing, plus tips to maintain its delicious texture and flavor. Total time: 30 minutes prep, 60 minutes cooking, and serves 8. Difficulty: easy.
| Prep Time | Cook Time | Total Time | Servings | Difficulty |
|---|---|---|---|---|
| 30 minutes | 60 minutes | 90 minutes | 8 | Easy |
Lemon Cheesecake Origins
Lemon cheesecake has a rich history that reflects its cultural significance and the occasions on which it is often served. Understanding its roots can enhance your appreciation for this delightful dessert, especially when considering how to properly freeze it for later enjoyment.
- Cultural Background: The origins of cheesecake date back to ancient Greece, where it was served to athletes during the first Olympic Games in 776 B.C. Eventually, this creamy delight made its way to Italy, where the recipe evolved, incorporating ingredients like ricotta and lemon zest, which add a refreshing tang. Today, lemon cheesecake is a beloved dessert across many cultures, celebrated for its balance of sweetness and tartness.
- When to Serve: Lemon cheesecake is often a star at festive gatherings, summer picnics, and celebratory events like weddings and birthdays. Its bright flavor makes it a perfect choice for warm-weather occasions, while its creamy texture provides comfort year-round. Understanding when to serve lemon cheesecake can help you appreciate its versatility and the best methods for storing it, including freezing for later indulgence.
Ingredients for Freezing
When it comes to freezing lemon cheesecake, having the right ingredients in the proper proportions is crucial for maintaining the flavor and texture. Below is a comprehensive list of the ingredients along with their measurements, which will help you prepare your cheesecake for freezing effectively.
| Item | Amount/Specification | Notes |
|---|---|---|
| Cream Cheese | 16 ounces (450g) | Softened to room temperature for easier mixing |
| Fresh Lemons | 2 large | Zest and juice needed for flavor |
| Sugar | ¾ cup (150g) | Granulated sugar for sweetness |
| Eggs | 3 large | Room temperature for better incorporation |
| Graham Cracker Crumbs | 1 ½ cups (150g) | For the crust; can substitute with gluten-free crumbs |
| Unsalted Butter | ½ cup (115g) | Melted for the crust |
| Vanilla Extract | 1 teaspoon | Enhances flavor |
- Tip: Ensure cream cheese is thoroughly softened to prevent lumps in the batter.
- For a richer flavor, consider using mascarpone cheese in place of half of the cream cheese.
- When zesting lemons, use a microplane for fine zest that blends easily into the filling.
- Make sure your crust is well-pressed into the pan to avoid crumbling after freezing.
Required Kitchen Equipment
To successfully freeze lemon cheesecake, you’ll need some essential kitchen tools to ensure a smooth preparation and storage process. Having the right equipment not only makes the task easier but also helps maintain the quality of your cheesecake while freezing and thawing.
- Mixing Bowl: A large mixing bowl is crucial for combining the cream cheese, sugar, eggs, and lemon juice. Aim for a bowl that can hold at least 4 quarts (3.8 liters) to accommodate all ingredients comfortably without spilling.
- Springform Pan: This is the best choice for baking and freezing lemon cheesecake. A 9-inch (23 cm) springform pan allows you to easily release the cheesecake after it has set. Ensure the pan is properly greased with butter or cooking spray to prevent sticking.</li
- Measuring Cups: measurements are key to achieving the perfect flavor and texture. You’ll need both dry and liquid measuring cups to measure ingredients like sugar, cream cheese, and lemon juice. Use a liquid measuring cup for anything over 1 cup to ensure precision.
- Food Processor: Using a food processor helps achieve a smooth and creamy cheesecake filling. If you don’t have one, a hand mixer can also work, but a food processor will save time and effort when blending the cream cheese and other ingredients.
Freezing Instructions Step-by-Step
Freezing lemon cheesecake properly is crucial to maintain its delightful texture and tangy flavor. Follow these steps carefully to ensure your cheesecake remains delicious even after freezing.
- Allow the cheesecake to cool completely: After baking, let your lemon cheesecake cool in the pan for at least 1 hour at room temperature. Then, refrigerate it for an additional 4 hours to ensure it’s fully set. The cheesecake should feel firm to the touch and not jiggle when you gently shake the pan.
- Wrap it securely: Once cooled, remove the cheesecake from the pan. Wrap the cheesecake tightly in plastic wrap, ensuring no air pockets remain. Follow this by wrapping it in aluminum foil for extra protection against freezer burn. Make sure the foil is snug but not too tight to avoid squishing the cheesecake.
- Label and freeze: Use a permanent marker to label the wrapped cheesecake with the date and contents. Place the cheesecake in the freezer, preferably in a flat position to keep its shape. You can freeze it for up to 2-3 months without significant loss of quality.
When you’re ready to enjoy your cheesecake, thaw it in the refrigerator for 6-8 hours or overnight. Avoid thawing at room temperature, as this can lead to a soggy texture. If you notice any condensation, gently dab it away with a paper towel before serving.
Tips for Perfect Texture
Freezing lemon cheesecake can be a wonderful way to preserve its creamy deliciousness, but achieving the perfect texture requires careful attention. Here are some essential tips to help you avoid common pitfalls and ensure your cheesecake remains delightful after freezing.
- Avoid freezer burn: To prevent freezer burn, wrap your cheesecake tightly in plastic wrap, making sure there are no exposed areas. For extra protection, place the wrapped cheesecake in an airtight container or a heavy-duty freezer bag. This will help maintain moisture and prevent ice crystals from forming.
- Maintain creaminess: Freezing can sometimes alter the creamy texture of your cheesecake. To counteract this, consider adding an extra 1-2 tablespoons of sour cream or whipped cream to your batter before baking. This extra fat helps retain the smooth mouthfeel even after freezing.
- Proper sealing methods: When sealing your cheesecake, ensure that all edges are well-covered. Start by wrapping a layer of plastic wrap directly against the surface of the cheesecake, then follow with a layer of aluminum foil. This double layer not only helps keep the cheesecake fresh but also prevents any potential odors from the freezer from seeping in.
Variations and Substitutions
When it comes to lemon cheesecake, there are several ways to customize the recipe for different dietary needs and flavor preferences. This section offers options for gluten-free and vegan variations, as well as some fun flavor twists that can be frozen just as easily as the classic version.
Gluten-Free Options
- For a gluten-free crust, substitute the traditional graham cracker crust with crushed gluten-free cookies or almond flour mixed with ¼ cup of melted butter.
- Ensure all other ingredients, like the cream cheese and sour cream, are gluten-free certified.
Vegan Alternatives
- Replace cream cheese with 1 ½ cups of silken tofu blended until smooth.
- Use coconut cream instead of sour cream for added richness.
- For a vegan crust, blend 1 cup of almond flour with 2 tablespoons of coconut oil and 2 tablespoons of maple syrup.
Flavor Variations
Chef’s tip: Try adding ½ cup of fresh or frozen berries into the cheesecake mixture for a fruity twist!
- Incorporate 1 tablespoon of lemon zest for an extra citrus punch.
- For a richer flavor, add ½ teaspoon of vanilla extract or a splash of almond extract.
| Ingredient | Traditional | Gluten-Free | Vegan |
|---|---|---|---|
| Crust | Graham crackers | Gluten-free cookies | Almond flour |
| Cream Cheese | 8 oz | Gluten-free | 1 ½ cups silken tofu |
| Sour Cream | ½ cup | Gluten-free | ½ cup coconut cream |
Thawing Methods Explained
Knowing how to properly thaw your frozen lemon cheesecake is essential for maintaining its creamy texture and vibrant flavor. Here are two effective methods to ensure your cheesecake defrosts perfectly without compromising quality.
- Refrigerator Thawing: This is the best method for thawing lemon cheesecake as it allows for gradual defrosting. Begin by transferring the cheesecake from the freezer to the refrigerator. Allow it to thaw for at least 6-8 hours, or preferably overnight. The cheesecake should feel soft to the touch but still firm when it’s ready to serve.
- Quick Thawing Method: If you’re in a hurry, you can use a quick thawing method. Place the cheesecake on the counter at room temperature for about 1-2 hours. Be cautious to keep it covered to prevent any temperature shock which could affect its texture. It should be slightly soft around the edges but still cool in the center when it’s ready.
Chef’s tip: Avoid using a microwave to thaw lemon cheesecake as it can lead to uneven melting, causing the texture to become grainy and unappetizing.
Serving and Pairing Suggestions
Once you’ve successfully frozen and thawed your lemon cheesecake, serving it beautifully can enhance the overall experience. A few thoughtful garnishes and drink pairings can elevate your dessert, making it a delightful end to any meal.
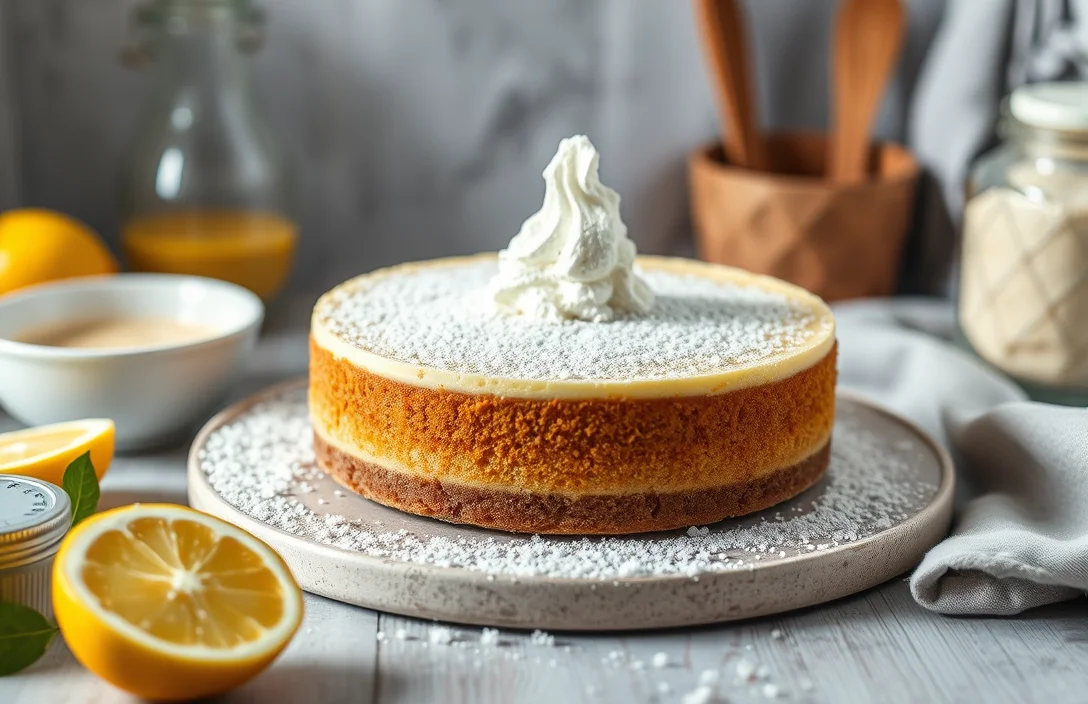
- Garnishes: Consider topping your lemon cheesecake with a dollop of freshly whipped cream. To make the whipped cream, beat 1 cup (240ml) of heavy cream with 2 tablespoons of powdered sugar until soft peaks form. For added flavor, fold in a teaspoon of vanilla extract. Fresh berries like raspberries or blueberries can also provide a lovely contrast in color and flavor.
- Drink Pairings: Pair your lemon cheesecake with a refreshing beverage to complement its zesty flavor. A chilled glass of Sauvignon Blanc or a light Prosecco works beautifully, as the acidity balances the creaminess of the cheesecake. For a non-alcoholic option, serve with iced herbal tea—try lemon or mint flavors for a cohesive theme.
- Plating Tips: When plating, slice the cheesecake with a warm, wet knife for clean edges. Place a slice on a dessert plate and drizzle a berry sauce on the side for a splash of color. You can create this sauce by simmering 1 cup of mixed berries with 2 tablespoons of sugar and a splash of lemon juice until thickened, about 10 minutes. A sprinkle of lemon zest on top adds an extra pop of brightness.
Quick Summary
| Prep Time | 20 minutes |
|---|---|
| Cook Time | 50 minutes |
| Total Time | 1 hour 10 minutes |
| Servings | 8 |
- Chill the cheesecake for at least 4 hours before freezing for best texture.
- Wrap tightly in plastic wrap and foil to prevent freezer burn.
- Thaw in the fridge overnight for optimal consistency when ready to serve.
- Use fresh lemons for zest and juice for a vibrant flavor.
- Slice before freezing for easier serving later on.
Frequently Asked Questions
Can I make this ahead of time? How to store and reheat?
You can absolutely make lemon cheesecake ahead of time! Just store it in the refrigerator for up to 3 days, or freeze it for up to 2 months, and thaw it in the fridge overnight when you’re ready to enjoy.
What can I substitute for cream cheese?
If you’re looking for a substitute, you can use mascarpone or Greek yogurt in equal amounts for a similar texture. Just keep in mind that the flavor may be slightly different, so adjust the sugar if needed.
How do I know when it’s done?
Your lemon cheesecake is done when the edges are set but the center still has a slight jiggle, which usually takes about 45-50 minutes at 325°F (163°C). It will firm up as it cools, so don’t overbake it!
Can I freeze this? How long does it last?
You can definitely freeze lemon cheesecake for up to 2 months! Make sure to wrap it tightly in plastic wrap and then foil to prevent freezer burn.
Why did my cheesecake turn out too watery?
If your cheesecake turned out watery, it might be due to overmixing the filling or not baking it long enough. Ensure you mix just until combined and check for the jiggle test mentioned earlier!

- Make Cheesecake Up to 3 Days Ahead: Tips for Best Flavor & Texture - March 4, 2026
- Easy No-Bake Cool Doen Cheesecake: Quick Recipe & Tips - March 4, 2026
- Decadent Dulce de Leche Cheesecake: Easy Step-by-Step Recipe - March 4, 2026