cheese cake madeup of
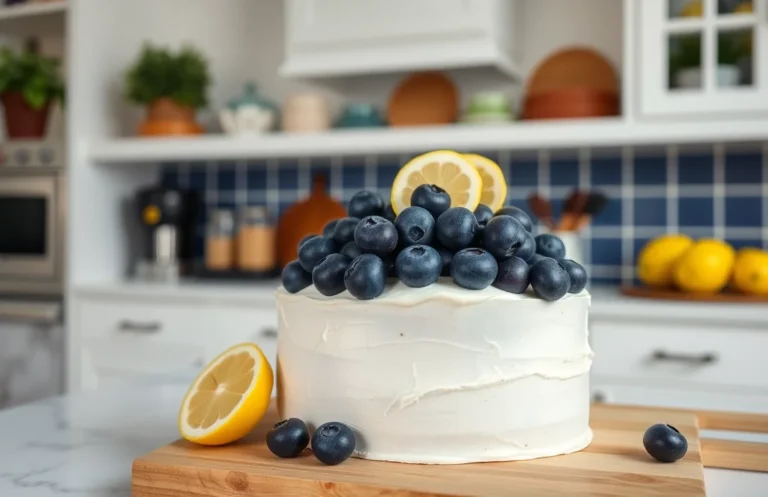
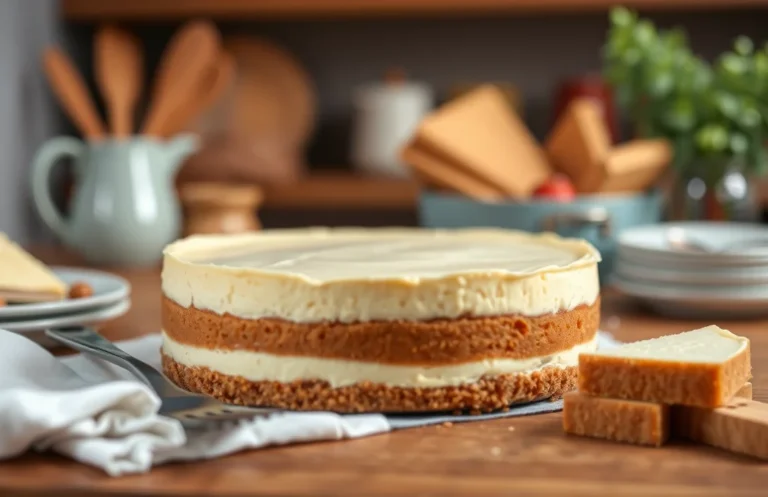
Cheesecake is the ultimate comfort food that brings a smile to everyone’s face. This creamy, dreamy dessert has a rich, velvety texture that melts in your mouth, making it perfect for any occasion, from casual weeknight dinners to festive celebrations. Each bite is a heavenly blend of sweetness and tang, and trust me, it’s hard to resist a second slice!
Get ready to whip up 5 delicious cheesecake variations that are sure to impress! With a total time of 4 hours, a difficulty level of medium, and serving 8-10 people, you’ll have plenty to share (or keep all to yourself!).
| Prep Time | Cook Time | Total Time | Servings | Difficulty |
|---|---|---|---|---|
| 30 mins | 1 hour | 4 hours | 8-10 | Medium |
Cheesecake Origins
Understanding the origins of cheesecake enriches our appreciation for this delightful dessert. Cheesecake has evolved over centuries, reflecting diverse cultural influences and ingredient variations across the globe.
Historical Background
- Ancient Greece: The first known cheesecake recipe dates back to ancient Greece, where it was made with simple ingredients like cheese, honey, and flour. It was served to athletes during the Olympic Games as a source of energy.
- Roman Adaptation: The Romans adopted the Greek version and modified it by adding eggs and baking it. They also spread the cheesecake concept throughout their empire, influencing various cultures.
- European Variations: By the Middle Ages, cheesecakes had become popular throughout Europe, with each region adding its twist. For example, the British version often included fruit, while in Italy, ricotta became a favored cheese.
Cultural Variations
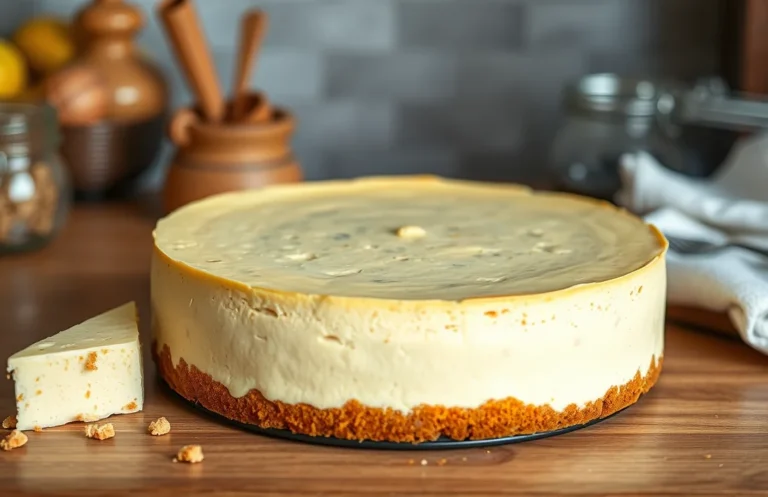
- New York Style: This variation is rich and dense, made with cream cheese, eggs, and sugar, resulting in a creamy texture. It’s often served plain or with fruit toppings.
- Italian Ricotta Cheesecake: Made with ricotta cheese, this light and fluffy version often includes citrus zest and is typically less sweet than its American counterpart.
- Japanese Cotton Cheesecake: Known for its airy and soft texture, this cheesecake incorporates whipped egg whites and is often baked in a water bath for a delicate, soufflé-like result.
Essential Ingredients List
In this section, we’ll cover the essential ingredients that make up a delicious cheesecake, including the crust, filling, and toppings. Understanding these components will help you create a cheesecake that suits your taste and preferences.
| Item | Amount/Specification | Notes |
|---|---|---|
| Graham cracker crumbs | 1 ½ cups (150g) | Can substitute with crushed biscuits for a different flavor |
| Granulated sugar | ¼ cup (50g) for crust | Adjust sweetness based on preference |
| Unsalted butter | ½ cup (113g), melted | Use salted butter for a richer flavor |
| Cream cheese | 4 (8 oz) packages (900g total) | Make sure it’s at room temperature for easy mixing |
| Sour cream | 1 cup (240g) | Substitute with Greek yogurt for a tangy flavor |
| Granulated sugar | 1 cup (200g) for filling | Can reduce for a less sweet cheesecake |
| Vanilla extract | 1 tablespoon (15ml) | Use pure vanilla for best flavor |
| Eggs | 4 large | Ensure they are at room temperature |
| Fresh fruit (for topping) | 1 cup (150g) | Strawberries, blueberries, or your choice |
| Whipped cream (for topping) | 1 cup (240ml) | Optional, for a decadent finish |
- Make sure all dairy ingredients are at room temperature for smooth mixing.
- For a gluten-free option, use gluten-free graham crackers or almond flour for the crust.
- Don’t overmix the filling; this can incorporate too much air and cause cracking during baking.
- To avoid cracks, bake the cheesecake in a water bath by wrapping the springform pan in foil and placing it in a larger pan filled with water.
Required Kitchen Equipment
Before diving into your cheesecake creation, having the right tools on hand can make all the difference. In this section, I’ll detail the essential baking and mixing equipment you’ll need, along with some prep steps to ensure a smooth process.
- Springform Pan: A 9-inch springform pan is ideal for cheesecakes, allowing you to easily remove the sides once the cake is set. Ensure it has a tight seal to prevent any leaking during baking.
- Mixing Bowls: You’ll need at least two mixing bowls: one for the crust ingredients and one for the filling. Use a larger bowl (at least 4-quart capacity) for the filling to allow for easy mixing and folding.
- Electric Mixer: A stand mixer or hand mixer will save you time and effort when creaming the cream cheese and sugar. Whip until light and fluffy, which usually takes about 3-4 minutes on medium speed.
- Rubber Spatula: Use a rubber spatula for folding in any additional ingredients like whipped cream or sour cream. This helps maintain the airiness of your mixture.
- Measuring Cups and Spoons: Precise measurements are key. Have both dry and liquid measuring cups, along with measuring spoons, for accurate ingredient amounts.
- Food Processor: If you’re making a crumb crust, a food processor makes quick work of pulverizing graham crackers or cookies into fine crumbs. Pulse until the texture is like sand.
- Oven Thermometer: To ensure your oven is at the correct temperature (usually 325°F or 160°C for baking cheesecake), use an oven thermometer. This helps avoid overcooking or undercooking your cheesecake.
Chef’s tip: Always have your cream cheese at room temperature for easier blending and a smoother filling.
Step-by-Step Recipe
This section will guide you through the detailed steps to prepare the perfect cheesecake, including how to make the crust and filling, as well as the baking instructions. Following these precise steps will ensure you achieve that creamy texture and delightful flavor you’re looking for.
Preparing the Crust
- Preheat your oven to 350°F (175°C). In a medium bowl, combine 1 ½ cups graham cracker crumbs (150g), ½ cup granulated sugar (100g), and ½ cup unsalted butter, melted (115g). Mix until the crumbs are evenly coated and resemble wet sand.
- Press the mixture firmly into the bottom of a 9-inch (23 cm) springform pan. Use the bottom of a measuring cup to compact it evenly. Bake in the preheated oven for 10 minutes until set and lightly golden. Remove and let it cool while you prepare the filling.
Making the Filling
- In a large bowl, beat 24 ounces (680g) of cream cheese at room temperature using an electric mixer until smooth and creamy, approximately 2-3 minutes. Scrape down the sides of the bowl to ensure an even texture.
- Add 1 cup (200g) granulated sugar, 1 teaspoon vanilla extract, and 3 large eggs, one at a time, mixing on low speed until just combined. Avoid overmixing to keep the filling light and fluffy.
- Pour the cream cheese mixture over the cooled crust. Tap the pan gently on the counter to remove any air bubbles. Smooth the top with a spatula for an even finish.
Baking Instructions
- Bake the cheesecake in the middle of your oven for 50-60 minutes. The edges should be set, while the center will still have a slight jiggle. This indicates it’s perfectly baked.
- Turn off the oven and let the cheesecake cool in the oven with the door ajar for about 1 hour. This helps prevent cracking. Once cool, refrigerate for at least 4 hours, preferably overnight, to set completely.
Pro Tips & Common Mistakes
Creating the perfect cheesecake involves more than just combining ingredients; it’s about achieving the right texture, avoiding cracks, and serving it beautifully. Here are some essential tips to help you master your cheesecake-making skills and avoid common pitfalls.
Achieving the Perfect Texture
- Use room temperature ingredients: Ensure your cream cheese, eggs, and sour cream are at room temperature. This helps them blend smoothly, preventing lumps and achieving a creamy texture.
- Don’t overmix: When incorporating the eggs, mix just until combined. Overmixing can introduce too much air, leading to a cheesecake that puffs up and then deflates, resulting in a dense texture.
Preventing Cracks
- Bake in a water bath: Place your cheesecake pan inside a larger pan filled with hot water. This gentle heat helps the cheesecake cook evenly and reduces the risk of cracks on the surface.
- Cool gradually: After baking, turn off the oven and leave the cheesecake inside for an hour with the door ajar. This gradual cooling process helps prevent sudden temperature changes that can lead to cracks.
Serving Tips
- Chill properly: Allow your cheesecake to chill in the refrigerator for at least 4 hours, ideally overnight. This helps it firm up and enhances the flavors.
- Use a hot knife: To slice your cheesecake cleanly, dip your knife in hot water and wipe it dry before cutting. This will give you beautiful, clean edges for an impressive presentation.
Cheesecake Variations
Cheesecake is a versatile dessert that can be customized in numerous ways, allowing you to tailor it to different tastes and dietary needs. From crusts to fillings and toppings, understanding these variations can elevate your cheesecake game and delight anyone who tries it.
Flavor Variations
- Classic New York Cheesecake: Made with 2 pounds cream cheese, 1 cup granulated sugar, and 4 large eggs for a rich and creamy texture.
- Chocolate Cheesecake: Incorporate 8 ounces melted dark chocolate into your filling along with the standard ingredients for a decadent twist.
- Fruit Swirl Cheesecake: Fold in 1 cup of pureed fruit (like strawberries or blueberries) to the cream cheese mixture for a fruity flavor.
- Matcha Cheesecake: Add 2 tablespoons of matcha powder to the cream cheese to give it a distinct green tea flavor and vibrant color.
Dietary Modifications
For those with dietary restrictions, there are plenty of alternatives:
- Gluten-Free: Use almond flour or gluten-free graham crackers for the crust.
- Dairy-Free: Substitute cream cheese with 2 cups of cashew cream or a dairy-free cream cheese alternative.
- Low Sugar: Replace granulated sugar with ¾ cup of erythritol or another sugar substitute.
Substitutions
Chef’s tip: Always taste your batter before baking. This ensures the sweetness and flavor are to your liking.
If you run out of certain ingredients, consider these substitutions:
| Ingredient | Substitution |
|---|---|
| Granulated Sugar | ¾ cup of honey or maple syrup |
| Sour Cream | Yogurt or buttermilk (1:1 ratio) |
| Butter | Coconut oil or vegetable oil (use ¾ cup for every cup of butter) |
By experimenting with these variations and substitutions, you can create a cheesecake that perfectly suits your palate and dietary needs.
Serving & Plating Suggestions
Presenting your cheesecake beautifully can elevate its appeal and make it a memorable dessert for any occasion. Here are some creative garnishing ideas, pairing suggestions, and storage tips that will ensure your cheesecake stands out and stays fresh.
Garnishing Ideas
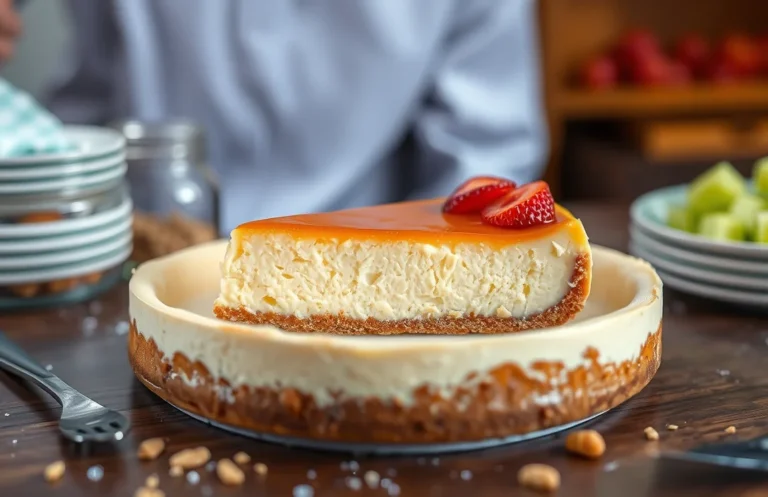
- Start by dusting the top of your cheesecake with powdered sugar using a fine mesh sieve for a delicate touch. This adds a subtle sweetness and a beautiful appearance.
- Consider adding fresh fruits such as berries or sliced kiwi around the edges of the cheesecake. For example, use ½ cup of mixed berries (strawberries, blueberries, raspberries) for a vibrant color contrast.
- A drizzle of chocolate or caramel sauce can provide a rich flavor. Melt ¼ cup of chocolate chips or caramel in a microwave for 30 seconds, stirring until smooth, and then drizzle over the top just before serving.
Pairing Suggestions
- Serve your cheesecake with a dollop of whipped cream (about ½ cup, whipped until soft peaks form) to add creaminess that complements the rich texture of the cheesecake.
- A scoop of vanilla ice cream pairs wonderfully, especially with fruit-topped cheesecakes. Aim for 1-2 scoops per slice for a delightful contrast in temperature.
- For a more sophisticated touch, pair with a glass of dessert wine or coffee, enhancing the flavors of your cheesecake. A sweet Riesling or a robust espresso can work beautifully.
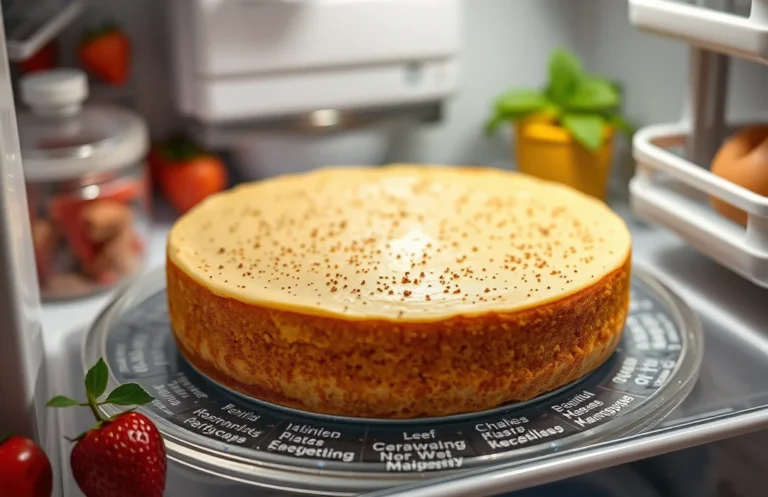
Storage Tips
- To store leftover cheesecake, cover it tightly with plastic wrap or transfer it to an airtight container. It can be kept in the refrigerator for up to 5 days.
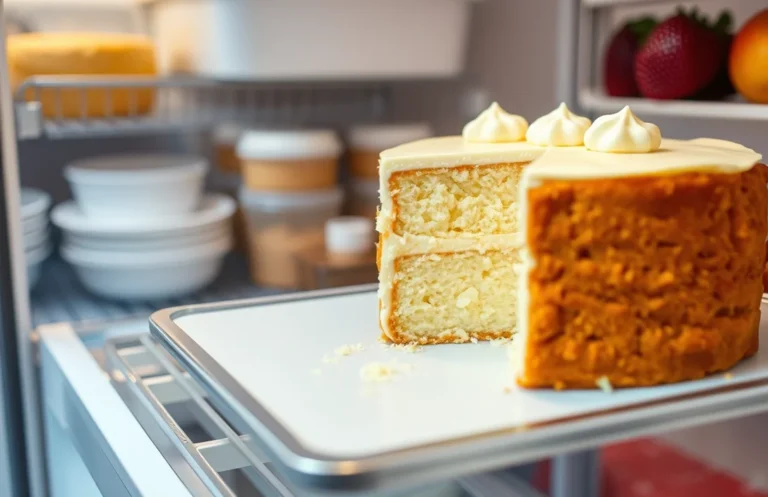
- If you plan to keep it longer, consider freezing it. Wrap individual slices in plastic wrap and then place them in a freezer-safe bag. Cheesecake can be frozen for up to 3 months.
- When ready to enjoy frozen cheesecake, transfer it to the refrigerator to thaw overnight. Avoid refreezing once it’s been thawed to maintain the texture.
Quick Summary
| Prep Time | Cook Time | Total Time | Servings |
|---|---|---|---|
| 20 minutes | 60 minutes | 1 hour 20 minutes | 8 servings |
- Preheat oven: Set to 325°F (163°C) before starting the batter.
- Crust preparation: Combine 1 ½ cups graham cracker crumbs with ½ cup melted butter.
- Mix filling: Blend 16 oz cream cheese with 1 cup sugar and 3 eggs until smooth.
- Bake: Pour filling over crust and bake for 60 minutes until slightly jiggly.
- Chill: Refrigerate for at least 4 hours before serving for best texture.
- Room temperature ingredients: Ensure cream cheese is at room temperature for easy mixing.
- Don’t overmix: Mix filling just until combined to avoid cracks in the cheesecake.
- Cooling: Allow the cheesecake to cool in the oven with the door ajar to prevent cracking.
Frequently Asked Questions
Can I make this cheesecake ahead of time? How to store and reheat?
You can make this cheesecake up to 2 days in advance. Store it in the refrigerator, covered with plastic wrap, and serve it chilled—no reheating necessary!
What can I substitute for cream cheese?
If you need a substitute, you can use mascarpone cheese or a combination of ricotta and sour cream for a similar texture and flavor. Just ensure the total volume remains the same as the cream cheese in your recipe.
How do I know when my cheesecake is done?
Your cheesecake is done when the edges are set, but the center still has a slight jiggle—this usually takes about 50-60 minutes at 325°F (163°C). It will firm up as it cools, so don’t worry if it looks a bit wobbly!
Can I freeze this cheesecake? How long does it last?
Yes, you can freeze the cheesecake for up to 3 months. Wrap it tightly in plastic wrap and then foil to prevent freezer burn, and thaw it in the refrigerator before serving.
What if I don’t have a springform pan?
If you don’t have a springform pan, you can use a regular cake pan lined with parchment paper to help remove the cheesecake after baking. Just be careful when cutting the slices, as it may not hold its shape as well!

- Decadent Peanut Butter No-Bake Cheesecake: Easy Recipe to Indulge - April 3, 2026
- Delicious Mango No-Bake Cheesecake: Step-by-Step Recipe - April 3, 2026
- Decadent Raspberry No-Bake Cheesecake: Easy Step-by-Step Recipe - April 3, 2026