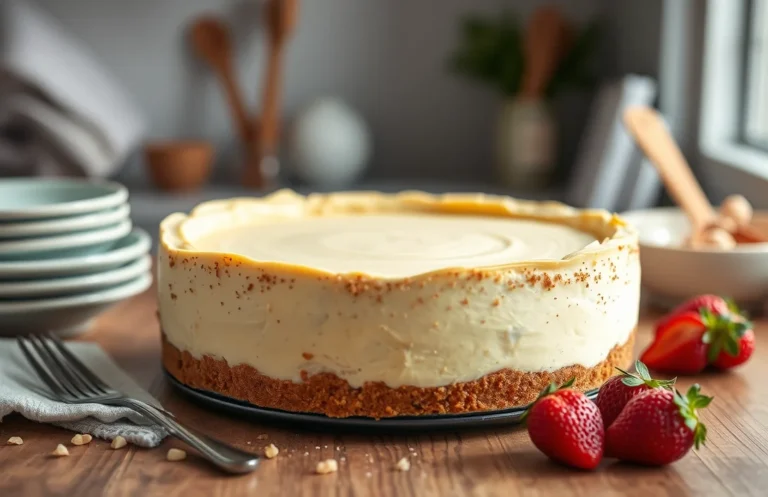
Easy No-Bake Cheesecake Bars: Ready in 30 Minutes!
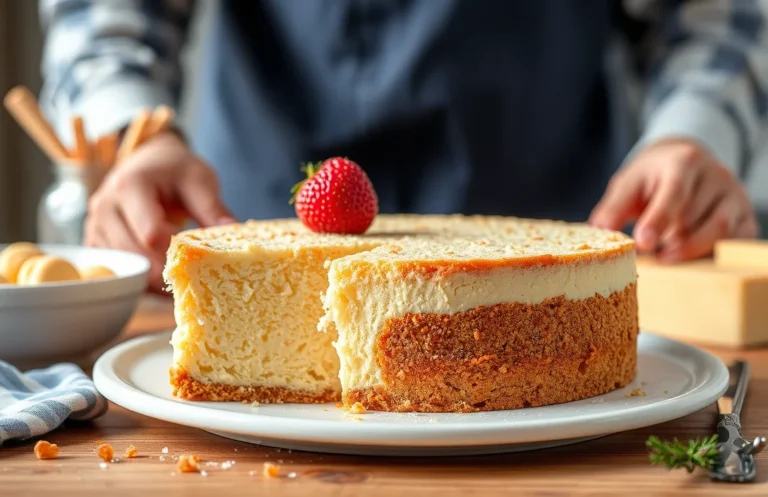
Cheesecake bars are the perfect blend of creamy, dreamy goodness and a buttery crumb crust that will make your taste buds sing. Whether it’s for an after-dinner treat, a potluck, or just because you need a little pick-me-up, these bars are a crowd-pleaser that never fails to impress. Each bite feels like a warm hug!
Get ready to whip up these delightful cheesecake bars in just 30 minutes of prep and 25 minutes of baking. This recipe yields 16 bars and is rated easy—perfect for both novice and seasoned bakers alike!
| Prep Time | 30 minutes |
|---|---|
| Cook Time | 25 minutes |
| Total Time | 55 minutes |
| Servings | 16 bars |
| Difficulty | Easy |
Origin of Cheesecake Bars
Cheesecake bars are a delightful twist on the classic cheesecake, combining the rich, creamy filling of traditional cheesecake with the convenience of easy-to-serve bars. Their origins can be traced back to ancient Greece, where cheesecake was made with simple ingredients like cheese, honey, and flour. Over the centuries, this dessert has evolved into various styles, but cheesecake bars offer a modern and approachable version perfect for gatherings and celebrations.
- Versatility: Cheesecake bars can be flavored with a variety of ingredients, such as fruits, chocolate, or spices, making them suitable for different occasions.
- Ease of Serving: Unlike traditional cheesecakes, which require slicing and can be messy, bars are neatly cut and easy to handle, ideal for parties or picnics.
- Texture: The combination of a buttery crust and a smooth, velvety filling creates a texture that is both satisfying and indulgent.
“Chef’s tip: Chill your cheesecake bars for at least two hours before serving to enhance their flavor and texture.”
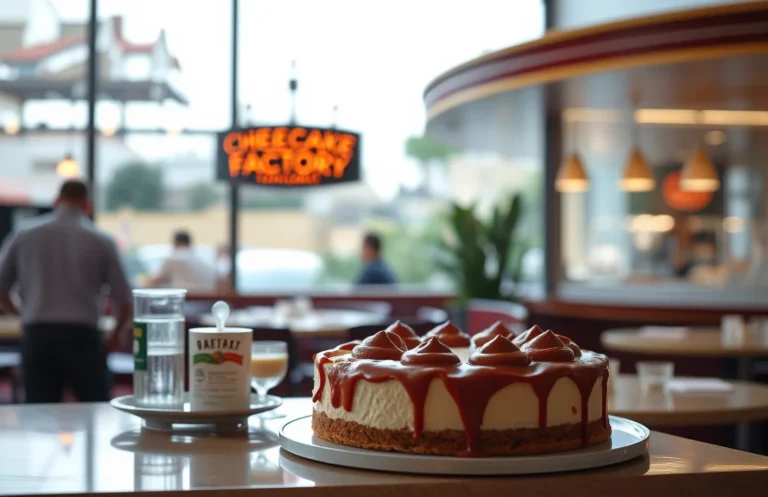
Cheesecake bars are perfect for a variety of occasions, from casual family gatherings to elegant celebrations. They can be made ahead of time and stored in the refrigerator, making them a convenient dessert option. Whether enjoyed plain or topped with fresh fruit or chocolate sauce, these bars are sure to impress anyone with a sweet tooth!
Ingredients List
In this section, you’ll find everything you need to create delicious cheesecake bars. Having an accurate ingredients list is key to achieving the perfect balance of flavors and textures. Make sure to measure everything precisely for the best results!
| Item | Amount/Specification | Notes |
|---|---|---|
| Graham cracker crumbs | 1 ½ cups (150g) | Can substitute with digestive biscuits |
| Granulated sugar | ½ cup (100g) | Adjust to taste if using sweetened toppings |
| Unsalted butter | ½ cup (115g), melted | Can use coconut oil for dairy-free |
| Cream cheese | 16 oz (450g), softened | Use full-fat for creaminess |
| Sour cream | ½ cup (120ml) | Greek yogurt can be used as a substitute |
| Vanilla extract | 1 teaspoon | Enhances flavor |
| Eggs | 2 large | Room temperature for even mixing |
| Salt | ¼ teaspoon | Balances sweetness |
- Make sure the cream cheese is at room temperature to avoid lumps in the batter.
- For a lighter texture, you can fold in some whipped cream before baking.
- Check for doneness by lightly shaking the pan; the center should be slightly jiggly but set.
Kitchen Equipment Needed
Gathering the right kitchen equipment is crucial for making perfect cheesecake bars. This section lists everything you’ll need to ensure a smooth and enjoyable baking experience, from mixing to baking to slicing.
- 9×13-inch baking pan: This size is ideal for cheesecake bars. Make sure to have one ready, preferably non-stick or lined with parchment paper for easy removal.
- Mixer: A stand mixer or hand mixer will help you achieve a smooth and creamy cheesecake filling. If you don’t have a mixer, you can use a whisk, but it will require more elbow grease.
- Mixing bowls: You’ll need at least two bowls—one for the crust and one for the filling. Choose medium to large sizes to allow for easy mixing.
- Measuring cups and spoons: Accurate measurements are key. Ensure you have both dry and liquid measuring cups, along with a set of measuring spoons.
- Rubber spatula: This is essential for folding ingredients together and scraping down the sides of your mixing bowl to avoid any lumps.
- Whisk: A whisk is useful for blending the filling ingredients together, especially if you’re not using a mixer.
- Offset spatula: This tool will help you spread the cheesecake filling evenly in the pan, ensuring a smooth surface.
- Cooling rack: After baking, let your cheesecake bars cool on a rack. This prevents condensation from forming, which can make the bars soggy.
Step-by-Step Instructions
This section provides detailed, step-by-step instructions to help you create perfect cheesecake bars. Each step includes specific measurements, timing, and what to look for, ensuring your baking experience is effortless and enjoyable.
- Preheat your oven: Begin by preheating your oven to 350°F (175°C). This ensures that your cheesecake bars bake evenly. While the oven is heating, you can prepare the crust.
- Prepare the crust: In a medium bowl, combine 1 ½ cups (150g) of graham cracker crumbs, ½ cup (100g) of granulated sugar, and ½ cup (115g) of melted unsalted butter. Mix until the crumbs are well coated and the mixture resembles wet sand. Press this mixture evenly into the bottom of a greased 9×13-inch (23×33 cm) baking pan.
- Bake the crust: Place the crust in the preheated oven and bake for 10 minutes. You’ll know it’s ready when it starts to smell toasty and is lightly golden at the edges. Remove it from the oven and set aside to cool slightly.
- Prepare the filling: In a large mixing bowl, beat 16 ounces (450g) of softened cream cheese with 1 cup (200g) of granulated sugar using an electric mixer on medium speed for 2-3 minutes until smooth and creamy. Scrape down the sides of the bowl to ensure everything is well combined.
- Add eggs and flavor: Add 3 large eggs, one at a time, mixing well after each addition. Then, mix in 1 teaspoon of vanilla extract and ½ teaspoon of lemon juice for a hint of brightness. The mixture should be smooth and slightly thick.
- Pour and spread: Carefully pour the cream cheese mixture over the cooled crust, spreading it evenly with a spatula. At this stage, the filling should look glossy and smooth.
- Bake the cheesecake: Bake in the oven for 25-30 minutes. The edges should be set while the center remains slightly jiggly. This will firm up as it cools. Avoid overbaking to prevent cracks.
- Cool and chill: Once baked, remove the cheesecake bars from the oven and allow them to cool to room temperature. Then, refrigerate for at least 4 hours, preferably overnight, to set completely.
- Slice and serve: Once chilled, lift the cheesecake bars out of the pan using the edges of the parchment paper. Slice into squares and serve. For a beautiful touch, dust with powdered sugar or top with fresh berries.
Pro Tips and Mistakes
This section covers essential tips and common pitfalls to avoid when making cheesecake bars. Understanding these nuances can elevate your dessert from good to outstanding, ensuring a creamy texture and perfect flavor every time.
- Use room temperature ingredients: For the best texture, ensure your cream cheese, eggs, and sour cream are at room temperature. This helps them blend smoothly without lumps, making your cheesecake bars creamy rather than grainy.
- Don’t overmix: When combining the filling, mix just until smooth. Overmixing can incorporate too much air, leading to cracks during baking. Aim for a silky consistency without visible lumps.
- Chill properly: After baking, allow the bars to cool at room temperature for about 30 minutes before refrigerating. Chilling them for at least 4 hours (or overnight) is crucial for setting the filling and achieving the best flavor.
- Grease your pan: Lightly grease the baking pan or line it with parchment paper. This will make it easier to lift out the bars cleanly, helping to maintain their shape when cutting.
- Watch the baking time: Bake until the edges are set but the center still has a slight jiggle. This usually takes about 25-30 minutes at 325°F (160°C). Overbaking can lead to dry bars, so keep an eye on them!
- Use a water bath for extra creaminess: If you’re feeling adventurous, bake your cheesecake bars in a water bath. This method helps regulate the temperature and prevents cracking, resulting in a silky-smooth texture.
- Allow for adaptations: If someone has a dairy allergy, substitute the cream cheese with a dairy-free alternative. Just ensure it’s a block-style product for the right consistency.
Recipe Variations
This section highlights various ways to adapt your cheesecake bars recipe to suit different dietary needs and flavor preferences. Whether you’re looking for gluten-free options or want to try a vegan version, these variations will ensure everyone can enjoy a slice of delicious cheesecake bars.
Gluten-Free Cheesecake Bars
To create a gluten-free version of cheesecake bars, substitute the standard graham cracker crust with a gluten-free alternative. Here’s how:
- 1 ½ cups gluten-free graham cracker crumbs (150g)
- ½ cup unsalted butter, melted (115g)
- 2 tablespoons sugar (25g)
Mix the gluten-free crumbs with melted butter and sugar, pressing the mixture into the bottom of your baking pan. Bake at 350°F (175°C) for 10 minutes until lightly golden.
Vegan Cheesecake Bars
For a dairy-free option, you can make vegan cheesecake bars using the following substitutions:
- 1 ½ cups soaked cashews (225g), drained
- ½ cup maple syrup (120ml)
- ½ cup coconut cream (120ml)
- 2 tablespoons cornstarch (15g)
Blend the soaked cashews, maple syrup, and coconut cream until smooth, then mix in cornstarch for thickening. Pour this mixture over your prepared crust and bake at 350°F (175°C) for 30-35 minutes, until the edges are set but the center is still slightly wobbly.
Chef’s tip: Allow the bars to cool completely before slicing to achieve cleaner edges and a better texture.
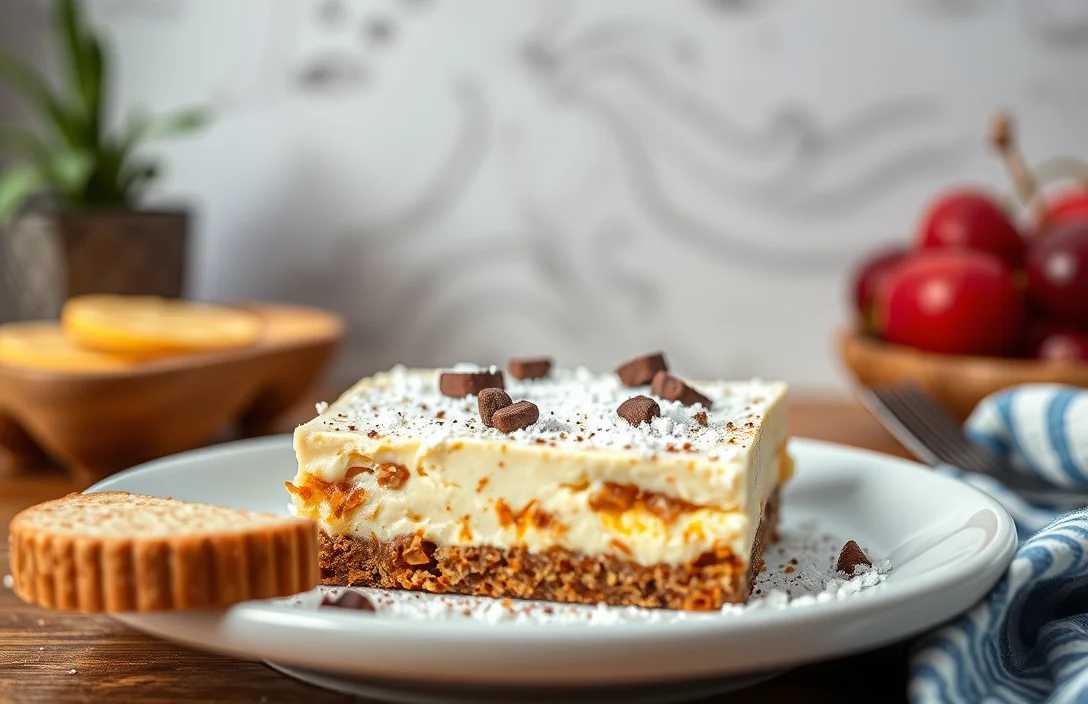
Flavor Variations
Feel free to experiment with different flavors by adding extracts or mix-ins. Here are some ideas:
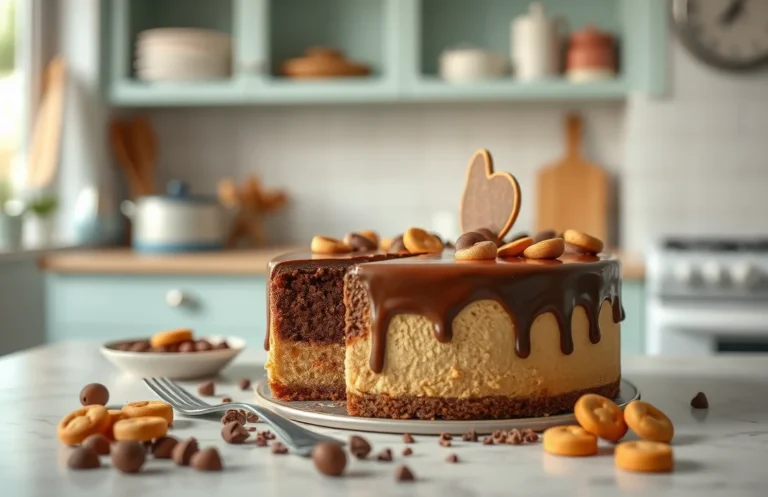
- For chocolate cheesecake bars, fold in ½ cup melted dark chocolate (90g) into the filling.
- Add 1 teaspoon of almond extract for a nutty twist.
- Mix in 1 cup of fresh berries (150g) for a fruity version.
| Variation Type | Key Ingredients |
|---|---|
| Gluten-Free | Gluten-free graham crackers |
| Vegan | Cashews, coconut cream |
| Chocolate | Melted dark chocolate |
Serving Suggestions
Serving cheesecake bars can be as delightful as making them. With a few thoughtful touches, you can elevate their presentation and enhance their flavor, making them a perfect treat for any occasion.
- Chilled and Fresh: Serve the cheesecake bars chilled for the best texture. Let them sit in the fridge for at least 2 hours after baking to ensure they slice cleanly. This also allows the flavors to meld beautifully.
- Garnish Elegantly: Top each bar with fresh berries such as strawberries, blueberries, or raspberries. Not only do they add a pop of color, but the tartness of the berries complements the rich creaminess of the cheesecake.
- Drizzle with Sauce: A drizzle of chocolate or caramel sauce can add a decadent touch. Use a squeeze bottle or a spoon to create artistic patterns on the plate or directly on the bars for an appealing presentation.
- Pair with Whipped Cream: Serve with a dollop of freshly whipped cream on the side. Whip 1 cup of heavy cream with 2 tablespoons of powdered sugar until soft peaks form for a light and fluffy addition.
- Flavor Combinations: For a twist, consider pairing the bars with a scoop of vanilla ice cream or a dollop of lemon curd. These pairings can enhance the flavors and provide an interesting contrast in texture.
- Perfect for Platter: Arrange the cheesecake bars on a large serving platter, alternating with fresh mint leaves to add a touch of freshness. This not only looks beautiful but also smells inviting.
Quick Summary
| Prep Time: | 20 minutes |
| Cook Time: | 30 minutes |
| Total Time: | 50 minutes |
| Servings: | 12 bars |
- Preheat oven to 325°F to ensure even baking.
- Combine crust ingredients and press firmly into the pan.
- Mix cream cheese until smooth to avoid lumps in your filling.
- Bake for 30 minutes until the center is slightly jiggly.
- Chill for at least 2 hours before cutting for clean edges.
- Tip: Use room temperature cream cheese for a creamy texture.
- Tip: Line the pan with parchment paper for easy removal.
Frequently Asked Questions
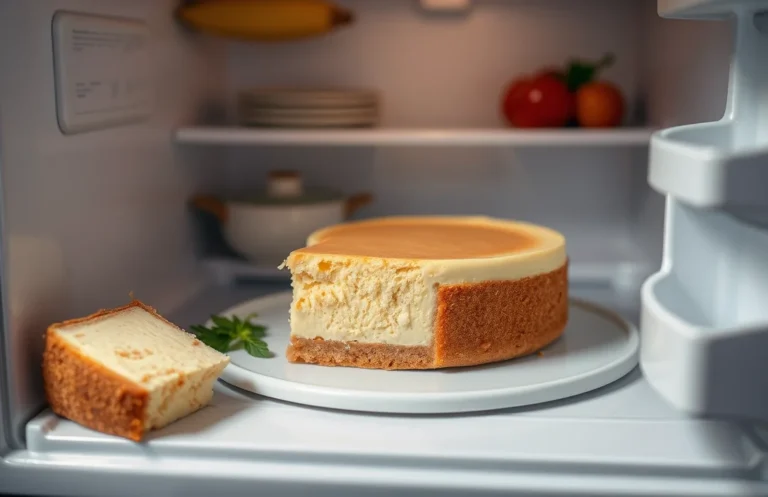
Can I make this ahead of time? How to store and reheat?
You can definitely make cheesecake bars ahead of time; they actually taste better after chilling for at least 4 hours or overnight. Store them in an airtight container in the fridge for up to 5 days or freeze for up to 2 months, thawing in the fridge before serving.
What can I substitute for cream cheese?
If you’re out of cream cheese, you can use mascarpone cheese or a combination of ricotta and sour cream for a similar creamy texture. Just keep in mind that the flavor may be slightly different.
How do I know when it’s done?
Your cheesecake bars are done when the edges are set but the center has a slight jiggle, usually after about 30-35 minutes at 325°F (163°C). They will continue to firm up as they cool, so avoid overbaking.
Can I freeze this? How long does it last?
Yes, you can freeze cheesecake bars for up to 2 months. Just wrap them tightly in plastic wrap and then aluminum foil to prevent freezer burn.
What if I don’t have a springform pan?
If you don’t have a springform pan, you can use a 9×9-inch square baking dish instead; just line it with parchment paper for easy removal. Allow the bars to cool completely before lifting them out for clean slicing.

- Make Cheesecake Up to 3 Days Ahead: Tips for Best Flavor & Texture - March 4, 2026
- Easy No-Bake Cool Doen Cheesecake: Quick Recipe & Tips - March 4, 2026
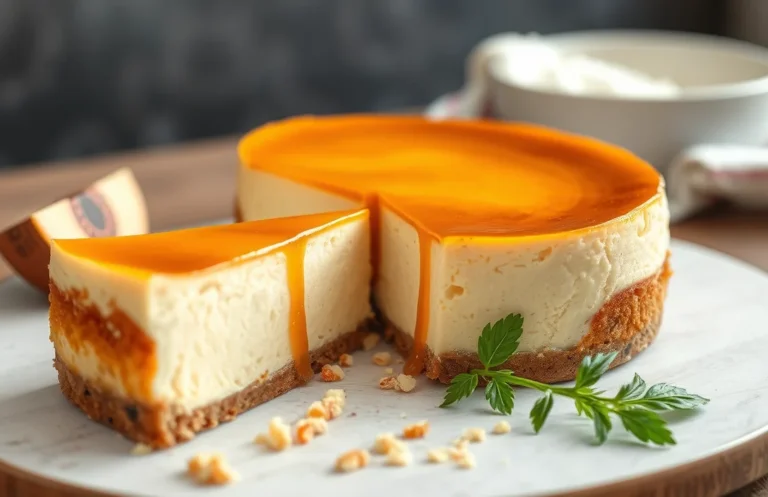
- Decadent Dulce de Leche Cheesecake: Easy Step-by-Step Recipe - March 4, 2026