10 Creative Cheesecake Decoration Ideas for Any Occasion
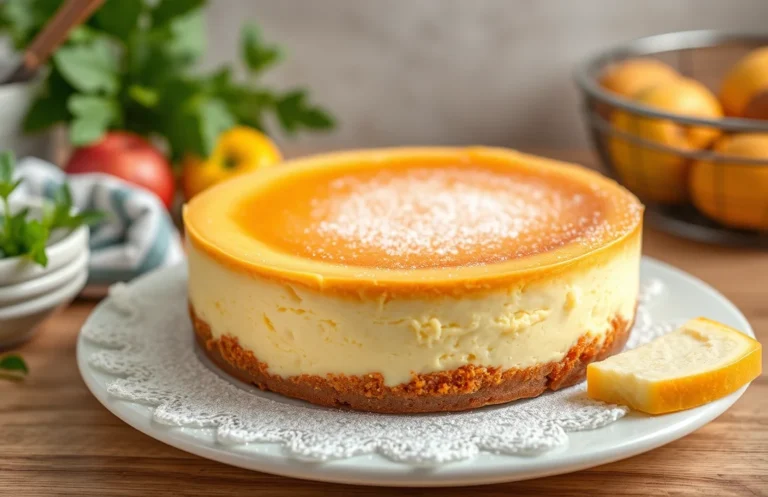
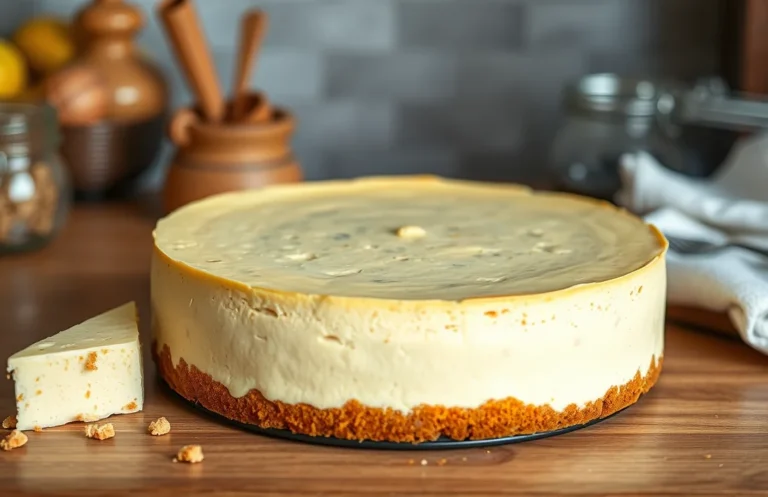
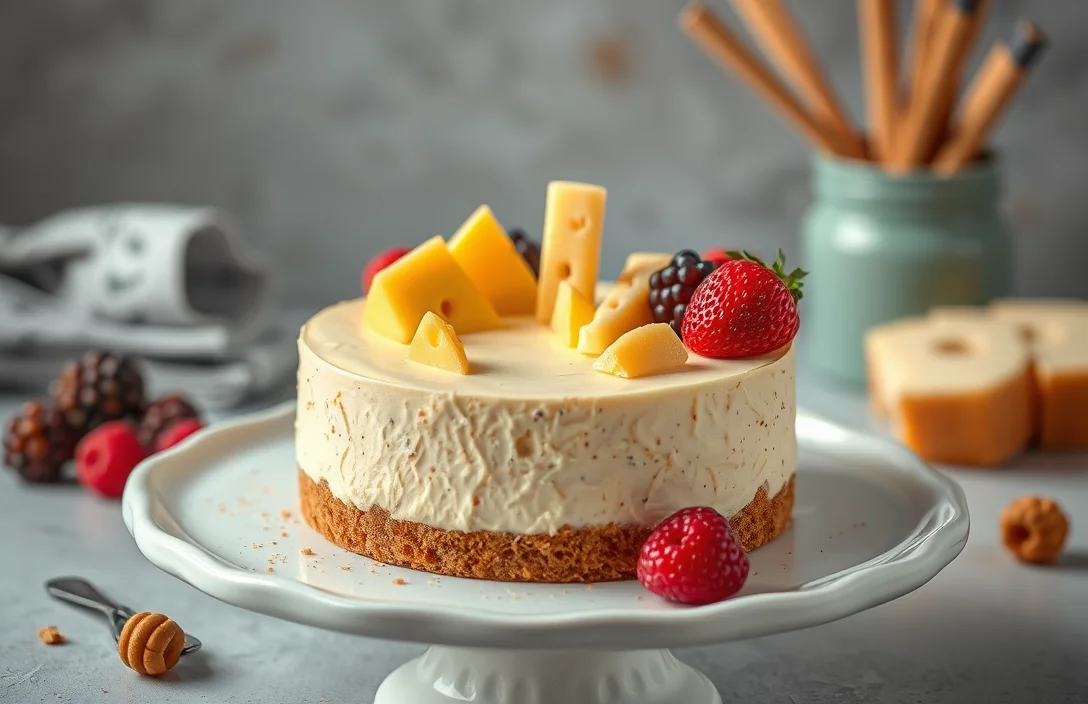
Cheesecakes are not just desserts; they’re the ultimate crowd-pleasers that can turn any gathering into a celebration. With their creamy texture and rich flavor, they beckon you to take just one more slice. Imagine a velvety cheesecake adorned with fresh berries, drizzled with chocolate, or topped with a tangy lemon curd — simply irresistible!
Get ready for easy-to-follow instructions on decorating your cheesecake with flair. This guide covers everything from preparation to presentation, ensuring you serve a stunning dessert in just 30 minutes of prep time and 60 minutes of chilling. Perfect for 8 servings and rated medium difficulty.
| Prep Time | Cook Time | Total Time | Servings | Difficulty |
|---|---|---|---|---|
| 30 minutes | 60 minutes (chill) | 90 minutes | 8 servings | Medium |
Cheesecake Decoration Origins
Understanding the history of cheesecake decorations offers insight into their significance and evolution over time. From humble beginnings to modern artistic expressions, these decorations not only enhance the visual appeal of cheesecakes but also reflect cultural trends and personal creativity.
Historical Significance
- Ancient Roots: Cheesecake has origins dating back to ancient Greece, where it was served to athletes during the first Olympic Games. While these early versions lacked elaborate decorations, they laid the groundwork for what would become a beloved dessert.
- European Influence: During the Renaissance, cheesecake recipes traveled through Europe, evolving in recipes that included fruits and jams. It was during this time that decorative elements, such as fruit toppings and glazes, began to emerge.
Modern Trends
- Artistic Presentation: Today’s cheesecakes are often canvases for creativity. Bakers experiment with colors, textures, and flavors, using toppings like edible flowers, chocolate shavings, and fruit coulis to create stunning visual displays.
- Social Media Influence: Platforms like Instagram and Pinterest have popularized cheesecake decorations, inspiring home bakers to showcase their creations. This trend has led to a rise in unique decorations like mirroring glazes and intricate piping techniques.
Ingredients for Decorations
This section provides you with a variety of ingredients to elevate your cheesecake’s presentation. With the right decorations, you can transform a simple dessert into a stunning centerpiece. Here’s a detailed list of what you can use, including fruit toppings, chocolate drizzles, nuts, and sauces.
| Item | Amount/Specification | Notes |
|---|---|---|
| Fresh Berries (strawberries, blueberries, raspberries) | 1 cup (approx. 150-200g) | Wash and dry thoroughly before use. |
| Chocolate Chips (semi-sweet or dark) | ½ cup (90g) | Melted for drizzling or as a garnish. |
| Chopped Nuts (walnuts, pecans, or almonds) | ¼ cup (30g) | Toast lightly for enhanced flavor. |
| Caramel Sauce | ¼ cup (60ml) | Store-bought or homemade; warm slightly for drizzling. |
| Whipped Cream | 1 cup (240ml) | For topping; use stabilized whipped cream for durability. |
- For a vibrant look, mix different types of berries.
- When melting chocolate, use a double boiler or microwave in short bursts to avoid burning.
- Keep nuts in a dry place to maintain crunchiness; add them just before serving.
- For a smooth drizzle, thin the caramel sauce with a little water if it’s too thick.
Essential Kitchen Tools
To create beautiful cheesecake decorations, having the right tools on hand can make all the difference. These essential kitchen tools will help you achieve that professional finish, ensuring your cheesecake not only tastes great but looks stunning too.
| Item | Amount/Specification | Notes |
|---|---|---|
| Piping Bags | 1-2 reusable or disposable bags | Choose a medium-sized bag for easy handling. |
| Piping Tips | Various sizes (e.g., star, round) | Select tips to create different designs. |
| Offset Spatula | 1 medium-sized spatula | Great for smoothing frosting and lifting slices. |
| Bench Scraper | 1 | Perfect for creating clean edges and lifting decorations. |
| Sifter | 1 | Use for dusting cocoa or powdered sugar evenly. |
- Tip: When using piping bags, twist the top to control the flow of frosting.
- Keep your spatula warm by running it under hot water for easier spreading.
- For a clean finish, wipe the spatula with a damp cloth between uses.
- Practice your piping technique on parchment paper before decorating the cheesecake.
Step-by-Step Decoration Techniques
This section will guide you through three popular decoration methods for your cheesecake: fruit layering, chocolate ganache application, and whipped cream piping. Each technique adds a unique touch, enhancing both the visual appeal and flavor of your cheesecake.
Fruit Layering Method
- Start by preparing your fruit. For a berry topping, wash and slice 1 cup of strawberries, blueberries, or raspberries. If using larger fruits, like peaches, dice them into bite-sized pieces. The fruit should be fresh and vibrant, giving a bright pop of color.
- In a small saucepan over medium heat, combine the fruit with 2 tablespoons of granulated sugar and 1 tablespoon of lemon juice. Cook for about 5-7 minutes, stirring gently until the mixture thickens slightly and becomes syrupy. You want the fruit to release its juices but still retain some shape.
- Once cooled, gently layer the fruit mixture on top of your cheesecake. Use a spatula to spread it evenly, letting some of the juices drip down the sides for an attractive effect.
Chocolate Ganache Application
- Begin by finely chopping 4 ounces of semi-sweet chocolate and placing it in a heatproof bowl. This will help it melt evenly when you pour the hot cream over it.
- In a small saucepan, heat ½ cup of heavy cream over medium heat until it begins to simmer. Remove from heat and pour the hot cream over the chopped chocolate. Let it sit for 2-3 minutes to soften the chocolate.
- Whisk the chocolate and cream together until smooth and glossy. Allow it to cool slightly before pouring it over your cheesecake. Use an offset spatula to spread it evenly, letting it drip over the edges for a decadent look.
Whipped Cream Piping
- To make the whipped cream, use a chilled mixing bowl and combine 1 cup of heavy whipping cream, 2 tablespoons of powdered sugar, and 1 teaspoon of vanilla extract. Beat on medium speed until soft peaks form, about 3-5 minutes. The cream should be fluffy and hold its shape.
- Transfer the whipped cream to a piping bag fitted with a star or round tip for decorative piping. You can also use a plastic bag with the corner snipped off if you don’t have a piping bag.
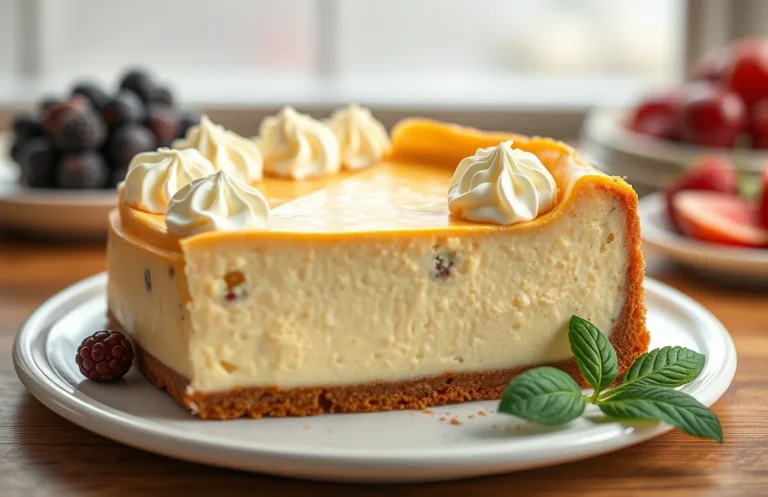
- Pipe rosettes or dollops around the edges of your cheesecake, creating a beautiful border. For added flair, top each dollop with a small berry or a sprinkle of chocolate shavings.
Pro Tips and Common Mistakes
Decorating your cheesecake is just as important as making its creamy filling. In this section, we’ll cover essential tips and common pitfalls to ensure your cheesecake looks as good as it tastes. Proper timing for toppings, avoiding sogginess, and selecting the right chocolate can elevate your dessert to a show-stopping masterpiece.
Timing for Toppings
- Decorate after chilling: Always wait until your cheesecake has completely chilled and set, typically 4-6 hours in the refrigerator. This prevents melting and ensures your toppings stay intact.
- Layer strategically: If you’re using fruit or a sauce, drizzle it on just before serving to maintain freshness and prevent the crust from becoming soggy.
Avoiding Sogginess
- Use a barrier: If using a fruit topping, place a thin layer of whipped cream or a glaze underneath to create a barrier. This keeps the crust from absorbing moisture, which can lead to a soggy bottom.
- Drain wet toppings: For fruits like strawberries or raspberries, pat them dry with a paper towel before adding them to your cheesecake. Excess moisture can compromise the texture of your dessert.
Choosing the Right Chocolate
- Opt for high-quality chocolate: Use chocolate with at least 60% cocoa for a richer flavor. Avoid chocolate chips that contain stabilizers, as they may not melt smoothly.
- Chop finely: When adding chocolate shavings or chunks, chop them into small pieces to ensure even distribution and enhance presentation.
Decoration Variations
Decorating your cheesecake can elevate it from delicious to stunning, making it perfect for any occasion. Here, I’ll share a variety of decoration ideas, including vegan options, gluten-free alternatives, and seasonal decor ideas to suit every preference and dietary need.
Vegan Options
If you’re looking for a vegan twist on cheesecake decorations, consider these ideas:
- Use coconut whipped cream instead of dairy cream. Simply chill a can of coconut milk overnight, scoop out the solidified cream, and whisk until fluffy.
- Top with fresh fruits like strawberries, blueberries, or mango slices for a vibrant, fresh look.
- Drizzle with a homemade berry compote made from simmering equal parts of berries and maple syrup for about 10 minutes until thickened.
Gluten-Free Alternatives
For those avoiding gluten, here are some alternatives to traditional decorations:
- Use almond flour or gluten-free graham crackers for the crust—combine 1 ½ cups of almond flour with 3 tablespoons of melted coconut oil for a perfect base.
- Top your cheesecake with gluten-free chocolate shavings or crumbled gluten-free cookies for added texture.
Seasonal Decor Ideas
Embrace the seasons with these decoration ideas:
“For a festive touch, decorate with edible flowers in the spring, pumpkin puree and spices in the fall, or bright citrus slices in the summer.”
- Spring: Use edible flowers like pansies or violets.
- Summer: Add slices of citrus fruits like oranges or lemons.
- Fall: Swirl in pumpkin puree and sprinkle cinnamon on top.
| Decoration | Dietary Option |
|---|---|
| Coconut Whipped Cream | Vegan |
| Almond Flour Crust | Gluten-Free |
| Fresh Fruits | Vegan & Gluten-Free |
Plating and Serving Suggestions
Presenting your cheesecake beautifully can elevate the dessert experience for your guests. With the right garnishing techniques and pairing suggestions, you can create a stunning display that not only looks appetizing but also complements the flavors of your cheesecake.
Garnishing Techniques
- Fresh Fruit: Top your cheesecake with a mix of berries such as strawberries, blueberries, and raspberries for a pop of color. Aim for about 1 cup total, arranged artfully on top.
- Chocolate Ganache: Drizzle warm ganache made from 4 ounces of dark chocolate and ½ cup of heavy cream over the cheesecake. Let it cool slightly before serving for a glossy finish.
- Whipped Cream: Pipe or dollop freshly whipped cream made from 1 cup of heavy cream, 2 tablespoons of powdered sugar, and 1 teaspoon of vanilla extract around the edges for a fluffy touch.
- Nuts and Seeds: Sprinkle chopped nuts (like pistachios or almonds) or toasted coconut over the top for added texture and flavor. Use about ¼ cup for a nice finish.
Pairing Suggestions
To enhance the cheesecake experience, consider serving it with complementary flavors:
| Cheesecake Flavor | Best Pairings |
|---|---|
| Classic Vanilla | Fresh strawberries, raspberry coulis |
| Chocolate | Chocolate shavings, espresso |
| Lemon | Mint leaves, citrus zest |
| Caramel | Sea salt flakes, toasted pecans |
Chef’s tip: For a striking presentation, serve slices on individual plates with a drizzle of sauce and a sprinkle of garnishes.
Quick Summary
| Prep Time | Cook Time | Total Time | Servings |
|---|---|---|---|
| 20 minutes | 0 minutes | 20 minutes | 8 servings |
- Choose a base: Use whipped cream, chocolate ganache, or fruit compote.
- Layer strategically: Start with a smooth layer before adding textures like nuts or sprinkles.
- Garnish last: Add fresh fruit or herbs just before serving for freshness.
- Use quality ingredients: Fresh fruits and high-quality chocolates enhance flavor.
- Chill before serving: Refrigerate decorated cheesecake for at least 30 minutes to set.
- Tip 1: Use a piping bag for elegant whipped cream designs.
- Tip 2: Always taste your decorations; balance sweetness with acidity.
Frequently Asked Questions
Can I make cheesecake decorations ahead of time? How should I store them?
You can absolutely make cheesecake decorations ahead of time! Store them in an airtight container in the refrigerator for up to 3 days to keep them fresh.
What can I substitute for cream cheese in the decorations?
If you’re looking for a substitute, you can use mascarpone cheese for a similar creamy texture, or a vegan cream cheese if you want a dairy-free option.
How do I know when the cheesecake decorations are set properly?
Your decorations, like ganache or whipped cream, should hold their shape and not run when piped; they’re ready when they look firm but soft to the touch.
Can I freeze cheesecake decorations? How long do they last?
You can freeze certain decorations like chocolate ganache for up to 2 months, but be sure to store them in an airtight container to prevent freezer burn.
What if I don’t have a piping bag for the decorations?
If you don’t have a piping bag, you can use a resealable plastic bag with the corner snipped off to easily pipe your decorations onto the cheesecake.

- Make Cheesecake Up to 3 Days Ahead: Tips for Best Flavor & Texture - March 4, 2026
- Easy No-Bake Cool Doen Cheesecake: Quick Recipe & Tips - March 4, 2026
- Decadent Dulce de Leche Cheesecake: Easy Step-by-Step Recipe - March 4, 2026