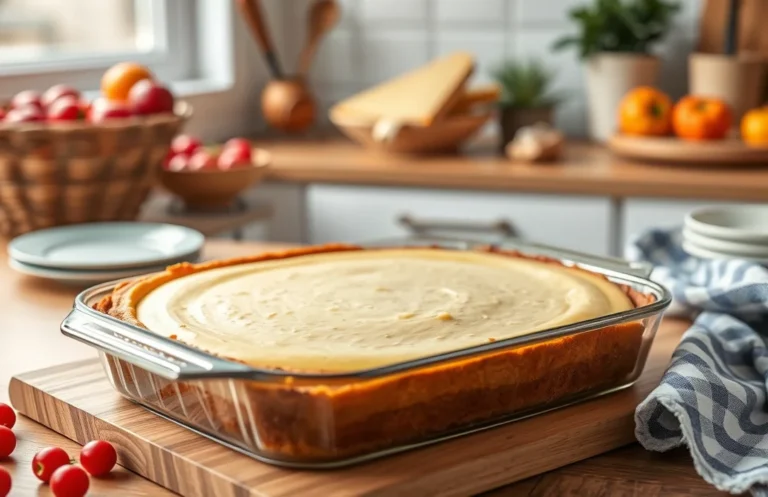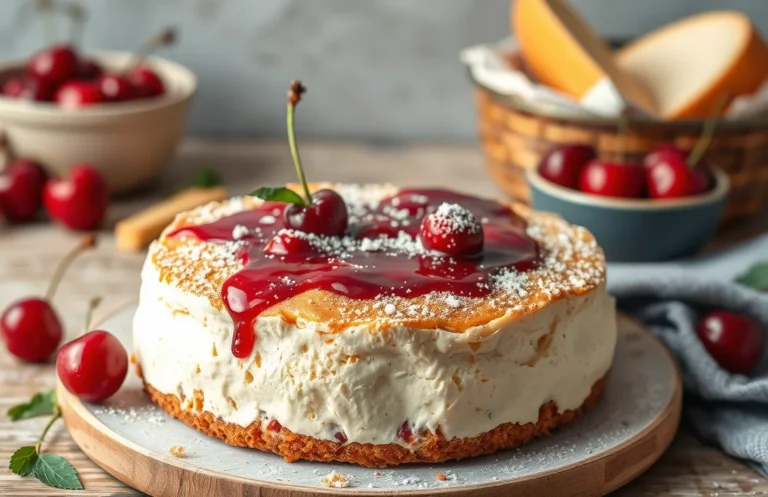
Perfect Philadelphia Cream Cheese Cheesecake Filling Recipe
There’s something undeniably comforting about a luscious cheesecake filling made with Philadelphia cream cheese. It’s that perfect blend of creamy, tangy, and sweet that elevates any dessert, whether you’re serving it at a family gathering or indulging in a weeknight treat. Trust me, once you try this, you’ll want to whip it up again and again!
This cheesecake filling recipe takes just 15 minutes to prepare, is easy enough for beginners, and serves 8 people.
| Prep Time | Cook Time | Total Time | Servings | Difficulty |
|---|---|---|---|---|
| 15 minutes | 0 minutes | 15 minutes | 8 | Easy |
Origin of Cheesecake Filling
The cheesecake filling we know today, especially using Philadelphia cream cheese, has rich cultural roots that reflect its evolution over centuries. This creamy delight not only serves as a delicious dessert but also symbolizes celebration and togetherness across various cultures.
- Cultural Background: Cheesecake has a long history, dating back to ancient Greece. The earliest recorded cheesecake recipe was found in 230 A.D., attributed to the Greek physician Aegimus. As it traveled through time, it evolved into various forms across Europe, but the American version, featuring Philadelphia cream cheese, became popular in the 20th century, thanks to its smooth texture and rich flavor.
- When to Serve: Cheesecake filling is a versatile treat perfect for any occasion. Traditionally served during holidays and celebrations, it shines at birthdays, weddings, and family gatherings. Its creamy texture and delightful taste make it an instant crowd-pleaser, suitable for both casual and formal events.
Ingredients for Cheesecake Filling
This section outlines the key ingredients needed to create a rich and creamy cheesecake filling using Philadelphia cream cheese. Each ingredient plays a crucial role in achieving the perfect texture and flavor, ensuring your cheesecake turns out delicious every time.
| Item | Amount/Specification | Notes |
|---|---|---|
| Philadelphia Cream Cheese | 16 ounces (450g) | Softened to room temperature for easy mixing |
| Sugar | 1 cup (200g) | Granulated sugar for sweetness |
| Sour Cream | ½ cup (120g) | Adds creaminess and tang |
| Vanilla Extract | 1 teaspoon (5ml) | Pure vanilla for flavor |
| Eggs | 3 large | At room temperature for even mixing |
| All-Purpose Flour | 2 tablespoons (15g) | Helps stabilize the filling |
- For a lighter filling, you can substitute half of the cream cheese with Greek yogurt.
- If you’re avoiding gluten, you can omit the flour altogether and still achieve a great texture.
- Ensure all ingredients are at room temperature before mixing to avoid lumps and achieve a smooth consistency.
Essential Kitchen Equipment
Before you begin crafting your cheesecake filling using Philadelphia cream cheese, it’s crucial to gather the right tools. Having the proper equipment on hand will streamline your process and help you achieve that creamy, smooth texture we all love in a cheesecake. Here’s a list of essential kitchen tools you’ll need.
- Mixing Bowls: A set of mixing bowls in various sizes is essential for combining ingredients. I recommend using a large bowl (at least 4-quart capacity) for mixing the cream cheese, sugar, and other ingredients. It’s helpful to have a medium bowl for any additional components, such as eggs or flavorings. Ensure the bowls are made of glass or stainless steel for easy cleaning.
- Electric Mixer: An electric hand mixer or stand mixer is key to achieving a smooth and creamy filling. Use the whisk attachment for whipping the cream cheese until it’s light and fluffy. Mix on medium speed for about 3-5 minutes, scraping down the sides of the bowl as needed. This is important to avoid lumps and ensure a silky texture.
- Measuring Tools: Accurate measurements are critical in baking. Have a set of dry measuring cups and spoons for ingredients like sugar and flour, as well as liquid measuring cups for items like vanilla extract. I recommend using a kitchen scale if you want precision, especially for the cream cheese, which should be 16 ounces (450g) for the filling.
Chef’s tip: Always let your cream cheese come to room temperature before mixing; this prevents lumps and helps create a smoother filling.
Step-by-Step Instructions
This section will guide you through the precise steps to create a smooth and creamy cheesecake filling using Philadelphia cream cheese. Following these instructions will help ensure that your filling has the perfect texture and flavor, making your cheesecake a delightful treat.
- Prepare the Ingredients: Start by gathering your ingredients: 16 ounces (450g) of Philadelphia cream cheese, 1 cup (200g) granulated sugar, 1 teaspoon vanilla extract, 3 large eggs, and 1 cup (240ml) sour cream. Allow the cream cheese to sit at room temperature for about 30 minutes, as this softens it for easier mixing.
- Mix the Cream Cheese and Sugar: In a large mixing bowl, add the softened cream cheese and granulated sugar. Using an electric mixer on medium speed, beat the mixture for about 2-3 minutes until it’s smooth and creamy, with no lumps. The mixture should be glossy and slightly airy, with a sweet aroma.
- Add Vanilla and Eggs: Next, add 1 teaspoon of vanilla extract to the bowl. Beat in the eggs, one at a time, mixing for about 30 seconds after each addition. This will help incorporate air into the filling, resulting in a lighter texture. The filling should look creamy and slightly thicker after this step.
- Incorporate the Sour Cream: Gently fold in 1 cup of sour cream with a spatula until fully combined. This adds richness and tang to the filling. Be careful not to overmix; you want it to remain smooth without any lumps. The texture should be velvety and uniform.
- Check the Consistency: The filling should be thick yet pourable. If it’s too thick, you can add a splash of milk or cream to reach desired consistency. It should easily dollop from a spoon but hold its shape. If it’s too runny, refrigerate for 10-15 minutes to firm up slightly.
- Cool Before Baking: Once mixed, let the filling sit at room temperature for 10 minutes before pouring it into your prepared crust. This helps to stabilize the mixture. If you notice any bubbles on the surface, gently tap the bowl to release them for a smoother finish.
Pro Tips for Perfect Filling
Creating the perfect cheesecake filling with Philadelphia cream cheese requires attention to detail. These expert tips will help you achieve a creamy texture, enhance the flavor, and prevent common pitfalls like cracks in your cheesecake.
- Room Temperature Ingredients: Ensure your Philadelphia cream cheese, eggs, and sour cream are at room temperature before mixing. This helps to create a smooth, lump-free filling. If the cream cheese is cold, it can result in a grainy texture.
- Whisking Techniques: Use an electric mixer on medium speed to beat the cream cheese until it’s light and fluffy, about 2-3 minutes. This incorporates air, giving your cheesecake a lighter texture. Be cautious not to overmix after adding eggs, as this can lead to cracks.
- Flavor Boosters: Consider adding 1 tablespoon of vanilla extract or 1 teaspoon of lemon zest to elevate the flavor. These ingredients complement the cream cheese beautifully and add a refreshing brightness to your filling.
- Preventing Cracks: To reduce the chances of cracks forming on the surface, bake your cheesecake in a water bath. Wrap the springform pan in aluminum foil to prevent water from seeping in, and place it in a larger pan filled with hot water. This method helps to regulate the baking temperature.
- Cooling Strategy: After baking, turn off the oven and crack the door open, allowing the cheesecake to cool slowly for about an hour. This gradual cooling process helps prevent sudden temperature changes, which can cause cracks.
Variations and Substitutions
This section offers various options for dietary modifications and ingredient swaps for your cheesecake filling made with Philadelphia cream cheese. Whether you need gluten-free alternatives, vegan options, or want to explore unique flavor variations, there’s something here for everyone.
| Item | Amount/Specification | Notes |
|---|---|---|
| Gluten-Free Crust | 1 ½ cups almond flour (150g) | Mix with 3 tablespoons melted butter and 1 tablespoon sugar. |
| Vegan Cream Cheese | 8 ounces (226g) | Look for brands like Tofutti or Kite Hill for a similar texture. |
| Sweetener | ½ cup maple syrup (120ml) | Use in place of granulated sugar for a vegan option. |
| Citrus Zest | 1 tablespoon | Add lemon, lime, or orange zest for extra flavor. |
| Chocolate Variation | ½ cup cocoa powder (50g) | Mix into the filling for a chocolate cheesecake. |
- For a lighter filling, consider using 1 cup of Greek yogurt mixed with your cream cheese.
- To enhance flavor, incorporate 1 teaspoon vanilla extract or your favorite extract to match your chosen flavor.
- For a fruit-infused filling, fold in 1 cup of pureed fruit, like strawberries or raspberries, after mixing the cream cheese.
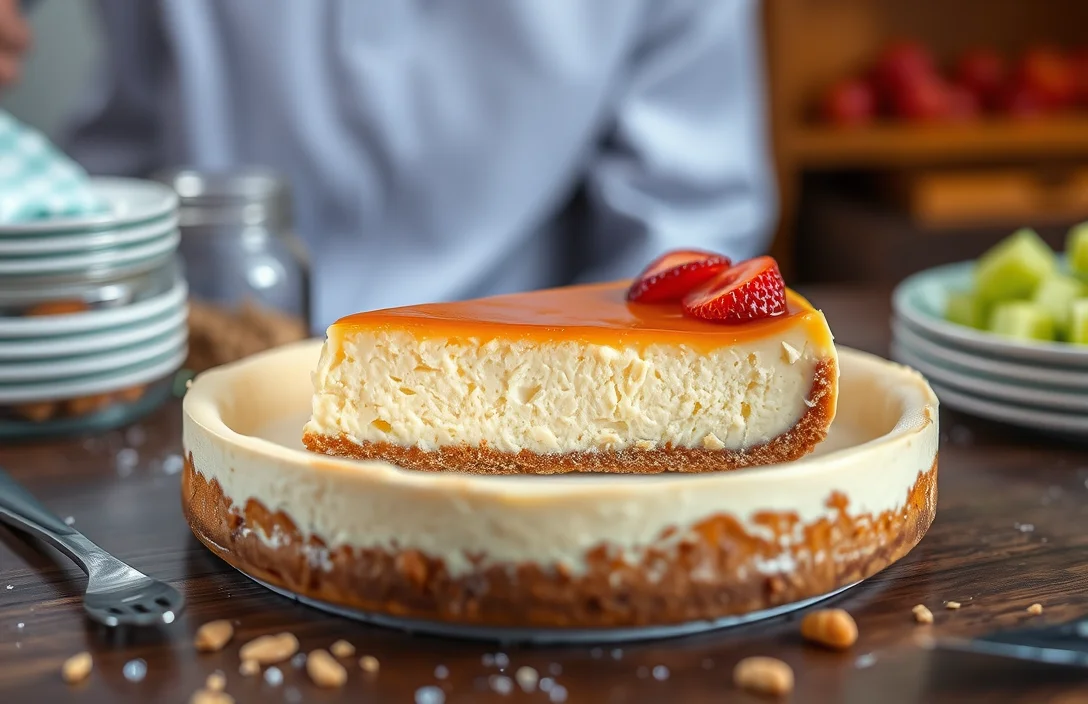
Serving and Plating Ideas
Once you’ve mastered the cheesecake filling with Philadelphia cream cheese, the fun begins with serving and presentation. The way you plate and garnish your cheesecake can elevate its appearance and flavor, making every slice feel special.
Garnishing Options
- Fresh Berries: Top your cheesecake with a mix of strawberries, blueberries, and raspberries for a pop of color and a tart contrast to the creamy filling.
- Chocolate Drizzle: Melt ½ cup of semi-sweet chocolate chips with 1 tablespoon of vegetable oil and drizzle over the cheesecake for a rich touch.
- Whipped Cream: Pipe lightly sweetened whipped cream around the edges for a classic look. Use 1 cup heavy cream and 2 tablespoons powdered sugar, whipped until soft peaks form.
- Citrus Zest: Grate some lemon or orange zest over the top for a refreshing zing that brightens the flavors.
Pairing Flavors
Complement your cheesecake with flavors that enhance its richness:
- Caramel Sauce: A drizzle of homemade or store-bought caramel can add a sweet, buttery note.
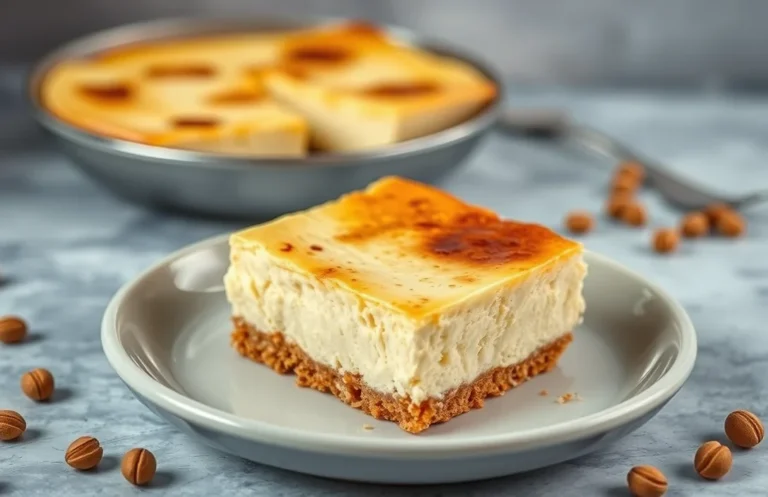
- Nutty Crust: Consider using crushed pecans or walnuts in your crust for added texture and flavor.
- Coffee: Serve with a side of espresso or coffee to balance the sweetness.
Presentation Tips
For an elegant touch, serve your cheesecake slices on chilled plates and garnish just before serving to keep toppings fresh.
Cut the cheesecake with a hot knife (dip the blade in hot water and dry it) for clean edges, and dust with powdered sugar for an extra touch of sophistication. Remember, the visual appeal is just as important as the taste!
Quick Summary
| Prep Time | Cook Time | Total Time | Servings |
|---|---|---|---|
| 15 minutes | 0 minutes | 15 minutes | 8 servings |
- Soften cream cheese: Let 16 oz of Philadelphia cream cheese sit at room temperature for 30 minutes.
- Mix ingredients: Combine softened cream cheese, 1 cup sugar, and 1 tsp vanilla in a bowl.
- Add eggs gradually: Beat in 2 large eggs one at a time until fully incorporated.
- Avoid lumps: Blend on low speed until smooth for a creamy texture.
- Chill before serving: Refrigerate for at least 4 hours to set properly.
- Use room temperature: Ensure all ingredients are at room temperature for easy mixing.
- Don’t overmix: Overmixing can introduce air, leading to cracks during chilling.
Frequently Asked Questions
Can I make this ahead of time? How to store and reheat?
You can definitely make cheesecake filling ahead of time! Store it in an airtight container in the refrigerator for up to 3 days, and give it a quick stir before using.
What can I substitute for Philadelphia cream cheese?
If you can’t find Philadelphia cream cheese, you can use Neufchâtel cheese as a lighter alternative, or even mascarpone for a richer flavor.
How do I know when it’s done?
Your cheesecake filling is done when it’s smooth and creamy, and it holds its shape but still has a slight jiggle in the center when you gently shake the bowl.
Can I freeze this? How long does it last?
You can freeze the cheesecake filling for up to 2 months in an airtight container, but it’s best to use it fresh for the best texture and flavor.
What if I don’t have a hand mixer?
If you don’t have a hand mixer, you can use a whisk and some elbow grease to mix the filling by hand; just be prepared to whisk vigorously for a few minutes to achieve a smooth consistency.

- Make Cheesecake Up to 3 Days Ahead: Tips for Best Flavor & Texture - March 4, 2026
- Easy No-Bake Cool Doen Cheesecake: Quick Recipe & Tips - March 4, 2026
- Decadent Dulce de Leche Cheesecake: Easy Step-by-Step Recipe - March 4, 2026