Delicious Low-Calorie Cheesecake Recipes for Guilt-Free Indulgence
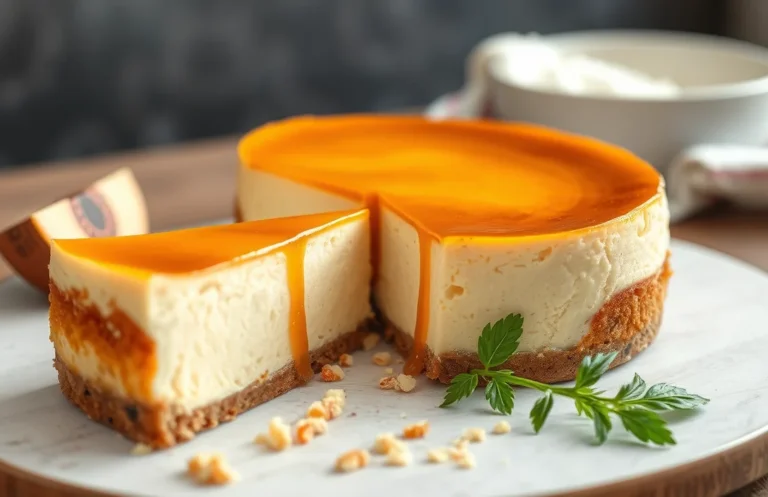
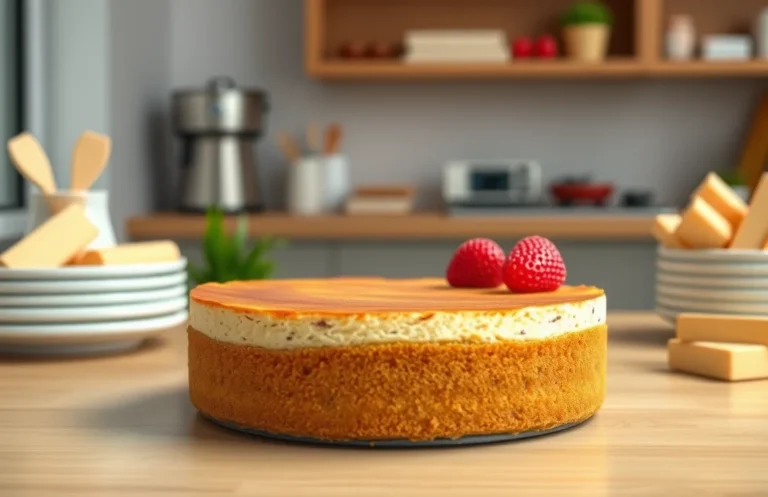
Cheesecake holds a special place in my heart—it’s the ultimate crowd-pleaser that never fails to impress. With its rich, creamy texture and delightful sweetness, it’s a dessert that feels indulgent yet can be made healthier without sacrificing flavor. Imagine biting into a slice that’s both satisfying and guilt-free!
Get ready for a selection of 5 delicious cheesecake recipes that are lower in calories, sugar, and fat. Each comes with exact measurements, cooking times, and tips to ensure your success.
| Prep Time | Cook Time | Total Time | Servings | Difficulty |
|---|---|---|---|---|
| 20 minutes | 45 minutes | 1 hour 5 minutes | 8 | Medium |
Cheesecake Origins
Understanding the origins of cheesecake provides insight into its evolution over the centuries, particularly as it relates to healthier variations. From ancient Greece to modern times, cheesecake has transformed, reflecting changes in dietary preferences and ingredient availability.
- Ancient Roots: Cheesecake is believed to date back to ancient Greece, where it was served to athletes during the Olympic Games. This early version was made from simple ingredients like cheese, honey, and wheat, showcasing the potential for a nutritious dessert.
- Roman Influence: The Romans adopted the Greek cheesecake, adding eggs and cream, which made it richer. As it spread throughout Europe, regional variations began to emerge, incorporating local ingredients and flavors while maintaining the core concept of a creamy cheese base.
- American Adaptation: When cheesecake made its way to America, cream cheese became a popular ingredient, leading to the now-iconic New York-style cheesecake. This version is denser and richer, often high in calories and fat, sparking the need for lighter alternatives.
- Healthier Variations: In recent years, there has been a significant rise in healthier cheesecake recipes that use alternatives like Greek yogurt, reduced-fat cream cheese, or sweeteners like honey and maple syrup. These variations allow cheesecake lovers to enjoy the dessert with fewer calories and less sugar, making it suitable for a wider audience.
Ingredients for Healthier Cheesecake
In this section, we’ll explore the key ingredients that make a healthier cheesecake while still maintaining that creamy, indulgent flavor we all love. By selecting the right cream cheese alternatives and sweeteners, you can enjoy a delicious dessert without compromising on health.
| Item | Amount/Specification | Notes |
|---|---|---|
| Reduced-fat cream cheese | 16 ounces (450g) | Use in place of regular cream cheese for fewer calories. |
| Greek yogurt (plain, non-fat) | 1 cup (240g) | Adds creaminess and protein while lowering fat content. |
| Granulated stevia or monk fruit sweetener | ½ cup (100g) | Natural sweeteners that provide sweetness without the calories. |
| Vanilla extract | 1 teaspoon (5ml) | Adds flavor without extra sugar. |
| Eggs | 2 large | Bind the ingredients; can be substituted with flax eggs for vegan options. |
| Almond flour or oat flour | 1 cup (100g) | Healthier crust option instead of traditional graham crackers. |
- Common Mistake: Avoid using low-fat cream cheese that contains fillers, which can affect texture.
- For a gluten-free option, choose almond flour or a gluten-free flour blend.
- To reduce sugar even more, adjust the amount of sweetener to your taste preference.
Essential Kitchen Tools
To create a delicious and healthier cheesecake, having the right kitchen tools is essential. These tools will help you prepare your ingredients efficiently and ensure your cheesecake comes out perfectly every time. Below is a list of must-have equipment and prep steps to get you started.
- Springform Pan: A 9-inch springform pan is ideal for baking cheesecake. The removable sides allow easy access to the cake once it’s set. Ensure the pan is tightly sealed to prevent any leaks during baking.
- Mixing Bowls: Use at least two mixing bowls—one for the crust and another for the filling. Opt for glass or stainless steel bowls, which are easier to clean and won’t retain odors. A large bowl for the filling should be big enough to allow for thorough mixing without splattering.
- Electric Mixer: A hand mixer or stand mixer will give you the best results for blending the cream cheese until smooth and creamy. Mix on medium speed to avoid incorporating too much air, which can lead to cracks in your cheesecake.
- Rubber Spatula: A sturdy rubber spatula is crucial for folding in any whipped ingredients or scraping down the sides of your mixing bowl. This ensures that all ingredients are well incorporated and none are left at the bottom of the bowl.
- Measuring Cups and Spoons: Accurate measurements are key for a successful cheesecake. Use dry measuring cups for solids like flour and sugar, and liquid measuring cups for ingredients like yogurt or milk. Precision will help you maintain the desired texture and flavor.
- Food Processor (optional): If you’re making a crust with nuts or cookies, a food processor is a great tool to achieve a fine crumb. Pulse until the mixture resembles sand, and be careful not to over-process into a paste.
Chef’s tip: Always prepare your ingredients in advance to streamline the baking process and avoid any last-minute surprises!
Step-by-Step Baking Instructions
This section will guide you through the essential steps of mixing the cheesecake base, baking it, and cooling it properly. Following these instructions will help ensure a creamy, delicious cheesecake with a healthier twist, perfect for guilt-free indulgence.
Mixing the Base
- Preheat your oven to 325°F (160°C). This temperature is ideal for baking a cheesecake without creating cracks. While the oven heats, prepare your crust.
- In a medium bowl, combine 1 cup of almond flour (96g) and 2 tablespoons of coconut oil. Mix until crumbly. This healthier crust option will provide a nutty flavor and lower carbs than traditional graham crackers.
- Press the mixture firmly into the bottom of a 9-inch springform pan to create an even layer. Use the back of a measuring cup to compact it. Bake the crust for 10 minutes until slightly golden and fragrant, then let it cool while you prepare the filling.
Baking and Cooling
- In a large mixing bowl, combine 16 oz (450g) of reduced-fat cream cheese, ½ cup (100g) of sugar substitute (like erythritol), and 1 teaspoon of vanilla extract. Beat with an electric mixer on medium speed until smooth and creamy, about 2-3 minutes. The mixture should feel fluffy and not grainy.
- Add 2 large eggs, one at a time, mixing well after each addition. This will help maintain a smooth texture. If you see any lumps, beat a little longer until fully incorporated.
- Pour the cheesecake filling over the cooled crust. Smooth the top with a spatula. Do not open the oven door during the first 30 minutes to avoid cracking. Bake for 45-50 minutes until the edges are set but the center slightly jiggles.
- Turn off the oven and crack the door open, allowing the cheesecake to cool gradually for 1 hour. This gradual cooling helps prevent cracks. After an hour, refrigerate for at least 4 hours or overnight before serving.
Pro Tips and Common Pitfalls
Making a healthier cheesecake can be a rewarding experience, but there are specific techniques and common mistakes that can affect the final outcome. Here are some essential tips to ensure a creamy, satisfying texture while avoiding pitfalls associated with baking temperatures.
Texture Tips
- Use room temperature ingredients: Ensure that your cream cheese and eggs are at room temperature (about 70°F or 21°C) before mixing. This helps to create a smoother batter without lumps, resulting in a creamy cheesecake.
- Don’t overmix: After adding the eggs, mix just until combined. Overmixing can introduce too much air, leading to cracks on the surface during baking. The batter should be smooth but not fluffy.
- Add a sour cream layer: For extra creaminess and to balance sweetness, consider adding a layer of low-fat sour cream mixed with a touch of vanilla. Spread it on top before baking for a delightful finish.
Baking Temperature Advice
- Preheat your oven properly: Always preheat your oven to 325°F (160°C) before baking your cheesecake. A consistent temperature is crucial for even baking and helps prevent cracks.
- Bake in a water bath: To keep your cheesecake moist, place your springform pan in a larger baking dish filled with hot water. This method helps regulate the temperature and prevents the cheesecake from drying out.
- Check for doneness: Your cheesecake is done when the edges are set but the center still has a slight jiggle. It will firm up as it cools. If you overbake, you risk a dry texture.
Variations and Dietary Options
Finding the right cheesecake recipe that fits your dietary needs can be a delightful challenge. This section provides variations and substitutions for creating vegan and gluten-free cheesecake options without sacrificing flavor or texture.
Vegan Cheesecake
| Item | Amount/Specification | Notes |
|---|---|---|
| Cashews | 1½ cups (225g), soaked for 4 hours | Blend until smooth for a creamy texture |
| Coconut cream | 1 cup (240ml) | Use the solid part from a chilled can |
| Maple syrup | ½ cup (120ml) | For natural sweetness |
| Vanilla extract | 1 teaspoon | Adds flavor depth |
Gluten-Free Options
| Item | Amount/Specification | Notes |
|---|---|---|
| Almond flour | 1½ cups (150g) | Perfect for crust, gluten-free base |
| Coconut oil | ½ cup (120ml) | Use melted for easy mixing |
| Honey or agave syrup | ¼ cup (60ml) | Sweeten your crust |
- For vegan creaminess, ensure cashews are fully blended until there are no lumps.
- Check labels on all pre-packaged ingredients to confirm they are gluten-free.
- Don’t skip soaking the cashews; it’s crucial for a smooth texture.
- Test the consistency of your cheesecake before setting it in the fridge; it should be thick but pourable.
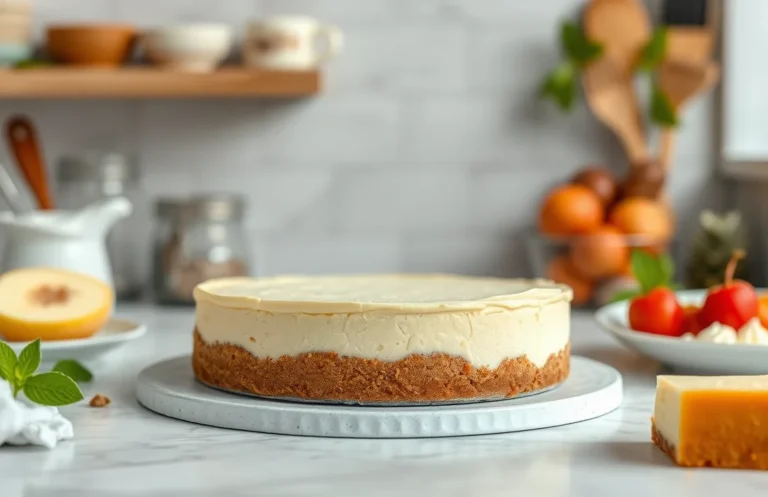
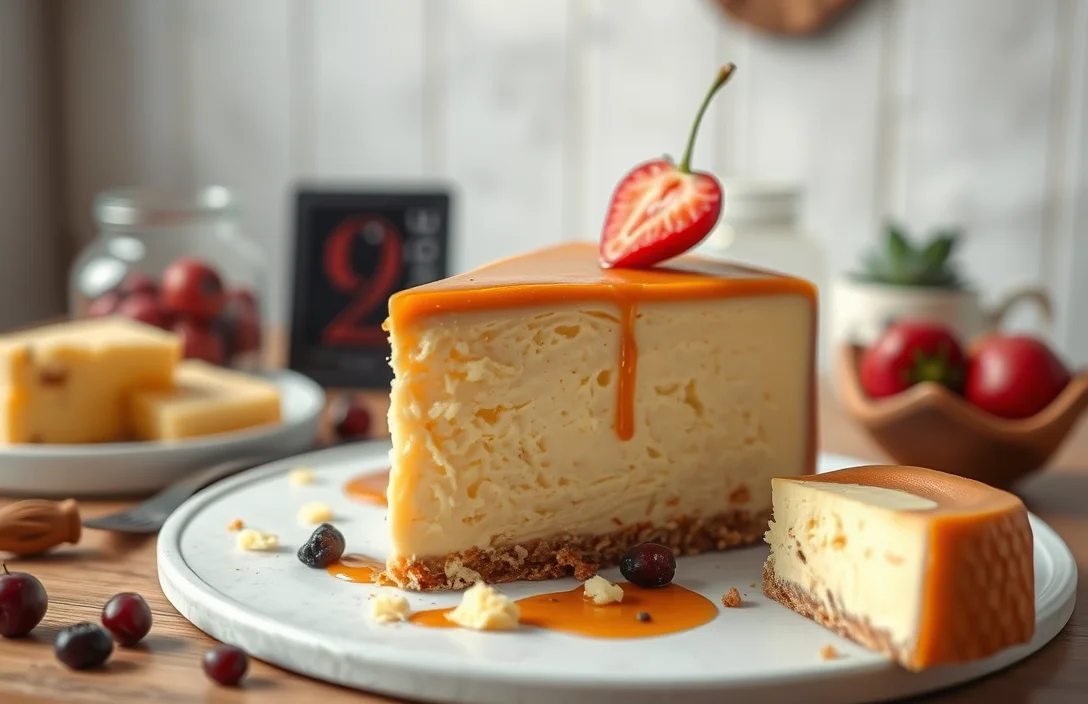
Serving and Plating Ideas
Presenting your healthier cheesecake can elevate the dessert experience. Thoughtful garnishing and pairing with complementary flavors not only enhance visual appeal but also enrich the taste profile. Here are some delightful suggestions for serving and plating your cheesecake.
Garnishing Tips
- Fresh Berries: Top your cheesecake with a mix of strawberries, blueberries, and raspberries for a pop of color and natural sweetness. Aim for about 1 cup of mixed berries.
- Mint Leaves: Add a few fresh mint leaves alongside the berries for a refreshing aroma.
- Citrus Zest: Grate a teaspoon of lemon or orange zest over the cheesecake to add brightness and a hint of citrus flavor.
- Light Drizzle: For added flavor, drizzle some honey or agave syrup (1-2 teaspoons) over the top right before serving.
Pairing Beverages
Selecting the right beverage can enhance your cheesecake experience. Here are some pairing ideas:
- Herbal Tea: A chamomile or peppermint tea complements the creaminess of the cheesecake beautifully.
- Sparkling Water: A refreshing sparkling water with a splash of lemon or lime can cleanse the palate.
- Red Wine: A light-bodied red wine, like Pinot Noir, pairs well with berry-topped cheesecakes.
Chef’s tip: Serve the cheesecake chilled to enhance its creamy texture and keep the flavors vibrant.
By incorporating these garnishing and beverage pairing suggestions, your healthier cheesecake will not only taste great but look stunning on any dessert table!
Quick Recipe Summary
This section provides a concise overview of the essential details for making a healthier cheesecake. Whether you’re watching your calories, sugar, or fat intake, these steps and ingredients will guide you through a delicious yet guilt-free dessert.
Key Ingredients
- 1 ½ cups low-fat cream cheese (340g)
- ½ cup Greek yogurt (120g)
- ⅓ cup honey or maple syrup (100g)
- 2 large eggs
- 1 teaspoon vanilla extract
- 1 cup almond flour (100g) for crust
- 2 tablespoons coconut oil, melted (30ml)
- ¼ teaspoon salt
Quick Steps
- Preheat your oven to 325°F (160°C). Grease a 9-inch springform pan lightly with coconut oil to prevent sticking.
- In a mixing bowl, combine the almond flour, melted coconut oil, and salt. Press this mixture firmly into the bottom of the prepared pan to form the crust, then bake for 10 minutes until lightly golden.
- In another bowl, beat the low-fat cream cheese until smooth. Gradually add in the Greek yogurt, honey, eggs, and vanilla extract, mixing until the batter is creamy and well-combined, about 2-3 minutes.
- Pour the cheesecake filling over the baked crust and spread it evenly. Bake in the preheated oven for 30-35 minutes, or until the edges are set and the center is slightly jiggly.
- Once baked, turn off the oven and crack the door open, letting the cheesecake cool in the oven for 1 hour to prevent cracks. Refrigerate for at least 4 hours before serving for the best texture.
Chef’s tip: For a lighter cheesecake, substitute half of the cream cheese with silken tofu for a creamy texture without the extra calories.
Quick Summary
| Prep Time | 15 minutes |
|---|---|
| Cook Time | 60 minutes |
| Total Time | 1 hour 15 minutes |
| Servings | 8 |
- Use low-fat cream cheese: It reduces calories without sacrificing flavor.
- Incorporate Greek yogurt: Adds creaminess and protein.
- Bake in a water bath: Ensures even cooking and prevents cracks.
- Cool gradually: Let the cheesecake cool in the oven to avoid sudden temperature changes.
- Chill overnight: Enhances flavor and texture for the best results.
Frequently Asked Questions
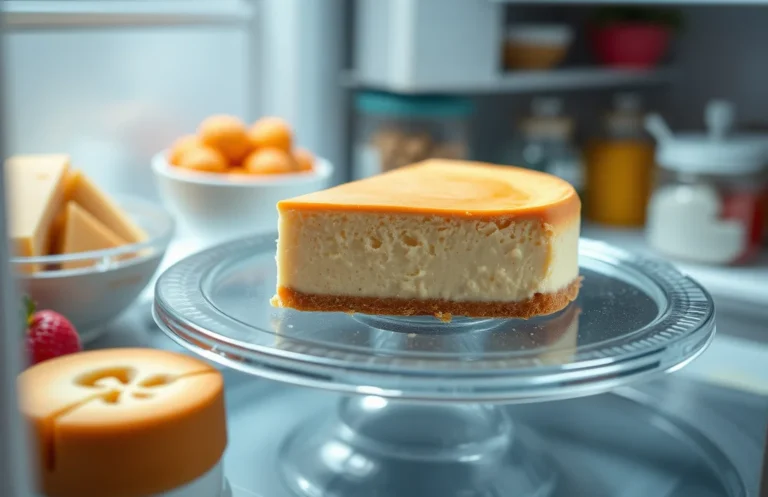
Can I make this cheesecake ahead of time? How to store and reheat?
You can definitely make this cheesecake up to 2 days in advance. Store it in the refrigerator, covered tightly with plastic wrap, and simply serve it cold; no reheating is necessary!
What can I substitute for cream cheese?
If you want a healthier option, you can substitute Greek yogurt or cottage cheese blended until smooth for cream cheese. This will give you a similar texture with fewer calories and more protein.
How do I know when the cheesecake is done?
The cheesecake is done when the edges are set but the center still has a slight jiggle, about 1 inch in the middle. It will continue to set as it cools, so avoid overbaking!
Can I freeze this cheesecake? How long does it last?
Yes, you can freeze cheesecake for up to 3 months if wrapped tightly in plastic wrap and then aluminum foil. Thaw it in the refrigerator overnight before serving for the best texture.
What if I don’t have a springform pan?
If you don’t have a springform pan, you can use a 9-inch round cake pan instead, but make sure to line it with parchment paper for easy removal. Just run a knife around the edges before inverting to release the cheesecake.

- Decadent Peanut Butter No-Bake Cheesecake: Easy Recipe to Indulge - April 3, 2026
- Delicious Mango No-Bake Cheesecake: Step-by-Step Recipe - April 3, 2026
- Decadent Raspberry No-Bake Cheesecake: Easy Step-by-Step Recipe - April 3, 2026