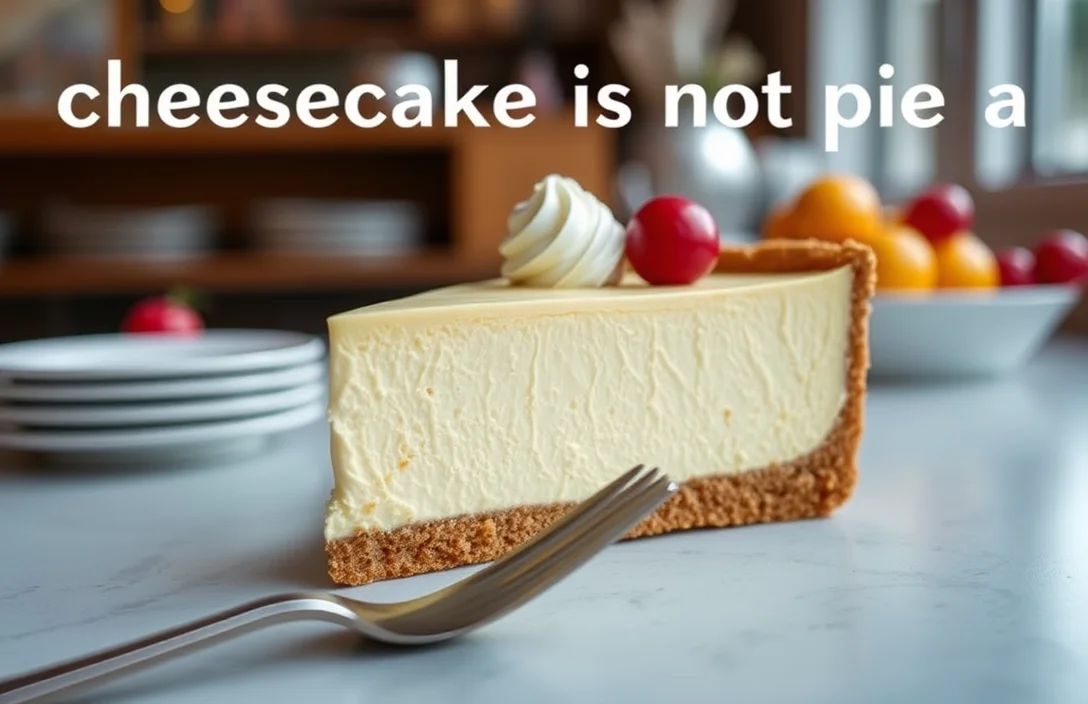
Why Cheesecake Isn’t Pie: Recipes & Insights You’ll Love
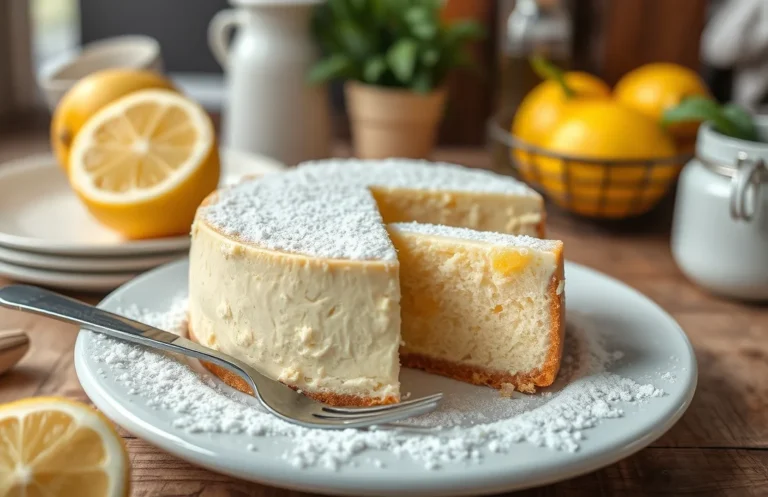
Cheesecake is a creamy, dreamy delight that transforms any gathering into a celebration. Each velvety slice melts in your mouth, offering a perfect balance of sweetness and tang. Whether topped with fresh berries or drizzled with chocolate, it’s a dessert that always impresses, making it an irresistible choice for weeknight treats or special occasions.
Key details: Total time: 1 hour 30 minutes, Difficulty level: Easy, Servings: 8.
| Prep Time | Cook Time | Total Time | Servings | Difficulty |
|---|---|---|---|---|
| 20 minutes | 60 minutes | 1 hour 30 minutes | 8 | Easy |
Cheesecake History
Understanding the origins and significance of cheesecake helps clarify why it stands apart from pies. Cheesecake’s unique ingredients and preparation methods reflect its rich cultural history, setting it in a category of its own.
- Origin of Cheesecake: The earliest known cheesecake dates back to Ancient Greece, where it was served to athletes during the first Olympic Games around 776 B.C. Made with simple ingredients like cheese, honey, and flour, it was a nourishing dish. The Romans later adapted this recipe, adding eggs and baking it, leading to early versions of what we recognize today.
- Cultural Significance: Cheesecake has evolved through various cultures, each adding unique twists. In New York, a rich, dense style became popular, characterized by cream cheese and a graham cracker crust. In contrast, Italian cheesecake often features ricotta cheese and is lighter in texture. This diversity showcases how cheesecake is more than just a dessert; it’s a part of culinary heritage across the globe.
Ingredients Breakdown
Understanding the ingredients that make up cheesecake and pie is essential in grasping why these two desserts are categorized so differently. Each relies on a unique combination of components that not only affect the flavor but also the texture and overall experience of the dish.
Cheesecake Ingredients
| Item | Amount/Specification | Notes |
|---|---|---|
| Cream cheese | 16 oz (450g) | Softened for easy mixing |
| Sugar | 1 cup (200g) | Granulated for sweetness |
| Sour cream | ½ cup (120g) | Adds tanginess and creaminess |
| Eggs | 3 large | Room temperature for better incorporation |
| Vanilla extract | 1 teaspoon | For flavoring |
| Graham cracker crumbs | 1 ½ cups (150g) | For the crust |
| Unsalted butter | ½ cup (115g) | Melted for crust binding |
Pie Ingredients
| Item | Amount/Specification | Notes |
|---|---|---|
| All-purpose flour | 2 ½ cups (312g) | For the pie crust |
| Butter | 1 cup (227g) | Cold and cubed for flaky crust |
| Granulated sugar | ¼ cup (50g) | For sweetness in the crust |
| Salt | 1 teaspoon | Enhances flavor |
| Filling (e.g., fruit, custard) | 3-4 cups | Varies by pie type |
- Cheesecakes are characterized by creamy, dense fillings made primarily from cheese, while pies usually have a flaky crust with various fillings.
- Cheesecakes require careful baking at lower temperatures to prevent cracking, while pies often bake at higher temperatures for crust browning.
- To substitute for allergies, use dairy-free cream cheese for cheesecakes or gluten-free crusts for pies.
Essential Kitchen Tools
Creating a cheesecake involves specific tools that set it apart from pie-making. Understanding which equipment you’ll need will streamline your baking process and ensure your cheesecake turns out perfectly smooth and creamy.
- Springform Pan: A 9-inch (23 cm) springform pan is essential for cheesecake. Its removable sides allow for easy release of the delicate cheesecake without damaging its shape. Make sure to grease the bottom and sides lightly with butter or cooking spray to prevent sticking.
- Mixing Bowls: Use at least two medium-sized mixing bowls, preferably glass or stainless steel, for combining your ingredients. One bowl is for mixing the cream cheese and the other for the egg mixture. This separation helps maintain the smooth texture of your cheesecake ingredients.
- Electric Mixer: A hand mixer or stand mixer is ideal for achieving a creamy, lump-free batter. Beat the cream cheese on medium speed until smooth, which usually takes about 1-2 minutes. Avoid over-mixing once you add eggs to prevent air bubbles in your cheesecake.
- Spatula: A silicone spatula is great for folding in ingredients gently without deflating the batter. Use it to scrape down the sides of the bowl and ensure all ingredients are well combined.
- Rubber Gloves (Optional): If you have sensitive skin or want to keep your hands clean, wearing gloves while mixing ingredients or handling the crust can be helpful. This is especially useful when working with buttery or sticky mixtures.
- Water Bath (Bain-Marie): To prevent cracking, prepare a water bath by placing the springform pan in a larger baking dish filled with hot water. This will help regulate the temperature during baking and keep the cheesecake moist.
Step-by-Step Cheesecake Recipe
Making a cheesecake may seem daunting, but with the right steps, you’ll create a delicious dessert that stands apart from pies. This section outlines detailed preparation and baking instructions to ensure your cheesecake turns out perfectly every time.
Ingredients
- 1 ½ cups graham cracker crumbs (150g)
- ⅓ cup granulated sugar (67g)
- ½ cup unsalted butter, melted (115g)
- 4 packages cream cheese, softened (32 oz or 900g)
- 1 cup granulated sugar (200g)
- 4 large eggs
- 1 teaspoon vanilla extract
- 1 cup sour cream (240g)
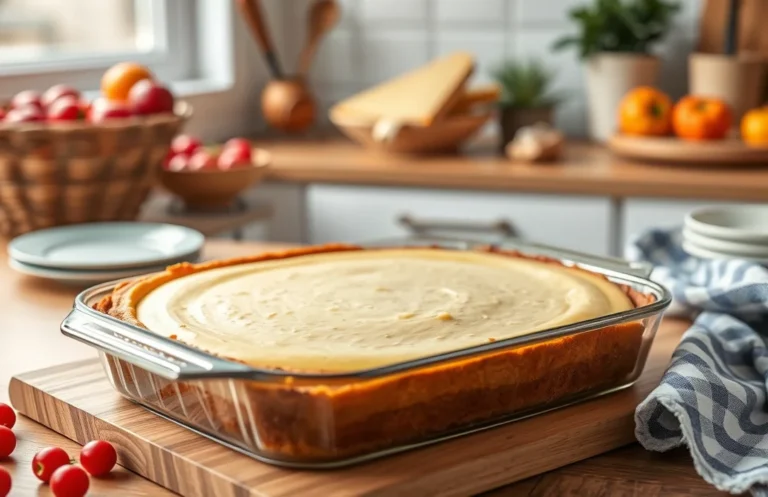
Preparation Steps
- Preheat your oven to 325°F (160°C). This temperature is ideal for slow and even baking, preventing cracks on the surface of your cheesecake.
- In a mixing bowl, combine the graham cracker crumbs, ⅓ cup sugar, and melted butter. Mix until the texture resembles wet sand. Press this mixture firmly into the bottom of a 9-inch springform pan to form a crust.
- In another large bowl, beat the softened cream cheese with an electric mixer on medium speed until smooth and creamy, about 2-3 minutes. Make sure there are no lumps for a velvety texture.
- Gradually add 1 cup of sugar and beat until combined. Add the eggs, one at a time, mixing well after each addition. Stir in the vanilla extract and sour cream until fully blended.
- Pour the cheesecake filling over the crust in the springform pan, smoothing the top with a spatula. Tap the pan lightly on the counter to release any air bubbles that may have formed.
Baking Instructions
- Bake in the preheated oven for 50-60 minutes. The edges should be set, but the center should still have a slight jiggle. This indicates a creamy texture.
- Once baked, turn off the oven and leave the cheesecake inside for 1 hour to cool gradually. This helps prevent cracking.
- Remove the cheesecake from the oven and let it cool to room temperature. Then refrigerate for at least 4 hours, or overnight for the best flavor and texture.
Chef’s tip: To avoid cracks, do not open the oven door during baking, especially in the first 30 minutes.
Professional Tips
Mastering cheesecake can be a delightful yet delicate endeavor. To ensure your cheesecake stands out for all the right reasons, it’s essential to avoid common pitfalls and achieve the perfect texture. Here are some expert tips to help you along the way.
Avoiding Cracks
Cracks in your cheesecake can be disheartening, but they can often be prevented with a few careful techniques:
- Don’t overmix: When combining your cream cheese and sugars, mix until just smooth. Overmixing can incorporate too much air, leading to cracks during baking.
- Use a water bath: Place your cheesecake pan inside a larger pan filled with hot water. This helps maintain even temperature and moisture, reducing the risk of cracks.
- Cool gradually: After baking, turn off the oven and leave the cheesecake inside for an hour before removing it. This gradual cooling process helps prevent sudden temperature changes, which can cause cracking.
Texture Tips
The texture of your cheesecake is crucial for that creamy, melt-in-your-mouth experience. Follow these guidelines:
- Room temperature ingredients: Ensure cream cheese, eggs, and sour cream are at room temperature before mixing. This allows for a smoother batter and a better rise.
- Don’t skimp on the cream: Using full-fat cream cheese and sour cream is key. Low-fat versions can result in a watery texture.
Pro Tip: For an ultra-smooth texture, strain your batter through a fine-mesh sieve before pouring it into the crust.
| Ingredient | Amount |
|---|---|
| Cream Cheese | 16 oz (450g) |
| Sour Cream | 1 cup (240g) |
| Granulated Sugar | 1 cup (200g) |
Cheesecake Variations
Cheesecake offers a delightful canvas for creativity, allowing for various flavor profiles and dietary modifications. Understanding these variations not only enhances your baking repertoire but also caters to a wider audience with different dietary needs.
Flavor Variations
- Classic New York Style: Creamy and rich, made with 4 (8-ounce) packages of cream cheese, 1 cup granulated sugar, and 4 large eggs.
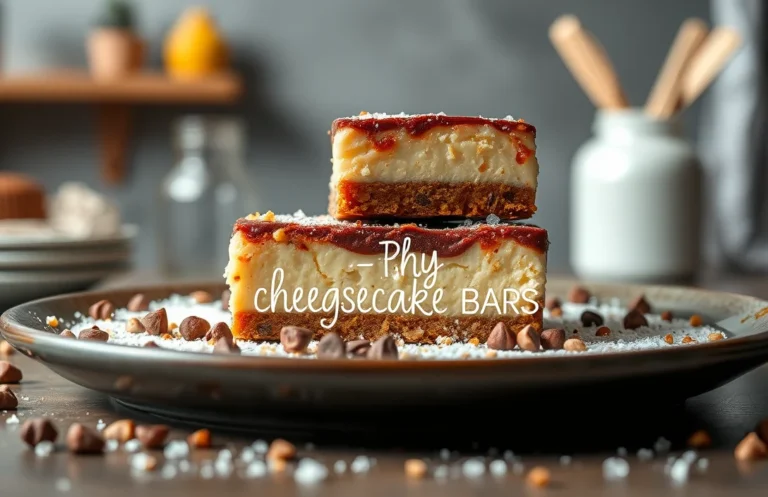
- Chocolate Cheesecake: Add 1 cup of melted dark chocolate to the classic recipe for a luscious twist.
- Fruit-Topped Cheesecake: Incorporate 1 cup of pureed strawberries or blueberries into the batter for a fruity infusion.
- Matcha Cheesecake: Mix in 2 tablespoons of matcha powder for a unique flavor and vibrant green color.
Dietary Modifications
Cheesecake can be adapted to suit various dietary preferences without sacrificing flavor. Here are some modifications:
- Dairy-Free: Substitute cream cheese with 4 (8-ounce) packages of vegan cream cheese and use coconut milk instead of sour cream.
- Gluten-Free: Replace graham cracker crust with crushed gluten-free cookies or almond flour mixed with ¼ cup melted butter.
- Low-Sugar: Use 1 cup of erythritol or another sugar substitute to reduce sugar content without losing sweetness.
Chef’s tip: Always taste your batter before baking; this allows you to adjust sweetness or flavor intensity to your preference.
| Ingredient | Amount |
|---|---|
| Cream Cheese | 32 ounces (4 packages) |
| Sugar | 1 cup (200g) |
| Eggs | 4 large |
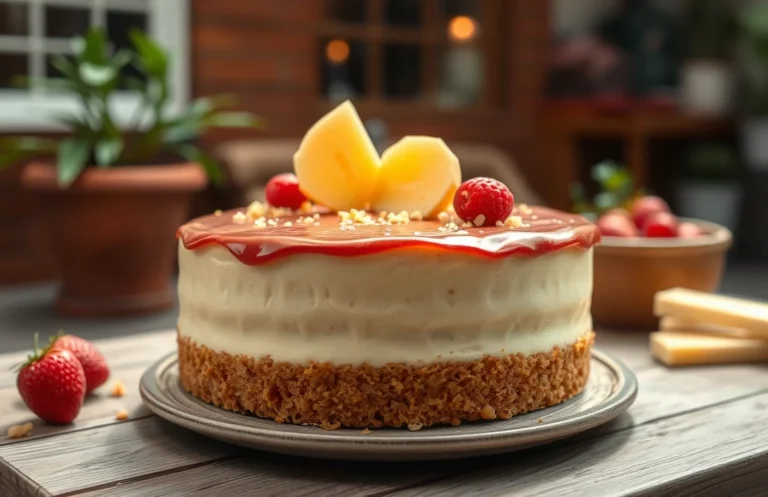
Serving Cheesecake
Serving cheesecake can elevate its enjoyment and highlight its unique characteristics, setting it apart from traditional pies. With the right plating and pairing suggestions, you can create a delightful presentation that enhances the flavors of this rich dessert.
Plating Tips
- Use a sharp knife to cut neat slices, dipping it in hot water for cleaner cuts.
- Place each slice on a chilled plate to maintain the cheesecake’s temperature and texture.
- Garnish with a dollop of whipped cream (about 2 tablespoons), fresh berries, or a drizzle of chocolate sauce for visual appeal.
- Consider adding a sprig of mint on top for a pop of color and freshness.
Pairing Suggestions
Pairing your cheesecake with complementary flavors can enhance its taste and create a well-rounded dessert experience. Here are some suggestions:
| Cheesecake Flavor | Ideal Pairings |
|---|---|
| Classic New York | Fresh strawberries or raspberry sauce |
| Chocolate | Chocolate shavings or a scoop of vanilla ice cream |
| Fruit-flavored | Fruit coulis or a light citrus sorbet |
| Caramel | Salted caramel sauce or toasted nuts |
Chef’s tip: Serve cheesecake slightly chilled to allow the flavors to shine without being too cold.
By thoughtfully plating and pairing your cheesecake, you can provide a memorable experience that celebrates its distinctiveness as a dessert, separate from the realm of pies.
Quick Summary
| Prep Time | 15 minutes |
|---|---|
| Cook Time | 60 minutes |
| Total Time | 1 hour 15 minutes |
| Servings | 8 slices |
- Crust choice: Use graham cracker crumbs for a classic base.
- Mixing: Blend cream cheese until smooth to avoid lumps.
- Baking temperature: Bake at 325°F (163°C) for even cooking.
- Water bath: Use this method to prevent cracks in the cheesecake.
- Cooling: Let the cheesecake cool gradually to room temperature.
- Tip: Always chill overnight for the best texture.
- Tip: Avoid overmixing once eggs are added to maintain creaminess.
Frequently Asked Questions
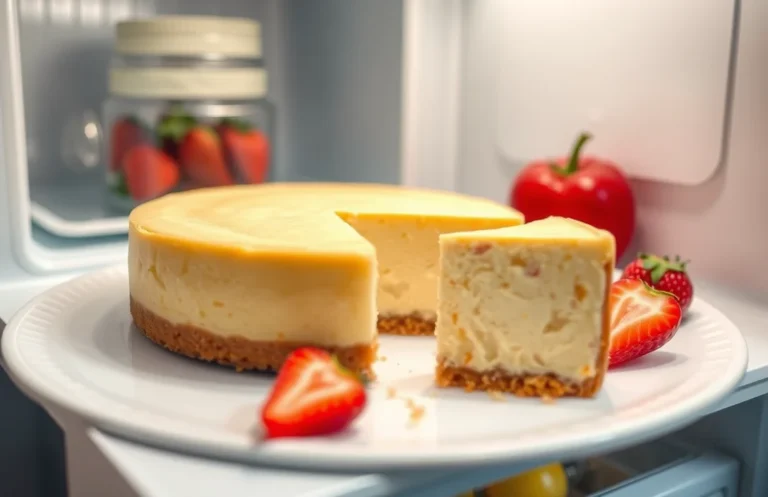
Can I make this ahead of time? How to store and reheat?
You can make cheesecake up to 2 days ahead of serving. Store it in the refrigerator, covered tightly with plastic wrap or in an airtight container, and serve chilled directly from the fridge.
What can I substitute for cream cheese?
If you need a substitute for cream cheese, you can use mascarpone cheese or a blend of cottage cheese and sour cream for a similar texture and taste.
How do I know when it’s done?
Your cheesecake is done when the edges are set but the center still has a slight jiggle — it will firm up as it cools. Check for doneness around the 50-60 minute mark in the oven.
Can I freeze this? How long does it last?
You can freeze cheesecake for up to 3 months; just ensure it’s well-wrapped in plastic wrap and aluminum foil. Thaw it in the refrigerator overnight before serving for the best texture.
Why did my cheesecake crack on top?
If your cheesecake cracked, it may have been baked at too high a temperature or cooked for too long; bake at 325°F (160°C) and use a water bath for even cooking. Remember to avoid overmixing the batter to prevent incorporating too much air.

- Make Cheesecake Up to 3 Days Ahead: Tips for Best Flavor & Texture - March 4, 2026
- Easy No-Bake Cool Doen Cheesecake: Quick Recipe & Tips - March 4, 2026
- Decadent Dulce de Leche Cheesecake: Easy Step-by-Step Recipe - March 4, 2026