Decadent Cheesecake Recipe: Step-by-Step from Preppy Kitchen
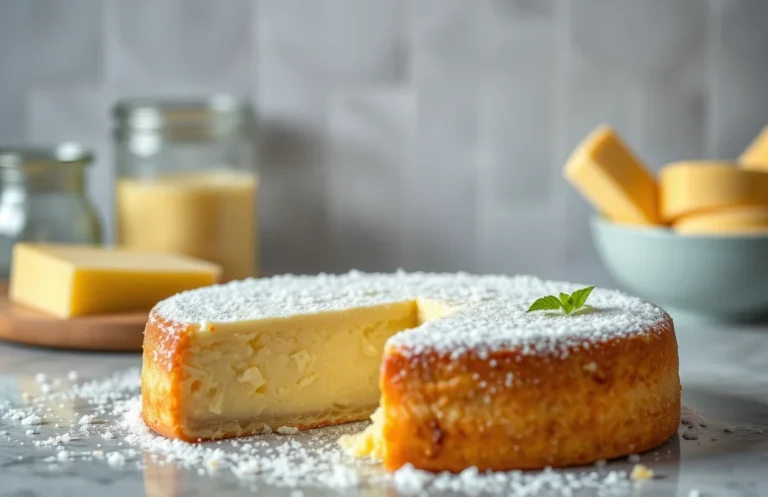
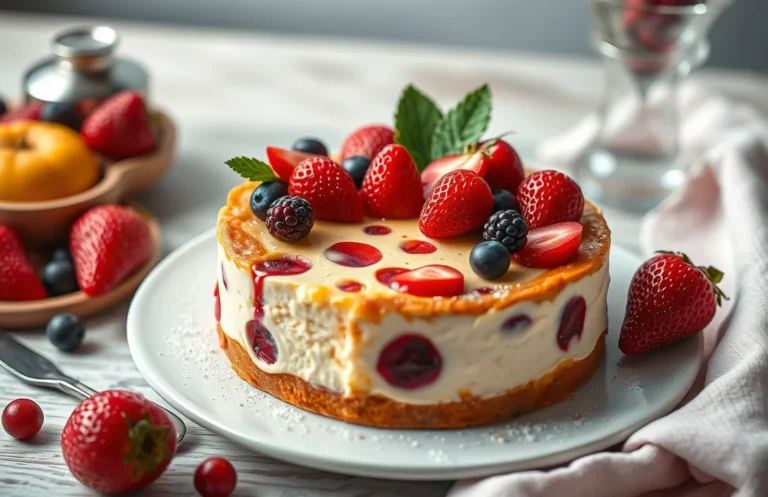
Cheesecake is the ultimate dessert that brings joy to any occasion, whether it’s a cozy weeknight treat or the star of your holiday table. Its creamy texture and sweet tang make every bite an experience worth savoring. With just the right amount of sweetness and a buttery crust, this cheesecake is bound to impress!
This cheesecake recipe takes approximately 1 hour and 15 minutes to make, is rated intermediate in difficulty, and serves 8-10 people. Follow my step-by-step instructions for a foolproof dessert that will have everyone asking for seconds!
| Prep Time | Cook Time | Total Time | Servings | Difficulty |
|---|---|---|---|---|
| 15 minutes | 60 minutes | 1 hour 15 minutes | 8-10 | Intermediate |
Cheesecake Origins
The rich history of cheesecake is as layered as the dessert itself. Understanding its origins not only deepens our appreciation for this delicious treat but also connects us to the various cultures that have embraced and adapted it over centuries.
- Historical Background: Cheesecake dates back to ancient Greece, where it was served to athletes during the first Olympic Games in 776 B.C. Made with simple ingredients like cheese, honey, and flour, it was considered a source of energy and nourishment.
- Cultural Significance: Over the centuries, cheesecake has evolved and adapted to different cultures. In Italy, the ricotta-based version became popular, while in the U.S., cream cheese took center stage in the classic New York style. Each variation tells a story of local ingredients and traditions, making cheesecake a beloved dessert worldwide.
Ingredients List
This section provides a detailed breakdown of the ingredients you’ll need for the perfect cheesecake, along with precise measurements. Having everything organized will ensure a smooth baking experience and a delicious end result!
| Item | Amount/Specification | Notes |
|---|---|---|
| Cream Cheese | 24 ounces (680g) | Softened to room temperature for easy mixing |
| Granulated Sugar | 1 cup (200g) | Adjust to taste if you prefer a less sweet cheesecake |
| Eggs | 3 large | At room temperature for better incorporation |
| Sour Cream | 1 cup (240g) | Adds creaminess and a slight tang |
| Vanilla Extract | 1 tablespoon (15ml) | Use pure vanilla extract for the best flavor |
| Graham Crackers | 1 ½ cups (150g) | Crushed for the crust |
| Unsalted Butter | ½ cup (113g) | Melted for binding the crust |
- For a gluten-free option, substitute graham crackers with gluten-free cookies or almond flour.
- Make sure your cream cheese is fully softened to avoid lumps in the batter.
- Check for freshness of eggs; they should be within the expiration date for best results.
Kitchen Equipment
Before diving into the delightful process of making your cheesecake, it’s essential to gather the right kitchen equipment. Having the right tools on hand not only makes the task easier but also ensures that your cheesecake comes out perfectly every time.
- Baking Pan: A 9-inch springform pan is ideal for cheesecake, as it allows for easy removal once it’s set. If you don’t have a springform pan, a regular 9-inch round pan will work, but you’ll need to be more careful when serving. Ensure the pan is well-greased or lined with parchment paper to prevent sticking.
- Mixer: A stand mixer or a hand mixer is crucial for achieving a smooth and creamy filling. If using a stand mixer, use the paddle attachment on low speed to avoid incorporating too much air, which can cause cracks in your cheesecake. Mix until the batter is just smooth—avoid over-mixing!
- Measuring Tools: Accurate measurements are key in baking. Use dry measuring cups for solids like flour and sugar, and liquid measuring cups for ingredients like sour cream and vanilla extract. A kitchen scale can be useful for precise measurements, especially for cream cheese, where 16 ounces should weigh exactly 1 pound.
- Spatula: A rubber spatula is essential for scraping down the sides of your mixing bowl and folding in ingredients carefully. This ensures you don’t leave behind clumps of cream cheese or sour cream, which could affect the texture of your cheesecake.
- Cooling Rack: Once your cheesecake is baked, transferring it to a cooling rack is critical for even cooling. This prevents condensation from forming on the surface, which can lead to a soggy crust.
Cooking Instructions
This section will guide you through the precise steps to create the perfect cheesecake from scratch. We’ll cover preparing the crust, mixing the filling, and the baking process, ensuring you achieve a smooth and creamy dessert every time.
- Preparing the Crust: Preheat your oven to 350°F (175°C). In a medium bowl, combine 1 ½ cups (150g) of graham cracker crumbs, ⅓ cup (40g) of granulated sugar, and ½ cup (115g) of melted unsalted butter. Mix until the crumbs are well-coated and resemble wet sand. Press the mixture firmly into the bottom of a 9-inch (23cm) springform pan to create an even layer. Bake for 10 minutes, then let it cool while you prepare the filling.
- Mixing the Filling: In a large mixing bowl, beat 4 (8 oz) packages of softened cream cheese until smooth and creamy, about 2 minutes. Gradually add 1 cup (200g) of granulated sugar and mix until fully incorporated. Add 1 teaspoon of vanilla extract and 4 large eggs, one at a time, mixing thoroughly after each addition. The mixture should be thick and creamy, with no lumps remaining.
- Baking Process: Pour the cream cheese filling over the cooled crust in the springform pan. Bake in the preheated oven for 55-60 minutes. The edges should be set while the center remains slightly jiggly. After baking, turn off the oven and leave the cheesecake inside for another hour to prevent cracking. Once cooled, chill in the refrigerator for at least 4 hours or overnight before serving.
Pro Tips & Mistakes
Perfecting a cheesecake requires attention to detail, especially when it comes to achieving that creamy, smooth texture and avoiding unsightly cracks. Here are some expert tips to help you create a flawless cheesecake that impresses every time.
Achieving Smooth Texture
- Use room temperature ingredients: Allow your cream cheese, eggs, and sour cream to sit at room temperature (about 70°F or 21°C) for at least 30 minutes before mixing. This helps them blend seamlessly, resulting in a creamy batter without lumps.
- Mix gently: When incorporating ingredients, use a low speed on your mixer or fold by hand with a spatula. Overmixing can introduce too much air, leading to cracks during baking.
- Strain the batter: For an ultra-smooth texture, pour your batter through a fine-mesh sieve before pouring it into the crust. This removes any small lumps and ensures a velvety finish.
Avoiding Cracks
- Water bath method: Baking your cheesecake in a water bath (bain-marie) helps regulate the temperature and prevents the edges from cooking too quickly. Wrap your springform pan in aluminum foil and place it in a larger baking pan filled with hot water.
- Don’t open the oven door: Opening the oven door while baking can cause a sudden drop in temperature, leading to cracks. Resist the urge to peek for at least the first 30 minutes of baking.
- Cool slowly: Once baked, turn off the oven and crack the door open. Let the cheesecake cool in the oven for about an hour before transferring it to a wire rack. This gradual cooling process reduces the chances of cracks forming.
Recipe Variations
Exploring different flavors and dietary options for your cheesecake can elevate your dessert game. Whether you want to impress guests with unique flavors or accommodate specific dietary needs, these variations will ensure there’s a cheesecake for everyone!
Flavored Cheesecakes
Transform your classic cheesecake into a flavor sensation! Here are some popular options:
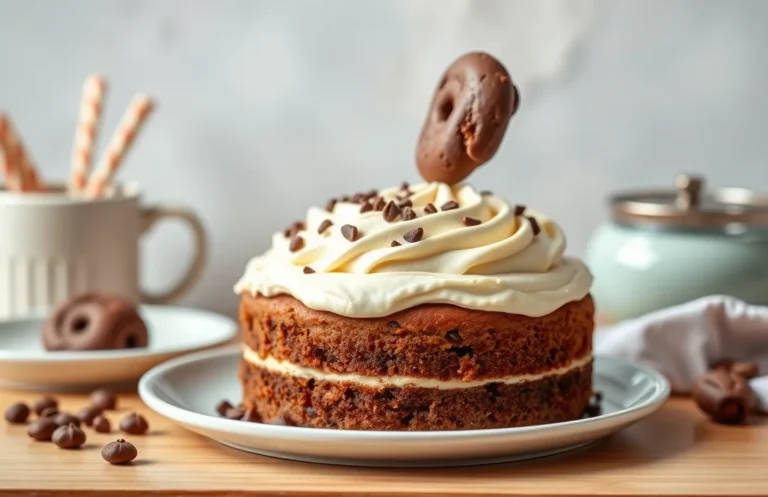
- Chocolate Cheesecake: Add ½ cup (50g) unsweetened cocoa powder to the cream cheese mixture for a rich chocolate flavor.
- Fruit Swirl Cheesecake: Fold in 1 cup of your favorite fruit puree (like raspberry or strawberry) before pouring into the crust for a vibrant twist.
- Matcha Cheesecake: Mix in 2 tablespoons of culinary-grade matcha powder to the batter for a unique, earthy flavor.
- Caramel Pecan Cheesecake: Drizzle ½ cup (150g) caramel sauce and fold in 1 cup of chopped pecans for a sweet and crunchy texture.
Gluten-Free Options
If you’re catering to gluten-free diets, it’s simple to adapt your cheesecake. Here are some suggestions:
- Gluten-Free Crust: Substitute the graham crackers with gluten-free cookie crumbs or almond flour. Use 1½ cups (150g) of gluten-free cookie crumbs mixed with ½ cup (115g) of melted butter.
- Thickeners: Ensure any thickening agents like cornstarch or gelatin are labeled gluten-free.
Chef’s tip: Always check ingredient labels for hidden gluten, especially in processed foods!
When experimenting with flavors and dietary adaptations, keep an eye on the baking time as it may vary slightly based on the added ingredients.
Serving Suggestions
Serving your cheesecake beautifully can elevate the entire experience, making it even more delightful for you and your guests. Here are some garnishing ideas and beverage pairings that will complement your cheesecake perfectly.
Garnishing Ideas
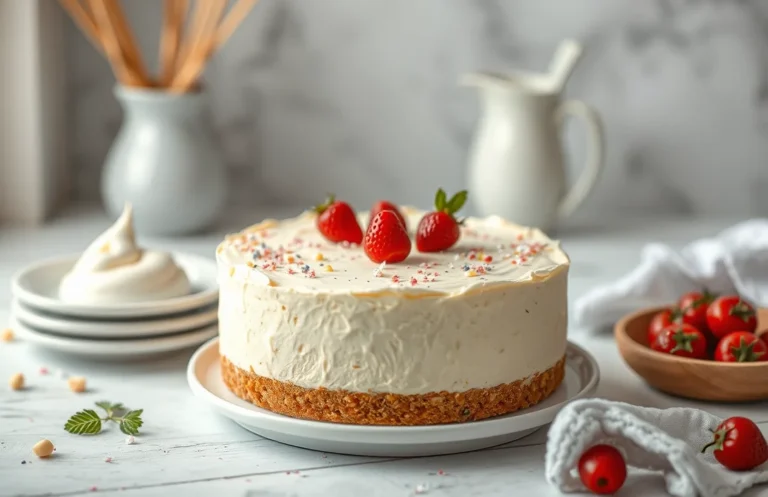
- Fresh Berries: Top with a mix of raspberries, blueberries, or strawberries for a pop of color and tartness.
- Chocolate Drizzle: Melt ½ cup of dark chocolate and drizzle it over the cheesecake for a rich flavor contrast.
- Whipped Cream: Lightly sweeten 1 cup of heavy cream and whip until soft peaks form, then dollop on top.
- Citrus Zest: Grate some lemon or orange zest over the top for a refreshing aroma and bright flavor.
Beverage Pairings
Choosing the right beverage can enhance the flavors of your cheesecake. Here are some excellent options:
| Beverage | Flavor Profile |
|---|---|
| Chardonnay | Creamy and buttery, complements the richness of the cheesecake. |
| Espresso | Strong and bold, provides a delightful contrast to the sweetness. |
| Berry Smoothie | Fresh and fruity, enhances the berry flavors if you choose to top with fruit. |
| Herbal Tea | Light and aromatic, a soothing choice that balances the richness. |
Chef’s tip: Always serve cheesecake chilled for the best texture and flavor experience. It should feel firm yet creamy when you slice into it!
Quick Summary
| Prep Time | Cook Time | Total Time | Servings |
|---|---|---|---|
| 20 minutes | 1 hour | 4 hours (including chilling) | 8 servings |
- Preheat the oven to 325°F (163°C) before starting.
- Prepare the crust with crushed graham crackers and melted butter, then press firmly into the pan.
- Beat cream cheese until smooth before adding sugar and other ingredients for a lump-free filling.
- Bake in a water bath to prevent cracking and ensure even cooking.
- Cool the cheesecake at room temperature for at least an hour before chilling in the fridge.
- Tip: Use room temperature ingredients for a silky texture.
- Tip: Avoid overmixing to prevent air bubbles that cause cracks.
- Tip: Chill overnight for the best flavor and texture.
Frequently Asked Questions
Can I make this ahead of time? How to store and reheat?
You can absolutely make this cheesecake ahead of time! Store it in the refrigerator for up to 5 days, and if you want to reheat it, let it sit at room temperature for about 30 minutes before serving.
What can I substitute for cream cheese?
If you’re looking for a substitute, you can use mascarpone cheese for a similar texture and flavor. For a lighter option, Greek yogurt can work, but it will alter the taste slightly.
How do I know when it’s done?
Your cheesecake is done when the edges are set but the center is slightly jiggly, which usually takes about 55-60 minutes at 325°F. It will continue to firm up as it cools, so don’t overbake!
Can I freeze this? How long does it last?
You can freeze your cheesecake for up to 2 months if it’s wrapped tightly in plastic wrap and then aluminum foil. Just let it thaw in the refrigerator overnight before serving for the best texture.
Why did my cheesecake crack on top?
Cracking often happens due to rapid temperature changes; make sure you bake it in a water bath to create a moist environment. If it cracks, don’t fret—just cover it with a layer of whipped cream for a delicious disguise!

- Decadent Peanut Butter No-Bake Cheesecake: Easy Recipe to Indulge - April 3, 2026
- Delicious Mango No-Bake Cheesecake: Step-by-Step Recipe - April 3, 2026
- Decadent Raspberry No-Bake Cheesecake: Easy Step-by-Step Recipe - April 3, 2026