Decadent Chocolate Cheesecake: Step-by-Step Preppy Kitchen Recipe
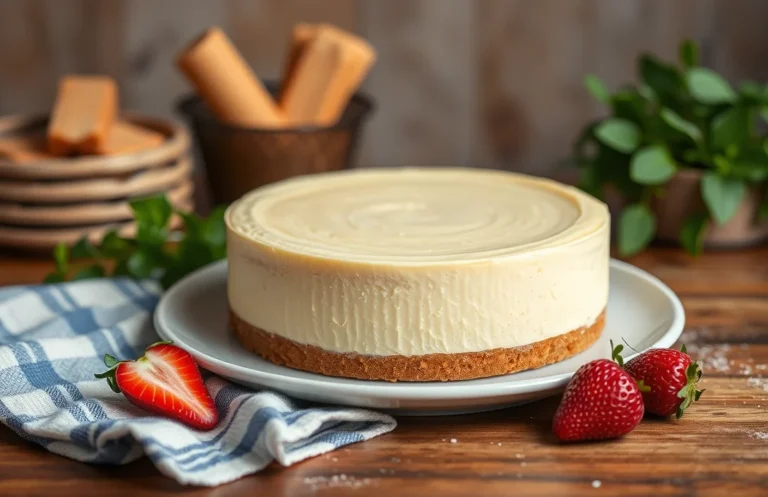
If you’re craving a rich, velvety dessert that never fails to impress, this chocolate cheesecake is your answer. With a creamy filling and a chocolatey crust, it’s the kind of treat that turns any gathering into a celebration. Each bite melts in your mouth, making it a go-to for special occasions or simply a cozy night in.
Total time: 6 hours (including chilling), Difficulty level: Intermediate, Servings: 10-12 slices.
| Prep Time | Cook Time | Total Time | Servings | Difficulty |
|---|---|---|---|---|
| 30 minutes | 1 hour | 6 hours | 10-12 | Intermediate |
Chocolate Cheesecake Origins
Chocolate cheesecake is a delightful fusion of rich chocolate and creamy cheesecake, bringing together two beloved desserts into one indulgent treat. Its history reflects the evolution of cheesecake itself, making it a unique choice for celebrations and special occasions.
- Historical Background: Cheesecake dates back to ancient Greece, where it was served to athletes during the first Olympic Games. Over the centuries, this creamy dessert evolved, with the introduction of cream cheese in the early 1900s in the United States. The addition of chocolate came later, capturing the hearts of dessert lovers and making chocolate cheesecake a staple in bakeries and homes alike.
- Special Occasions: Chocolate cheesecake is ideal for various celebrations, from birthdays to anniversaries. Its rich flavor and elegant appearance make it a perfect centerpiece for gatherings. Whether served at a holiday feast or a casual dinner party, this dessert is sure to impress your guests and leave them craving more.
Ingredients for Success
To create a chocolate cheesecake that’s rich, creamy, and absolutely decadent, it’s crucial to have the right ingredients on hand. Below, you’ll find a detailed list of what you need for the crust, filling, and topping, complete with measurements and some helpful notes.
| Item | Amount/Specification | Notes |
|---|---|---|
| Graham cracker crumbs | 1 ½ cups (150g) | Can substitute with crushed Oreo cookies for a chocolate crust. |
| Granulated sugar | 2 tablespoons (25g) | Enhances sweetness in crust. |
| Unsalted butter | 6 tablespoons (85g), melted | Use real butter for best flavor. |
| Cream cheese | 24 ounces (680g), softened | Make sure it’s at room temperature for easy mixing. |
| Granulated sugar | 1 cup (200g) | Adjust to taste if you prefer less sweet. |
| Cocoa powder | ½ cup (50g) | Use unsweetened for best results. |
| Sour cream | 1 cup (240ml) | Adds creaminess and tang. |
| Vanilla extract | 1 teaspoon (5ml) | Use pure vanilla for the best flavor. |
| Eggs | 4 large | Room temperature for better mixing. |
| Chocolate ganache | 1 cup (240ml) for topping | Made from 8 oz (225g) chocolate and ½ cup (120ml) heavy cream. |
- Ensure all dairy products are at room temperature to achieve a smooth filling.
- For a gluten-free option, use gluten-free graham crackers or almond flour.
- Don’t skip the sour cream; it balances the sweetness and adds richness.
Essential Kitchen Tools
To create the perfect chocolate cheesecake, having the right tools on hand is essential. This section outlines the necessary baking equipment and mixing utensils, along with prep steps to ensure a smooth and enjoyable cheesecake-making experience.
- 9-inch springform pan: This pan allows for easy removal of the cheesecake after baking. Make sure to grease the bottom with butter or line it with parchment paper for easier release.
- Mixing bowls: Use at least two medium to large mixing bowls for combining the crust and filling components. Glass or stainless steel bowls are preferable as they do not retain odors or stains.
- Electric mixer: A handheld or stand mixer will help achieve a smooth and creamy cheesecake filling. Beat the cream cheese until it’s light and fluffy, which should take about 2-3 minutes on medium speed.
- Rubber spatula: This tool is crucial for scraping down the sides of the bowl and folding ingredients without deflating the mixture. Use it to gently incorporate whipped cream into the filling.
- Measuring cups and spoons: Accurate measurements are vital for baking success. Use dry measuring cups for flour and sugar, and liquid measuring cups for ingredients like cream and melted butter.
- Food processor: Use this to finely crush your graham crackers for the crust. Pulse them until you reach a sand-like consistency, which should take about 30 seconds.
- Oven thermometer: To ensure accurate baking temperatures, especially if your oven is older. Position it in the center of the oven for the most reliable reading.
- Cooling rack: Once baked, the cheesecake needs to cool completely before serving. Place it on a cooling rack to allow air circulation around the pan.
Step-by-Step Baking Instructions
Making a chocolate cheesecake requires precision and care, but the results are well worth the effort. This section will guide you through preparing the crust, making the filling, and the baking process, ensuring your cheesecake turns out rich and creamy.
- Prepare the Crust: Preheat your oven to 350°F (175°C). In a mixing bowl, combine 1 ½ cups (150g) of graham cracker crumbs, ¼ cup (50g) of granulated sugar, and ½ cup (115g) of melted unsalted butter. Mix until the crumbs are evenly moistened. Press this mixture firmly into the bottom and slightly up the sides of a 9-inch (23cm) springform pan. Bake for 10 minutes until set and fragrant.
- Make the Filling: In a large mixing bowl, beat 24 ounces (680g) of cream cheese at room temperature until smooth and fluffy, about 2-3 minutes. Gradually add 1 cup (200g) of granulated sugar and beat until combined. Add ¾ cup (180ml) of sour cream, ½ cup (120ml) of heavy cream, 3 large eggs, and 1 teaspoon of vanilla extract. Mix until just combined, being careful not to overbeat.
- Add Chocolate: Melt 8 ounces (225g) of semi-sweet chocolate over a double boiler or in the microwave, stirring until smooth. Allow it to cool slightly before folding it gently into the cream cheese mixture until fully incorporated. The mixture should be glossy and thick.
- Bake the Cheesecake: Pour the filling into the cooled crust, smoothing the top with a spatula. Bake in the preheated oven for 55-60 minutes. The cheesecake should be set around the edges but slightly jiggly in the center. Do not open the oven door during the first 40 minutes to prevent cracks.
- Cool the Cheesecake: Once baked, turn off the oven and crack the door open, letting the cheesecake cool slowly inside for about 1 hour. This helps prevent cracking. Afterward, remove it from the oven and let it cool completely at room temperature before refrigerating for at least 4 hours, preferably overnight.
Pro Tips for Perfect Cheesecake
Creating a flawless chocolate cheesecake requires attention to detail and knowing what to avoid. By following these expert tips and being aware of common pitfalls, you can ensure your cheesecake is rich, creamy, and beautifully set every time.
- Use room temperature ingredients: Allow your cream cheese, eggs, and sour cream to sit out for about 30 minutes before mixing. This helps achieve a smooth, lump-free batter and ensures even baking.
- Don’t overmix: When combining your ingredients, mix just until they are incorporated. Overmixing can introduce too much air, leading to cracks during baking as the cheesecake expands.
- Monitor baking time: Bake your cheesecake at 325°F (163°C) for 55-65 minutes. It should be set around the edges but still slightly jiggly in the center—this will help it firm up as it cools.
- Use a water bath: To prevent cracks and ensure even cooking, place your cheesecake pan in a larger pan filled with hot water. This creates a humid environment that helps the cheesecake bake gently.
- Cool gradually: After baking, turn off the oven and crack the door open slightly. Let the cheesecake cool in the oven for 1 hour before transferring it to the fridge. This prevents sudden temperature changes that can cause cracking.
- Chill before serving: For the best flavor and texture, refrigerate your cheesecake for at least 4 hours, preferably overnight. This allows the flavors to meld and the texture to firm up perfectly.
Delicious Variations
Experimenting with your chocolate cheesecake can elevate it to new heights! Whether you have dietary restrictions, want to switch up the flavors, or simply prefer a different texture, there are plenty of delicious variations to consider. Here are some options you can try.
Gluten-Free Options
- Use gluten-free chocolate cookies instead of traditional graham crackers for the crust. Aim for about 1 ½ cups (150g) of crushed cookies.
- Ensure that your chocolate and any other ingredients are certified gluten-free.
Vegan Substitutes
- For the filling, substitute cream cheese with 2 cups (480g) of soaked cashews blended until smooth.
- Replace eggs with ¼ cup (60ml) of unsweetened applesauce or 1 tablespoon of ground flaxseed mixed with 3 tablespoons of water (let it sit for 5 minutes). This will help bind your cheesecake.
- Use a dairy-free chocolate alternative for the ganache topping, such as coconut cream and vegan chocolate.
Flavor Variations
Transform the flavor profile of your cheesecake by incorporating different elements:
- Add 1 teaspoon of peppermint extract for a refreshing twist.
- Mix in 1 cup (150g) of fresh raspberries or strawberries into the batter for a fruity touch.
- For a mocha flavor, add 2 tablespoons of instant coffee granules to the batter.
Chef’s tip: Always taste your filling before baking to adjust the sweetness or flavors to your liking!
Serving and Plating Ideas
Presenting your chocolate cheesecake beautifully can elevate the dessert experience, making it a feast for both the eyes and the palate. Here are some practical tips for plating and pairing that will ensure your cheesecake shines at any gathering.
Plating Techniques
For an elegant presentation, consider these techniques:
- Use a Cake Stand: Elevating the cheesecake on a decorative cake stand adds height and sophistication.
- Garnish with Chocolate Shavings: Use a vegetable peeler to create curls from a chocolate bar and scatter them over the top. This adds texture and richness.
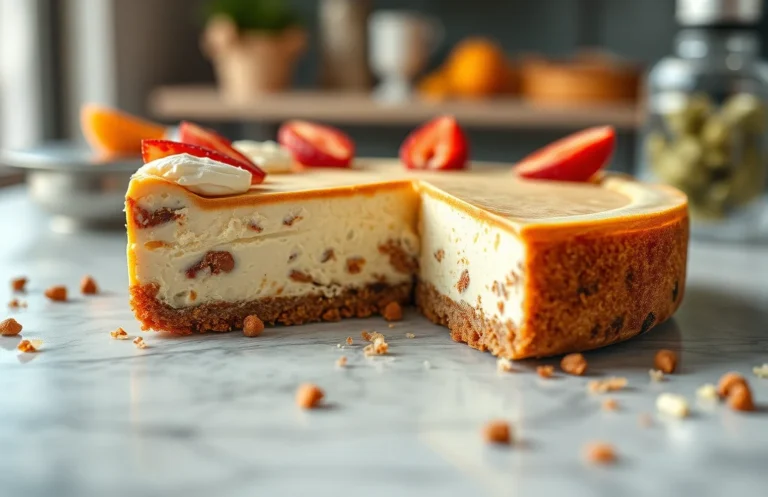
- Fresh Berries: Place a few fresh raspberries or strawberries around the cheesecake for a vibrant pop of color and a hint of tartness.
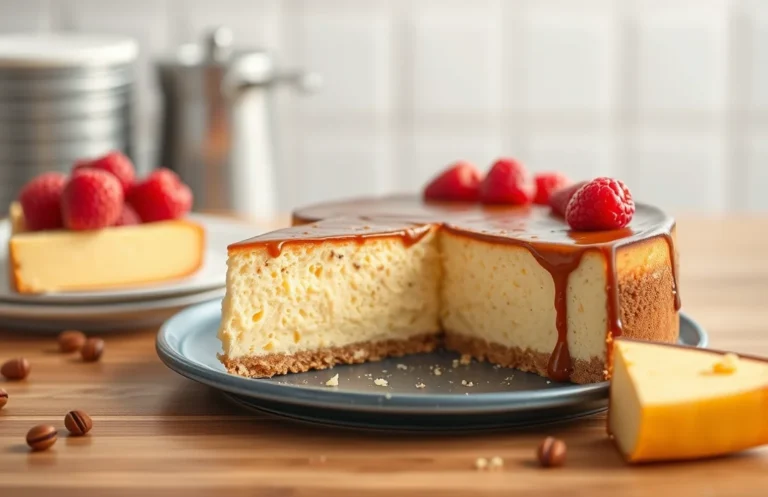
- Drizzle Sauce: Warm a chocolate ganache or raspberry sauce and drizzle it artfully over the top or around the plate for a professional touch.
Pairing Suggestions
Complement the rich flavor of your chocolate cheesecake with these delightful pairings:
- Coffee: A rich espresso or mocha complements the chocolate beautifully.
- Wine: A glass of Port or late harvest Zinfandel enhances the dessert experience.
- Ice Cream: Serve with a scoop of vanilla or salted caramel ice cream for added creaminess.
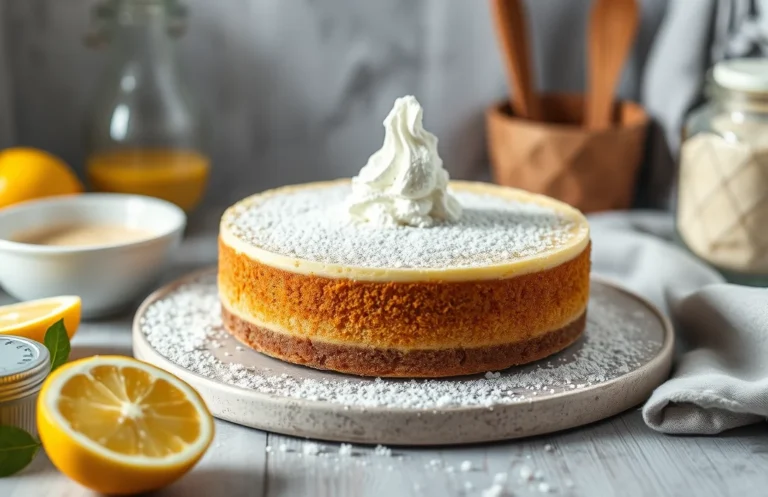
- Whipped Cream: Lightly sweetened whipped cream adds a fluffy texture that balances the density of the cheesecake.
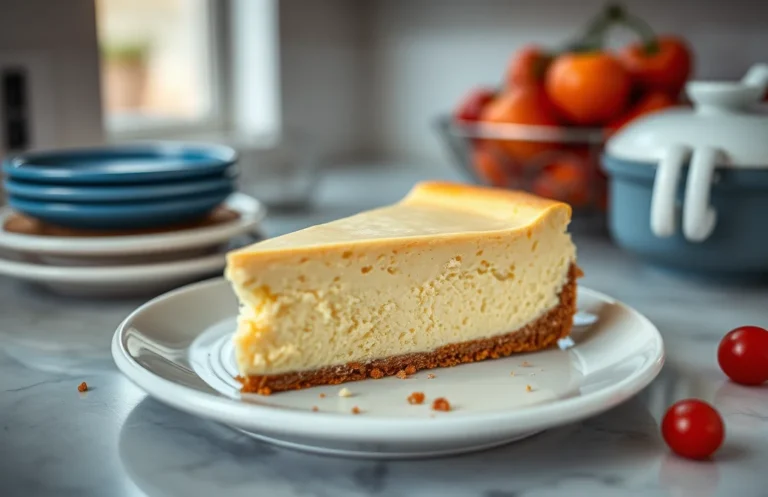
Chef’s tip: For a dramatic effect, serve slices of cheesecake with a side of berries and a small dollop of whipped cream on the plate.
Quick Recipe Summary
This section provides a concise overview of the Chocolate Cheesecake inspired by Preppy Kitchen, highlighting essential ingredients and key steps to create this delectable dessert. Following these steps ensures a smooth baking process and a stunning cheesecake that impresses every guest.
Ingredients Summary
- 1 ½ cups (150g) chocolate cookie crumbs
- ½ cup (115g) unsalted butter, melted
- 3 (8 oz) packages cream cheese, softened
- 1 cup (200g) granulated sugar
- 3 large eggs
- 1 teaspoon vanilla extract
- 1 cup (240ml) sour cream
- 8 oz (225g) dark chocolate, melted and cooled
Key Steps
- Preheat your oven to 325°F (160°C) and prepare a 9-inch springform pan by greasing it lightly. Combine the chocolate cookie crumbs and melted butter, mixing until the crumbs are evenly coated. Press this mixture firmly into the bottom of the springform pan to create a solid crust.
- In a large mixing bowl, beat the softened cream cheese and granulated sugar together with an electric mixer until smooth and creamy, about 2-3 minutes. Scrape down the sides of the bowl to ensure all ingredients are well combined and there are no lumps.
- Add the eggs one at a time, mixing on low speed after each addition just until incorporated. Overmixing can lead to cracks, so be gentle here. Follow with the vanilla extract and sour cream, mixing just until smooth.
- Fold in the melted dark chocolate gently using a spatula until the mixture is uniformly chocolatey. Pour the cheesecake filling over the prepared crust in the springform pan, smoothing the top with a spatula.
- Bake in the preheated oven for 55-65 minutes until the edges are set but the center still has a slight jiggle. Once it’s done, turn off the oven and crack the door open, letting the cheesecake cool inside for 1 hour to prevent cracking.
- After cooling, refrigerate the cheesecake for at least 4 hours or overnight for best results. When ready to serve, carefully remove the sides of the springform pan and garnish with chocolate shavings or whipped cream if desired.
Quick Summary
| Prep Time | 30 minutes |
|---|---|
| Cook Time | 1 hour |
| Total Time | 1 hour 30 minutes |
| Servings | 8 slices |
- Preheat oven to 325°F (163°C) for even baking.
- Make crust by combining crushed graham crackers, sugar, and melted butter.
- Beat cream cheese until smooth before adding sugar and eggs for a creamy texture.
- Bake in a water bath to prevent cracks and ensure even cooking.
- Chill for at least 4 hours to set the cheesecake for best results.
- Tip: Use room temperature cream cheese to avoid lumps.
- Tip: Don’t overmix after adding eggs to prevent air bubbles.
- Tip: Let the cheesecake cool in the oven to prevent sudden temperature changes.
Frequently Asked Questions
Can I make this ahead of time? How to store and reheat?
You can absolutely make this chocolate cheesecake ahead of time; it actually tastes better after chilling for at least 4 hours or overnight. Store it in the refrigerator, covered with plastic wrap, and avoid reheating as it’s best served cold.
What can I substitute for cream cheese?
If you need a substitute for cream cheese, you can use mascarpone cheese for a similar texture and flavor, or for a lighter option, try Greek yogurt, but be aware it may alter the taste slightly.
How do I know when it’s done?
Your chocolate cheesecake is done when the edges appear set and the center has a slight jiggle, which should take about 45-50 minutes at 325°F. It will continue to firm up as it cools, so avoid overbaking.
Can I freeze this? How long does it last?
You can freeze the chocolate cheesecake for up to 2-3 months; just wrap it tightly in plastic wrap and then foil to prevent freezer burn. Thaw it in the refrigerator overnight before serving for the best texture.
Why did my cheesecake crack on top?
Your cheesecake may crack if it was baked too quickly or at too high a temperature, so make sure to bake it at 325°F and allow it to cool gradually in the oven with the door ajar. If it does crack, don’t worry; you can cover it with whipped cream or chocolate ganache for a delicious disguise!

- Make Cheesecake Up to 3 Days Ahead: Tips for Best Flavor & Texture - March 4, 2026
- Easy No-Bake Cool Doen Cheesecake: Quick Recipe & Tips - March 4, 2026
- Decadent Dulce de Leche Cheesecake: Easy Step-by-Step Recipe - March 4, 2026