No-Bake Dulce de Leche Cheesecake: Easy Layered Dessert Recipe
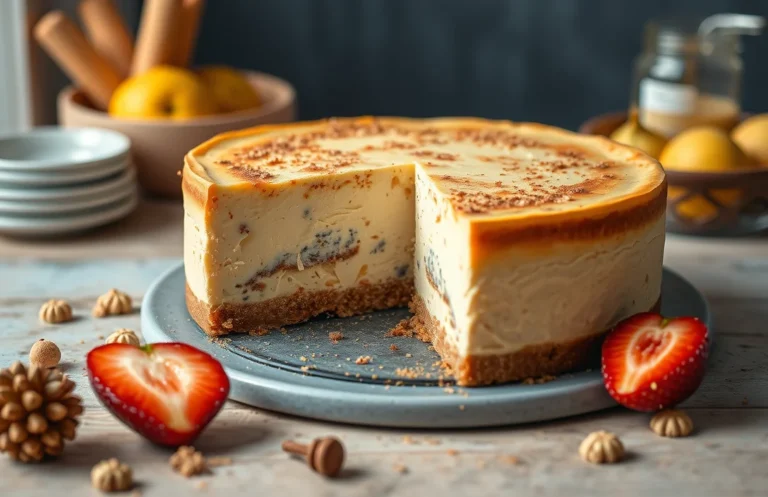
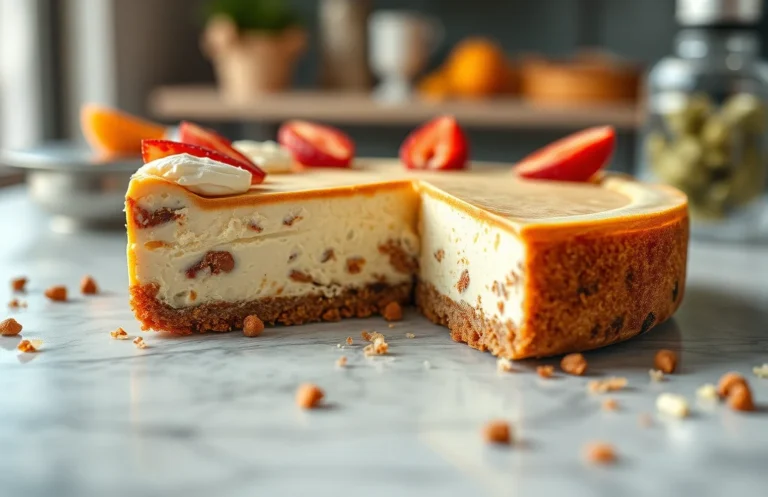
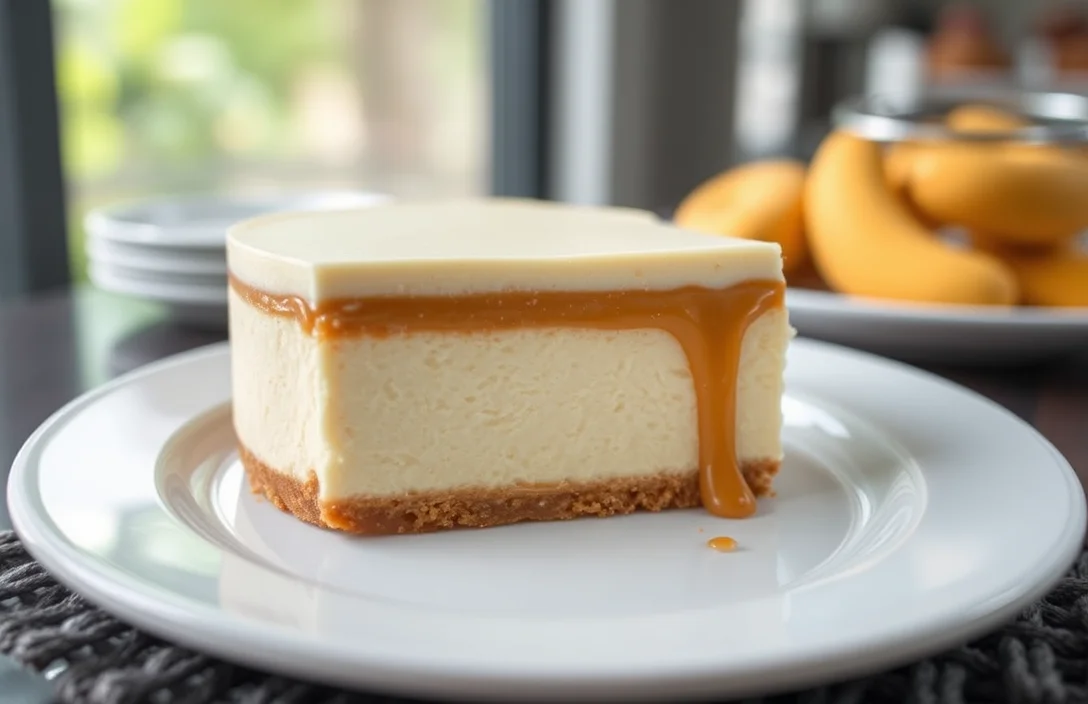
Cold cheesecake with a luscious layer of dulce de leche is the kind of dessert that makes any gathering feel special. With its creamy texture and rich caramel flavor, this cheesecake is an irresistible treat that will have everyone asking for seconds. Picture a slice glistening with that sweet dulce de leche, just waiting to be enjoyed!
Get ready for a delightful experience with this easy recipe that takes 30 minutes of prep and 4 hours to chill, serving 8 people and rated medium difficulty.
| Prep Time | Cook Time | Total Time | Servings | Difficulty |
|---|---|---|---|---|
| 30 minutes | 0 minutes | 4 hours | 8 | Medium |
Origin of Cold Cheesecake
The cold cheesecake, particularly with a luscious layer of dulce de leche, is a delightful dessert that has won hearts around the world. Its origins can be traced back to various cultures, each adding their unique twist, but it is particularly celebrated in Latin American cuisine where dulce de leche plays a central role.
- Cultural Significance: Cheesecake variations have been enjoyed since ancient Greece, but the cold cheesecake, as we know it today, has evolved significantly. In Latin America, the use of dulce de leche—sweetened, caramelized milk—has transformed this dessert into a rich and velvety treat, making it a favorite at family gatherings and celebrations.
- When to Serve: Cold cheesecake with dulce de leche is perfect for special occasions such as birthdays, holidays, or any festive gathering. Its creamy texture and sweet flavor make it an ideal finish to a meal or a delightful treat on a warm day.
“Cold cheesecakes are not just desserts; they are celebrations of flavor and tradition, bringing people together over sweet moments.”
Ultimately, this dessert’s cultural roots and festive nature make it a wonderful addition to any celebration, marrying the smooth, creamy taste of cheesecake with the caramel-like sweetness of dulce de leche. Get ready to whip up a slice of happiness!
Ingredients for Cheesecake
This section details the essential ingredients for making a delicious cold cheesecake layered with dulce de leche. Having the right amounts and specifications ensures a creamy texture and rich flavor, making your dessert a standout treat.
| Item | Amount/Specification | Notes |
|---|---|---|
| Cream Cheese | 16 ounces (450g) | Softened at room temperature for easy mixing |
| Sour Cream | 1 cup (240g) | Adds creaminess and a slight tang |
| Dulce de Leche | 1 cup (240g) | For the layer and drizzling |
| Granulated Sugar | ¾ cup (150g) | Sweetens the filling |
| Vanilla Extract | 2 teaspoons | Enhances flavor |
| Graham Cracker Crumbs | 1 ½ cups (150g) | For the crust |
| Unsalted Butter | ½ cup (115g) | Melted for crust binding |
| Salt | ¼ teaspoon | Balances sweetness |
- For a gluten-free version, use gluten-free graham cracker crumbs.
- If you prefer a less sweet cheesecake, you can reduce the sugar to ½ cup (100g).
- Make sure all dairy ingredients are at room temperature to avoid lumps in the batter.
Kitchen Equipment Needed
To create a delicious cold cheesecake with a layer of dulce de leche, having the right kitchen equipment is essential. Each tool plays a vital role in ensuring the cheesecake turns out perfectly creamy and smooth. Here’s a detailed list of what you’ll need to get started.
- Mixer: A stand mixer or hand mixer is crucial for achieving a smooth and fluffy cream cheese filling. When mixing, ensure the cream cheese is at room temperature to prevent lumps. Mix on medium speed until the mixture is light and creamy, about 2-3 minutes.
- Springform Pan: A 9-inch (23 cm) springform pan is ideal for this cheesecake. Its removable sides allow for easy removal without damaging the cake. Before pouring in the cheesecake mixture, line the bottom with parchment paper for added ease during serving.
- Measuring Cups and Spoons: Accurate measurements are key to a successful cheesecake. Use dry measuring cups for the crust and filling ingredients and liquid measuring cups for any liquids. Precision in ingredients like 1 cup of crushed graham crackers and ½ cup of sugar will ensure the right texture and taste.
Step-by-Step Instructions
This section guides you through the essential steps to prepare the crust, mix the cheesecake batter, and add the delicious layer of dulce de leche. Following these detailed instructions will ensure your cold cheesecake turns out creamy and delightful.
- Prepare the Crust: Start by preheating your oven to 350°F (175°C). In a bowl, combine 1 and ½ cups (150g) of graham cracker crumbs, ¼ cup (50g) of granulated sugar, and ½ cup (115g) of melted unsalted butter. Mix until the crumbs are evenly coated. Press this mixture firmly into the bottom of a 9-inch (23 cm) springform pan, making sure it’s compact and even. Bake for 10 minutes until slightly golden, then let it cool completely on a wire rack.
- Mix the Cheesecake Batter: In a large mixing bowl, beat 2 packages (16 oz or 450g total) of softened cream cheese with an electric mixer until smooth and creamy, about 2-3 minutes. Gradually add in ½ cup (100g) of granulated sugar and 1 teaspoon of vanilla extract, mixing until fully blended. Then, incorporate 1 cup (240ml) of heavy cream and beat until soft peaks form, which should take another 2-3 minutes. The batter should be thick and fluffy, with no lumps remaining.
- Add Dulce de Leche Layer: Spread half of the cheesecake batter over the cooled crust, smoothing it out with a spatula. Gently warm 1 cup (300g) of dulce de leche in the microwave for about 15-20 seconds until it’s pourable. Drizzle the warm dulce de leche over the cheesecake layer, then spoon the remaining cheesecake batter on top. Use a knife to swirl the dulce de leche throughout the batter for a marbled effect. Chill the cheesecake in the refrigerator for at least 4 hours or overnight for the best results.
Pro Tips for Success
Creating a perfect cold cheesecake with a layer of dulce de leche requires attention to detail for texture and appearance. These tips will help you achieve that creamy consistency and prevent cracks, ensuring your dessert is not only delicious but also visually stunning.
- Choose the right cream cheese: Use full-fat, brick-style cream cheese for the best texture. Avoid using whipped or spreadable varieties, as they can lead to a watery filling that won’t set properly.
- Room temperature ingredients: Make sure your cream cheese, sour cream, and eggs are at room temperature before mixing. This helps create a smooth batter without lumps, ensuring a creamy texture.
- Mix gently: When combining your ingredients, mix on low speed just until incorporated. Overmixing can introduce too much air, which may lead to cracks during chilling. Aim for a smooth, homogeneous mixture.
- Cool your cheesecake slowly: After baking, turn off the oven and crack the door open, letting the cheesecake cool gradually for about an hour. This prevents sudden temperature changes that can cause cracks.
- Chill thoroughly: Allow the cheesecake to chill in the refrigerator for at least 4-6 hours (or overnight) before serving. This not only helps it set properly but also enhances the flavors.
- Cover with dulce de leche carefully: When adding the dulce de leche, spread it gently to avoid disturbing the cheesecake layer. Use a spatula for an even application, ensuring it sits beautifully on top.
Variations and Substitutions
This section provides options for modifying the cold cheesecake recipe to accommodate dietary preferences and restrictions. Whether you’re looking for gluten-free or vegan alternatives, these substitutions will help you create a delicious dessert that everyone can enjoy.
Gluten-Free Options
| Item | Amount/Specification | Notes |
|---|---|---|
| Graham cracker crumbs | 1 ½ cups (150g) | Use gluten-free graham crackers or alternative gluten-free cookies. |
| Butter | ½ cup (113g) | Ensure it’s gluten-free; most unsalted butter is safe. |
Vegan Substitutions
| Item | Amount/Specification | Notes |
|---|---|---|
| Cream cheese | 16 ounces (450g) | Use a vegan cream cheese alternative, such as cashew or almond-based. |
| Sour cream | ½ cup (120g) | Replace with vegan sour cream or dairy-free yogurt. |
| Dulce de leche | 1 cup (240g) | Look for vegan dulce de leche made from coconut milk or almond milk. |
- For the crust, almond flour can also be used in place of graham cracker crumbs for a nutty flavor.
- Ensure all substitutes are confirmed vegan or gluten-free by checking labels.
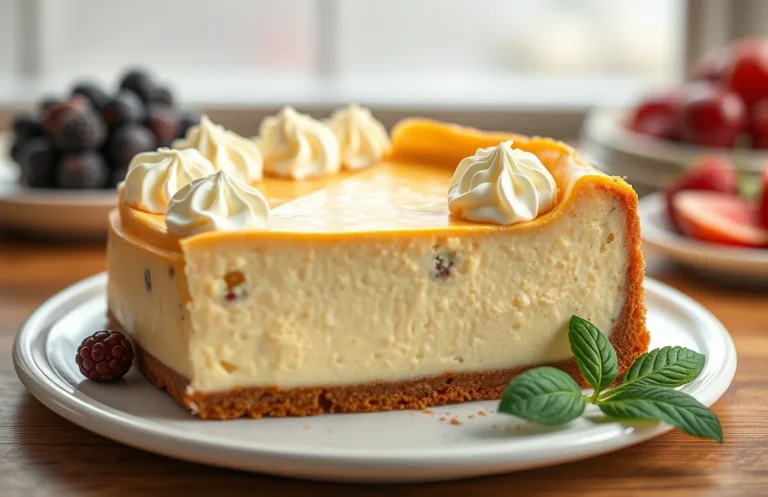
Serving and Plating Tips
Presenting your cold cheesecake with a layer of dulce de leche beautifully elevates the dessert experience. Thoughtful garnishes and pairing suggestions not only enhance the visual appeal but also complement the rich flavors of the cheesecake. Here are some ideas to create an impressive serving presentation.
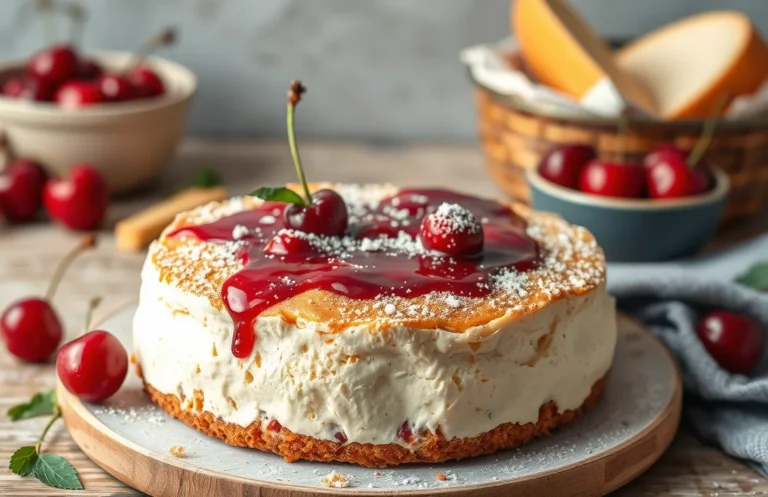
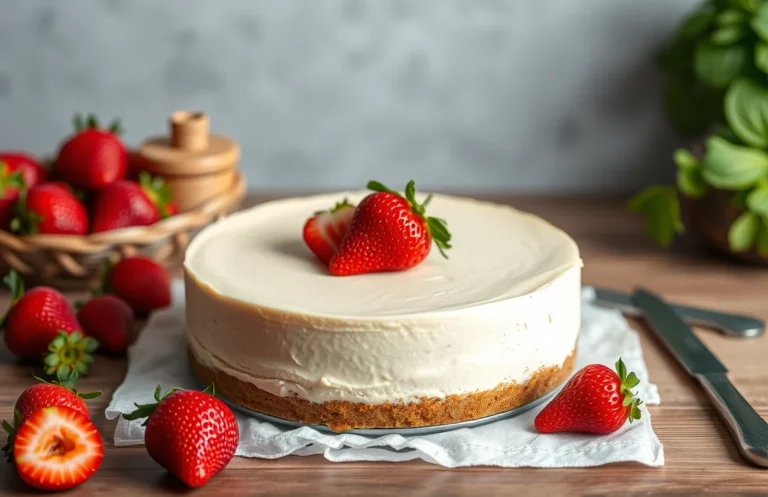
Garnishes
- Fresh Fruits: Top the cheesecake with slices of ripe strawberries, blueberries, or raspberries for a burst of color and freshness.
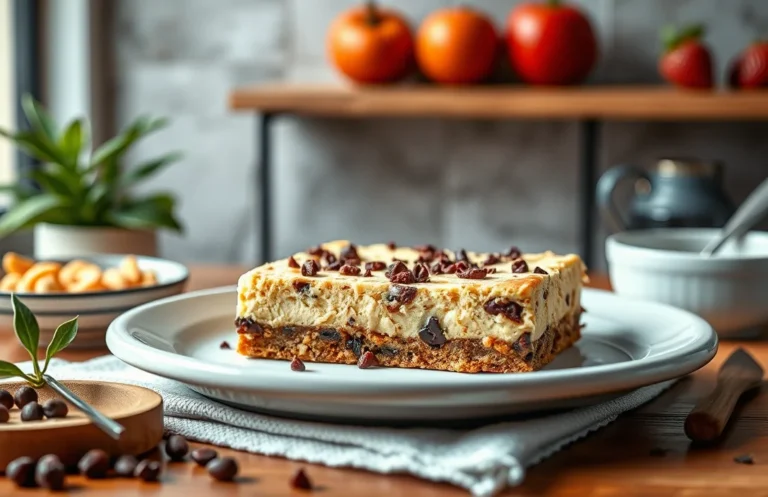
- Chocolate Shavings: Use a vegetable peeler to create delicate shavings from a bar of dark chocolate for a touch of elegance.
- Whipped Cream: Pipe dollops of freshly whipped cream around the cheesecake for added creaminess and a decorative touch.
- Mint Leaves: A few sprigs of fresh mint can add a vibrant green contrast and a refreshing aroma.
Pairing Suggestions
To enhance the flavor profile of your cheesecake, consider pairing it with the following:
- Sweet Dessert Wines: A glass of late-harvest Riesling or a Moscato pairs wonderfully with the sweetness of dulce de leche.
- Coffee: A rich espresso or a creamy latte balances the cheesecake’s sweetness and provides a comforting finish to the meal.
- Nutty Flavors: Serve alongside crushed nuts like pecans or almonds to add a delightful crunch and earthy flavor.
Pro Tip: For an eye-catching presentation, use a cake slicer to create clean slices, and wipe the knife between cuts for a neat finish.
Quick Summary
| Prep Time | Cook Time | Total Time | Servings |
|---|---|---|---|
| 30 minutes | 0 minutes | 4 hours (chill time) | 8 |
- Prepare the crust: Crush 1 ½ cups of graham crackers and mix with ½ cup melted butter.
- Make the filling: Blend 16 oz cream cheese, 1 cup powdered sugar, and 1 tsp vanilla until smooth.
- Layer dulce de leche: Spread 1 cup of dulce de leche over the cheesecake filling.
- Chill: Refrigerate for at least 4 hours before serving for optimal firmness.
- Serve with toppings: Garnish with whipped cream and chocolate shavings if desired.
- Tip 1: Ensure cream cheese is at room temperature for a smooth texture.
- Tip 2: Use a springform pan for easy removal and presentation.
- Tip 3: Let the cheesecake sit at room temperature for 10 minutes before slicing for cleaner cuts.
Frequently Asked Questions
Can I make this ahead of time? How to store and reheat?
You can definitely make this cold cheesecake up to 2 days in advance. Store it covered in the refrigerator and serve it chilled, as reheating is not necessary.
What can I substitute for cream cheese?
If you need a substitute for cream cheese, you can use mascarpone cheese for a similar texture and taste, or Greek yogurt for a lighter option.
How do I know when it’s done?
This cheesecake is done when it is set around the edges but still has a slight jiggle in the center; it will firm up as it chills. Check after 4-5 hours in the fridge to see if it has the right consistency.
Can I freeze this? How long does it last?
You can freeze the cheesecake for up to 2 months, but it’s best to freeze it without the dulce de leche topping. Wrap it tightly in plastic wrap and then aluminum foil to prevent freezer burn.
What if I don’t have a springform pan?
If you don’t have a springform pan, you can use a 9-inch round cake pan lined with parchment paper for easy removal. Just make sure to let it cool completely before attempting to take it out.

- Decadent Peanut Butter No-Bake Cheesecake: Easy Recipe to Indulge - April 3, 2026
- Delicious Mango No-Bake Cheesecake: Step-by-Step Recipe - April 3, 2026
- Decadent Raspberry No-Bake Cheesecake: Easy Step-by-Step Recipe - April 3, 2026