Perfect Cookie Crumb Crust for Cheesecake: Easy Recipe & Tips
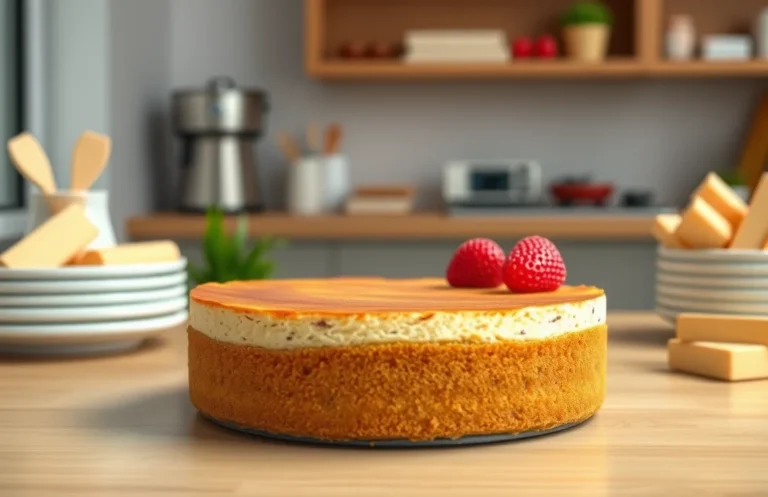
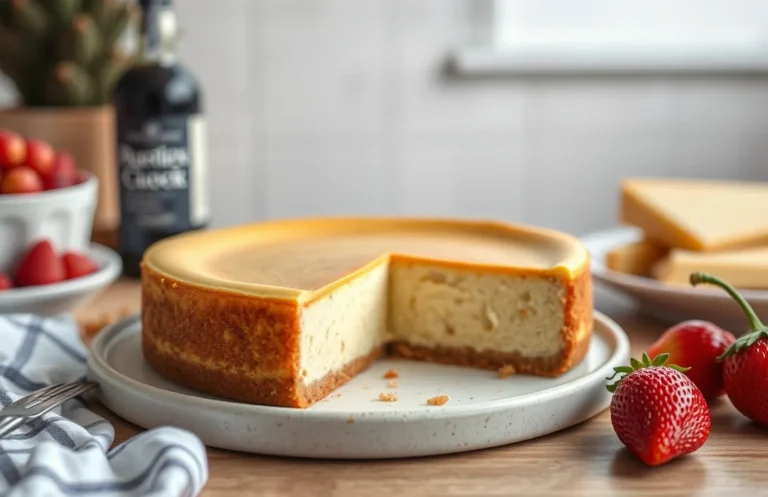
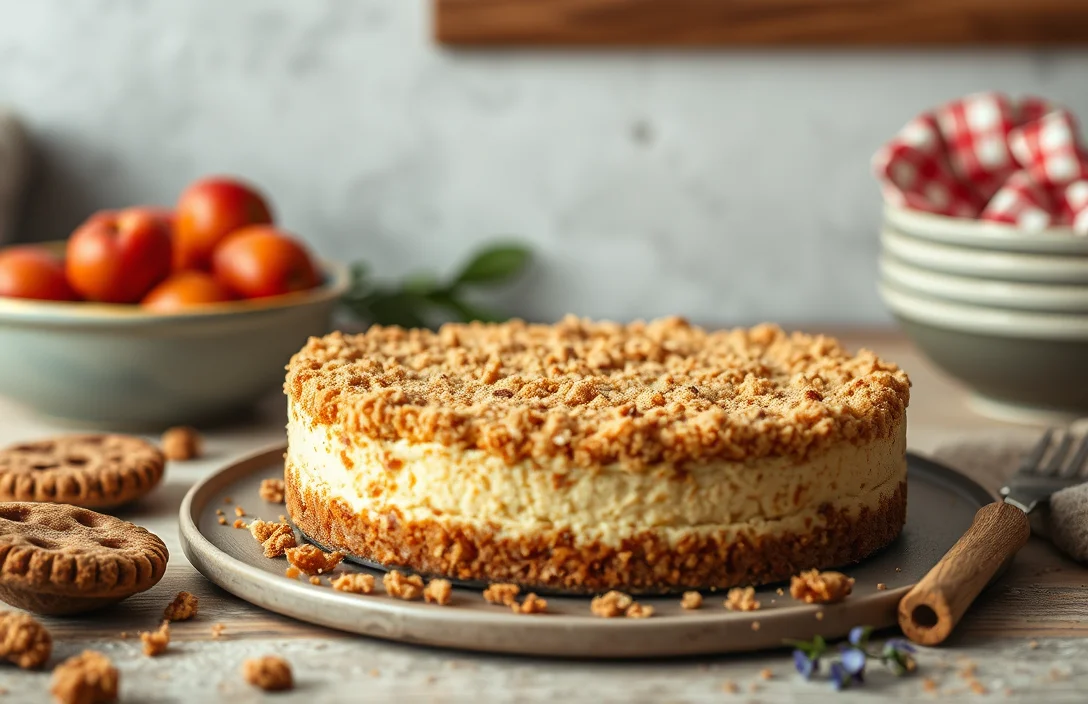
There’s something undeniably delightful about a cheesecake with a perfectly crumbly cookie crust. It adds that extra crunch and flavor, making every bite a little piece of heaven. Whether it’s for a special occasion or a cozy weeknight treat, this crust elevates your cheesecake from good to unforgettable.
You’ll find a reliable recipe with exact measurements, clear step-by-step instructions, and tips to avoid common mishaps. Total time is 30 minutes, and it serves 8. This recipe is easy enough for beginners!
| Prep Time | Cook Time | Total Time | Servings | Difficulty |
|---|---|---|---|---|
| 10 minutes | 20 minutes | 30 minutes | 8 | Easy |
History of Cookie Crusts
The cookie crumb crust has become an iconic foundation for many desserts, particularly cheesecake. Its rich, buttery flavor and crunchy texture provide a delightful contrast to the creamy filling, making it a beloved choice for both home bakers and professional chefs alike.
Origin of Cookie Crusts
Cookie crusts trace their origins back to the early 20th century when American home cooks began experimenting with sweet desserts. The idea of using crushed cookies instead of traditional pastry dough offered a quicker, more accessible method of creating a delicious crust. The first documented cookie crusts were often made with graham crackers, which became a staple in many American households.
Why Use Cookie Crusts?
- Texture: The crunchiness of cookie crumbs adds a satisfying contrast to the smoothness of cheesecake.
- Flavor: Different cookies, like Oreos or ginger snaps, can impart unique flavors to the crust, enhancing the overall taste of the dessert.
- Convenience: Cookie crusts are easy to prepare, requiring minimal ingredients and no rolling or chilling time.
Ideal Occasions for Serving
Cookie crumb crusts are perfect for various occasions, including:
- Birthday Parties: A crowd-pleaser that can be customized to suit any theme.
- Holidays: Great for festive gatherings, especially when infused with seasonal flavors.
- Everyday Treats: A delightful way to enjoy a slice of cheesecake at home.
Chef’s tip: Experiment with different cookie flavors to create a unique crust that complements your cheesecake filling.
Ingredients for Cookie Crust
Creating the perfect cookie crumb crust for your cheesecake begins with selecting the right ingredients. This section outlines the essential components you’ll need, focusing on cookie types, butter, and sugar measurements, to ensure a flavorful and textured base for your cheesecake.
| Item | Amount/Specification | Notes |
|---|---|---|
| Cookies (Graham crackers, Oreos, or your favorite cookies) | 1 ½ cups (120g) crushed | Graham crackers give a classic flavor, while Oreos add richness. |
| Unsalted Butter | ½ cup (113g), melted | Use unsalted for better control over saltiness. |
| Granulated Sugar | 2 tablespoons (25g) | Adjust based on the sweetness of your cookies. |
- For a gluten-free option, use gluten-free cookies or almond flour in place of regular cookies.
- If you prefer a less sweet crust, reduce the sugar to 1 tablespoon.
- Be cautious not to over-melt the butter; it should be melted but not boiling.
- When crushing cookies, aim for a fine crumb for even mixing and a smooth texture.
Essential Kitchen Equipment
Creating a perfect cookie crumb crust for your cheesecake requires the right tools and a little prep work. Here’s a list of essential kitchen equipment you’ll need to achieve the best texture and flavor for your crust.
- Food Processor: A food processor is ideal for finely crushing your cookies into crumbs. If you don’t have one, you can use a zip-top bag and a rolling pin, but a food processor will save you time and effort.
- Measuring Cups and Spoons: Accurate measurements are crucial for achieving the right balance of ingredients. You’ll need a 1 cup measuring cup for the cookie crumbs and a tablespoon for melted butter.
- Mixing Bowl: A medium-sized mixing bowl will help you combine your cookie crumbs and butter evenly. Look for one that’s large enough to allow for easy mixing.
- 9-inch Springform Pan: This type of pan is perfect for cheesecakes, as it allows you to easily remove the crust without damaging it. A standard pie pan can work as well, but it won’t provide the same ease of removal.
- Rubber Spatula: Use a rubber spatula to fold the melted butter into the cookie crumbs thoroughly. This tool will help ensure everything is well combined without leaving any dry spots.
- Oven: Preheat your oven to 350°F (175°C) when you’re ready to bake the crust. Make sure your oven is properly calibrated for accurate temperature control.
Prep time for this process should take about 10 minutes, and it’s essential to have everything ready before you start crushing the cookies and mixing the crust ingredients.
Step-by-Step Instructions
This section provides detailed step-by-step instructions for creating a delicious cookie crumb crust for your cheesecake. A well-prepared crust is essential for the overall flavor and texture of your cheesecake, so follow these steps carefully for the best results.
- Crushing the Cookies: Start by preheating your oven to 350°F (175°C). Place 1 ½ cups (150g) of your choice of cookies—such as graham crackers, Oreos, or digestive biscuits—into a food processor. Pulse until you achieve a fine crumb texture, resembling sand. Alternatively, you can place the cookies in a resealable plastic bag and crush them with a rolling pin, ensuring they are evenly crushed without larger chunks.
- Mixing Ingredients: In a medium mixing bowl, combine the crushed cookies with ½ cup (100g) of granulated sugar and ½ cup (115g) of melted unsalted butter. Mix well until the crumbs are fully coated and the mixture resembles wet sand. If you prefer a slightly nuttier flavor, you can substitute half of the cookie crumbs with finely crushed nuts like pecans or almonds.
- Baking the Crust: Transfer the cookie mixture into a 9-inch (23cm) springform pan. Press the mixture firmly and evenly across the bottom and up the sides of the pan using your fingers or the bottom of a measuring cup. Bake in the preheated oven for 8-10 minutes, or until the edges are lightly golden and the crust feels firm to the touch. Allow it to cool completely before adding your cheesecake filling. Keep an eye on it to prevent burning; you want it to smell fragrant and look golden, not dark brown.
Pro Tips and Common Mistakes
This section provides essential tips for achieving the perfect cookie crumb crust for your cheesecake and highlights common mistakes that can ruin your efforts. Understanding these factors will ensure a delicious, sturdy crust that complements your cheesecake beautifully.
Achieving the Right Texture
- Use fresh ingredients: Always opt for fresh cookies and butter. Stale cookies can lead to a less flavorful and crumbly crust, while old butter can impact the texture and taste.
- Grind to the right consistency: Aim for fine crumbs when crushing your cookies. Larger pieces can create an uneven texture and prevent the crust from binding properly. A food processor works best for this task.
- Correct butter ratio: Use ½ cup (113g) of melted butter for every 2 cups (200g) of cookie crumbs. This ratio ensures the crumbs stick together without making the crust too greasy.
- Press firmly: When forming the crust, press the crumb mixture firmly into the bottom and up the sides of the pan. The crust should feel compact and solid, which will help it hold together during baking.
Avoiding Overbaking
- Bake at the right temperature: Set your oven to 350°F (175°C) and bake the crust for about 8-10 minutes. Overbaking can lead to a hard, dry crust that crumbles when you slice the cheesecake.
- Watch for browning: Keep an eye on the crust as it bakes. It should turn a light golden brown. If it gets too dark, it may become overly crunchy and lose its desired texture.
- Cool before filling: Allow the crust to cool completely before adding the cheesecake filling. This helps maintain the crust’s structure and prevents sogginess.
Variations and Substitutions
This section will explore variations and substitutions for your cookie crumb crust, making it adaptable for different dietary needs and preferences. Whether you’re looking for gluten-free options or vegan alternatives, these suggestions will ensure you can enjoy a delicious cheesecake crust without compromising on taste or texture.
Gluten-Free Options
For those avoiding gluten, there are several suitable substitutes that can create a delightful cookie crumb crust:
- 1 ½ cups gluten-free graham cracker crumbs (about 150g)
- ½ cup almond flour (50g) for a nutty flavor
- 1 cup crushed gluten-free chocolate cookies (about 100g) for a chocolatey twist
When using gluten-free cookie options, ensure to check that all ingredients are certified gluten-free to avoid cross-contamination.
Vegan Alternatives
If you’re looking to make a vegan cookie crumb crust, you can easily swap traditional ingredients:
- 1 ½ cups vegan graham cracker crumbs (about 150g)
- ½ cup melted coconut oil (120ml) instead of butter
- 2 tablespoons maple syrup or agave nectar for sweetness in place of honey
Chef’s tip: Be sure to let the crust cool completely after baking before adding your cheesecake filling to prevent it from becoming soggy.
Ingredient Quick Reference
| Ingredient | Standard | Gluten-Free | Vegan |
|---|---|---|---|
| Crumbs | 1 ½ cups cookie crumbs | 1 ½ cups gluten-free crumbs | 1 ½ cups vegan crumbs |
| Butter/Oil | ½ cup unsalted butter | ½ cup coconut oil | ½ cup coconut oil |
| Sweetener | 2 tablespoons sugar | 2 tablespoons sugar | 2 tablespoons maple syrup |
By following these variations, you can cater to various dietary needs while still achieving a delicious and satisfying cookie crumb crust for your cheesecake!
Serving Suggestions
Once you’ve perfected your cookie crumb crust, it’s time to think about how to serve your cheesecake for maximum enjoyment. The right presentation and pairing can elevate your dessert experience, making it truly memorable.
Pairing with Cheesecake Flavors
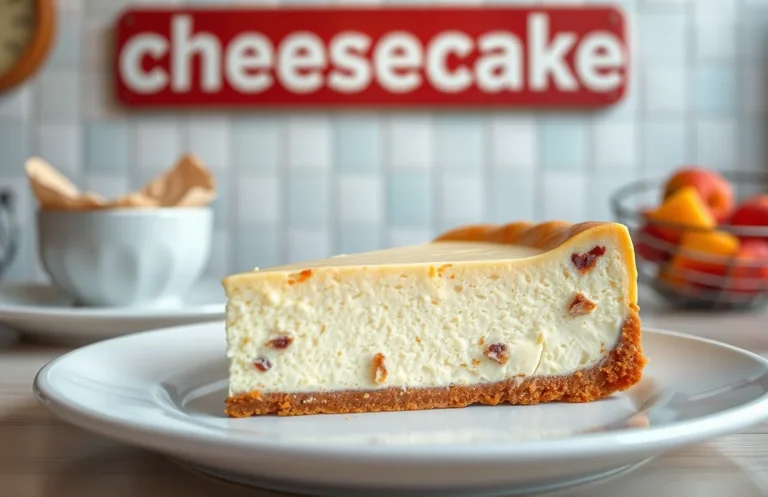
- Classic New York Style: A plain cheesecake pairs beautifully with a cookie crumb crust made from graham crackers or digestive biscuits. Top it with a simple berry compote for a refreshing contrast.
- Chocolate Cheesecake: Use Oreo cookies for your crust to enhance the rich chocolate flavor. Serve with a drizzle of chocolate ganache on top for an indulgent touch.
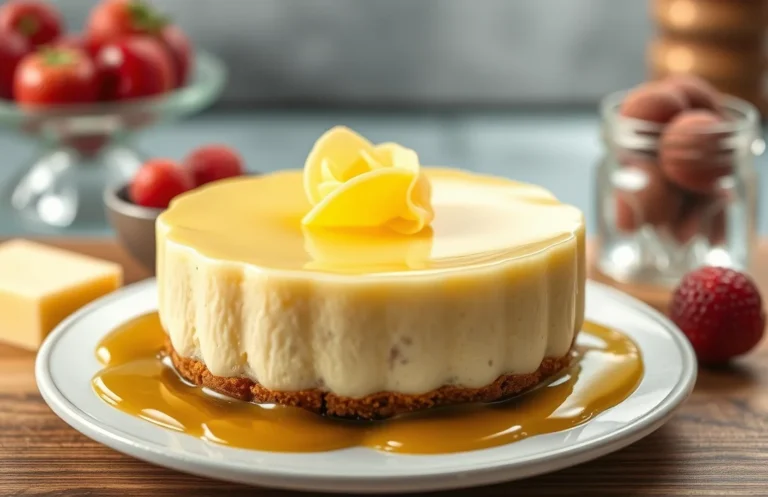
- Fruit-Infused Cheesecake: If you’re making a lemon or strawberry cheesecake, a crust made from vanilla wafers works wonders. Garnish with fresh fruit slices to highlight the flavors.
- Seasonal Flavors: For a pumpkin cheesecake, consider a crust made from gingersnap cookies. Finish with a sprinkle of cinnamon or nutmeg on top for a cozy, autumnal finish.
Presentation Ideas
- Layered Look: For a stunning visual, consider serving mini cheesecakes in clear jars. Layer the cookie crumbs, cheesecake filling, and toppings for an eye-catching dessert.
- Plate Art: Use a squeeze bottle to create swirls of fruit sauce or melted chocolate around the cheesecake on the plate. This not only adds flavor but also makes your dish visually appealing.
- Garnish Wisely: Fresh mint leaves or edible flowers can add a pop of color and freshness to your cheesecake, enhancing the overall presentation.
Quick Summary
| Prep Time | Cook Time | Total Time | Servings |
|---|---|---|---|
| 10 minutes | 8-10 minutes | 18-20 minutes | 8 |
- Use fresh crumbs: Crush 1.5 cups of cookies (like graham crackers or Oreos) for best flavor.
- Measure butter accurately: Melt 1/4 cup of unsalted butter and mix thoroughly with crumbs.
- Press firmly: Compact the crust mixture into a 9-inch pie pan to avoid crumbling.
- Bake at 350°F: Bake for 8-10 minutes to set the crust.
- Cool completely: Let the crust cool before adding cheesecake filling.
- Tip for flavor: Add a pinch of salt for a balanced taste.
- Texture matters: Ensure crumbs are fine for a smooth crust.
Frequently Asked Questions
Can I make this ahead of time? How to store and reheat?
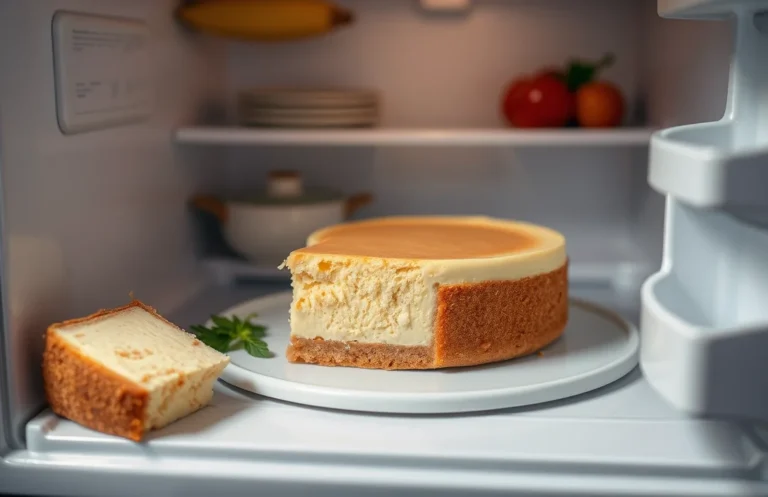
You can absolutely make the cookie crumb crust ahead of time! Just store it in an airtight container at room temperature for up to 3 days, or refrigerate it for up to a week.
What can I substitute for graham crackers?
You can substitute graham crackers with crushed cookies like Oreos or digestive biscuits, using a 1:1 ratio. Just keep in mind that this will change the flavor slightly, so choose a cookie you enjoy!
How do I know when it’s done?
Your cookie crumb crust is done when it feels set and slightly firm to the touch, typically after about 10 minutes at 350°F (175°C). It should also be lightly golden around the edges; don’t overbake it!
Can I freeze this? How long does it last?
You can freeze the cookie crumb crust for up to 2 months! Just wrap it tightly in plastic wrap and aluminum foil to prevent freezer burn.
What if I don’t have a food processor?
If you don’t have a food processor, you can place the cookies in a zip-top bag and crush them with a rolling pin until fine crumbs form. It may take a bit more effort, but it works just as well!

- Make Cheesecake Up to 3 Days Ahead: Tips for Best Flavor & Texture - March 4, 2026
- Easy No-Bake Cool Doen Cheesecake: Quick Recipe & Tips - March 4, 2026
- Decadent Dulce de Leche Cheesecake: Easy Step-by-Step Recipe - March 4, 2026