Creamy Banana No-Bake Cheesecake: Simple and Delicious Recipe
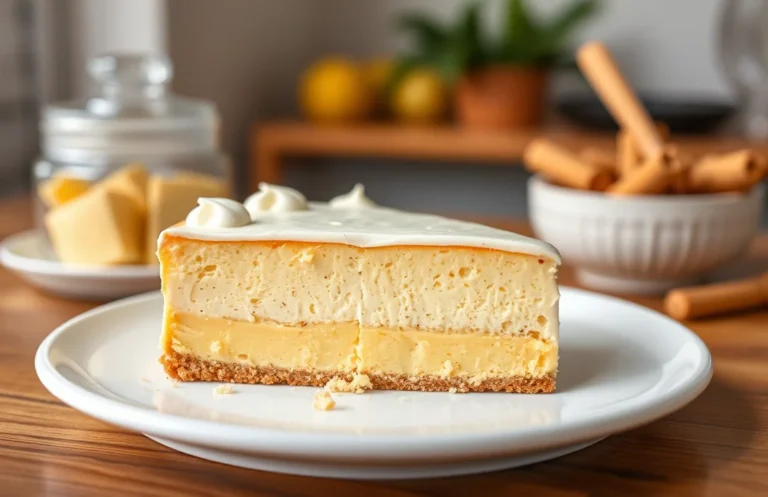
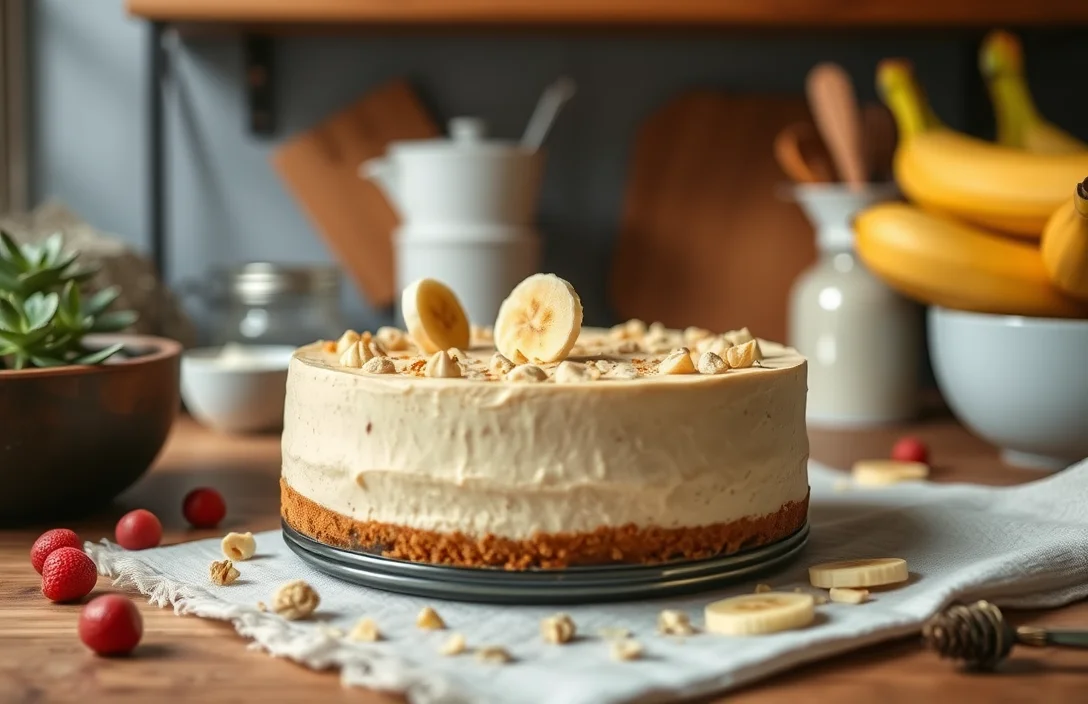
There’s something irresistibly comforting about a creamy banana no-bake cheesecake that just melts in your mouth. Perfect for busy weeknights or impressing guests at a gathering, this cheesecake is a crowd-pleaser that combines the sweetness of ripe bananas with a luscious cream cheese filling. The best part? No oven required!
Key details: Total time: 4 hours (including chilling), Difficulty level: Easy, Servings: 8.
| Prep Time | Cook Time | Total Time | Servings | Difficulty |
|---|---|---|---|---|
| 20 minutes | 0 minutes | 4 hours | 8 | Easy |
Banana Cheesecake Origins
Banana cheesecake has roots in classic dessert traditions, blending the creamy texture of cheesecake with the sweet, natural flavor of bananas. This delightful combination is often associated with celebrations and gatherings, making it a beloved choice for various occasions.
- Historical Significance: Cheesecake dates back to ancient Greece, while the banana’s popularity surged in the 19th century, thanks to its availability and versatility. The fusion of these two elements resulted in a dessert that appeals to a wide range of palates.
- Occasions: Banana cheesecake is a favorite at summer picnics, birthday parties, and holiday gatherings. Its no-bake variation often makes it a go-to choice for quick desserts that still impress guests.
- Unique Flavor Profile: The creaminess of the cheesecake paired with the natural sweetness of ripe bananas creates a harmonious balance. This dessert can evoke nostalgia, reminding many of home-cooked meals and family traditions.
- Versatility: Banana cheesecake can be tailored to various dietary preferences, including vegan and gluten-free options. This adaptability allows it to fit into many lifestyles while still delivering on taste.
Ingredients List
To create a delicious banana no-bake cheesecake, you’ll need a specific set of ingredients that come together to provide a creamy texture and delightful flavor. This list includes everything from the rich cream cheese to the fresh bananas, ensuring you have all you need to whip up this easy dessert.
| Item | Amount/Specification | Notes |
|---|---|---|
| Cream Cheese | 16 ounces (450g) | Softened at room temperature for easy mixing |
| Bananas | 2 medium ripe bananas | Mashed for the filling |
| Sugar | ¾ cup (150g) | Granulated sugar helps sweeten the cheesecake |
| Graham Cracker Crust | 1 ½ cups (150g) | Store-bought or homemade |
| Whipped Cream | 1 cup (240ml) | For folding into the filling and topping |
- For a gluten-free version, use gluten-free graham crackers.
- Make sure the cream cheese is softened to avoid lumps in your filling.
- If bananas are not ripe enough, they won’t mash easily; look for yellow bananas with some brown spots.
Required Kitchen Equipment
Before diving into making your delicious banana no-bake cheesecake, it’s essential to gather the right tools. Having the appropriate kitchen equipment ensures a smooth preparation process and helps achieve the perfect texture and flavor in your cheesecake.
- Mixing Bowls: You will need at least two mixing bowls—one large and one medium. The large bowl is for the cream cheese mixture, and the medium bowl is for whipping the cream. Make sure they are clean and dry to avoid any unwanted moisture.
- Electric Mixer: An electric mixer is crucial for achieving the smooth and creamy texture of your cheesecake filling. A hand mixer works well, but if you have a stand mixer, it can make the process easier, especially when whipping the cream. Ensure the beaters are clean for optimal results.
- 9-inch Springform Pan: A 9-inch springform pan is perfect for this recipe as it allows for easy removal of the cheesecake once set. Make sure to grease the bottom and sides lightly to prevent sticking. If you don’t have one, a regular pie dish can work, but it may be trickier to serve.
- Spatula: A rubber spatula is essential for folding the whipped cream into the cream cheese mixture gently. This step is crucial as it helps maintain the light and airy texture of the cheesecake. Make sure it’s sturdy to scrape down the sides of the bowl effectively.
Step-by-Step Instructions
In this section, we will guide you through the precise steps to create your delicious banana no-bake cheesecake. Each step is crucial for achieving the perfect texture and flavor, so follow along closely!
- Prepare the Crust: Begin by crushing 1 ½ cups (150g) of graham crackers into fine crumbs. You can use a food processor or place the crackers in a zip-top bag and crush them with a rolling pin. Once crushed, mix in ½ cup (100g) of granulated sugar and ½ cup (115g) of melted unsalted butter until the mixture resembles wet sand. Press this mixture firmly into the bottom of a 9-inch (23cm) springform pan, making sure it’s evenly distributed and compact.
- Mix the Filling: In a large mixing bowl, beat 16 ounces (450g) of cream cheese at room temperature until smooth and creamy, about 2-3 minutes. Gradually mix in ¾ cup (90g) of powdered sugar, 1 teaspoon of vanilla extract, and 2 ripe bananas, mashed until smooth. Continue mixing until the filling is well combined and fluffy, which should take another 2 minutes.
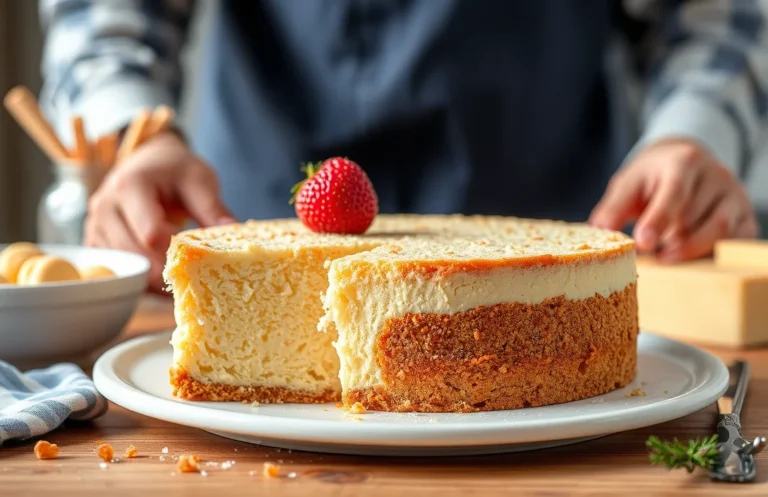
- Assemble the Cheesecake: Pour the cream cheese filling over the prepared crust and use a spatula to smooth the top. Tap the pan gently on the counter to remove any air bubbles. If you’d like, slice an additional banana and arrange the slices on top for added decoration and flavor.
- Chill Time: Cover the cheesecake with plastic wrap and refrigerate for at least 4 hours, but ideally overnight. This chilling time allows the cheesecake to set completely. When ready to serve, the top should feel firm to the touch, and the edges will pull slightly away from the pan.
Pro Tips for Success
Creating the perfect banana no-bake cheesecake is all about attention to detail. The right techniques can make a significant difference in flavor and texture. Here are some expert tips to ensure your cheesecake turns out creamy and delicious every time.
- Choosing Ripe Bananas: Select bananas that are spotty and fully ripe for the best flavor. They should be soft to the touch, indicating they are sweet and will blend smoothly into the cheesecake mixture, ensuring a rich banana flavor.
- Avoiding a Grainy Texture: To achieve a silky-smooth texture, make sure to blend the cream cheese and whipped cream thoroughly. Use an electric mixer on medium speed for about 2-3 minutes until the mixture is fluffy and well combined. If you notice any lumps, continue mixing until they disappear.
- Proper Chilling Techniques: Allow the cheesecake to chill in the refrigerator for at least 4 hours or overnight for the best results. This helps the cheesecake set properly. When ready to serve, use a hot knife (run it under hot water and wipe it dry) to slice cleanly through the layers for a beautiful presentation.
Variations and Substitutions
This section highlights some delicious alternatives and substitutions to make your banana no-bake cheesecake accessible to various dietary preferences. Whether you’re looking for gluten-free options, vegan substitutes, or simply want to experiment with different fruits, these suggestions will help you customize the cheesecake to your liking.
Gluten-Free Options
| Item | Amount/Specification | Notes |
|---|---|---|
| Graham cracker crumbs | 1 ½ cups (150g) | Use gluten-free graham crackers or almond flour for the crust. |
| Butter | ½ cup (115g) | Ensure the butter is gluten-free; no substitutions needed. |
Vegan Substitutes
| Item | Amount/Specification | Notes |
|---|---|---|
| Cream cheese | 8 oz (225g) | Replace with vegan cream cheese or cashew cream. |
| Whipped topping | 1 cup (240ml) | Use vegan whipped cream or coconut whipped cream. |
Other Fruit Variations
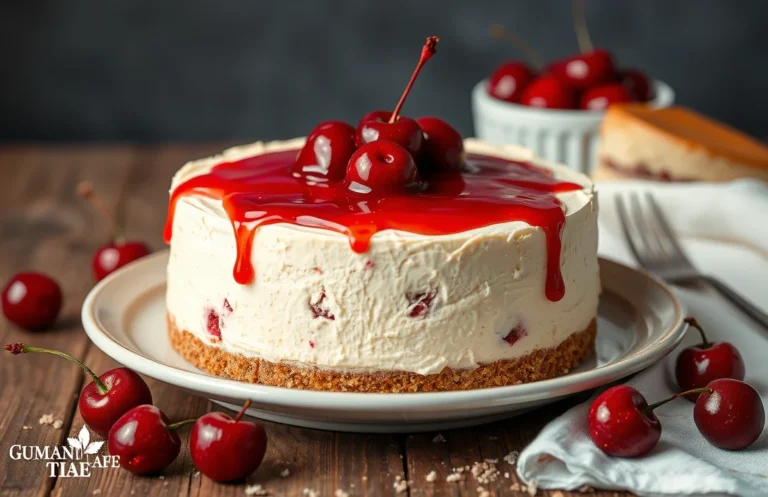
- Replace bananas with 1 ½ cups of strawberries for a strawberry cheesecake.
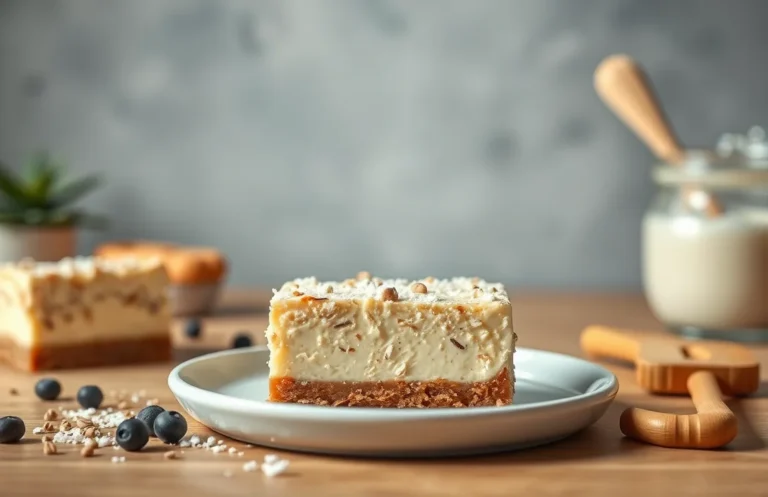
- Use 1 ½ cups of blueberries for a refreshing blueberry version.
- For a tropical twist, substitute bananas with 1 ½ cups of diced mango.
Chef’s tip: When substituting fruits, consider adjusting the sweetness as some fruits are naturally sweeter than others.
Serving Suggestions
Presenting your banana no-bake cheesecake beautifully can elevate the dessert experience. Here are some garnishing ideas, beverage pairings, and presentation tips that will make your cheesecake not only delicious but visually appealing as well.
Garnishes
- Fresh banana slices: Arrange a few slices on top for a pop of color and flavor.
- Whipped cream: Pipe or dollop some homemade whipped cream on each slice for extra richness.
- Chocolate shavings: Use a vegetable peeler to create curls from a bar of dark chocolate to sprinkle on top.
- Toasted coconut: Add a sprinkle of shredded coconut for texture and a tropical touch.
- Caramel sauce: Drizzle a little caramel over the top for added sweetness and visual appeal.
Beverage Pairings
Complement your cheesecake with the right drinks to enhance the flavors:
- Coffee: A rich cup of coffee balances the sweetness of the cheesecake.
- Tea: Try a chai or a light herbal tea for a refreshing contrast.
- White wine: A sweet Riesling pairs beautifully with the banana flavors.
- Milkshake: A banana milkshake can be a fun, nostalgic pairing.
Presentation Tips
To make your cheesecake stand out:
- Use a springform pan for a clean, professional look when slicing.
- Chill the cheesecake overnight for better slicing and presentation.
- Serve on a decorative platter with a garnish of mint leaves for a fresh touch.
Chef’s tip: For a more artistic presentation, sprinkle some crushed graham crackers around the base of the cheesecake on the serving plate.
Quick Summary
| Prep Time | Cook Time | Total Time | Servings |
|---|---|---|---|
| 20 minutes | 0 minutes | 4 hours (chill time) | 8 servings |
- Crust preparation: Blend 1 ½ cups of graham cracker crumbs with ½ cup of melted butter.
- Cheese mixture: Beat 16 oz of cream cheese with 1 cup of sugar until smooth.
- Incorporate bananas: Mash 2 ripe bananas and fold into the cream cheese mixture.
- Set in fridge: Pour the filling into the crust and chill for at least 4 hours.
- Garnish: Top with sliced bananas and whipped cream before serving.
- Slice carefully: Use a warm knife to get clean cuts for presentation.
- Tip: Use very ripe bananas for maximum sweetness and flavor.
- Tip: Ensure cream cheese is at room temperature for a smooth texture.
Frequently Asked Questions
Can I make this ahead of time? How to store and reheat?
You can absolutely make this banana no-bake cheesecake ahead of time; it stores well in the refrigerator for up to 3 days. Just cover it tightly with plastic wrap or foil to keep it fresh.
What can I substitute for cream cheese?
If you’re looking for a substitute, you can use mascarpone cheese or a mixture of Greek yogurt and sour cream for a lighter version. Just keep in mind that the texture and flavor may vary slightly.
How do I know when it’s done?
Your cheesecake is ready when it has set firmly but still has a slight jiggle in the center, which should take about 4-6 hours in the fridge. It should not be liquidy, and it will firm up more as it chills.
Can I freeze this? How long does it last?
You can freeze the banana no-bake cheesecake for up to 3 months, but be sure to wrap it tightly in plastic wrap and then foil. Thaw it in the refrigerator overnight before serving for the best texture.
Why did my cheesecake turn out too runny?
If your cheesecake turned out runny, it might be due to not using enough cream cheese or bananas, or it wasn’t chilled long enough. Make sure to measure your ingredients accurately and give it plenty of time to set in the fridge.

- Decadent Peanut Butter No-Bake Cheesecake: Easy Recipe to Indulge - April 3, 2026
- Delicious Mango No-Bake Cheesecake: Step-by-Step Recipe - April 3, 2026
- Decadent Raspberry No-Bake Cheesecake: Easy Step-by-Step Recipe - April 3, 2026