Delicious Cream Cheese Icing Recipe: Tips & Variations Included
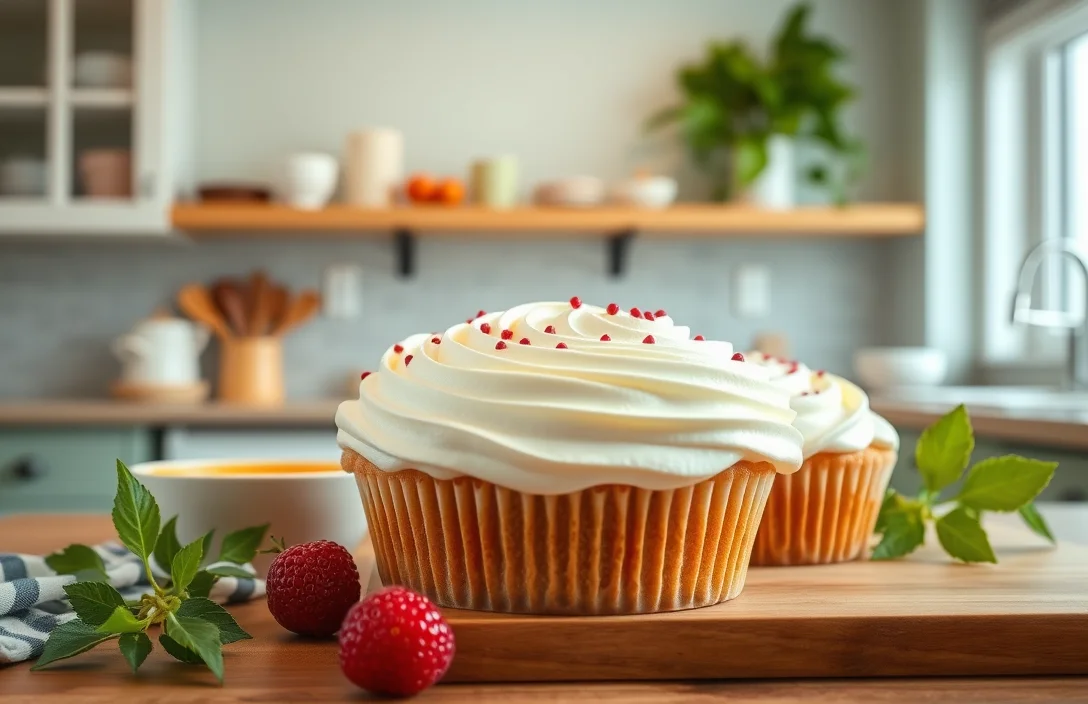
There’s something undeniably irresistible about cream cheese icing. Its rich, tangy flavor perfectly balances sweetness, making it the ultimate topping for cakes, cupcakes, or even just a spoonful straight from the bowl. This icing transforms any dessert into a crowd-pleaser, and I can guarantee it will bring smiles to your kitchen!
Total Time: 15 minutes | Difficulty: Easy | Servings: About 2 cups
| Prep Time | Cook Time | Total Time | Servings | Difficulty |
|---|---|---|---|---|
| 10 minutes | 0 minutes | 15 minutes | About 2 cups | Easy |
Origin of Cream Cheese Icing
Cream cheese icing has become a beloved topping in the world of baking, often associated with moist cakes and delightful pastries. Its rich, tangy flavor and creamy texture make it a perfect complement to sweet treats, allowing for a delicious contrast that elevates cakes and cupcakes alike.
- Historical Roots: Cream cheese itself has roots dating back to the 19th century in the United States, where it was first made as a spread. The idea of incorporating cream cheese into icing emerged as bakers sought richer, more flavorful alternatives to traditional buttercream.
- Popularity Surge: The icing gained significant popularity in the latter half of the 20th century, especially with the rise of carrot cake and red velvet cake recipes that featured cream cheese icing as a signature topping. This trend helped solidify its place in American dessert culture.
- Celebratory Occasions: Cream cheese icing is often used for special occasions, including birthdays and holidays. Its versatility makes it suitable for various cakes, but it shines particularly bright on carrot cakes and red velvet cakes, which have become staples at celebrations.
- Connection to Preppy Kitchen: The Preppy Kitchen embodies a stylish and approachable cooking philosophy, and cream cheese icing fits perfectly within this framework. Its elegant presentation and delightful flavor profile align with the aesthetic of creating beautiful, yet accessible, desserts that anyone can master.
Ingredients for Cream Cheese Icing
This section outlines all the essential ingredients needed to create a delicious cream cheese icing that perfectly complements your baked goods. Accurate measurements and quality ingredients are key to achieving that creamy, luscious texture that makes this icing a favorite in the Preppy Kitchen.
| Item | Amount/Specification | Notes |
|---|---|---|
| Cream Cheese | 8 oz (226g) | Softened to room temperature for easy mixing |
| Powdered Sugar | 4 cups (480g) | Sifted to avoid lumps |
| Vanilla Extract | 2 teaspoons (10ml) | Pure vanilla extract is preferred for flavor |
| Butter | ½ cup (113g) | Unsalted, softened to room temperature |
- Tip: Ensure the cream cheese and butter are at room temperature for a smooth icing; this prevents lumps.
- Common Mistake: Don’t skip sifting the powdered sugar, as lumps can ruin the texture of your icing.
- Substitution: For a dairy-free option, use a vegan cream cheese alternative and dairy-free butter.
Required Kitchen Equipment
Before you start whipping up your delicious cream cheese icing, it’s essential to gather the right tools. Having the proper kitchen equipment not only makes the process smoother but also helps you achieve that perfect texture and flavor that defines a great icing.
- Mixing Bowls: You will need two mixing bowls—one for combining the cream cheese and butter, and a larger one for mixing in the powdered sugar. A glass or stainless steel bowl works best as they are easy to clean and won’t absorb odors.
- Electric Mixer: An electric hand mixer or stand mixer is crucial for achieving a smooth and creamy consistency. Start on a low speed to combine the ingredients, then increase to medium-high to aerate the icing until it’s fluffy, about 2-3 minutes.
- Spatula: A silicone spatula is perfect for scraping down the sides of your mixing bowl and folding in any additional ingredients like vanilla extract. This ensures all the cream cheese and butter are incorporated evenly, preventing lumps.
- Measuring Cups and Spoons: Accurate measurements are vital for the perfect icing. Use dry measuring cups for the powdered sugar and liquid measuring cups for any vanilla extract. This will help you maintain the right balance of flavors.
Step-by-Step Instructions
This section provides detailed instructions on how to make the perfect cream cheese icing, focusing on mixing ingredients, achieving the right consistency, and chilling the icing for optimal texture. Following these steps will help you create a luscious frosting that complements any cake or cupcake.
- Mixing Ingredients: Start by placing 8 ounces (225g) of softened cream cheese and ½ cup (115g) of unsalted butter in a large mixing bowl. Using an electric mixer, beat the cream cheese and butter together on medium speed for about 2-3 minutes until the mixture is smooth and creamy, with no lumps remaining. You’ll know it’s ready when it looks pale and fluffy.
- Incorporating Sugar: Gradually add 4 cups (480g) of powdered sugar to the cream cheese mixture, one cup at a time. Mix on low speed to prevent a sugar cloud, and then increase to medium speed. Beat for an additional 2-3 minutes until the icing is thick and velvety, ensuring all the sugar is fully incorporated. The icing should hold its shape and have a glossy finish.
- Achieving Consistency: If the icing is too thick for your liking, add 1 tablespoon of milk or heavy cream to loosen it up, mixing until you reach the desired consistency. Conversely, if the icing is too runny, add a little more powdered sugar until it firms up. Aim for a spreadable yet sturdy texture that won’t drip off your cakes.
- Chilling the Icing: Once the icing is prepared, cover the bowl with plastic wrap and refrigerate for at least 30 minutes. Chilling helps the icing firm up, making it easier to spread. Before using, give it a quick stir to restore its creamy consistency. If it’s too cold, let it sit at room temperature for 10-15 minutes to soften slightly.
Pro Tips and Common Mistakes
Perfecting cream cheese icing is essential for achieving that smooth, luscious finish on your cakes and cupcakes. By paying attention to the temperature of your ingredients, mixing technique, and storage methods, you can avoid common pitfalls and ensure your icing is a success every time.
Temperature of Ingredients
- Use room temperature cream cheese: Cold cream cheese can lead to lumps in your icing. Let it sit out for at least 30 minutes before mixing to ensure a smooth texture.
- Softened butter is key: Similar to the cream cheese, your butter should also be at room temperature (around 70°F or 21°C). This allows for easier incorporation and a fluffier icing.
Mixing Technique
- Beat well but don’t overmix: Mix the cream cheese and butter together until well combined and smooth, about 2-3 minutes. Overmixing can lead to a gritty texture as the sugar dissolves too much.
- Add powdered sugar gradually: Sift in the powdered sugar (about 4 cups or 480g) in batches. This will help prevent clouding and ensure an even texture without sugar clumps.
Storing Icing
- Keep it refrigerated: If you’re not using the icing right away, store it in an airtight container in the refrigerator for up to one week. Bring it back to room temperature and re-whip before using.
- Freeze for longer storage: You can freeze cream cheese icing for up to 3 months. Place it in a freezer-safe container, and when ready to use, thaw in the fridge overnight and re-whip to restore texture.
Variations and Substitutions
This section explores delicious flavor variations and suitable substitutions for the classic cream cheese icing, ensuring it meets different dietary needs while still capturing that signature Preppy Kitchen charm. Whether you’re looking to add a unique twist or cater to specific dietary restrictions, these ideas will help you customize your icing perfectly.
Flavored Cream Cheese Icing
Elevate your cream cheese icing by adding specific flavors. Here are some ideas:
- Chocolate: Add ½ cup unsweetened cocoa powder (50g) to the icing for a rich chocolate flavor. Mix well until fully combined.
- Citrus: Incorporate the zest of 1 lemon or orange for a refreshing brightness. Add a tablespoon of fresh juice to enhance the flavor.
- Spiced: Mix in 1 teaspoon of cinnamon or pumpkin spice for a warm, cozy flavor, perfect for fall treats.
Vegan Options
If you’re looking for a vegan alternative, you can easily make a plant-based cream cheese icing. Here’s how:
- Substitute the cream cheese with 1 cup of vegan cream cheese (like Tofutti or Kite Hill).
- Use ½ cup of powdered sugar (60g) and 2 tablespoons of non-dairy milk to achieve the desired consistency.
Chef’s tip: Make sure your vegan cream cheese is at room temperature for easier mixing.
Gluten-Free Substitutes
For those avoiding gluten, the good news is that traditional cream cheese icing is naturally gluten-free! However, if you’re adding any extras, ensure they are gluten-free as well:
- Use gluten-free powdered sugar, which is typically safe, but check the label to be certain.
- When incorporating flavorings, opt for gluten-free extracts or flavorings to maintain the integrity of your icing.
| Flavor Variation | Additional Ingredient | Amount |
|---|---|---|
| Chocolate | Cocoa Powder | ½ cup (50g) |
| Citrus | Fruit Zest | Zest of 1 |
| Spiced | Cinnamon | 1 teaspoon |
Serving and Plating Suggestions
When it comes to serving cream cheese icing, the possibilities are endless. This luscious icing not only enhances the flavor of your desserts but also adds a visually appealing touch. Here are some delightful ways to serve and pair it with various treats.
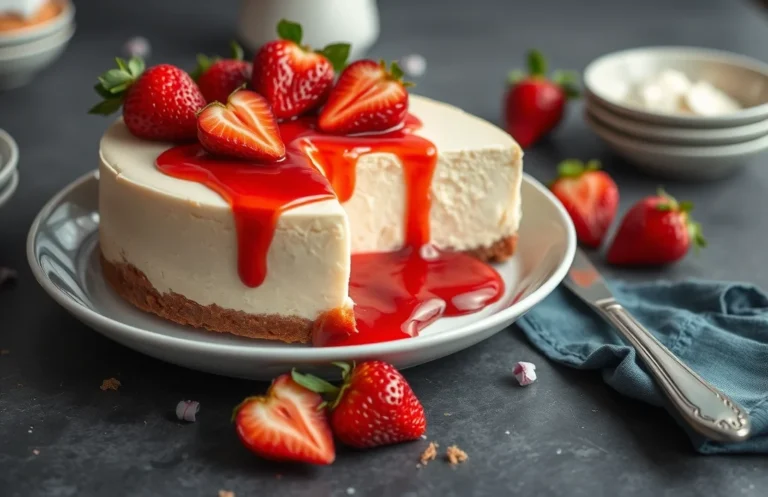
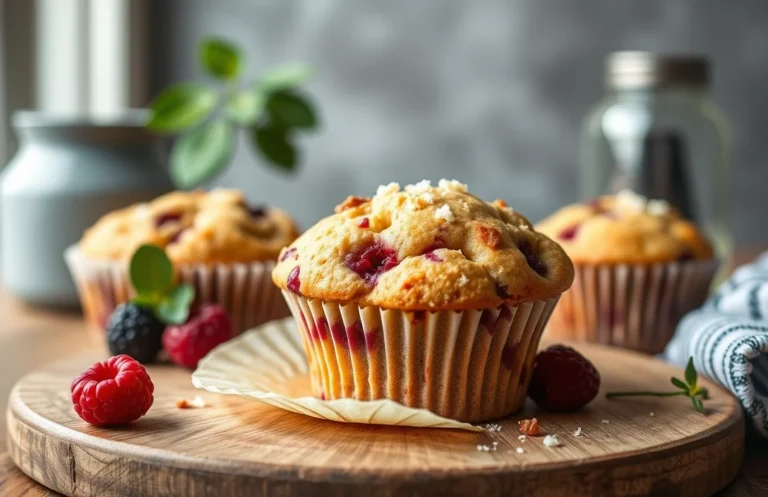
- Pairing with Cakes: Cream cheese icing is a classic pairing with red velvet and carrot cakes. Spread a generous layer on top and around the sides of your cake for a smooth finish. If you’re feeling adventurous, try adding zest from 1 lemon or orange to the icing for a refreshing twist.
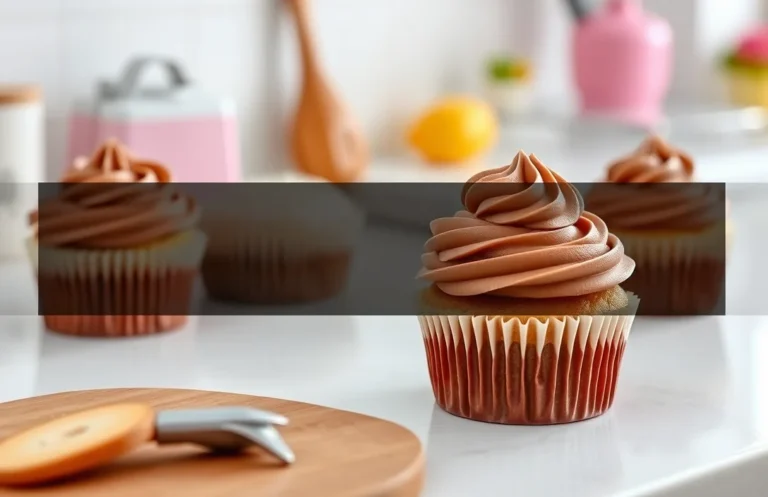
- Decorative Techniques: To elevate the presentation, use a piping bag fitted with a star tip to create rosettes or decorative swirls on your desserts. For a professional touch, sprinkle edible glitter or finely crushed nuts on top. Just make sure the icing has set slightly before decorating to maintain the shape.
- Using in Pastries: Cream cheese icing makes a fantastic filling for pastries such as cinnamon rolls or puff pastry desserts. Spread a thin layer inside the pastry before baking, or drizzle it on top once they have cooled. This not only adds flavor but also creates a beautiful glaze effect.
Each of these suggestions allows you to showcase your cream cheese icing in a way that is both delicious and visually appealing. Remember to taste as you go and adjust the sweetness according to your preference!
Quick Summary
| Prep Time | 10 minutes |
|---|---|
| Cook Time | 0 minutes |
| Total Time | 10 minutes |
| Servings | 12 |
- Soften the cream cheese: Leave at room temperature for 30 minutes for a smooth texture.
- Use unsalted butter: Cream with the cheese for balanced flavor.
- Add powdered sugar gradually: Mix until fully incorporated to avoid lumps.
- Incorporate vanilla extract: Adds depth; use pure vanilla for best results.
- Whip until fluffy: Aim for a light and airy consistency, about 2-3 minutes.
- Chill before use: Refrigerate for 15 minutes to firm up for easy spreading.
Frequently Asked Questions
Can I make this ahead of time? How to store and reheat?
You can make this cream cheese icing up to 3 days in advance. Store it in an airtight container in the refrigerator, and when ready to use, just give it a good stir to regain its creamy texture.
What can I substitute for cream cheese?
If you’re looking for a substitute, you can use mascarpone cheese for a similar texture and flavor, or a vegan cream cheese alternative for a dairy-free version.
How do I know when it’s done?
Your cream cheese icing is done when it’s smooth and fluffy with no lumps, typically after 3-5 minutes of mixing on medium speed. It should hold its shape well when piped or spread.
Can I freeze this? How long does it last?
Yes, you can freeze cream cheese icing for up to 2 months. Just make sure to store it in an airtight container, and thaw it in the refrigerator overnight before using.
What if I don’t have a stand mixer?
No worries! You can use a handheld electric mixer or even a whisk, though it may take a bit longer, around 8-10 minutes of vigorous whisking to achieve that creamy consistency.

- 10 Best Cheese Knife With Holes For Smooth Slice 2026 - March 9, 2026
- Make Cheesecake Up to 3 Days Ahead: Tips for Best Flavor & Texture - March 4, 2026
- Easy No-Bake Cool Doen Cheesecake: Quick Recipe & Tips - March 4, 2026