Decadent Chocolate Cake Recipe: Step-by-Step from Preppy Kitchen
Chocolate cake is the ultimate comfort food that brings joy to any occasion, whether it’s a cozy weeknight treat or the centerpiece of a celebration. This recipe yields a moist, rich cake that’s decadent yet simple enough for any home cook to master. The first bite melts in your mouth, making it a true crowd-pleaser!
Here, you’ll find a reliable chocolate cake recipe with precise measurements and step-by-step instructions. The total time is about 1 hour, it’s easy to make, and serves 8-10 people.
| Prep Time | Cook Time | Total Time | Servings | Difficulty |
|---|---|---|---|---|
| 20 minutes | 30 minutes | 1 hour | 8-10 | Easy |
Origin of Chocolate Cake
The chocolate cake has a rich history that intertwines with the evolution of baking in America, making it a beloved classic in many homes. Understanding its origins not only highlights its significance in American culture but also enhances the experience of baking and enjoying this decadent dessert.
- Historical Background: Chocolate cake’s roots trace back to the early 19th century when chocolate began to be used in baking. The first chocolate cake recipes appeared in American cookbooks in the 1840s, coinciding with the rise of cocoa powder and chocolate bars.
- Why It’s Special: Chocolate cake holds a special place in the hearts of many due to its rich flavor and versatile nature. It can be dressed up for celebrations or enjoyed simply with a cup of coffee, making it a staple for various occasions.
- Occasions to Serve: This delightful cake is perfect for birthdays, weddings, and holidays. Its ability to be customized with different frostings and fillings allows it to shine at any gathering, be it a casual family dinner or a grand celebration.
Ingredients for Chocolate Cake
To create a rich and decadent chocolate cake, you’ll need a precise selection of ingredients that contribute to its moist texture and deep chocolate flavor. Below, you’ll find a detailed list of all the necessary components, including dry and wet ingredients, as well as optional add-ins to elevate your cake.
| Item | Amount/Specification | Notes |
|---|---|---|
| All-purpose flour | 1 ¾ cups (220g) | Sift before measuring for best results |
| Cocoa powder | ¾ cup (75g) | Use unsweetened for a rich flavor |
| Granulated sugar | 2 cups (400g) | Sweetens and helps create a tender crumb |
| Baking powder | 1 ½ teaspoons | Leavening agent for rise |
| Baking soda | 1 ½ teaspoons | Helps the cake rise and adds depth |
| Salt | 1 teaspoon | Enhances flavor |
| Eggs | 2 large | Room temperature for better mixing |
| Whole milk | 1 cup (240ml) | Can substitute with almond milk for dairy-free |
| Vegetable oil | ½ cup (120ml) | Keeps the cake moist |
| Vanilla extract | 2 teaspoons | Adds depth of flavor |
| Boiling water | 1 cup (240ml) | Adds moisture and enhances cocoa flavor |
- Ingredient substitutions: For a gluten-free cake, replace all-purpose flour with a gluten-free blend.
- Common mistakes: Avoid overmixing the batter, as it can lead to a dense cake.
- Ensure all ingredients are at room temperature for the best texture.
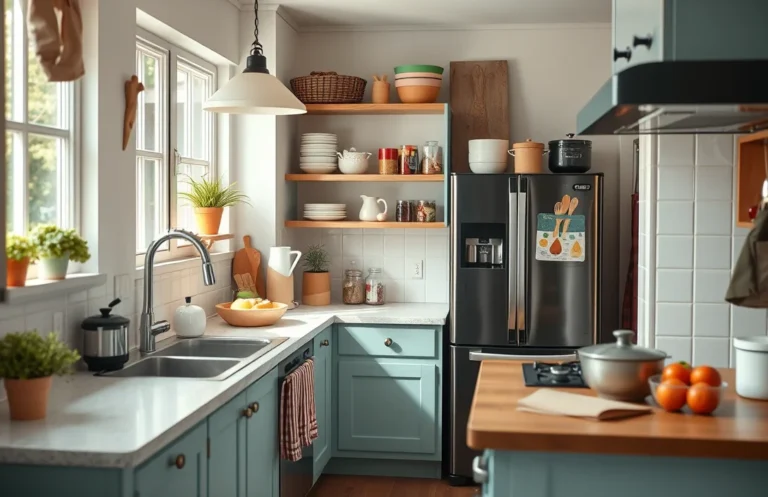
Essential Kitchen Equipment
To successfully create a chocolate cake that rivals those from Preppy Kitchen, having the right tools will make all the difference. This section outlines the essential equipment you’ll need, along with some preparation steps to ensure a smooth baking experience.
- Mixing Bowls: You’ll need at least two large mixing bowls. One for dry ingredients and one for wet. Opt for stainless steel or glass as they are sturdy and easy to clean.
- Measuring Cups and Spoons: Accurate measurements are crucial in baking. Use dry measuring cups for flour and sugar, and liquid measuring cups for milk and oil. A good set of measuring spoons will help with precise ingredient additions.
- Electric Mixer: A stand mixer or hand mixer will save you time and ensure a consistent batter. Creaming the butter and sugar together until light and fluffy is essential for a tender cake.
- Rubber Spatula: A flexible spatula is perfect for scraping down the sides of your mixing bowl and for folding in dry ingredients gently without deflating the batter.
- 9-inch Round Cake Pans: Use two 9-inch round cake pans for this recipe. Make sure to grease them well or line with parchment paper to prevent sticking.
- Cooling Rack: A wire cooling rack is vital for allowing your cake layers to cool evenly. This prevents sogginess at the bottom and helps maintain the cake’s structure.
- Oven Thermometer: An oven thermometer ensures your oven is at the correct temperature. Ovens can often be inaccurate, and baking requires precision.
Gathering these tools ahead of time will set you up for success and make the baking process enjoyable. Make sure everything is clean and ready to go before you start mixing! Happy baking!
Step-by-Step Baking Instructions
In this section, we’ll guide you through the entire process of mixing, baking, and cooling your chocolate cake. Each step is crucial to achieving that moist, rich texture and delicious flavor typical of a Preppy Kitchen chocolate cake.
- Mixing the Batter: Start by preheating your oven to 350°F (175°C). In a large mixing bowl, whisk together 1 ¾ cups (220g) all-purpose flour, 1 ¾ cups (350g) granulated sugar, ¾ cup (65g) unsweetened cocoa powder, 1 ½ teaspoons baking powder, 1 ½ teaspoons baking soda, and 1 teaspoon salt until well combined. The dry ingredients should look uniform and slightly fluffy.
- Next, add 2 large eggs, 1 cup (240ml) whole milk, ½ cup (120ml) vegetable oil, and 2 teaspoons vanilla extract to the bowl. Using an electric mixer, beat the mixture on medium speed for about 2 minutes until it becomes smooth and glossy. The batter should be thick but pourable, with a rich chocolate aroma filling your kitchen.
- Incorporating Boiling Water: Carefully stir in 1 cup (240ml) of boiling water into the batter; this will thin it out significantly. Mix just until combined. The batter will be very liquid, which is normal, and you should see a deep chocolate color.
- Baking Time: Grease and flour two 9-inch round cake pans, then evenly divide the batter between them. Bake in the preheated oven for 30-35 minutes. You’ll know the cakes are done when a toothpick inserted in the center comes out clean and the edges start to pull away from the sides of the pans.
- Cooling Process: Once baked, remove the cakes from the oven and let them cool in the pans for 10 minutes. After that, carefully invert them onto a wire rack to cool completely. This step is crucial; if you leave them in the pans too long, they might stick. The cakes should feel firm yet spring back when gently pressed.
Pro Tips for Success
Baking a chocolate cake can be a rewarding experience, but it also comes with its challenges. Here are some expert tips to ensure your cake turns out deliciously moist and perfectly risen, along with common pitfalls to avoid.
Common Mistakes
- Not measuring ingredients accurately: Baking is a science, so use a kitchen scale for precision. For this cake, 1 ¾ cups of all-purpose flour (220g) and 1 cup of granulated sugar (200g) are crucial for the right texture.
- Skipping the sifting step: Sifting cocoa powder and flour helps incorporate air and prevent clumps. This will ensure a lighter, fluffier cake.
- Overmixing the batter: Once you combine the wet and dry ingredients, mix until just combined. Overmixing can lead to a dense cake.
Baking Tips
- Preheat your oven to 350°F (175°C): Always preheat your oven before baking to give your cake the best rise. A properly heated oven ensures even cooking.
- Use parchment paper: Line your cake pans with parchment paper to prevent sticking. This makes for easy removal and keeps the cake intact.
- Check for doneness: Insert a toothpick into the center of the cake; it should come out clean or with a few moist crumbs. This usually takes about 30-35 minutes.
Storage Advice
- Cool completely: Let your cake cool in the pans for 10 minutes, then transfer to a wire rack to cool completely before frosting. This prevents the frosting from melting.
- Store properly: Keep your chocolate cake in an airtight container at room temperature for up to 3 days or refrigerate for up to a week. For longer storage, freeze slices wrapped tightly in plastic wrap for up to 3 months.
Chocolate Cake Variations
Creating a chocolate cake from Preppy Kitchen opens up a world of delightful variations. Whether you’re accommodating dietary preferences or simply want to try something different, these variations allow you to customize the classic recipe while keeping all the rich flavors intact.
Gluten-Free Option
If you need a gluten-free chocolate cake, substitute the all-purpose flour with a gluten-free blend. Look for a blend that contains xanthan gum, or add ½ teaspoon of xanthan gum to your mix. Here’s what you’ll need:
- 1 ¾ cups gluten-free flour blend (210g)
- 1 teaspoon baking soda
- 1 teaspoon baking powder
Follow the same mixing and baking instructions, but check the cake for doneness a few minutes earlier than the original recipe, as gluten-free cakes can sometimes bake faster. The cake should spring back when lightly touched and a toothpick inserted in the center should come out clean.
Vegan Substitutes
For a vegan chocolate cake, replace the eggs and dairy with plant-based alternatives:
- 1 cup unsweetened applesauce (240g) for 2 eggs
- ½ cup almond milk (120ml) for the buttermilk
- ½ cup melted coconut oil (120ml) for the butter
Mix the ingredients as you would in the standard recipe. The batter should have a smooth consistency and a rich chocolate aroma. Bake at 350°F (175°C) for 30-35 minutes. The cake will be dense yet moist.
Flavor Variations
To add an exciting twist to your chocolate cake, consider these flavor variations:
- Chocolate Orange: Add 1 tablespoon of orange zest and 2 tablespoons of orange juice.
- Mint Chocolate: Incorporate 1 teaspoon of peppermint extract into the batter.
- Mocha: Mix in 1 tablespoon of instant coffee granules with the dry ingredients.
Chef’s tip: Always taste your batter before baking. It’s a great opportunity to adjust flavors!
| Variation | Additional Ingredients |
|---|---|
| Gluten-Free | Gluten-free flour blend, xanthan gum |
| Vegan | Applesauce, almond milk, coconut oil |
| Chocolate Orange | Orange zest, orange juice |
Experimenting with these variations not only makes your chocolate cake versatile but also allows you to cater to different dietary needs. Each version brings its own unique flavor profile while ensuring you enjoy a delicious treat!
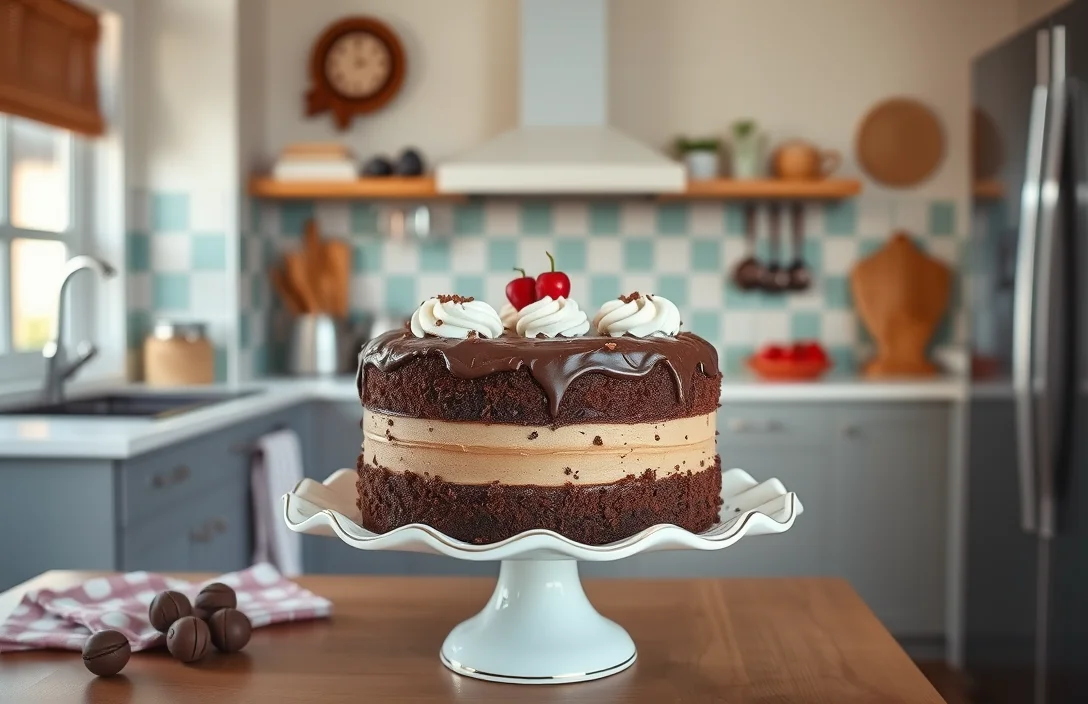
Serving and Plating Ideas
Presenting your chocolate cake beautifully can elevate the entire dessert experience. A well-plated cake not only looks inviting but also enhances the enjoyment of every bite. Here are some creative suggestions for serving and pairing your chocolate cake.
Plating Tips
- Use a cake stand to elevate your presentation, allowing guests to see the cake from all angles.
- Dust the top with powdered sugar or cocoa powder for a simple yet elegant touch.
- Garnish with fresh berries or mint leaves to add color and contrast against the rich chocolate.
- Slice the cake into even pieces using a hot knife for clean edges, then serve on individual plates.
Serving Suggestions
- Serve with a scoop of vanilla bean ice cream on the side for a delightful temperature contrast.
- Pair with a rich chocolate ganache drizzle for an extra layer of chocolate flavor.
- Offer a dollop of whipped cream or crème fraîche to balance the sweetness.
- For a fun twist, serve with a shot of espresso for a mocha experience.
Pairing Beverages
| Beverage | Notes |
|---|---|
| Red Wine (Merlot or Cabernet Sauvignon) | The tannins complement the chocolate richness. |
| Coffee (Espresso or brewed) | Enhances the cake’s flavors and provides a nice caffeine boost. |
| Milk (Whole or almond) | A classic pairing that softens the chocolate intensity. |
Chef’s tip: Serve your cake at room temperature for the best flavor and texture. Cold cake can dull the taste.
Quick Summary
| Prep Time | Cook Time | Total Time | Servings |
|---|---|---|---|
| 20 mins | 30 mins | 50 mins | 8 |
- Preheat oven to 350°F (175°C) before mixing ingredients.
- Mix dry ingredients separately to ensure even distribution.
- Beat eggs until frothy for a lighter cake texture.
- Use room temperature ingredients for better mixing.
- Bake for 30 minutes, checking doneness with a toothpick.
- Tip: Let the cake cool completely before frosting to avoid melting.
- Tip: Use high-quality cocoa powder for rich flavor.
Frequently Asked Questions
Can I make this ahead of time? How to store and reheat?
You can absolutely make this chocolate cake ahead of time! Store it in an airtight container at room temperature for up to 2 days or refrigerate for up to a week; to reheat, warm individual slices in the microwave for about 10-15 seconds.
What can I substitute for buttermilk?
If you don’t have buttermilk, you can substitute it with 1 cup of milk mixed with 1 tablespoon of white vinegar or lemon juice; let it sit for 5 minutes to curdle before using.
How do I know when it’s done?
Your chocolate cake is done when a toothpick inserted into the center comes out clean or with a few moist crumbs attached; this usually takes about 30-35 minutes at 350°F (175°C).
Can I freeze this? How long does it last?
You can freeze the chocolate cake for up to 3 months; wrap it tightly in plastic wrap and aluminum foil, and thaw in the refrigerator overnight before serving.
What if I don’t have a round cake pan?
If you don’t have a round cake pan, you can use a 9×13 inch baking dish instead; just adjust the baking time to about 25-30 minutes and check for doneness similar to the round cake.

- 10 Best Cheese Knife With Holes For Smooth Slice 2026 - March 9, 2026
- Make Cheesecake Up to 3 Days Ahead: Tips for Best Flavor & Texture - March 4, 2026
- Easy No-Bake Cool Doen Cheesecake: Quick Recipe & Tips - March 4, 2026