Decadent Chocolate Cake: Step-by-Step Preppy Kitchen Recipe
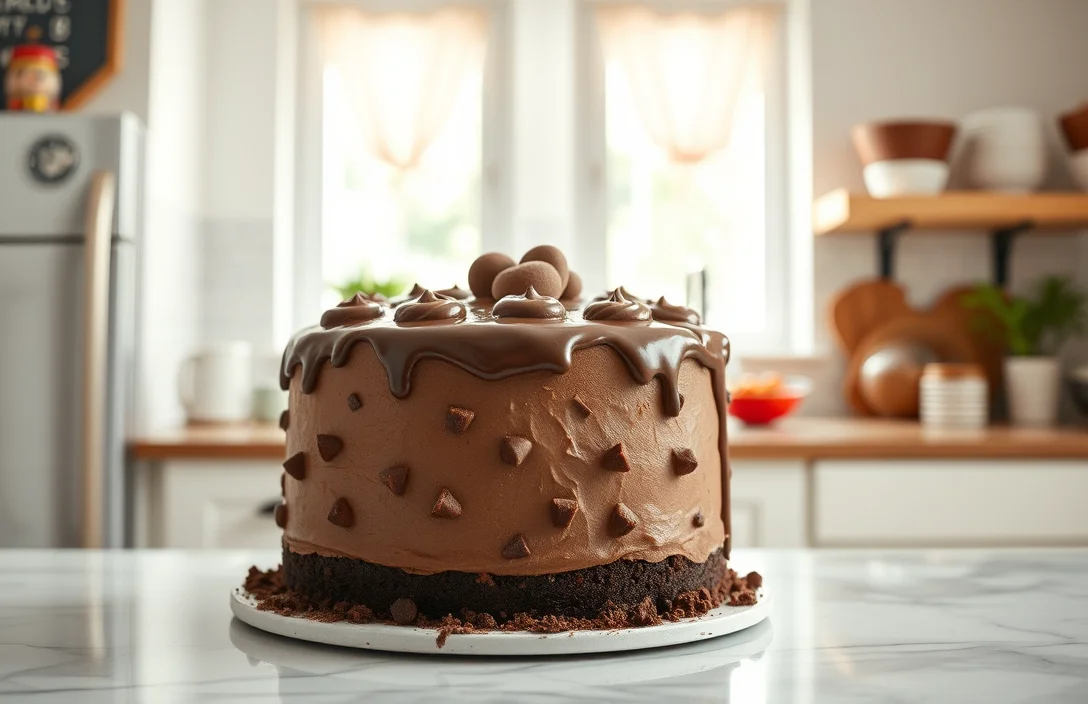
There’s something undeniably comforting about a rich, moist chocolate cake that brings everyone together. Whether it’s for a birthday celebration or a cozy weeknight treat, this cake is a guaranteed crowd-pleaser that will make your taste buds dance with delight!
This recipe is straightforward yet rewarding, with total time of 1 hour and 15 minutes, a difficulty level of easy, and it serves 8 delicious slices that are sure to impress.
| Prep Time | Cook Time | Total Time | Servings | Difficulty |
|---|---|---|---|---|
| 15 minutes | 30 minutes | 1 hour 15 minutes | 8 | Easy |
Story Behind Chocolate Cake
Chocolate cake has a rich history, evolving from simple cocoa-infused desserts to the decadent layers we cherish today. Its significance in the culinary world is undeniable, particularly in the context of Preppy Kitchen, where elegance meets deliciousness in every bite.
- Origin of Chocolate Cake: The first chocolate cakes appeared in the 18th century, initially as puddings. With the introduction of cocoa powder in the 19th century, bakers began crafting the chocolate cakes we know today, often using it as a special treat for celebrations.
- Why It’s Special: Chocolate cake embodies comfort and indulgence, making it a favorite for birthdays, anniversaries, and gatherings. Its rich flavor and moist texture create an inviting experience that resonates with both young and old.
- When to Serve: Chocolate cake is versatile, perfect for formal occasions like weddings and holiday dinners, as well as casual gatherings like family picnics or movie nights. Its ability to pair with various frostings and fillings allows for endless creativity in presentation.
Ingredients for Chocolate Cake
In this section, you’ll find a detailed list of ingredients needed to create a rich and moist chocolate cake. Having everything measured out and ready to go ensures a smoother baking experience, so let’s get organized!
| Item | Amount/Specification | Notes |
|---|---|---|
| All-purpose flour | 1 ¾ cups (220g) | Sifted for a lighter texture |
| Cocoa powder | ¾ cup (75g) | Use unsweetened for best results |
| Granulated sugar | 2 cups (400g) | Adjust based on your sweetness preference |
| Baking powder | 1 ½ teaspoons | Check expiration date for effectiveness |
| Baking soda | 1 ½ teaspoons | Fresh is key for proper rise |
| Salt | 1 teaspoon | Enhances flavor |
| Unsalted butter | ½ cup (115g) | Softened to room temperature |
| Large eggs | 2 | Bring to room temperature for better emulsion |
| Vanilla extract | 2 teaspoons | Use pure for a richer flavor |
| Buttermilk | 1 cup (240ml) | Can substitute with milk and vinegar |
| Hot water | 1 cup (240ml) | Enhances the cake’s richness |
- Allergy substitutions: Gluten-free flour can be used instead of all-purpose flour, and dairy-free alternatives can replace buttermilk and butter.
- Common mistake: Make sure to measure your flour correctly; spoon it into the measuring cup and level it off to avoid a dense cake.
- Pro tip: Let the eggs and butter come to room temperature to ensure a smooth batter.
Essential Kitchen Tools
To create a delicious chocolate cake in the style of Preppy Kitchen, having the right tools is essential. These tools not only streamline the process but also help achieve the perfect texture and flavor. Here’s what you’ll need to get started:
- Baking Pans: Use two 9-inch round cake pans for even baking and easy stacking. Make sure to grease them well with butter or non-stick spray and line the bottoms with parchment paper to prevent sticking.
- Mixing Bowls: Have a set of large mixing bowls ready, preferably glass or stainless steel. You’ll need one for dry ingredients and another for wet ingredients. This keeps your ingredients organized and makes it easier to combine them later.
- Electric Mixer: A stand mixer or hand mixer will make whipping the eggs and sugar a breeze. Aim for a fluffy, light mixture that will add air to your cake, resulting in a tender crumb. Mix on medium speed until the mixture is pale and thick.
- Measuring Cups and Spoons: Accurate measurements are key to baking, so ensure you have dry and liquid measuring cups, as well as a set of measuring spoons. This helps prevent any mishaps with your ingredients.
- Sifter: Use a fine-mesh sifter for the dry ingredients. Sifting the flour and cocoa powder helps to aerate them and eliminate any lumps, contributing to a smoother batter.
- Rubber Spatula: A flexible spatula is perfect for folding in dry ingredients and scraping down the sides of the mixing bowl. It ensures that everything is well incorporated without deflating the airy batter.
- Cooling Rack: After baking, let your cakes cool completely on a wire rack. This prevents them from becoming soggy and ensures they maintain their shape for frosting.
Step-by-Step Baking Instructions
In this section, we’ll walk through the precise steps to bake a delicious chocolate cake, ensuring your kitchen is filled with the rich aroma of chocolate. Following these detailed instructions will help you achieve that perfect, moist cake that embodies the Preppy Kitchen style.
- Preheat the Oven: Start by preheating your oven to 350°F (175°C). This temperature is crucial for achieving a well-risen cake. While the oven heats, you can prepare your cake batter.
- Mixing the Batter: In a large mixing bowl, combine 1 ¾ cups (220g) all-purpose flour, 1 ½ cups (300g) granulated sugar, ¾ cup (65g) unsweetened cocoa powder, 1 ½ teaspoons baking powder, 1 ½ teaspoons baking soda, and 1 teaspoon salt. Whisk these dry ingredients together until well blended. Then, add in 2 large eggs, 1 cup (240ml) whole milk, ½ cup (120ml) vegetable oil, and 2 teaspoons vanilla extract. Mix at medium speed for about 2 minutes until the batter is smooth and glossy.
- Baking Time: Grease and flour two 9-inch round cake pans, then evenly pour the batter into the pans. Bake in the preheated oven for 30 to 35 minutes. To check for doneness, insert a toothpick into the center of the cakes; it should come out clean or with a few moist crumbs. Once baked, allow the cakes to cool in the pans for 10 minutes before transferring them to a wire rack to cool completely.
Chef’s tip: If your chocolate cake sinks in the middle, it may have been underbaked or the oven temperature was too low. Always use an oven thermometer for accuracy.
Pro Tips for Success
Baking a chocolate cake can be simple, but a few expert tips can elevate your cake from good to extraordinary. Understanding ingredient quality, mastering mixing techniques, and knowing how to cool your cake properly are essential to achieving that rich, moist, and decadent chocolate cake you desire.
- Ingredient Quality: Always opt for high-quality ingredients, especially chocolate and cocoa powder. Look for unsweetened cocoa powder like Dutch-process for a deeper flavor and premium dark chocolate with at least 60% cocoa content for the best results. The richer the ingredients, the more intense the chocolate flavor will be.
- Mixing Techniques: When combining wet and dry ingredients, be careful not to overmix. Mix until just combined to avoid a dense cake. You want to see a few lumps; this means you’re on the right track. Also, ensure your butter is at room temperature (around 68°F or 20°C) before creaming it with sugar, which helps incorporate air for a lighter texture.
- Cooling Tips: After baking, allow your cake to cool in the pan for about 10-15 minutes. This helps it set before you transfer it to a wire rack. When transferring, be gentle to avoid breaking. Let it cool completely before frosting; if you frost too soon, the icing may melt and slide off, ruining your beautiful creation.
Recipe Variations
This section highlights various options to customize your chocolate cake for different dietary needs and personal preferences. Whether you’re gluten-free, vegan, or simply looking for a fun twist on the classic recipe, these variations will ensure everyone can enjoy a slice of this delicious cake.
Gluten-Free Options
If you need a gluten-free cake, simply swap out the all-purpose flour with gluten-free flour blend. Make sure the blend contains xanthan gum for texture. Here’s a quick reference for the substitution:
| Ingredient | Amount |
|---|---|
| Gluten-Free Flour Blend | 1 ¾ cups (210g) |
Vegan Substitutes
To make this cake vegan, you can replace eggs and dairy with plant-based alternatives. Here’s how:
- Replace 1 egg with ¼ cup unsweetened applesauce or 1 tablespoon ground flaxseed mixed with 2.5 tablespoons water.
- Use almond milk or soy milk instead of whole milk, using the same amount (1 cup or 240ml).
- Swap butter for coconut oil or vegan butter, using ½ cup (115g).
Flavor Variations
Want to jazz up your chocolate cake? Here are some fun ideas:
- Add ½ cup (90g) of chocolate chips for extra chocolatey goodness.
- Incorporate 1 teaspoon of espresso powder to enhance the chocolate flavor.
- Mix in 1 cup (150g) of chopped nuts for added texture.
Chef’s tip: For a citrus twist, add the zest of one orange or lemon to the batter.
Serving and Plating Ideas
Presenting your chocolate cake beautifully can elevate it from delicious to stunning. With the right frosting, decorations, and pairing, your cake can become the centerpiece of any gathering. Here are some ideas to serve and plate your chocolate cake in a way that reflects the preppy kitchen style.
Frosting Suggestions
- Classic Chocolate Buttercream: Whip together 1 cup (230g) unsalted butter, softened, with 3 ½ cups (440g) powdered sugar, ½ cup (50g) unsweetened cocoa powder, and ¼ cup (60ml) heavy cream until creamy and fluffy.
- Whipped Cream Topping: For a lighter option, beat 1 cup (240ml) heavy cream with 2 tablespoons (30g) sugar and 1 teaspoon vanilla extract until soft peaks form.
- Ganache Glaze: Heat ½ cup (120ml) heavy cream until it simmers, then pour over 8 ounces (225g) chopped semi-sweet chocolate. Stir until smooth. Allow to cool slightly before pouring over the cake.
Decoration Tips
- Top with fresh berries like raspberries or strawberries for a pop of color.
- Sprinkle cocoa powder or powdered sugar over the top for added elegance.
- Use chocolate shavings or curls for a decadent touch.
- Consider edible flowers like pansies or violets for a charming, sophisticated look.
Pairing Recommendations
Chef’s tip: Serve with a scoop of vanilla ice cream or a drizzle of raspberry sauce to add layers of flavor.
For beverages, pair with:
- Red Wine: A glass of Merlot or Cabernet Sauvignon complements the rich chocolate.
- Coffee: A rich espresso or mocha enhances the chocolate flavor.
Quick Recipe Summary
This section provides a quick reference for making the perfect chocolate cake inspired by Preppy Kitchen. You’ll find essential ingredients, key steps for success, and final touches to elevate your cake. Keep this handy for a smooth baking experience!
Essential Ingredients
- 1 ¾ cups all-purpose flour (220g)
- 2 cups granulated sugar (400g)
- ¾ cup unsweetened cocoa powder (65g)
- 1 ½ teaspoons baking powder
- 1 ½ teaspoons baking soda
- 1 teaspoon salt
- 2 large eggs, room temperature
- 1 cup whole milk (240ml)
- ½ cup vegetable oil (120ml)
- 2 teaspoons vanilla extract
- 1 cup boiling water (240ml)
Key Steps
- Preheat your oven to 350°F (175°C) and grease two 9-inch round cake pans with butter, then dust with flour. This ensures the cakes release easily after baking.
- In a large mixing bowl, whisk together the flour, sugar, cocoa powder, baking powder, baking soda, and salt until well combined. This step helps to aerate the dry ingredients.
- Add the eggs, milk, oil, and vanilla to the dry mixture. Beat with an electric mixer on medium speed for about 2 minutes until the batter is smooth and well blended.
- Carefully stir in the boiling water to the batter — it will be thin. This ensures a moist cake. Pour the batter evenly into the prepared pans.
- Bake for 30-35 minutes or until a toothpick inserted into the center comes out clean. Let the cakes cool in the pans for 10 minutes before transferring them to wire racks.
Chef’s tip: If your cakes domed up in the center, simply level them with a serrated knife for a flat surface before frosting.
Final Touches
Once cooled, frost with a rich chocolate buttercream or ganache for a decadent finish. Decorate with chocolate shavings or fresh berries for a beautiful presentation.
| Nutritional Information (Per Slice) | Amount |
|---|---|
| Calories | 350 |
| Protein | 4g |
| Carbohydrates | 55g |
| Fat | 15g |
For allergy substitutions, you can use almond milk instead of whole milk and coconut oil instead of vegetable oil for a dairy-free option. Enjoy your baking!
Quick Summary
| Prep Time | Cook Time | Total Time | Servings |
|---|---|---|---|
| 20 minutes | 30 minutes | 50 minutes | 8 servings |
- Preheat oven: Set to 350°F (175°C) for optimal baking.
- Mix dry ingredients: Combine 1 ¾ cups flour, 1 ½ cups sugar, and ¾ cup cocoa powder.
- Whip wet ingredients: Blend ¾ cup buttermilk, ¾ cup vegetable oil, and 3 large eggs.
- Combine mixtures: Gradually add dry to wet, mixing until just combined.
- Bake: Pour batter into prepared pans and bake for 30 minutes.
- Cool before frosting: Let cakes cool for 10 minutes in pans, then transfer to wire racks.
- Use room temperature ingredients: Ensures a smoother batter.
- Measure flour correctly: Spoon flour into the measuring cup and level off to avoid dense cake.
- Don’t overmix: Mix just until combined to keep the cake light and airy.
Frequently Asked Questions
Can I make this ahead of time? How to store and reheat?
You can absolutely make this chocolate cake ahead of time! Store it in an airtight container at room temperature for up to 3 days, or refrigerate it for up to a week; just warm individual slices in the microwave for about 10-15 seconds before serving.
What can I substitute for eggs in this recipe?
If you’re looking for an egg substitute, you can use 1/4 cup unsweetened applesauce or 1/4 cup plain yogurt for each egg. These options will keep the moisture while maintaining a similar texture.
How do I know when it’s done?
Your chocolate cake is done when a toothpick inserted into the center comes out clean or with a few moist crumbs attached—this usually takes about 30-35 minutes at 350°F (175°C). The edges will also start to pull away from the pan slightly.
Can I freeze this? How long does it last?
Yes, you can freeze the chocolate cake for up to 3 months. Just make sure to wrap it tightly in plastic wrap and then aluminum foil to prevent freezer burn.
What if I don’t have a round cake pan?
If you don’t have a round cake pan, you can use a 9×13 inch baking dish instead; just adjust the baking time to about 25-30 minutes. Keep an eye on it, as it might bake a bit faster than in the round pans!

- 10 Best Cheese Knife With Holes For Smooth Slice 2026 - March 9, 2026
- Make Cheesecake Up to 3 Days Ahead: Tips for Best Flavor & Texture - March 4, 2026
- Easy No-Bake Cool Doen Cheesecake: Quick Recipe & Tips - March 4, 2026