Decadent Coffee No-Bake Cheesecake: Easy Step-by-Step Recipe
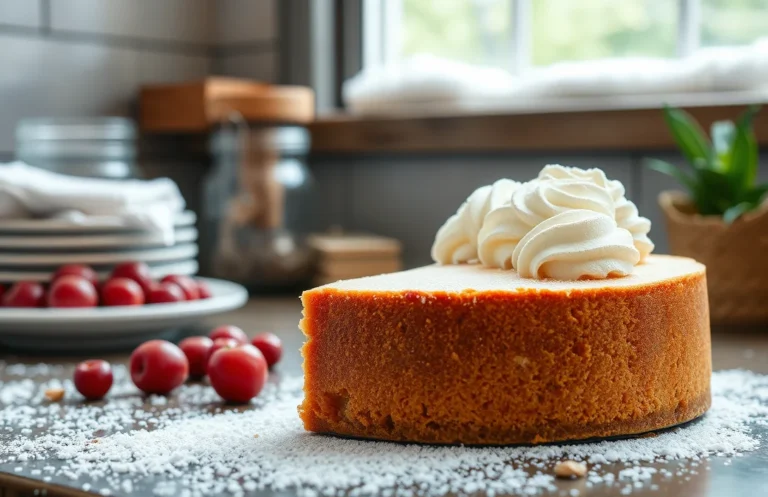
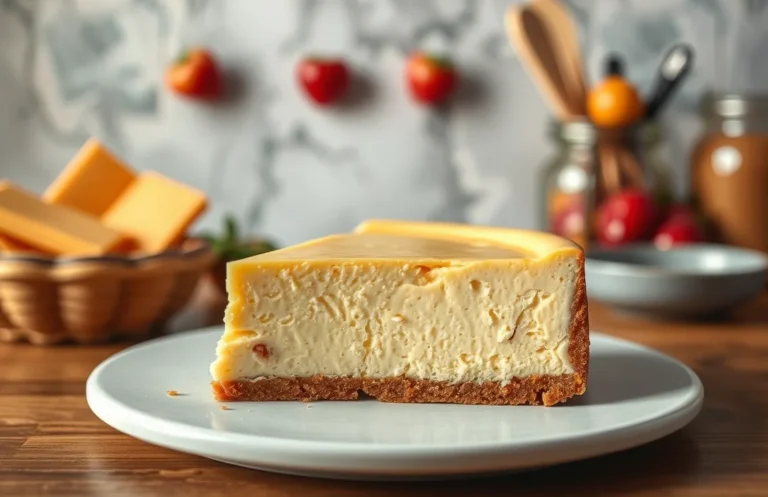
If you’re a coffee lover, this no-bake cheesecake is sure to become your new favorite treat. Imagine a velvety, creamy cheesecake infused with rich coffee flavor, sitting on a crunchy biscuit crust. It’s perfect for weeknight indulgence or to impress guests at your next gathering. Your taste buds are going to thank you!
This coffee no-bake cheesecake takes just 20 minutes of prep time, and 4 hours to chill, making it a simple yet delicious dessert that serves 8 people.
| Prep Time | Cook Time | Total Time | Servings | Difficulty |
|---|---|---|---|---|
| 20 minutes | 0 minutes | 4 hours | 8 | Easy |
Origin of Coffee Cheesecake
The coffee no-bake cheesecake brings together the rich flavors of coffee and the creamy texture of cheesecake, creating a delightful dessert that has gained popularity across various cultures. Understanding its origin adds depth to the experience of making and enjoying this unique treat.
Cultural Background
No-bake cheesecakes have their roots in Europe, with variations dating back to ancient Greece. The addition of coffee to cheesecake is believed to have emerged in the 20th century, coinciding with the global rise of coffee culture. Here are some key points about its journey:
- Italy: Tiramisu, a layered dessert featuring coffee and mascarpone, set the stage for coffee-infused cheesecakes.
- United States: The popularity of cheesecake surged in the 1920s, leading to innovative variations including the no-bake version.
- Global Influence: Various countries have added their twist, incorporating local coffee varieties into the cheesecake recipes.
Special Occasions for Serving
This delectable dessert is perfect for various celebrations, making it a favorite among home bakers. Here are some occasions where coffee no-bake cheesecake shines:
- Birthdays: A crowd-pleaser that combines the joy of cake with the kick of coffee.
- Holidays: Ideal for gatherings during festive seasons like Christmas or Thanksgiving.
- Brunches: A delightful addition to any brunch table, pleasing both coffee lovers and dessert enthusiasts.
Pro tip: Pair your coffee no-bake cheesecake with a strong espresso to enhance the coffee flavor!
Ingredients List
This section provides a detailed list of all the ingredients you’ll need to create a delicious coffee no-bake cheesecake. Each ingredient is measured precisely to ensure your cheesecake turns out perfectly, and I’ve included some notes for substitutions if needed.
| Item | Amount/Specification | Notes |
|---|---|---|
| Cream cheese | 16 ounces (450g) | Softened to room temperature for easy mixing |
| Granulated sugar | ½ cup (100g) | Adjust for sweetness preference |
| Heavy cream | 1 cup (240ml) | Chilled for best whipping results |
| Instant coffee granules | 2 tablespoons | Can substitute with espresso powder for stronger flavor |
| Boiling water | 2 tablespoons | To dissolve coffee granules |
| Graham cracker crumbs | 1 ½ cups (150g) | For the crust; can substitute with digestive biscuits |
| Unsalted butter | ½ cup (113g) | Melted for crust |
| Vanilla extract | 1 teaspoon | For flavor enhancement |
- For best results, make sure the cream cheese is at room temperature to avoid lumps.
- If you’re sensitive to caffeine, you can use decaffeinated coffee granules.
- Check the doneness of your crust by pressing it down firmly to ensure it holds together.
Necessary Kitchen Equipment
To create a delicious coffee no-bake cheesecake, having the right kitchen tools can make all the difference. Below, you’ll find a list of essential equipment that will help streamline your preparation process and ensure your cheesecake turns out perfectly.
| Item | Amount/Specification | Notes |
|---|---|---|
| Mixing Bowls | 2 medium-sized | One for the crust and one for the filling |
| Springform Pan | 9-inch (23cm) | Allows for easy removal of the cheesecake |
| Electric Mixer | 1 | Handheld or stand mixer works great; ensures smooth filling |
- For best results, choose a sturdy mixing bowl with a non-slip base to prevent spills while mixing.
- Make sure the springform pan is sealed properly to avoid any leaks during the chilling process.
- When using an electric mixer, start on a low speed to prevent ingredients from splattering, then increase to medium speed until well combined.
- Consider using a rubber spatula to scrape down the sides of the bowls to ensure even mixing.
Step-by-Step Instructions
This section provides clear, timed steps to guide you through making a delicious coffee no-bake cheesecake. Following these instructions will help you achieve a perfect cheesecake with a smooth filling and a crunchy crust.
- Prepare the Crust: Begin by crushing 1 ½ cups of chocolate sandwich cookies (about 150g) into fine crumbs using a food processor. Transfer the crumbs to a medium mixing bowl and stir in ½ cup (115g) of melted unsalted butter until well combined. The mixture should resemble wet sand and hold together when pressed. Press the mixture firmly into the bottom of a 9-inch (23 cm) springform pan to create an even layer. Chill the crust in the refrigerator for at least 10 minutes to set.
- Mix the Filling: In a large mixing bowl, beat 16 ounces (450g) of cream cheese at room temperature using an electric mixer until smooth and creamy, about 2-3 minutes. Gradually add ½ cup (100g) of granulated sugar and 1 tablespoon of vanilla extract, mixing until combined. In a separate bowl, whisk together 1 cup (240ml) of heavy cream until soft peaks form, then gently fold it into the cream cheese mixture along with 2 tablespoons of brewed coffee or espresso for that rich coffee flavor. Ensure not to deflate the whipped cream while folding.
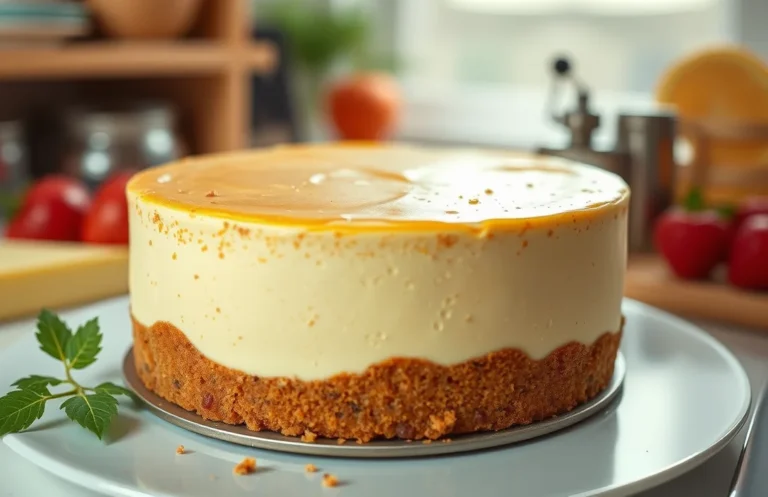
- Chill the Cheesecake: Pour the filling over the chilled crust, spreading it evenly with a spatula. Cover the cheesecake with plastic wrap and refrigerate for at least 4 hours, or preferably overnight. The cheesecake is ready when it is firm to the touch and has a slight jiggle in the center. If the cheesecake isn’t setting, it may need more time in the fridge.
Pro Tips for Success
Creating a perfect coffee no-bake cheesecake hinges on achieving the right texture and preventing any unsightly cracks. With a few expert tips, you can ensure your cheesecake turns out creamy, delicious, and visually appealing.
Achieving the Right Texture
- Use room temperature ingredients: Allow your cream cheese and whipped cream to sit out for at least 30 minutes before starting. This helps them blend smoothly without lumps.
- Whip the cream properly: Whip the heavy cream until stiff peaks form, which usually takes about 3-5 minutes at medium-high speed. This step adds airiness to your cheesecake.
- Fold gently: When combining the whipped cream with the cream cheese mixture, use a rubber spatula to fold rather than stir. This preserves the light texture.
Preventing Cracks
- Chill thoroughly: After assembling your cheesecake, refrigerate it for at least 4 hours or overnight. A longer chilling time helps the cheesecake set properly and reduces the risk of cracks.
- Don’t rush the setting: Avoid cutting into the cheesecake too soon. If you do, it may not be firm enough, leading to cracks.
- Use a springform pan: This allows you to easily remove the cheesecake without applying too much pressure, which can cause cracking.
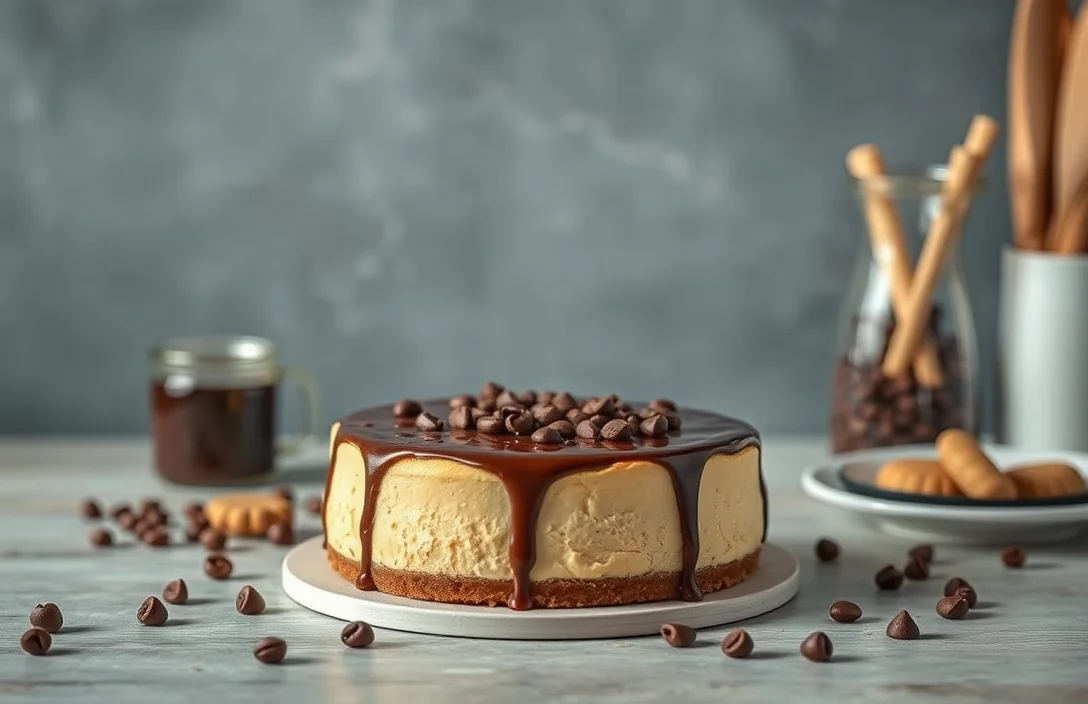
Chef’s tip: If you notice a crack forming while the cheesecake sets, you can cover it with chocolate ganache or whipped cream for a beautiful finish.
Variations and Substitutions
This section highlights some fantastic alternatives for those with specific dietary needs or flavor preferences, ensuring that everyone can enjoy a delectable coffee no-bake cheesecake. Whether you’re looking for a vegan option or need a gluten-free crust, these substitutions will keep your cheesecake delicious and satisfying.
Vegan Options
If you’re looking to make this cheesecake vegan-friendly, you can easily swap out a few key ingredients:
- For the cream cheese, use 1 cup of cashew cream (soak 1 cup of cashews in water for 4 hours, then blend with ¼ cup of coconut milk until smooth).
- Replace the heavy cream with 1 cup of coconut cream. Chill a can of full-fat coconut milk overnight, then scoop out the thick part.
- Use maple syrup or agave nectar instead of powdered sugar for sweetness.
Gluten-Free Crust
If gluten is a concern, you can create a gluten-free crust without sacrificing flavor:
- Substitute the traditional graham cracker crumbs with 1 ½ cups of gluten-free cookie crumbs or crushed gluten-free crackers.
- Mix the crumbs with ½ cup of melted coconut oil instead of butter to bind.
“Chef’s tip: Always taste the filling before pouring it into the crust, adjusting sweetness or coffee intensity as necessary.”
| Ingredient | Traditional | Vegan/Gluten-Free Substitute |
|---|---|---|
| Cream Cheese | 1 cup | 1 cup cashew cream |
| Heavy Cream | 1 cup | 1 cup coconut cream |
| Graham Cracker Crumbs | 1 ½ cups | 1 ½ cups gluten-free cookie crumbs |
Serving and Plating Tips
Presentation can elevate your coffee no-bake cheesecake from a simple dessert to a stunning centerpiece. Here are some garnishing suggestions and beverage pairings that will enhance both the flavor and visual appeal of your cheesecake.
Garnishing Suggestions
- Whipped Cream: Top each slice with a dollop of freshly whipped cream, sweetened with a teaspoon of powdered sugar and a splash of vanilla extract for added flavor.
- Cocoa Powder: Dust the top of the cheesecake with unsweetened cocoa powder or finely grated dark chocolate for a rich, elegant finish.
- Chocolate Shavings: Use a vegetable peeler to create chocolate curls from a dark chocolate bar to sprinkle over the cheesecake.
- Espresso Beans: Garnish with a few whole espresso beans for a sophisticated touch and a hint of crunch.
Beverage Pairings
Pairing your cheesecake with the right beverage can enhance the coffee flavors and create a delightful experience:
| Beverage | Notes |
|---|---|
| Fresh Brewed Coffee | A classic choice that complements the coffee flavor in the cheesecake. |
| Espresso | For a bold pairing, serve a shot of espresso alongside. |
| Hazelnut Liqueur | This sweet liqueur enhances the nutty notes and adds an adult twist. |
| Cold Brew Coffee | Serve chilled for a refreshing contrast to the creamy cheesecake. |
Pro tip: For an extra layer of flavor, consider infusing your whipped cream with a hint of coffee or vanilla before topping your cheesecake.
With these serving and plating tips, your coffee no-bake cheesecake will not only taste incredible but also look irresistible on the table!
Quick Summary
| Prep Time | Cook Time | Total Time | Servings |
|---|---|---|---|
| 20 minutes | 0 minutes | 4 hours (chill time) | 8 |
- Whip cream cheese: Beat until smooth and creamy before adding other ingredients.
- Blend coffee: Use strong brewed coffee for rich flavor; cool before adding.
- Prepare crust: Mix crushed cookies with melted butter and press firmly into the pan.
- Fold in whipped cream: Gently fold to maintain airy texture.
- Chill thoroughly: Refrigerate for at least 4 hours to set properly.
- Tip 1: Use a springform pan for easy removal.
- Tip 2: Adjust sweetness based on your coffee’s bitterness.
- Tip 3: Top with chocolate shavings for added flair.
Frequently Asked Questions
Can I make this ahead of time? How to store and reheat?
You can absolutely make this coffee no-bake cheesecake up to 2 days in advance. Store it in the refrigerator, covered tightly with plastic wrap or foil, and there’s no need to reheat as it’s best served chilled.
What can I substitute for cream cheese?
If you don’t have cream cheese, you can use mascarpone cheese for a similar texture and flavor. Alternatively, a blend of ricotta and Greek yogurt can work as a lighter option.
How do I know when it’s done?
Your no-bake cheesecake is ready when it’s set and firm to the touch, usually after about 4-6 hours in the fridge. It should hold its shape when sliced, with a creamy texture throughout.
Can I freeze this? How long does it last?
You can freeze the cheesecake for up to 2 months, but it’s best to slice it before freezing for easier serving. Thaw it in the refrigerator overnight before enjoying it again.
What if I don’t have a springform pan?
If you don’t have a springform pan, you can use a regular 9-inch round cake pan lined with parchment paper for easy removal. Just ensure you let it chill thoroughly before trying to take it out.

- Decadent Peanut Butter No-Bake Cheesecake: Easy Recipe to Indulge - April 3, 2026
- Delicious Mango No-Bake Cheesecake: Step-by-Step Recipe - April 3, 2026
- Decadent Raspberry No-Bake Cheesecake: Easy Step-by-Step Recipe - April 3, 2026