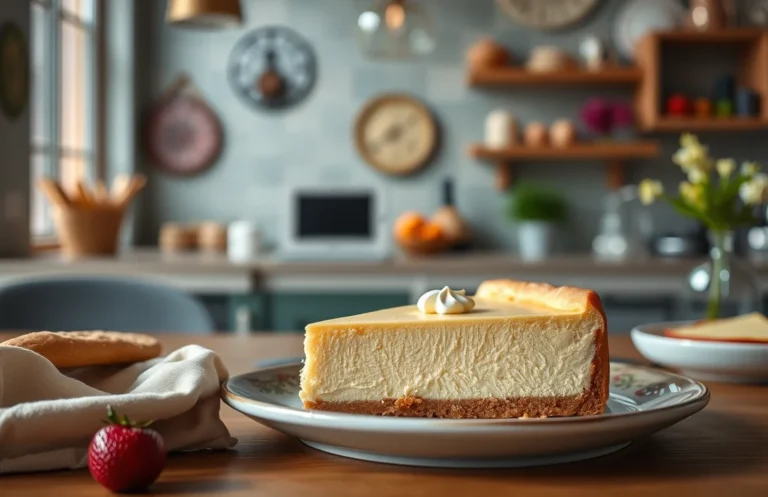
Decadent Tiramisu No-Bake Cheesecake: Easy Recipe and Tips
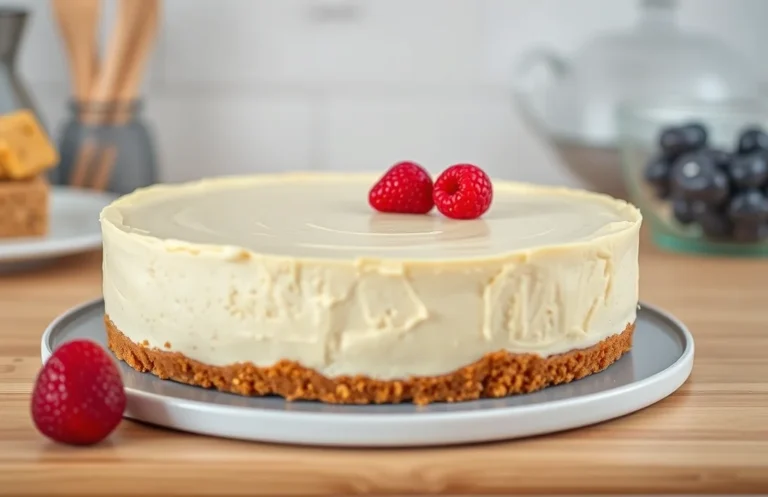
If you’re looking for a dessert that’s both indulgent and easy to whip up, this Tiramisu no-bake cheesecake is the answer. Creamy mascarpone cheese layered with coffee-soaked biscuits creates a delightful balance of flavors that will have everyone coming back for seconds. Perfect for weeknights or special occasions, it’s a real crowd-pleaser!
With a total time of just 30 minutes, this recipe is easy enough for any skill level and serves 8 generous portions. You’ll be amazed at how simple it is to create such a luscious dessert without turning on the oven!
| Prep Time | 30 minutes |
|---|---|
| Cook Time | 0 minutes |
| Total Time | 30 minutes |
| Servings | 8 |
| Difficulty | Easy |
Origin and Significance
Tiramisu, a classic Italian dessert, has a rich history that dates back to the 1960s, originating from the Veneto region. Its name translates to “pick me up,” which reflects the invigorating blend of espresso and cocoa that characterizes this beloved treat. Over the years, tiramisu has gained international fame, becoming a staple in Italian restaurants around the world.
- Invented in Treviso, Italy, the dessert combines layers of coffee-soaked ladyfingers and a creamy mascarpone mixture.
- Traditionally, tiramisu is enjoyed for special occasions and celebrations, symbolizing a warm embrace of flavors and textures.
On the other hand, the no-bake cheesecake variation brings a modern twist to this classic dessert. The no-bake technique offers several advantages:
- Simplicity: Requires no oven, making it accessible for home cooks of all skill levels.
- Texture: Results in a creamy, smooth consistency that melts in your mouth.
- Time-saving: Quick to prepare, allowing for more time to enjoy with friends and family.
Chef’s tip: The key to a successful no-bake cheesecake is ensuring your cream cheese is at room temperature for easy mixing.
This Tiramisu no-bake cheesecake recipe combines the traditional flavors of tiramisu with the ease of a no-bake dessert, making it perfect for any occasion. It’s a delicious way to celebrate the history of tiramisu while enjoying the convenience of modern baking techniques.
Ingredients List
This section outlines all the ingredients you’ll need to create a delicious Tiramisu no-bake cheesecake. Having everything prepared in advance ensures a smooth and enjoyable cooking experience, so let’s get started!
Cheesecake Filling Ingredients
| Item | Amount/Specification | Notes |
|---|---|---|
| Cream cheese | 16 ounces (450g) | Softened to room temperature |
| Sour cream | 1 cup (240g) | For added creaminess |
| Granulated sugar | ¾ cup (150g) | Adjust to taste |
| Vanilla extract | 2 teaspoons | For flavor |
| Instant coffee granules | 2 tablespoons | For authentic tiramisu flavor |
| Heavy whipping cream | 1 cup (240ml) | Chilled, for whipping |
| Gelatin powder | 2 teaspoons | Dissolved in 2 tablespoons of water |
Crust Ingredients
| Item | Amount/Specification | Notes |
|---|---|---|
| Ladyfinger cookies | 24 cookies | Can substitute with graham crackers |
| Unsalted butter | 6 tablespoons (85g) | Melted |
| Granulated sugar | 2 tablespoons (25g) | Enhances crust sweetness |
Toppings
- Cocoa powder for dusting
- Chocolate shavings or curls (optional)
- Fresh coffee beans (optional, for garnish)
Tip: To make the cheesecake more coffee-flavored, consider adding an extra teaspoon of instant coffee granules to the filling. Just remember to dissolve it well to avoid graininess!
Required Kitchen Equipment
To create the perfect Tiramisu no-bake cheesecake, having the right kitchen tools is essential. The following equipment will help you mix, assemble, and serve this delightful dessert with ease and precision.
| Item | Amount/Specification | Notes |
|---|---|---|
| Mixing Bowls | 2 medium bowls | One for the cream mixture and one for the coffee mixture. |
| Springform Pan | 9-inch (23 cm) | Allows for easy removal of the cheesecake without damage. |
| Electric Mixer | 1 | A handheld or stand mixer works best for whipping the cream and blending the cheese. |
- Tip: Use glass or stainless steel mixing bowls to ensure good heat retention when whipping cream.
- Tip: If you don’t have a springform pan, a regular round cake pan can work, but make sure to line it with parchment paper for easier removal.
- Tip: If your electric mixer is not powerful enough, you might struggle to achieve stiff peaks in the whipped cream; consider chilling the bowl and whisk beforehand for better results.
Preparation Instructions
This section will guide you through preparing the crust, mixing the filling, and understanding the chilling time needed for your Tiramisu no-bake cheesecake. Proper preparation is key to achieving a smooth, creamy texture and a delightful flavor that captures the essence of traditional tiramisu.
- Prepare the Crust: Start by crushing 1 ½ cups (150g) of digestive biscuits or graham crackers into fine crumbs. You can do this by placing them in a zip-top bag and using a rolling pin or pulsing them in a food processor. Once crushed, transfer the crumbs to a mixing bowl and combine with ½ cup (100g) of melted unsalted butter, mixing until the texture resembles wet sand. Press the mixture evenly into the bottom of a 9-inch springform pan, using the back of a measuring cup to ensure it’s tightly packed.
- Mix the Filling: In a large mixing bowl, beat together 1 cup (240ml) of heavy cream and ½ cup (60g) of powdered sugar until stiff peaks form. This should take about 3-5 minutes on medium-high speed. In a separate bowl, combine 8 ounces (225g) of cream cheese, softened to room temperature, and 1 teaspoon of vanilla extract. Beat until smooth and no lumps remain. Gently fold the whipped cream into the cream cheese mixture in three additions, being careful to maintain the airy texture.
- Add Coffee Flavor: For the tiramisu flavor, mix ½ cup (120ml) of strong brewed coffee (cooled) with 2 tablespoons of coffee liqueur (optional) in a shallow dish. Quickly dip each side of 12 ladyfinger cookies into the coffee mixture, ensuring they are soaked but not soggy. Layer the dipped ladyfingers on top of the crust.
- Chill the Cheesecake: Pour the cream cheese filling over the ladyfinger layer, spreading it evenly with a spatula. Cover the springform pan with plastic wrap and refrigerate for at least 4 hours, or preferably overnight. This chilling time allows the cheesecake to set and the flavors to meld, resulting in a creamy and delicious dessert.
Step-by-Step Recipe
This section guides you through assembling and chilling your Tiramisu no-bake cheesecake, ensuring every layer is perfectly crafted. Follow these steps closely to achieve a creamy, delightful dessert that will impress everyone at your table!
- Making the Base: Start by crushing 1 ½ cups (150g) of digestive biscuits into fine crumbs, using a food processor or a rolling pin. Transfer the crumbs to a mixing bowl, then add ½ cup (115g) of melted unsalted butter. Stir until the mixture resembles wet sand. Press the mixture firmly into the bottom of a 9-inch (23cm) springform pan, ensuring it’s even and compact. Chill in the refrigerator for 15 minutes to set.
- Creating the Filling: In a large mixing bowl, beat 16 oz (450g) of cream cheese with a hand mixer until smooth and creamy, around 2-3 minutes. Gradually add ½ cup (60g) of powdered sugar and 1 teaspoon of vanilla extract, mixing until fully combined. In a separate bowl, whip 1 cup (240ml) of heavy cream until stiff peaks form, about 3-4 minutes. Gently fold the whipped cream into the cream cheese mixture until no streaks remain, creating a light and airy filling.
- Assembling Layers: Once the base is set, carefully spread half of the cream cheese filling over the crust. In a shallow dish, combine 1 cup (240ml) of strong brewed coffee with 2 tablespoons of coffee liqueur (optional). Quickly dip each ladyfinger (about 24 pieces) into the coffee mixture, ensuring they’re soaked but not soggy. Layer the soaked ladyfingers over the cream cheese filling, then spread the remaining filling on top. Smooth it out and refrigerate for at least 4 hours, or overnight for best results.
Chef’s tip: For a stronger coffee flavor, increase the amount of coffee liqueur or espresso in the dipping mixture.
Pro Tips and Common Mistakes
This section provides essential tips for achieving the perfect texture and flavor in your Tiramisu no-bake cheesecake, as well as common pitfalls to avoid. Getting these details right ensures your dessert is both delicious and visually appealing.
- Achieving the Right Texture: Use full-fat cream cheese (8 oz/226g) and heavy cream (1 cup/240ml) for a rich, creamy consistency. Make sure the cream cheese is at room temperature for easy mixing, which helps prevent lumps and ensures a smooth filling. Whip the cream until stiff peaks form; this gives your cheesecake a light and airy texture.
- Avoiding Sogginess: Be cautious with the coffee dip for the ladyfingers (24 pieces). Mix ½ cup (120ml) of brewed espresso with 2 tablespoons of coffee liqueur, then dip each ladyfinger for no more than 1-2 seconds. If you soak them too long, they can become overly soggy and ruin the cheesecake’s structure.
- Proper Chilling Time: Chill the cheesecake for at least 4 hours, but ideally overnight. This allows the flavors to meld and the cheesecake to set properly. The filling should be firm to the touch and hold its shape when sliced. If it’s still runny, it may need more chilling time.
Variations and Substitutions
This section highlights various adaptations and substitutions for the Tiramisu no-bake cheesecake, allowing you to cater to different dietary needs and flavor preferences. Whether you’re looking for gluten-free options, vegan alternatives, or just want to experiment with new flavors, there’s something here for everyone!
Gluten-Free Options
- For the crust, substitute traditional digestive biscuits with gluten-free cookies or ground almonds. You’ll need about 1 ½ cups (150g) of gluten-free cookie crumbs.
- Ensure that the mascarpone cheese is gluten-free, as some brands may contain traces of gluten.
Vegan Substitutes
- Replace mascarpone cheese with 1 ½ cups (360g) of cashew cream (soaked cashews blended with a little lemon juice and maple syrup).
- Use vegan cream cheese as a substitute for a creamier texture; about 8 ounces (225g) will do.
- For the crust, use vegan butter or coconut oil instead of regular butter, using ½ cup (115g).
Flavor Variations
- For a fruity twist, fold in ½ cup (120ml) of pureed strawberries or raspberries into the cheesecake mixture.
- Try adding 2 tablespoons of flavored liqueurs such as Amaretto or coffee-flavored liqueur for an extra kick.
- Experiment with different extracts; a teaspoon of almond extract can add a lovely depth to the flavor.
Chef’s tip: Always taste your mixture before setting it in the fridge to adjust sweetness or flavor as needed!
Serving and Plating Suggestions
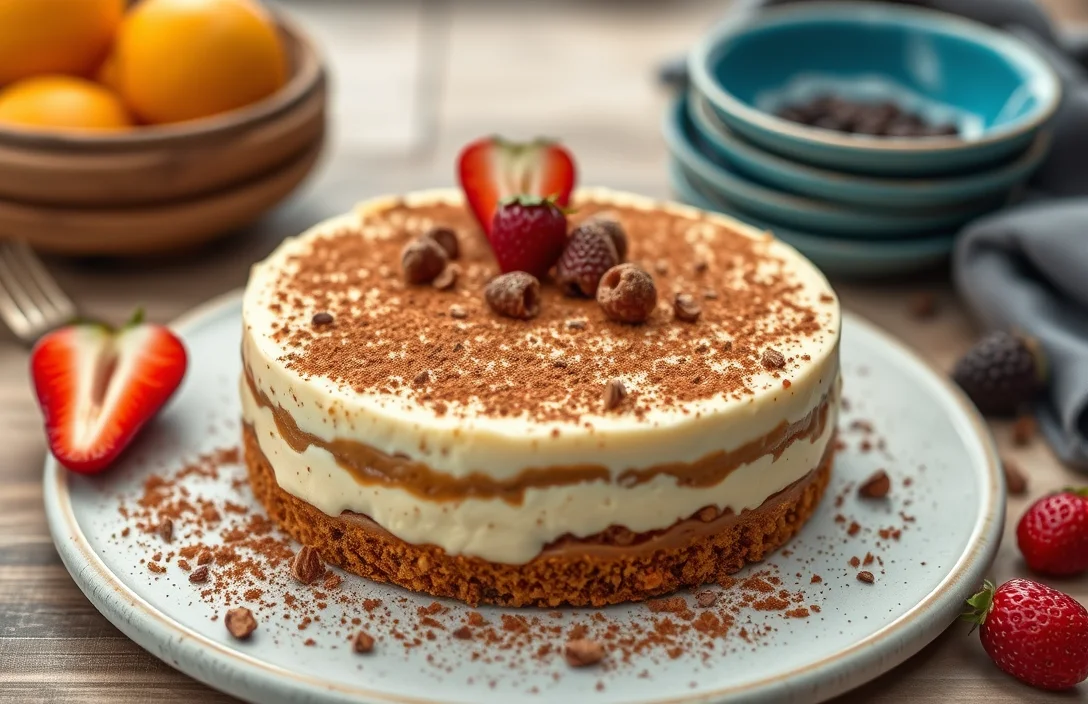
Presenting your Tiramisu no-bake cheesecake beautifully can elevate the entire dessert experience. Here are some creative garnishing ideas, beverage pairings, and serving tips to make your cheesecake not only delicious but visually appealing.
Garnishing Ideas
- Dust the top with unsweetened cocoa powder using a fine-mesh sieve for a classic look.
- Add chocolate shavings made from high-quality dark chocolate for a rich contrast.
- Top with a dollop of freshly whipped cream, sweetened with a tablespoon of powdered sugar and a splash of vanilla extract.
- Garnish with coffee beans or a sprinkle of ground espresso for an extra kick.
- Fresh mint leaves can provide a pop of color and a refreshing aroma.
Pairing Beverages
To complement the flavors of your cheesecake, consider serving it with:
- Espresso or a rich cup of coffee to enhance the coffee notes in the cheesecake.
- A dessert wine like Vin Santo or a sweet Marsala wine that pairs beautifully with the creamy texture.
- For a non-alcoholic option, an iced mocha or a creamy chai latte can also work well.
Serving Tips
Here are a few tips to ensure your cheesecake is served perfectly:
Chef’s tip: For clean slices, heat your knife in hot water before cutting into the cheesecake, then wipe it clean between cuts.
Serve the cheesecake chilled, ideally after refrigerating for at least 4 hours or overnight for the best texture and flavor. This allows it to set properly and makes it easier to slice.
For added flair, consider serving individual portions in small glass jars for a fun and modern presentation.
Quick Summary
| Prep Time | Cook Time | Total Time | Servings |
|---|---|---|---|
| 20 minutes | 0 minutes | 4 hours (chill time) | 8 servings |
- Gather ingredients: You need cream cheese, mascarpone, heavy cream, sugar, espresso, and ladyfingers.
- Whip cream: Beat heavy cream until stiff peaks form for a light texture.
- Mix cheeses: Blend cream cheese and mascarpone until smooth and creamy.
- Layer carefully: Dip ladyfingers briefly in espresso and layer them between cheesecake mixture.
- Chill thoroughly: Refrigerate for at least 4 hours to set properly before serving.
- Tip 1: Use room temperature cream cheese for easier blending.
- Tip 2: Don’t soak ladyfingers too long to prevent sogginess.
- Tip 3: Garnish with cocoa powder right before serving for a fresh look.
Frequently Asked Questions
Can I make this ahead of time? How to store and reheat?
You can absolutely make this Tiramisu no-bake cheesecake ahead of time; it actually tastes better after chilling for at least 4 hours or overnight. Store it in an airtight container in the fridge for up to 3 days, but don’t reheat as it’s best served cold.
What can I substitute for mascarpone cheese?
If you can’t find mascarpone, you can use a mixture of cream cheese and heavy cream in a 1:1 ratio for a similar texture and taste. Just whip them together until smooth and creamy.
How do I know when it’s done?
Your cheesecake is done when it has set firmly but still has a slight jiggle in the center; this usually takes around 4-6 hours in the fridge. It should not be runny, but it should feel soft to the touch.
Can I freeze this? How long does it last?
You can freeze the cheesecake for up to 2 months, but be sure to wrap it tightly in plastic wrap and then foil to prevent freezer burn. Thaw it overnight in the fridge before serving for the best texture.
Why did my cheesecake turn out too soft?
If your cheesecake turned out too soft, it might be due to insufficient chilling time or too much liquid in your mixture. Make sure to let it chill for the full recommended time and double-check your ingredient measurements next time.

- Decadent Peanut Butter No-Bake Cheesecake: Easy Recipe to Indulge - April 3, 2026
- Delicious Mango No-Bake Cheesecake: Step-by-Step Recipe - April 3, 2026
- Decadent Raspberry No-Bake Cheesecake: Easy Step-by-Step Recipe - April 3, 2026