10 Creative Ways to Decorate Your Cheesecake Like a Pro
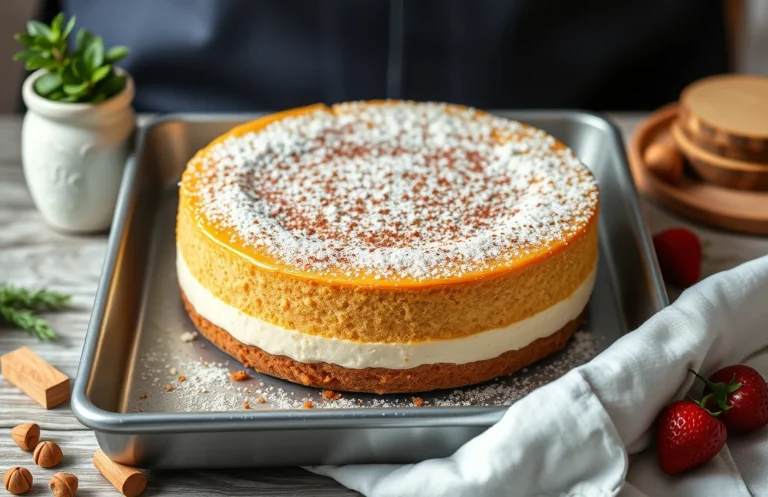
Cheesecake is one of those desserts that never fails to impress, whether it’s for a cozy family dinner or a festive gathering with friends. The creamy, rich filling paired with a buttery graham cracker crust creates a perfect balance that leaves everyone wanting more. Plus, the decorating possibilities are endless!
Get ready to elevate your cheesecake with stunning decorations! This guide includes tips for various toppings and garnishes, ensuring your cheesecake looks as good as it tastes. Total time: 1 hour, Difficulty: Easy, Servings: 8.
| Prep Time | Cook Time | Total Time | Servings | Difficulty |
|---|---|---|---|---|
| 30 minutes | 30 minutes | 1 hour | 8 | Easy |
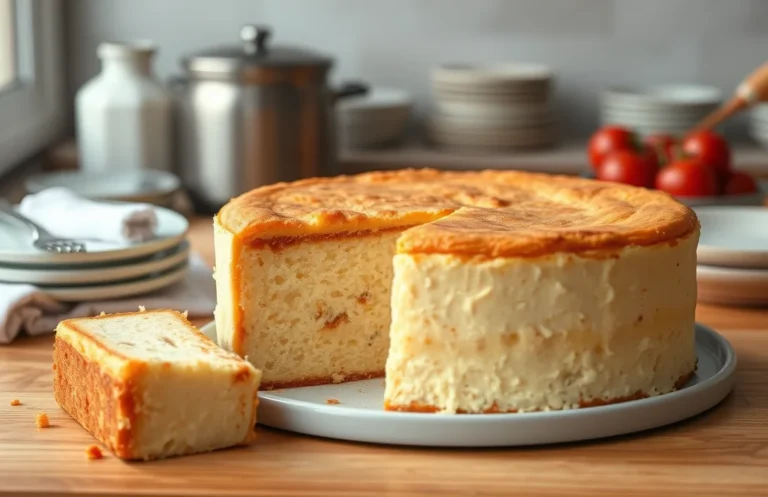
History of Cheesecake
Cheesecake has a rich and intriguing history that stretches back thousands of years. Originally believed to have originated in ancient Greece, this delectable dessert was enjoyed by the early Olympians and has since evolved into countless variations around the world. Understanding its history not only enhances your appreciation for the dish but also inspires creative ways to decorate your own cheesecake.
- Ancient Origins: The earliest cheesecake recipe dates back to 2000 B.C. in Greece, where it was made with simple ingredients like cheese, flour, and honey.
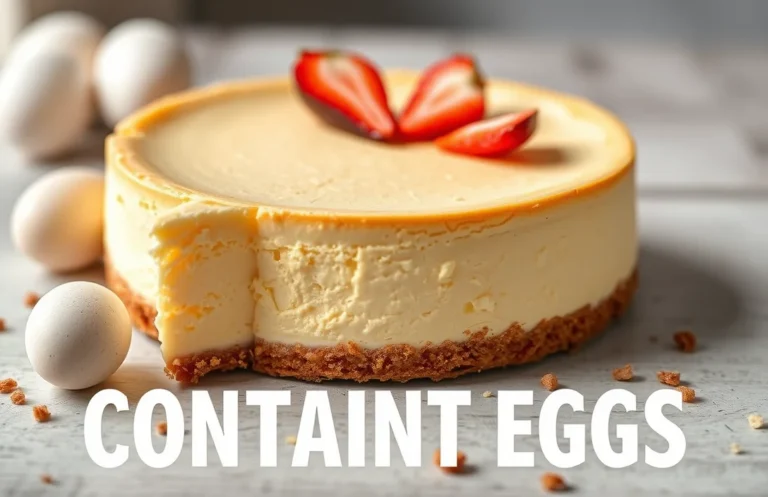
- Roman Influence: The Romans adapted the Greek version, adding eggs and a variety of flavors, paving the way for modern cheesecakes.
- New York Style: In the 1920s, cream cheese was introduced, leading to the famous New York-style cheesecake that we know today.
Chef’s tip: The thicker the cheesecake, the more impressive it looks when decorated!
Cheesecake is celebrated not only for its creamy texture and rich flavor but also for its versatility in decoration. Traditionally served at special occasions, it can be adorned with various toppings, from fresh fruits to decadent chocolate sauces, enhancing both visual appeal and flavor. Here are some popular decoration ideas:
| Decoration Type | Description |
|---|---|
| Fruit Toppings | Fresh berries, citrus slices, or tropical fruits add color and freshness. |
| Chocolate Drizzle | A rich ganache or melted chocolate creates a luxurious finish. |
| Whipped Cream | A dollop of whipped cream adds lightness and elegance. |
With its fascinating history, cheesecake not only serves as a delicious dessert but also as a canvas for creativity in decoration, making it a favorite choice for celebrations and gatherings.
Ingredients for Decoration
Decorating your cheesecake can elevate it from simple to stunning, making it a showstopper for any occasion. Here, you’ll find a variety of ingredients to enhance the visual appeal of your cheesecake, along with specific measurements and tips for presentation.
| Item | Amount/Specification | Notes |
|---|---|---|
| Fresh berries (strawberries, blueberries, raspberries) | 1 cup (150g) | Wash and dry thoroughly before using. |
| Chocolate shavings or curls | ½ cup (50g) | Use dark or milk chocolate for contrast. |
| Caramel sauce | ½ cup (120ml) | Drizzle over the top for added sweetness. |
| Whipped cream | 1 cup (240ml) | For dolloping or piping on top. |
| Crushed graham crackers | ½ cup (50g) | For a crunchy texture and decoration. |
| Mint leaves | ¼ cup (about 10 leaves) | Add for freshness and color contrast. |
- For a glossy finish, consider a fruit glaze made with 1 cup of fruit preserves and 1 tablespoon of water, heated until smooth.
- To avoid sogginess, wait until just before serving to add toppings like whipped cream or fresh fruit.
- Experiment with edible flowers for a unique and elegant touch!
Tools for Decorating
Having the right tools can make all the difference when it comes to decorating your cheesecake. Each tool serves a specific purpose, helping you achieve that professional look while adding personal flair to your dessert. Here’s a list of essential tools to have on hand for your cheesecake decorating process.
- Offset Spatula: This tool is perfect for spreading frosting or ganache smoothly across the surface of your cheesecake. Look for one that’s about 8-10 inches long, as it allows for precise movements without disturbing the cheesecake base.
- Piping Bags and Tips: Use disposable piping bags for easy cleanup. A round tip (like a #12 or #14) is great for dots and small decorations, while a star tip (like a #1M) creates beautiful swirls and rosettes. Fill the bag with your whipped cream or ganache and squeeze gently to pipe your designs.
- Bench Scraper: A bench scraper is useful for smoothing the sides of your cheesecake if you’re using a thicker frosting. Hold it at a slight angle against the cheesecake and rotate the cake turntable (if you have one) to create an even finish.
- Food Coloring: If you want to add some color to your whipped cream or fondant decorations, choose gel food coloring for vibrant hues without adding too much liquid. Start with a toothpick amount and mix until you reach your desired shade.
- Decorative Tools: Items like a zester for citrus, a microplane for chocolate shavings, or even edible flowers can elevate your cheesecake presentation. Gather these items before you start decorating to ensure a smooth process.
Pro tip: Always keep your tools clean and dry to avoid adding unwanted texture or moisture to your cheesecake decorations.
Step-by-Step Decoration Techniques
Decorating your cheesecake not only enhances its visual appeal but also adds layers of flavor and texture. Whether you prefer a simple fruit topping or an elaborate drizzle of chocolate, these step-by-step techniques will help you create a stunning dessert.
- Prepare Your Toppings: Start by gathering your toppings. You can use fresh fruits like strawberries, blueberries, or raspberries (about 1 cup total), or opt for a chocolate ganache made with ½ cup heavy cream and 1 cup chocolate chips. If using fruits, wash and dry them completely to avoid excess moisture on your cheesecake.
- Chill the Cheesecake: Before decorating, ensure your cheesecake is completely chilled, ideally for at least 4 hours. It should feel firm to the touch and have a slight jiggle in the center when gently shaken. This will help your toppings stay in place and not sink into the filling.
- Spread a Layer of Jam or Sauce: If you’re using a fruit sauce or jam (about ½ cup), warm it slightly in the microwave for 10-15 seconds to make it easier to spread. Pour it over the top of the cheesecake and gently spread it out with a spatula, leaving a small border around the edge for a polished look.
- Add Fresh Fruits: Arrange your chosen fruits artistically on top of the cheesecake. Start from the outer edge and work your way inward, creating a beautiful pattern. If using berries, aim for even spacing, and for larger fruits, consider slicing them for better presentation.
- Drizzle with Chocolate or Caramel: If you’re adding a drizzle (about ¼ cup), use a piping bag or a spoon to create a beautiful design over the top. Allow the drizzle to set for about 10 minutes before serving, so it doesn’t slide off when sliced.
- Finish with Whipped Cream: For an extra touch, pipe dollops of whipped cream around the edges (about 1 cup heavy cream whipped). This adds a creamy texture and enhances the visual appeal. Use a star tip for a decorative effect, and serve immediately or chill for up to 30 minutes.
Expert Tips and Common Mistakes
Decorating a cheesecake can transform it from a simple dessert into a stunning centerpiece. Knowing the right techniques and avoiding common pitfalls can elevate your cheesecake game significantly.
- Choose fresh toppings: Use ripe fruits, high-quality chocolate, or homemade sauces. Fresh ingredients not only taste better but also enhance the visual appeal. For instance, a vibrant berry compote can add a splash of color and a burst of flavor.
- Balance flavors: Ensure that your toppings complement the cheesecake’s flavor. If your cheesecake is rich and creamy, opt for tart toppings like raspberry or passion fruit to provide contrast. This balance enhances the overall tasting experience.
- Keep it simple: Sometimes, less is more. A simple garnish of whipped cream and a few seasonal berries can be more appealing than an over-the-top decoration. Aim for elegance and clarity in your presentation.
- Use the right tools: A clean offset spatula or a piping bag can make a big difference in how you apply sauces or whipped cream. Use these tools for precision and a more professional look.
- Don’t rush the decoration: Allow your cheesecake to chill completely before decorating. A warm cheesecake can cause toppings to melt or slide off, ruining the presentation. Aim for at least 4 hours of chilling time.
- Avoid overcrowding: When adding toppings, make sure not to overcrowd the surface. This can lead to a messy appearance and make it difficult for guests to serve themselves. Leave some space between toppings for a cleaner look.
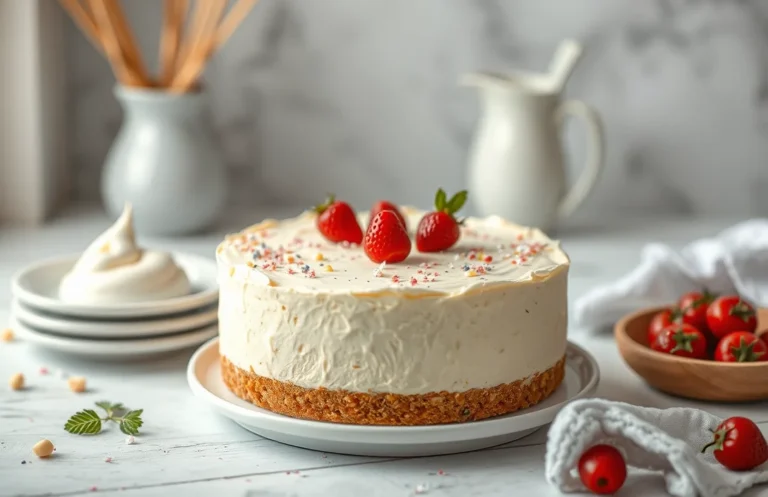
Decoration Variations and Substitutions
Decorating your cheesecake not only enhances its visual appeal but also adds layers of flavor that can elevate the entire dessert. Here are some creative variations and substitutions to consider, ensuring your cheesecake looks as good as it tastes.
Popular Topping Ideas
- Fresh Fruit: Top with 1 cup of mixed berries (strawberries, blueberries, raspberries) for a vibrant and refreshing touch.
- Chocolate Ganache: Melt 4 ounces of semi-sweet chocolate with ½ cup of heavy cream over low heat until smooth, then drizzle over the cooled cheesecake.
- Caramel Sauce: Use ½ cup of store-bought or homemade caramel to create a decadent layer on top.
- Whipped Cream: Whip 1 cup of heavy cream with 2 tablespoons of powdered sugar until soft peaks form, then dollop generously on each slice.
Dietary Modifications
If you or your guests have dietary restrictions, here are some substitutions:
| Ingredient | Substitution |
|---|---|
| Regular Cream Cheese | Vegan Cream Cheese (8 ounces) |
| Granulated Sugar | Coconut Sugar (1 cup) |
| Heavy Cream | Coconut Cream (1 cup) |
Chef’s tip: If using fresh fruit, toss it in a little lemon juice to keep it vibrant and prevent browning.
With these decoration variations and substitutions, you can customize your cheesecake to suit any occasion or dietary need, making it a delightful treat for everyone!
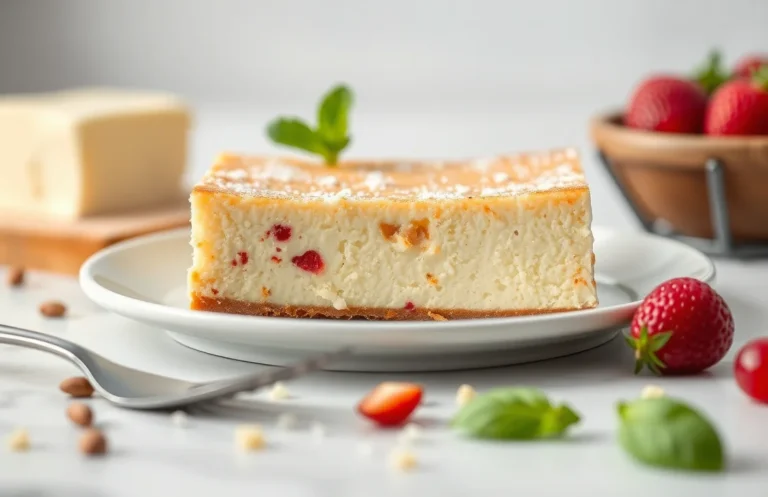
Serving and Plating Suggestions
Presentation is key when it comes to serving your decorated cheesecake. A beautifully plated cheesecake not only enhances its visual appeal but also elevates the overall dining experience. Below are some thoughtful suggestions for serving and garnishing your cheesecake to impress your guests.
- Plate Selection: Choose a contrasting plate to make the cheesecake stand out. A simple white plate allows the colors of your toppings to pop, while a dark plate can add a touch of elegance.
- Use a Cake Stand: Elevate your cheesecake on a decorative cake stand. This adds height and drama, making it a centerpiece for your dessert table.
- Garnish Wisely: Top your cheesecake with fresh fruits such as raspberries, strawberries, or blueberries to add a burst of color. Drizzle with a complementary sauce like chocolate or caramel for added flavor and visual appeal.
- Whipped Cream Accents: Pipe fresh whipped cream around the edges using a star tip for a refined look. This not only enhances the flavor but also adds a light, airy touch to each slice.
- Chocolate Shavings: For a decadent touch, sprinkle dark or white chocolate shavings over the top. Use a vegetable peeler to create thin, delicate curls for a professional finish.
- Mint Leaves: Garnish with fresh mint leaves for a pop of green. This adds freshness and a hint of aroma that complements the sweetness of the cheesecake.
- Slicing Tips: For clean slices, dip your knife in hot water and wipe it dry before cutting each piece. This ensures smooth cuts and a beautiful presentation for each serving.
Quick Summary
| Prep Time | Cook Time | Total Time | Servings |
|---|---|---|---|
| 20 minutes | 0 minutes | 20 minutes | 8 servings |
- Choose your toppings: Fresh fruits, chocolate ganache, or whipped cream work well.
- Prepare the base: Ensure the cheesecake is fully chilled before decorating.
- Layer strategically: Start with a base layer of sauce, then add fruits or chocolate.
- Use a piping bag: For clean and precise whipped cream decoration.
- Chill after decorating: Refrigerate for at least 30 minutes for best results.
- Tip: Use seasonal fruits for optimal flavor.
- Tip: Avoid overloading with toppings to maintain the cheesecake’s structure.
Frequently Asked Questions
Can I make this cheesecake ahead of time? How to store and reheat?
You can make the cheesecake up to 3 days in advance and store it covered in the refrigerator. Just let it sit at room temperature for about 30 minutes before serving to soften slightly.
What can I substitute for cream cheese?
You can substitute cream cheese with Greek yogurt or a vegan cream cheese alternative if you want a lighter option. Just make sure the consistency is similar to cream cheese for the best results.
How do I know when the cheesecake is done?
The cheesecake is done when the edges are set, and the center still has a slight jiggle to it, which usually takes about 50-60 minutes in the oven at 325°F (160°C). It will firm up as it cools.
Can I freeze this cheesecake? How long does it last?
Yes, you can freeze the cheesecake for up to 2 months if wrapped tightly in plastic wrap and then foil. Thaw it in the refrigerator overnight before serving.
What if I don’t have a springform pan?
If you don’t have a springform pan, you can use a regular round cake pan lined with parchment paper to help remove the cheesecake after baking. Just be gentle when lifting it out to maintain its shape.

- Make Cheesecake Up to 3 Days Ahead: Tips for Best Flavor & Texture - March 4, 2026
- Easy No-Bake Cool Doen Cheesecake: Quick Recipe & Tips - March 4, 2026
- Decadent Dulce de Leche Cheesecake: Easy Step-by-Step Recipe - March 4, 2026