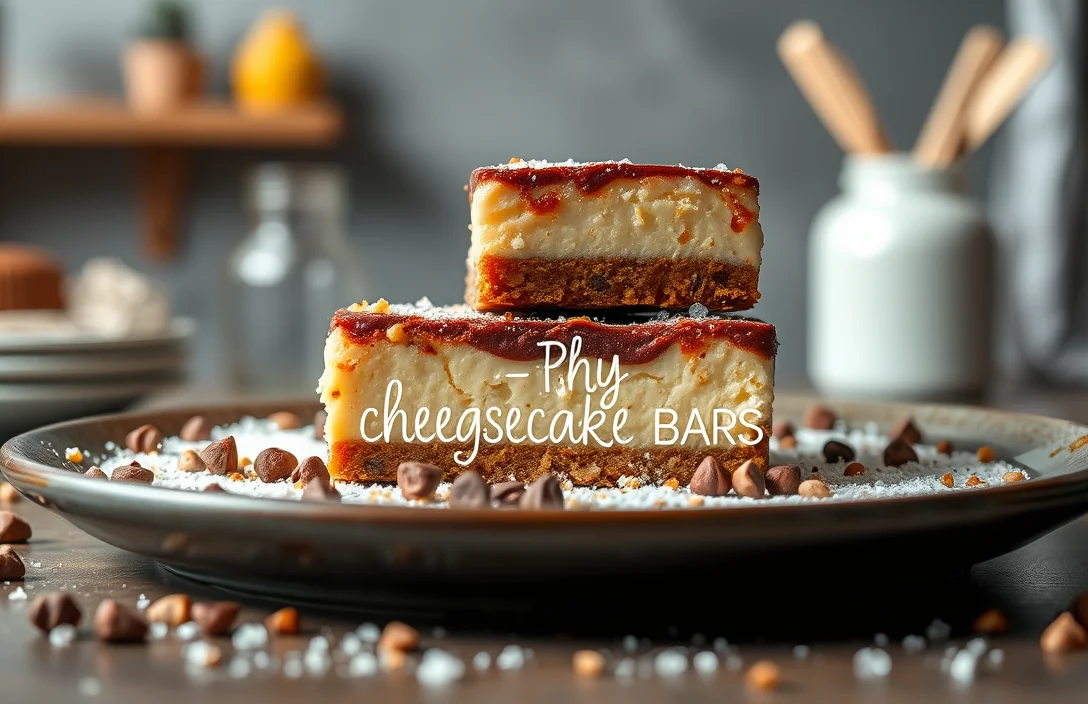
Delicious 9×13 Cheesecake Bars: Easy Recipe with Tips and Variations
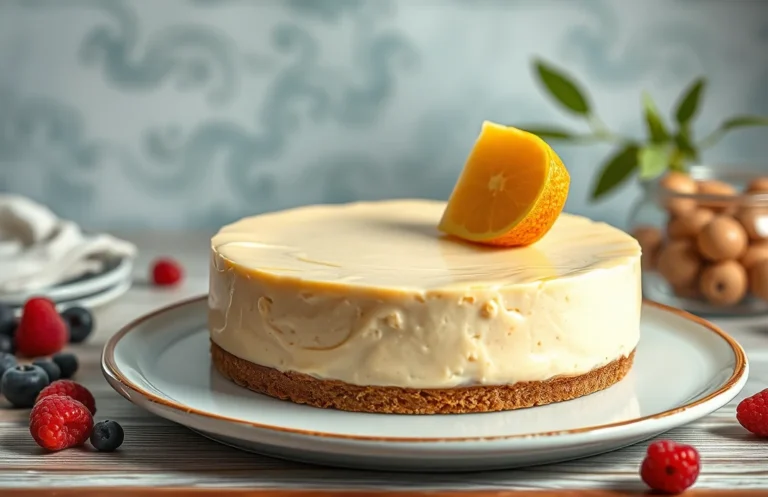
Cheesecake bars are the ultimate sweet treat that combines creamy indulgence with a buttery crust, making them a go-to for weeknight desserts or special gatherings. They slice beautifully, making them perfect for sharing, and each bite melts in your mouth, leaving you craving more!
With this reliable recipe, you’ll create rich cheesecake bars in a 9×13 inch pan that serve up to 12 people. The total time is about 1 hour and 15 minutes, and they’re easy enough for any home cook to master.
| Prep Time | Cook Time | Total Time | Servings | Difficulty |
|---|---|---|---|---|
| 20 minutes | 55 minutes | 1 hour 15 minutes | 12 | Easy |
Origin of Cheesecake Bars
Cheesecake bars have a rich history that intertwines with various cultures, making them a beloved dessert across the globe. Their appeal lies not only in their creamy texture and delightful flavor but also in their versatility and ease of preparation, especially when baked in a 9×13 inch pan.
Cultural Significance
Originating from ancient Greece, cheesecake has evolved through the ages. The Romans adapted the Greek version, and different cultures have added their own twists over time. Here’s a brief glance at their journey:
- Ancient Greece: The first known cheesecake, made with simple ingredients like cheese, honey, and flour.
- Roman Influence: Cheesecake spread throughout Europe, with variations appearing in Italy and beyond.
- American Twist: The introduction of cream cheese in the 19th century transformed cheesecake into the rich dessert we know today.
Why They Are Loved
Cheesecake bars have gained popularity for several reasons:
- Portability: Their bar form makes them easy to serve and share at gatherings.
- Customizable: They can be flavored with fruits, chocolate, or spices, catering to diverse tastes.
- Texture and Flavor: The combination of a buttery crust and creamy filling creates a decadent treat loved by many.
“The beauty of cheesecake bars is that they offer all the richness of traditional cheesecake in a more manageable form.”
Ingredients for Cheesecake Bars
This section outlines the essential ingredients you’ll need to create creamy and delicious cheesecake bars in a 9×13 inch pan. Having everything pre-measured and ready will make your baking process smooth and enjoyable.
| Item | Amount/Specification | Notes |
|---|---|---|
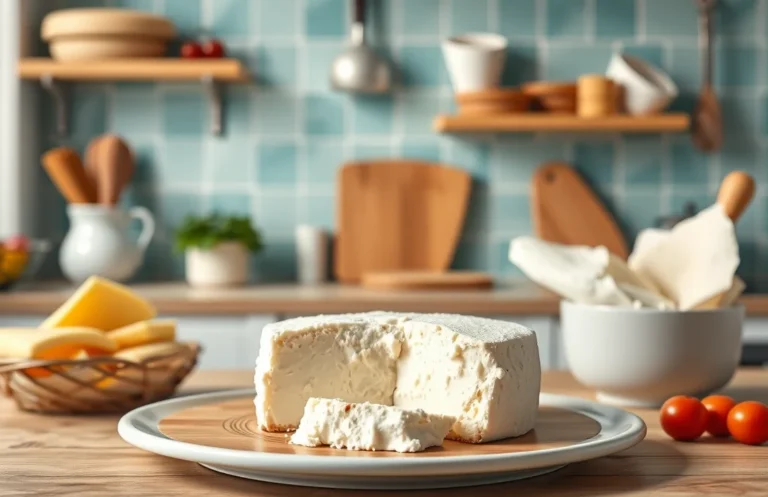
| Cream Cheese | 24 ounces (680g) | Softened at room temperature for easier mixing |
| Sugar | 1 cup (200g) | Granulated sugar works best |
| Sour Cream | 1 cup (240g) | Can substitute with Greek yogurt if desired |
| Eggs | 3 large | At room temperature for better incorporation |
| Vanilla Extract | 2 teaspoons | Use pure vanilla for the best flavor |
| All-Purpose Flour | ¼ cup (30g) | Helps to stabilize the filling |
| Butter (for crust) | ½ cup (113g) | Melted, unsalted |
| Graham Cracker Crumbs | 1 ½ cups (150g) | For a classic cheesecake crust |
| Brown Sugar | ¼ cup (50g) | Adds depth of flavor to the crust |
- For a gluten-free version, substitute graham cracker crumbs with gluten-free crumbs or ground nuts.
- Make sure your cream cheese is fully softened to avoid lumps in the filling.
- To prevent cracking, avoid overmixing the filling once the eggs are added.
Kitchen Equipment Needed
To create the perfect cheesecake bars, having the right equipment makes all the difference. This section will outline the essential tools you’ll need for mixing, baking, and preparing your delicious dessert.
- Baking Pan: Use a 9×13 inch (23×33 cm) baking pan. This size is crucial for ensuring even baking and easy slicing of the cheesecake bars. Line the pan with parchment paper, leaving some overhang on the sides for easy removal after baking.
- Mixing Tools: You will need a large mixing bowl for combining your crust and filling ingredients. A hand mixer or stand mixer is recommended for achieving a smooth cheesecake batter. Make sure to have a rubber spatula handy for scraping down the sides of the bowl.
- Measuring Cups and Spoons: Accurate measurements are key to success in baking. Use measuring cups for dry ingredients like flour and sugar, and measuring spoons for smaller quantities like vanilla extract and salt. A kitchen scale can also be helpful for precise measurements, especially for cream cheese.
- Whisk: A whisk is essential for mixing together the filling ingredients, ensuring there are no lumps in your cream cheese. Consider using a balloon whisk for better aeration, which can help create a lighter texture in your cheesecake.
- Cooling Rack: After baking, let your cheesecake bars cool completely in the pan on a wire rack. This helps prevent sogginess and allows for a firmer texture when cutting into bars.
- Knife or Pizza Cutter: For slicing your cheesecake bars neatly, use a sharp knife or a pizza cutter. Wipe the blade with a damp cloth between cuts to keep the edges clean.
Step-by-Step Baking Instructions
This section will guide you through the key steps to prepare your cheesecake bars in a 9×13 inch pan, ensuring a deliciously creamy filling and a perfectly baked crust. Follow these detailed instructions for a successful baking experience!
Preparing the Crust
- Preheat your oven to 350°F (175°C). Line the bottom and sides of a 9×13 inch baking pan with parchment paper, allowing some overhang for easy removal later.
- In a medium bowl, combine 1 ½ cups (150g) of graham cracker crumbs, ½ cup (100g) of granulated sugar, and ½ teaspoon of salt. Mix well until combined.
- Pour in ½ cup (115g) of melted unsalted butter and stir until the mixture resembles wet sand. Press the crust mixture evenly into the bottom of the prepared pan using the back of a measuring cup, ensuring it’s compact. Bake for 10-12 minutes, until lightly golden and fragrant.
Making the Filling
- While the crust is baking, prepare the filling. In a large mixing bowl, beat 24 ounces (680g) of cream cheese at room temperature with an electric mixer on medium speed until smooth and creamy, about 2-3 minutes.
- Add 1 cup (200g) of granulated sugar, ½ cup (120ml) of sour cream, and 1 teaspoon of vanilla extract to the cream cheese. Mix on low speed until fully combined, scraping down the sides of the bowl as needed. The mixture should be smooth and glossy.
- In a separate bowl, lightly whisk 3 large eggs. Gradually add the eggs to the cream cheese mixture, mixing on low speed just until incorporated. Avoid overmixing to prevent excess air, which can cause cracks during baking.
Baking Process
- Once the crust has finished baking, remove it from the oven and pour the cheesecake filling evenly over the hot crust. Smooth the top using a spatula.
- Bake in the preheated oven for 25-30 minutes. The edges should be set, while the center remains slightly jiggly. It will firm up as it cools.
- After baking, turn off the oven and crack the door open, letting the cheesecake bars sit in the oven for 1 hour. This helps prevent cracks due to rapid temperature changes.
- Remove the pan from the oven and allow it to cool to room temperature for about 30 minutes. Then, refrigerate for at least 4 hours, or overnight for best results.
Pro Tips for Perfect Bars
Achieving the perfect cheesecake bars isn’t just about following the recipe; it’s about understanding the nuances that can make or break your dessert. From texture to cooling methods, these tips will help you create bars that are creamy, firm, and delicious every time.
Texture Tips
- Room temperature ingredients: Ensure your cream cheese, eggs, and sour cream are at room temperature. This helps achieve a smooth and creamy batter without lumps. Leave them out for about 30 minutes before starting.
- Don’t overmix: Once you add the eggs, mix just enough to incorporate them. Overmixing can introduce too much air, leading to cracks during baking. Aim for a uniform mixture without visible lumps, but don’t beat it excessively.
Cooling Advice
- Cool gradually: After baking, turn off the oven and crack the door open, allowing the cheesecake to cool slowly for about 1 hour. This helps prevent cracks by minimizing temperature shock.
- Chill before slicing: Refrigerate the bars for at least 4 hours, preferably overnight, before cutting them. This chilling time allows the filling to set properly, making cutting easier and cleaner.
Serving Hints
- Use a hot knife: Dip your knife in hot water, then wipe it dry before slicing. This will give you cleaner cuts and beautiful edges on your bars.
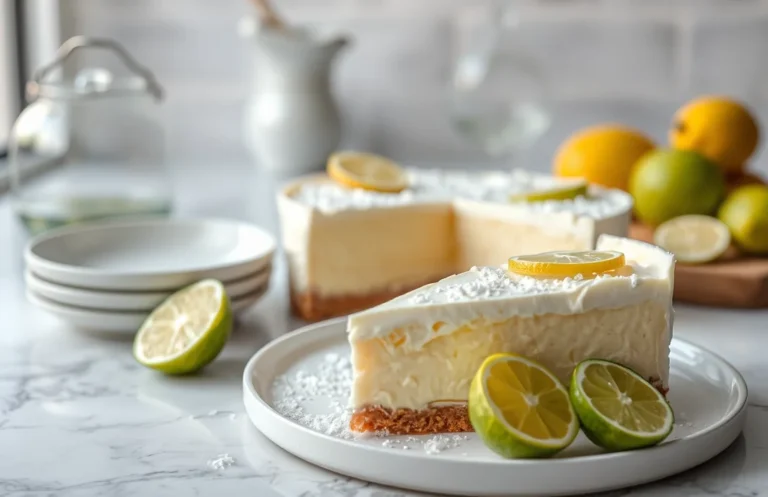
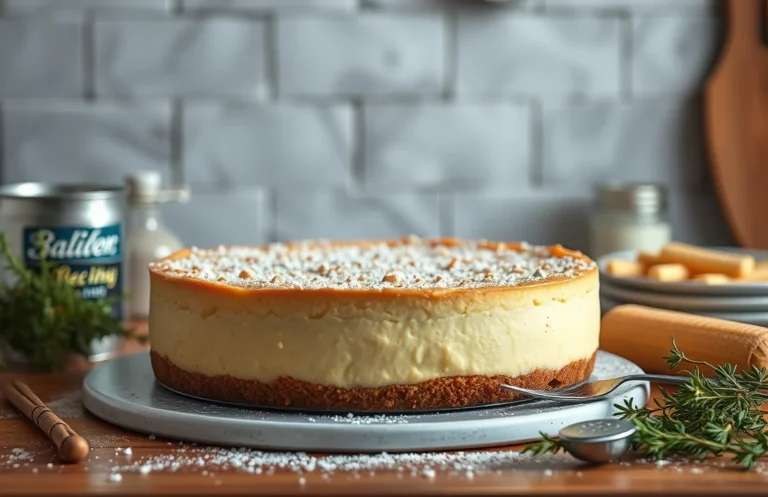
- Garnish wisely: Consider topping your bars with a light dusting of powdered sugar or fresh berries right before serving for an appealing presentation. Avoid adding toppings too early, as they can make the bars soggy.
Variations and Substitutions
Cheesecake bars are incredibly versatile, and you can easily modify the recipe to cater to various dietary needs and flavor preferences. Whether you’re looking for gluten-free options, vegan alternatives, or unique flavor enhancements, this section will guide you through some delicious substitutions and variations.
Gluten-Free Options
- For a gluten-free crust, substitute the 1 ½ cups of all-purpose flour with 1 ½ cups of gluten-free all-purpose flour blend. Make sure it contains xanthan gum for proper binding.
- Check all other ingredients to ensure they are labeled gluten-free, especially the baking powder.
Vegan Variations
- Replace the 16 oz (450g) cream cheese with vegan cream cheese. Brands like Tofutti or Kite Hill work well.
- Use ½ cup of coconut cream in place of sour cream for a rich, creamy texture.
- Instead of eggs, use 1 tablespoon of ground flaxseed mixed with 2.5 tablespoons of water per egg, letting it sit for 5 minutes to thicken.
Flavor Enhancements
Chef’s tip: Add a splash of vanilla extract or a teaspoon of almond extract to the cheesecake mixture for an extra depth of flavor.
- For a fruity twist, swirl in ½ cup of fruit preserves (like raspberry or blueberry) before baking.
- Incorporate spices such as cinnamon or nutmeg into the crust for a warm flavor profile.
| Substitution | Original Ingredient |
|---|---|
| Gluten-Free Flour Blend | All-Purpose Flour |
| Vegan Cream Cheese | Cream Cheese |
| Coconut Cream | Sour Cream |
| Flaxseed Mixture | Eggs |
Serving and Plating Ideas
Presenting your cheesecake bars beautifully can elevate their appeal at any gathering. Here are some suggestions on garnishing, pairing, and serving sizes to ensure your dessert stands out on the table.
Garnishing Tips
- Sprinkle a light dusting of powdered sugar over the top of the cheesecake bars just before serving to add a touch of elegance. Use a fine mesh sieve to ensure an even layer.
- For an extra pop of color and flavor, top each bar with a fresh berry—such as a raspberry or blueberry. They not only look great but also complement the creamy texture of the cheesecake.
- Drizzle a homemade fruit sauce or chocolate ganache over the bars for a decadent finish. To make a quick berry sauce, simmer 1 cup of mixed berries with 2 tablespoons of sugar and a splash of lemon juice until thickened.
Pairing Suggestions
- Serve the cheesecake bars with a side of whipped cream for a rich, creamy contrast. Whip 1 cup of heavy cream with 2 tablespoons of sugar until soft peaks form for the best results.
- Pair with a cup of coffee or a sweet dessert wine, such as Moscato, to enhance the flavors and provide a delightful balance.
- Consider serving with a scoop of vanilla ice cream. The cold creaminess will complement the cheesecake and create a delightful texture contrast.
Serving Sizes
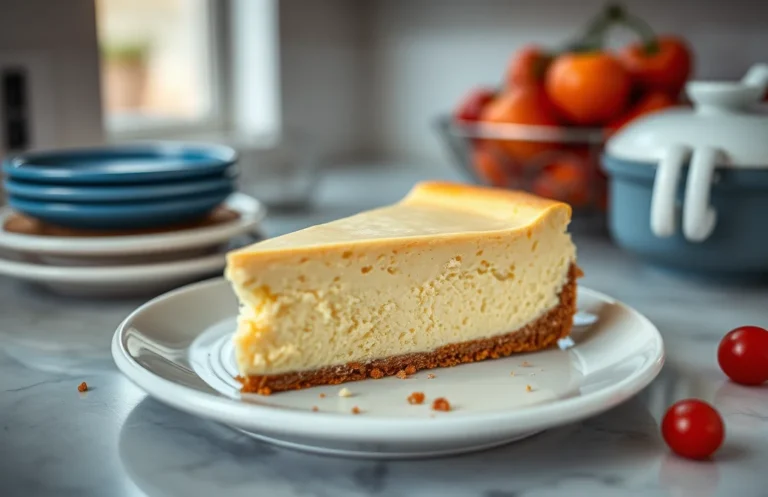
- Cut your 9×13 inch cheesecake into squares, aiming for 12 to 16 bars, depending on how large you want each serving. This size works well for parties or gatherings.
- For a more refined presentation, consider cutting the bars into smaller squares and placing them on a decorative platter. This allows guests to sample without feeling overwhelmed.
- Remember to keep leftovers stored in an airtight container in the refrigerator, where they can last up to 5 days, making them a great treat for the week ahead.
Quick Summary
| Prep Time | 20 minutes |
|---|---|
| Cook Time | 30 minutes |
| Total Time | 50 minutes |
| Servings | 12 bars |
- Preheat oven to 325°F (163°C) for a perfect bake.
- Prepare crust with 1 ½ cups crushed graham crackers and ½ cup melted butter.
- Mix filling by blending 16 oz cream cheese, ½ cup sugar, and 3 large eggs until smooth.
- Bake for 30 minutes, then let cool completely before cutting.
- Chill in the refrigerator for at least 2 hours for best texture.
- Tip: Use room temperature cream cheese for a lump-free filling.
- Tip: Line the pan with parchment paper for easy removal.
- Tip: Allow bars to cool gradually to prevent cracking.
Frequently Asked Questions
Can I make this ahead of time? How to store and reheat?
You can absolutely make cheesecake bars ahead of time. Store them in an airtight container in the refrigerator for up to 5 days, and enjoy them cold or let them come to room temperature before serving.
What can I substitute for cream cheese?
If you’re looking for a substitute, you can use ricotta cheese or a vegan cream cheese alternative in equal amounts, but keep in mind that the texture and flavor may vary slightly.
How do I know when it’s done?
Your cheesecake bars are done when the edges are set and the center has a slight jiggle; it should not look liquidy. A cooking time of 25-30 minutes at 325°F (163°C) is usually perfect.
Can I freeze this? How long does it last?
Yes, you can freeze cheesecake bars for up to 3 months in an airtight container. Just be sure to thaw them in the refrigerator overnight before serving for the best texture.
What if I don’t have a 9×13 inch pan?
If you don’t have a 9×13 inch pan, you can use an 8×8 inch pan, but you’ll need to adjust the baking time to about 35-40 minutes since the bars will be thicker.

- 10 Best Cheese Knife With Holes For Smooth Slice 2026 - March 9, 2026
- Make Cheesecake Up to 3 Days Ahead: Tips for Best Flavor & Texture - March 4, 2026
- Easy No-Bake Cool Doen Cheesecake: Quick Recipe & Tips - March 4, 2026