Delicious Cherry No-Bake Cheesecake: Easy Recipe for Beginners
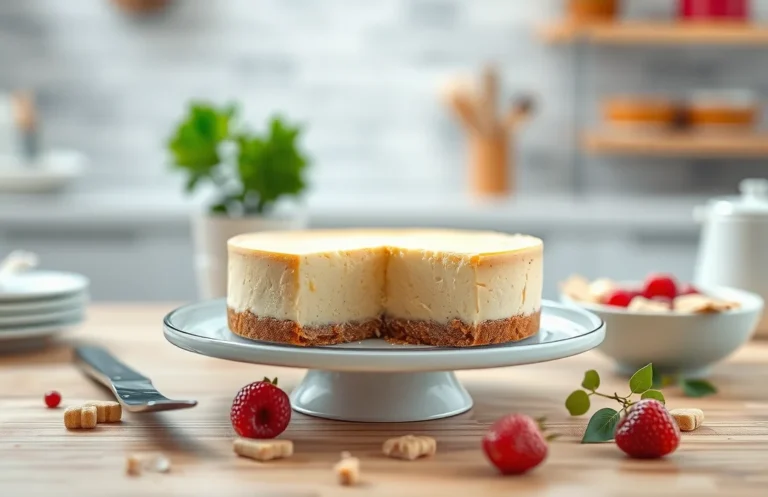
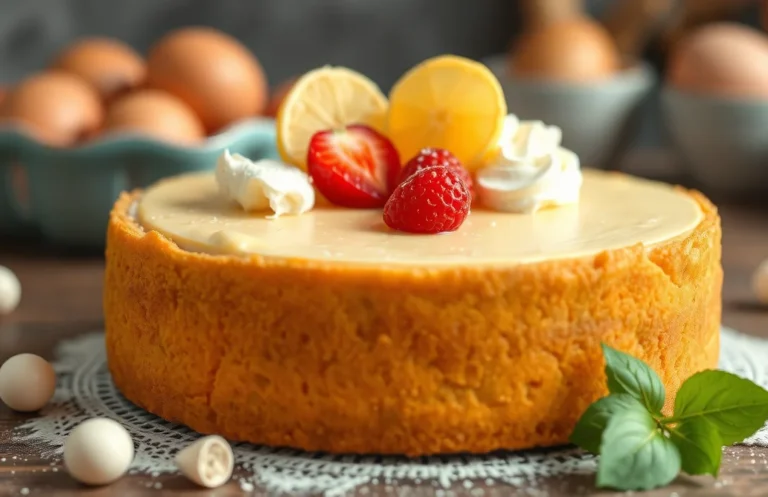
There’s something incredibly satisfying about a cherry no-bake cheesecake — it’s creamy, tangy, and topped with luscious cherries that make every bite feel like a special occasion. Perfect for warm evenings or as a delightful dessert after dinner, this cheesecake is sure to impress friends and family alike. You’ll find yourself going back for seconds!
Ready to whip up a delightful dessert? This easy cherry no-bake cheesecake takes just 20 minutes to prepare, requires no baking, and serves 8 people with minimal effort. You’ll love how simple it is!
| Prep Time | Cook Time | Total Time | Servings | Difficulty |
|---|---|---|---|---|
| 20 minutes | 0 minutes | 4 hours (chilling) | 8 | Easy |
Cherry Cheesecake Origins
Cherry no-bake cheesecake holds a special place in dessert history, combining the rich flavors of cream cheese with the vibrant taste of cherries. This delightful dessert not only satisfies a sweet tooth but also reflects cultural traditions and seasonal celebrations.
- Cultural significance: Cheesecake has roots that trace back to ancient Greece, where it was enjoyed by athletes during the first Olympic Games. The no-bake version, popularized in the 20th century, allows for quick assembly and is often associated with potlucks and family gatherings, making it a beloved choice for casual and festive occasions.
- When to serve: Perfect for warm weather, cherry no-bake cheesecake shines at summer barbecues, birthday parties, and holiday celebrations. Its refreshing taste and colorful presentation make it an ideal dessert for sharing with loved ones, bringing a sense of joy and nostalgia to any table.
Ingredients List
This section outlines the necessary ingredients for crafting a delicious cherry no-bake cheesecake. From the creamy filling to the sweet cherry topping and the crunchy crust, each component plays a vital role in achieving the perfect balance of flavors and textures.
| Item | Amount/Specification | Notes |
|---|---|---|
| Cream cheese | 16 ounces (450g) | Softened at room temperature |
| Granulated sugar | ½ cup (100g) | Adjust to taste; can use less for less sweetness |
| Vanilla extract | 1 teaspoon | Pure vanilla extract is preferred for flavor |
| Heavy whipping cream | 1 cup (240ml) | Chilled for better whipping |
| Graham cracker crumbs | 1 ½ cups (150g) | Can substitute with gluten-free crumbs |
| Unsalted butter | ½ cup (113g) | Melted for crust |
| Cherry pie filling | 1 can (21 ounces or 595g) | Store-bought or homemade |
- For a lighter version, consider using reduced-fat cream cheese.
- Ensure the cream cheese is fully softened to avoid lumps in the filling.
- If you’re allergic to dairy, try using a dairy-free cream cheese alternative.
Required Kitchen Equipment
To successfully whip up your cherry no-bake cheesecake, you’ll need a few essential tools that will streamline the preparation process. Having the right equipment on hand ensures that your ingredients are mixed properly and that your cheesecake sets beautifully. Here’s what you’ll need:
- Mixing Bowls: Use at least two mixing bowls — a large one for the cream cheese mixture and a medium one for the whipped cream. Choose bowls made of glass or stainless steel, as they are non-reactive and provide good visibility for mixing.
- Springform Pan: A 9-inch springform pan is ideal for this cheesecake. The removable sides allow you to easily release the cheesecake without damaging its delicate structure. Make sure to grease the bottom and sides lightly to prevent sticking.
- Electric Mixer: A handheld electric mixer is perfect for achieving a smooth, creamy texture for your filling. If you have a stand mixer, that works too! Mixing the cream cheese until fluffy is crucial — you’re looking for a light and airy consistency, which should take about 2-3 minutes on medium speed.
Having these tools ready will make your cheesecake-making experience smooth and enjoyable. Remember, each piece of equipment plays a vital role in the texture and presentation of your dessert!
Step-by-Step Instructions
This section will guide you through the essential steps to create a delicious cherry no-bake cheesecake, covering the crust preparation, the filling mixture, and the chilling process. Following these instructions closely will ensure your cheesecake has the perfect texture and flavor.
- Prepare the Crust: In a medium bowl, combine 1 ½ cups (150g) of graham cracker crumbs with ½ cup (100g) of granulated sugar and ½ cup (115g) of melted unsalted butter. Mix until the crumbs are evenly coated and resemble wet sand. Press this mixture firmly into the bottom of a 9-inch (23cm) springform pan using the back of a measuring cup. The crust should be compact and even. Chill in the refrigerator for 15 minutes to set.
- Mix the Filling: In a large mixing bowl, beat 16 ounces (450g) of softened cream cheese with an electric mixer on medium speed until smooth and creamy, about 2-3 minutes. Gradually add 1 cup (120g) of powdered sugar and 1 teaspoon of vanilla extract, mixing until fully incorporated. In a separate bowl, whip 1 cup (240ml) of heavy cream until stiff peaks form, which should take about 3-4 minutes. Gently fold the whipped cream into the cream cheese mixture until just combined. The filling should be light and fluffy.
- Chill the Cheesecake: Pour the cream cheese filling over the chilled crust, smoothing the top with a spatula. Cover the springform pan with plastic wrap and refrigerate for at least 4 hours, or overnight if possible. The cheesecake should be firm to the touch and have a slight jiggle when you gently shake the pan. This chilling process is crucial for the cheesecake to set properly.
Pro Tips for Success
Creating the perfect cherry no-bake cheesecake requires a few expert tips to ensure the texture is creamy and smooth, while avoiding any cracks in the surface. These insights will help you achieve a dessert that not only looks stunning but tastes heavenly.
Achieving the Right Texture
- Use room temperature ingredients: Make sure your cream cheese, sour cream, and other dairy products are at room temperature before mixing. This prevents lumps and ensures a smooth, creamy texture.
- Whip the cream properly: When whipping the heavy cream, aim for stiff peaks. This means when you lift the whisk, the cream should hold its shape without drooping. This step adds lightness to the cheesecake.
- Fold gently: When combining the whipped cream with the cream cheese mixture, use a spatula to fold gently. This helps retain air and keeps the cheesecake fluffy. Avoid vigorous stirring, which can deflate the mixture.
Avoiding Cracks in Cheesecake
- Chill adequately: After assembling the cheesecake, make sure to refrigerate it for at least 4 hours, preferably overnight. This allows the cheesecake to set properly and reduces the risk of cracks.
- Keep an eye on the temperature: If you’re using a springform pan, make sure not to expose your cheesecake to rapid temperature changes when removing it from the fridge. This can lead to cracks. Let it sit at room temperature for about 15 minutes before serving.
- Don’t overmix: Once you’ve added the eggs (if using), mix just until incorporated. Overmixing can introduce too much air, which may lead to cracks during the chilling process.
Variations and Substitutions
This section offers alternatives to accommodate various dietary preferences and needs while making your cherry no-bake cheesecake. Whether you’re looking for gluten-free options or vegan substitutions, these suggestions will help you create a delicious dessert that everyone can enjoy.
Gluten-Free Options
- For the crust: Substitute the traditional graham cracker crust with a gluten-free cookie crust. Use 1 ½ cups of gluten-free cookies (like almond or coconut-based) crushed and mixed with 5 tablespoons of melted butter.
- For the filling: Ensure your cream cheese is labeled gluten-free, as some brands may contain gluten additives.
Vegan Substitutions
- For the crust: Use 1 ½ cups of vegan cookies (like Oreos or any other plant-based option) instead of graham crackers, and combine with 5 tablespoons of coconut oil instead of butter.
- For the filling: Replace 16 ounces of cream cheese with 1 ½ cups of soaked and blended cashews or silken tofu for a creamy consistency. Add ½ cup of dairy-free yogurt for tanginess.
- Replace ½ cup of powdered sugar with maple syrup or agave nectar for sweetness while keeping it vegan.
Chef’s tip: When using alternative ingredients, taste as you go to ensure the flavors balance out, especially when substituting sweeteners.
| Ingredient | Traditional | Gluten-Free | Vegan |
|---|---|---|---|
| Crust | Graham crackers | Gluten-free cookies | Vegan cookies |
| Cream Cheese | 16 oz cream cheese | Gluten-free cream cheese | Cashews or silken tofu |
| Sugar | ½ cup powdered sugar | ½ cup powdered sugar | Maple syrup or agave nectar |
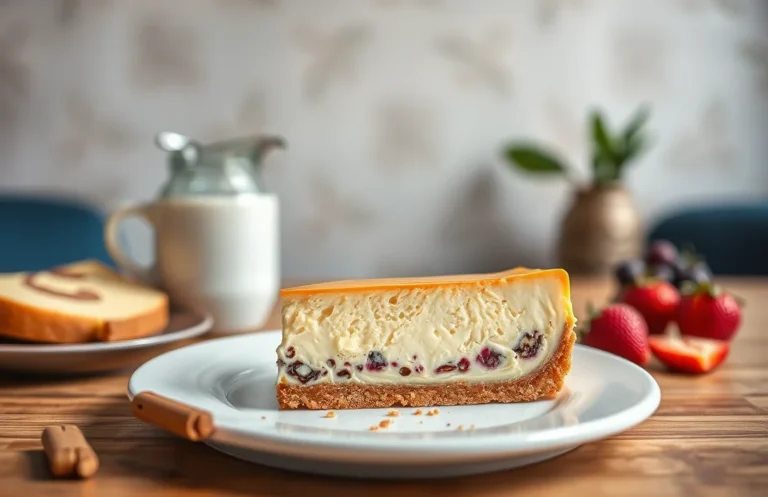
Serving and Plating Ideas
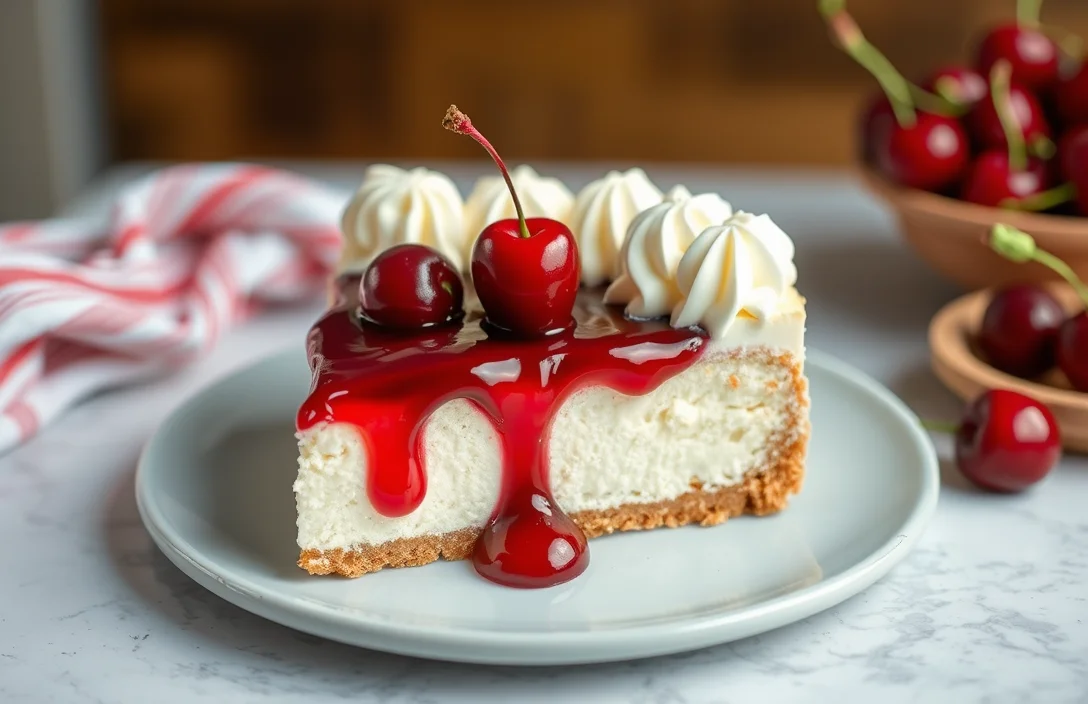
When it comes to serving your cherry no-bake cheesecake, presentation is key! With its creamy texture and vibrant cherry topping, this dessert is as pleasing to the eyes as it is to the palate. Here are some tips on how to garnish and pair this delightful treat.
Garnishing Tips
- Top each slice with a dollop of freshly whipped cream for added richness.
- Garnish with additional fresh cherries or a few slices of kiwi for a pop of color.
- Sprinkle a light dusting of powdered sugar over the cheesecake before serving for an elegant touch.
- Drizzle some cherry sauce or chocolate sauce over the top for an extra layer of flavor.
Beverage Pairings
Choosing the right beverage can enhance the experience of enjoying your cheesecake. Here are some great options:
| Beverage | Description |
|---|---|
| Sweet Riesling | A fruity and aromatic wine that complements the sweetness of the cherries. |
| Coffee | A rich cup of coffee balances the sweetness and adds depth to the dessert experience. |
| Herbal Tea | Chamomile or mint tea offers a refreshing contrast to the creamy cheesecake. |
Chef’s tip: Serve the cheesecake chilled for the best texture and flavor. Allow it to sit at room temperature for about 10 minutes before slicing to make cutting easier.
Quick Summary
| Prep Time | Cook Time | Total Time | Servings |
|---|---|---|---|
| 20 minutes | 0 minutes | 4 hours (chill time) | 8 servings |
- Crust preparation: Use 1 ½ cups of crushed graham crackers mixed with ½ cup melted butter.
- Cheese mixture: Beat 16 oz cream cheese with ¾ cup sugar and 1 tsp vanilla until smooth.
- Add whipped cream: Gently fold in 2 cups of whipped cream for lightness.
- Chill: Refrigerate for at least 4 hours to set properly.
- Top with cherries: Use 1 can of cherry pie filling for the final touch before serving.
- Use room temperature cheese: This prevents lumps in your filling.
- Don’t skip chilling: This is essential for a firm cheesecake.
- Go for fresh cherries: They elevate the flavor compared to canned options.
Frequently Asked Questions
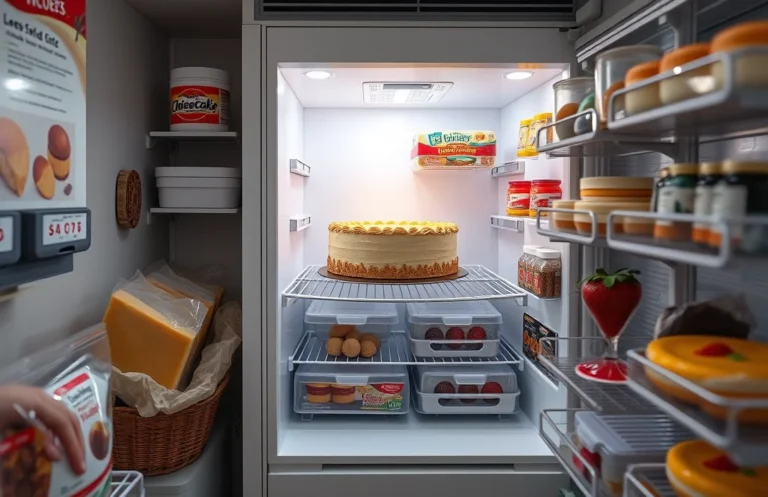
Can I make this ahead of time? How to store and reheat?
You can absolutely make this cherry no-bake cheesecake ahead of time; it keeps well in the refrigerator for up to 3 days. Just cover it tightly with plastic wrap to prevent it from absorbing any odors.
What can I substitute for cream cheese?
If you need a substitute for cream cheese, you can use mascarpone cheese or a combination of Greek yogurt and sour cream for a lighter option. Just keep in mind that the texture and flavor may differ slightly.
How do I know when it’s done?
4 hours, it should slice beautifully without falling apart.
Can I freeze this? How long does it last?
You can freeze the cheesecake for up to 2 months if wrapped tightly in plastic wrap and then foil. Just remember to thaw it in the refrigerator overnight before serving for the best texture.
Why did my cheesecake turn out too runny?
Your cheesecake might be too runny if the cream cheese wasn’t softened enough or if you didn’t allow it to set for long enough in the fridge. Make sure to mix it until smooth and chill it for at least 4 hours before serving.

- Decadent Peanut Butter No-Bake Cheesecake: Easy Recipe to Indulge - April 3, 2026
- Delicious Mango No-Bake Cheesecake: Step-by-Step Recipe - April 3, 2026
- Decadent Raspberry No-Bake Cheesecake: Easy Step-by-Step Recipe - April 3, 2026