Delicious Matcha No-Bake Cheesecake: Easy Step-by-Step Recipe
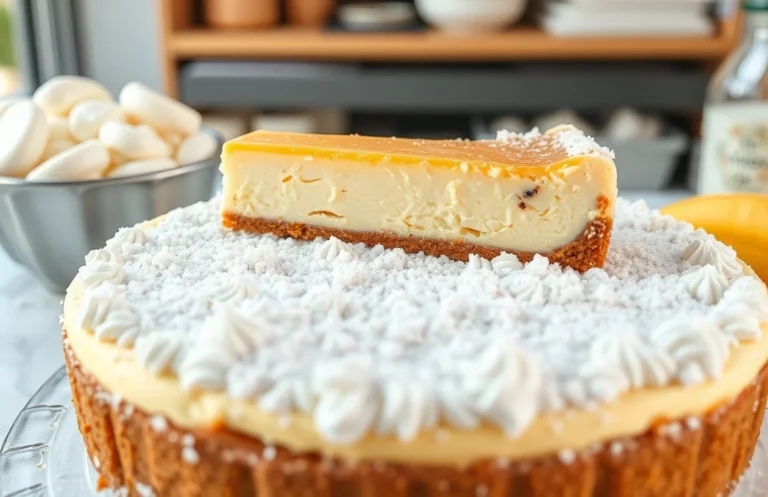
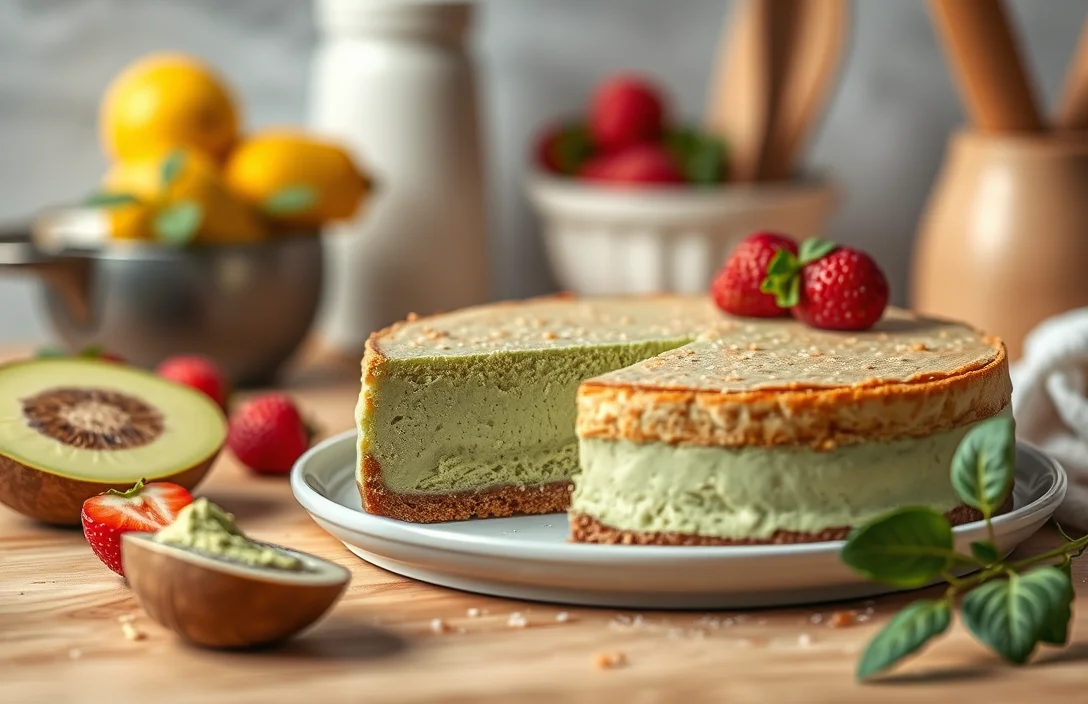
If you’re looking for a dessert that’s both creamy and refreshing, this Matcha no-bake cheesecake will surely satisfy your cravings. With its delicate green tea flavor and smooth texture, it’s the perfect treat for any occasion, whether it’s a cozy night in or a gathering with friends. Trust me, one bite will leave you wanting more!
This recipe is simple, requiring only 20 minutes of prep time and 4 hours of chilling before serving. It yields 8 servings and is rated easy to make, so even beginners can enjoy this delightful cheesecake without stress.
| Prep Time | Cook Time | Total Time | Servings | Difficulty |
|---|---|---|---|---|
| 20 minutes | 0 minutes | 4 hours | 8 | Easy |
Origin of Matcha Cheesecake
Matcha cheesecake marries the rich history of Japanese matcha with the beloved dessert tradition of cheesecake. This unique dessert has gained popularity not only for its creamy texture but also for its vibrant green hue and the health benefits associated with matcha.
Cultural Significance
Matcha, finely ground green tea powder, has been integral to Japanese culture for centuries, primarily used in traditional tea ceremonies. Its significance extends beyond just flavor; matcha symbolizes tranquility and mindfulness. The addition of matcha to cheesecake brings a touch of Japan into a classic Western dessert, making it a popular choice for celebrations and gatherings.
- Perfect for special occasions like birthdays and anniversaries
- A delightful treat for afternoon tea or dessert buffets
- Often served during Japanese festivals and events
When to Serve
This no-bake matcha cheesecake is versatile and can be enjoyed at various occasions:
| Occasion | Serving Suggestion |
|---|---|
| Birthday Parties | Garnish with fresh berries for a festive touch |
| Tea Time | Pair with a cup of matcha tea for a cohesive experience |
| Japanese Festivals | Serve alongside traditional sweets for a cultural feast |
Chef’s tip: Chill the cheesecake overnight for the best texture and flavor.
Ingredients List
This section provides a complete list of ingredients you’ll need to create a delicious matcha no-bake cheesecake. Each ingredient is carefully measured to ensure the perfect balance of flavors and textures, making your baking experience seamless and successful.
| Item | Amount/Specification | Notes |
|---|---|---|
| Cream cheese | 16 ounces (450g) | Softened at room temperature for easy mixing |
| Granulated sugar | ½ cup (100g) | Can substitute with honey or agave for a natural sweetener |
| Matcha powder | 2 tablespoons (30g) | Choose high-quality culinary matcha for better flavor |
| Heavy cream | 1 cup (240ml) | Whipped to soft peaks for a light texture |
| Vanilla extract | 1 teaspoon (5ml) | Enhances the flavor profile |
| Graham cracker crumbs | 1 ½ cups (150g) | For the crust; can use gluten-free crumbs if needed |
| Unsalted butter | ½ cup (115g) | Melted for binding the crust |
- For a dairy-free version, substitute cream cheese with vegan cream cheese and use coconut cream in place of heavy cream.
- Ensure your cream cheese is at room temperature to avoid lumps in the mixture.
- Matcha can vary in flavor intensity; start with 1 tablespoon and taste before adding more if you’re sensitive to bitterness.
Required Kitchen Equipment
To successfully create your Matcha no-bake cheesecake, you’ll need a few essential kitchen tools. Having the right equipment not only streamlines the process but also ensures that your cheesecake turns out perfectly creamy and delicious.
- Mixing Bowls: You will need at least two mixing bowls. A large bowl (about 4-quart capacity) is ideal for mixing the cream cheese and matcha. A smaller bowl (about 2-quart capacity) works well for combining the whipped cream. Choose bowls made of glass or stainless steel for a smooth mixing experience.
- Springform Pan: A 9-inch springform pan is essential for this recipe. The removable sides allow for easy release of the cheesecake once it has set. Make sure to line the bottom with parchment paper for extra protection against sticking, ensuring a clean presentation when you slice it.
- Electric Mixer: An electric hand mixer or stand mixer is crucial for achieving a light and airy texture in your cheesecake filling. Set the mixer on medium speed when whipping the cream and increase to high when blending with the cream cheese. This will help incorporate air and create a fluffy consistency.
Chef’s tip: Always ensure your cream cheese is at room temperature for easier mixing, preventing lumps in your cheesecake.
Step-by-Step Instructions
This section will guide you through the detailed steps to prepare your Matcha no-bake cheesecake, covering the crust, filling, and chilling process. Each step includes precise measurements and timing to ensure your cheesecake turns out perfectly creamy and delicious.
- Prepare the Crust: In a medium bowl, combine 1 ½ cups (150g) of graham cracker crumbs, ½ cup (100g) of granulated sugar, and ½ cup (115g) of melted unsalted butter. Mix well until the crumbs are evenly coated and the mixture resembles wet sand. Press the mixture firmly into the bottom of a 9-inch (23cm) springform pan using the back of a measuring cup. The crust should feel compact and hold its shape when pressed.
- Make the Filling: In a large mixing bowl, beat together 16 ounces (450g) of cream cheese and ½ cup (60g) of powdered sugar until smooth and creamy, about 2-3 minutes. In a separate bowl, whisk 1 cup (240ml) of heavy cream until stiff peaks form, which should take about 3-4 minutes. Gently fold the whipped cream into the cream cheese mixture until no white streaks remain.
- Add Matcha: Sift 2 tablespoons (15g) of culinary grade matcha powder over the cream cheese mixture to avoid clumps. Carefully fold the matcha into the filling until the mixture is a uniform green color. The filling should be thick and velvety at this stage.
- Assemble the Cheesecake: Pour the matcha filling over the prepared crust, smoothing the top with a spatula. Ensure the filling is evenly spread to avoid lumps. Cover the pan with plastic wrap and refrigerate for at least 4 hours, or overnight if possible, until set. The cheesecake should feel firm to the touch when ready.
Pro Chef Tips
This section is focused on ensuring your matcha no-bake cheesecake has the perfect texture and is free from lumps. Achieving these qualities can elevate your cheesecake from good to outstanding, making your dessert a crowd-pleaser.
Achieving the Perfect Texture
- Use room temperature ingredients: Make sure your cream cheese and heavy cream are at room temperature before mixing. This helps them blend smoothly, resulting in a creamier texture.
- Whip the cream properly: When whipping the heavy cream, aim for stiff peaks. This will give your cheesecake a light and airy texture. Stop whipping as soon as you see the peaks forming; over-whipping can lead to a grainy texture.
- Chill thoroughly: After assembling your cheesecake, refrigerate it for at least 4-6 hours, or overnight if possible. This allows the flavors to meld and the cheesecake to set properly, giving it a firm yet creamy consistency.
Avoiding Lumps
- Blend the cream cheese well: Before adding other ingredients, beat the cream cheese until smooth and creamy. This ensures there are no lumps that could ruin the texture of your cheesecake.
- Sift the matcha powder: Sifting the matcha before adding it to the mixture will help eliminate any clumps. This step is crucial for achieving a smooth and consistent flavor throughout the cheesecake.
- Use a fine sieve: If you notice any lumps after mixing, pour the mixture through a fine sieve before transferring it to the crust. This will catch any remaining lumps and ensure a silky-smooth filling.
Variations and Substitutions
Customizing your matcha no-bake cheesecake can accommodate dietary needs and personal preferences. Below are some options for making a vegan version and creating a gluten-free crust, allowing everyone to enjoy this delightful dessert.
Vegan Options
If you want to make a vegan matcha no-bake cheesecake, you can easily substitute dairy ingredients with plant-based alternatives:
- Use 1 cup cashews (soaked for 4-6 hours) blended with ½ cup coconut cream instead of cream cheese.
- Replace sugar with ⅓ cup maple syrup for a healthier sweetener.
- For the crust, substitute 1 cup crushed graham crackers with 1 cup crushed vegan cookies or nuts.
Chef’s tip: Soaking cashews softens them, creating a creamy texture that mimics traditional cream cheese.
Gluten-Free Crust
To make the crust gluten-free, consider these options:
- Replace 1 cup of traditional graham cracker crumbs with 1 cup gluten-free graham cracker crumbs or almond flour.
- Add 2 tablespoons of melted coconut oil to help bind the crust together.
| Ingredient | Traditional | Vegan/Gluten-Free Substitute |
|---|---|---|
| Cream Cheese | 8 oz | 1 cup soaked cashews + ½ cup coconut cream |
| Sugar | ½ cup | ⅓ cup maple syrup |
| Graham Crackers | 1 cup | 1 cup gluten-free crumbs or almond flour |
With these variations, you can enjoy a delicious matcha no-bake cheesecake that suits your dietary preferences without sacrificing flavor!
Serving Suggestions
Serving your matcha no-bake cheesecake beautifully can elevate the dessert experience for both you and your guests. Here are some delightful garnishing ideas and beverage pairings that complement the unique flavors of matcha.
Garnishes
- Whipped Cream: Add a dollop of lightly sweetened whipped cream on top for extra creaminess. Optional: dust with a little matcha powder for presentation.
- Fresh Berries: Top with a mix of fresh raspberries and blueberries for a burst of color and tartness that balances the sweetness of the cheesecake.
- Shaved White Chocolate: Sprinkle shaved white chocolate on top for a rich contrast that pairs perfectly with the matcha flavor.
- Matcha Dusting: Lightly dust the surface with matcha powder just before serving for a pop of green and a hint of flavor.
Beverage Pairings
Choosing the right beverage can enhance the flavors of your cheesecake. Consider these options:
| Beverage | Flavor Profile |
|---|---|
| Green Tea | Earthy and fragrant, complements the matcha. |
| Chai Latte | Spiced sweetness balances the creaminess of the cheesecake. |
| Moscato | Lightly sweet and bubbly, pairs well with the dessert. |
| Coconut Water | Refreshing and hydrating, enhances the tropical notes. |
Pro tip: Serve your cheesecake chilled for the best texture and flavor. Enjoy every bite!
Quick Summary
| Prep Time | Cook Time | Total Time | Servings |
|---|---|---|---|
| 20 minutes | 0 minutes | 4 hours (chill time) | 8 servings |
- Beat the cream cheese: Ensure it’s at room temperature for smooth mixing.
- Mix matcha powder: Whisk it with warm water to avoid lumps.
- Fold in whipped cream: Be gentle to maintain fluffiness.
- Prepare the crust: Use crushed graham crackers mixed with melted butter.
- Chill thoroughly: Allow at least 4 hours for proper set.
- Tip 1: Use high-quality matcha for vibrant color and flavor.
- Tip 2: Adjust sweetness according to your taste; start with ½ cup sugar.
Frequently Asked Questions
Can I make this ahead of time? How to store and reheat?
You can absolutely make this matcha no-bake cheesecake up to 2 days in advance. Store it in the refrigerator, covered, and there’s no need to reheat since it’s served chilled.
What can I substitute for cream cheese?
If you’re looking for a dairy-free option, you can substitute cream cheese with silken tofu blended until smooth. For a lighter version, try using Greek yogurt instead, but keep in mind the texture will be slightly different.
How do I know when it’s done?
Your cheesecake is ready when it has set and is firm to the touch but still slightly jiggles in the center. It will firm up more as it chills in the fridge, so don’t worry if it seems a bit soft initially.
Can I freeze this? How long does it last?
Yes, you can freeze this cheesecake for up to 2 months. Wrap it tightly in plastic wrap and foil to prevent freezer burn, and thaw it in the refrigerator overnight before serving.
Why did my cheesecake turn out too soft?
If your cheesecake is too soft, it may be due to insufficient chilling time; ensure you let it set for at least 4 hours in the refrigerator. Additionally, check that you’ve used enough gelatin or that it was fully dissolved before mixing.

- Decadent Peanut Butter No-Bake Cheesecake: Easy Recipe to Indulge - April 3, 2026
- Delicious Mango No-Bake Cheesecake: Step-by-Step Recipe - April 3, 2026
- Decadent Raspberry No-Bake Cheesecake: Easy Step-by-Step Recipe - April 3, 2026