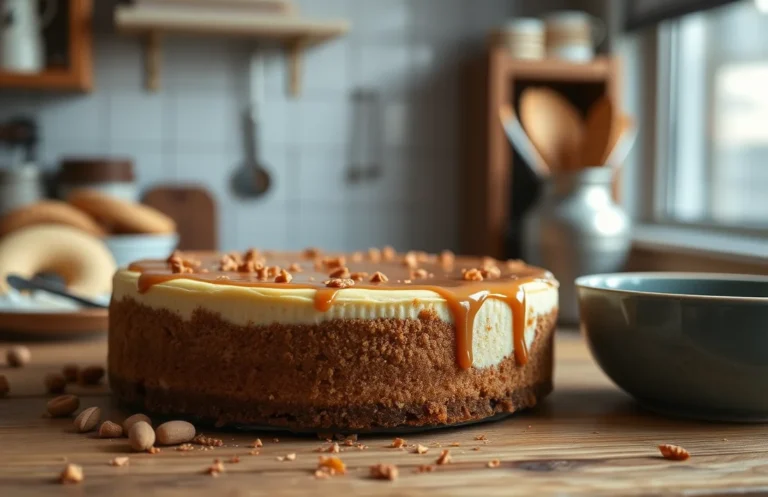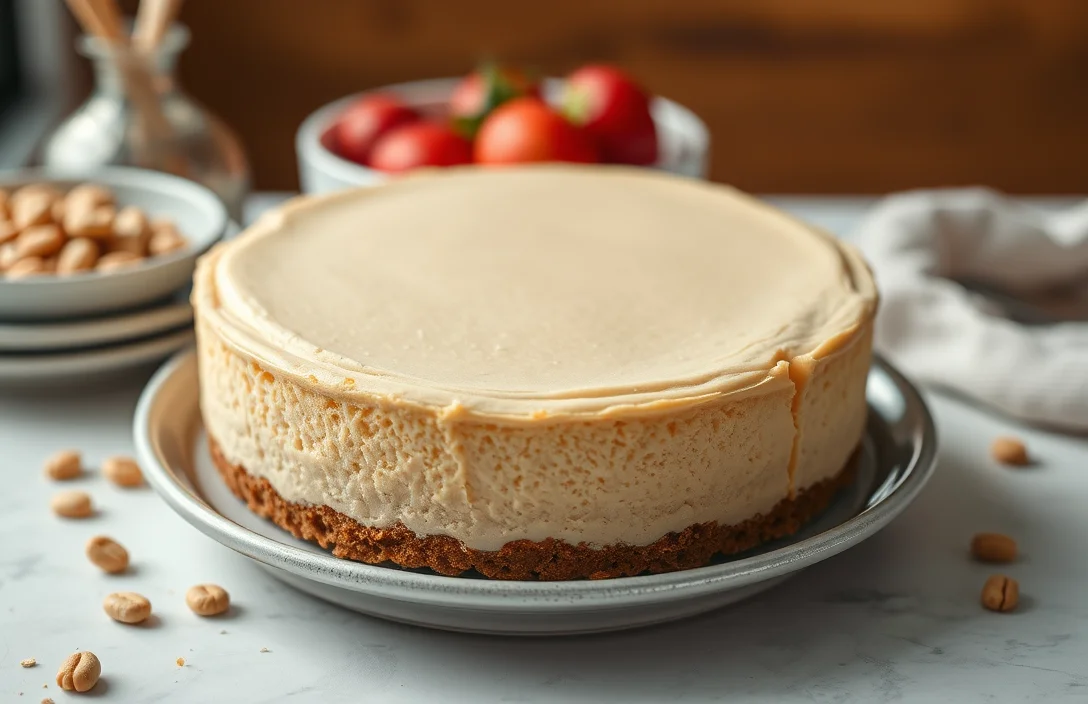
No Bake Peanut Butter Cheesecake: Creamy, Quick & Delicious Recipe
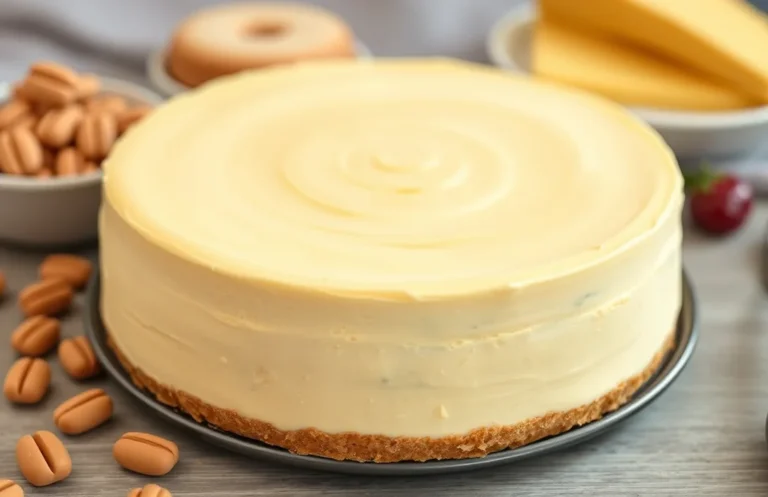
If you’re craving a dessert that’s both rich and easy to make, this no bake peanut butter cheesecake is your answer. With its creamy texture and the perfect balance of sweet and salty, it’s a crowd-pleaser that feels indulgent yet is simple enough for a weeknight treat. Trust me, one bite will leave you wanting more!
Key details: Total time: 4 hours, Difficulty level: Easy, Servings: 8.
| Prep Time | Cook Time | Total Time | Servings | Difficulty |
|---|---|---|---|---|
| 20 minutes | 0 minutes | 4 hours | 8 | Easy |
Origin of Peanut Butter Cheesecake
Understanding the origins of peanut butter cheesecake adds a delightful layer to this indulgent dessert. Cheesecake itself has a rich history that dates back to ancient Greece, while the addition of peanut butter speaks to its modern appeal and the growing popularity of this nutty spread.
History of Cheesecake
Cheesecake can trace its roots back to ancient Greece, where it was served to athletes during the first Olympic Games in 776 B.C. The earliest known recipe appeared in a book by the Roman writer Cato in the 2nd century B.C. Over the centuries, different cultures have adapted the basic concept of cheesecake, resulting in various styles from the creamy New York version to the lighter Italian ricotta-based types.
Peanut Butter’s Popularity
Peanut butter gained immense popularity in the United States in the late 19th century. Originally touted for its nutritional benefits, it became a staple during the Great Depression due to its affordability and versatility. Its creamy, rich flavor complements the tangy notes of cheesecake beautifully, making peanut butter cheesecake a beloved variation.
- Cheesecake Evolution: From ancient Greece to modern kitchens, cheesecake has evolved into countless forms.
- Peanut Butter Rise: Peanut butter transformed from a health food to a comfort food, enhancing desserts like cheesecake.
“The combination of creamy peanut butter with the smooth texture of cheesecake creates a dessert that is both nostalgic and innovative.”
In summary, the blend of rich history behind cheesecake and the contemporary charm of peanut butter creates a unique dessert that resonates with many. As we prepare to dive into the no-bake peanut butter cheesecake recipe, keep in mind the delightful tradition that makes this dessert so special.
Ingredients List
Here you will find all the ingredients needed to create a delicious no-bake peanut butter cheesecake. Each ingredient is essential for achieving the perfect creamy texture and rich flavor, so be sure to measure carefully!
| Item | Amount/Specification | Notes |
|---|---|---|
| Cream Cheese | 16 ounces (450g) | Softened to room temperature for easy mixing |
| Peanut Butter | 1 cup (250g) | Use creamy peanut butter for a smooth consistency |
| Granulated Sugar | ¾ cup (150g) | Adjust to taste; powdered sugar can also be used for a smoother texture |
| Heavy Whipping Cream | 1 cup (240ml) | Chilled, for whipping to soft peaks |
| Graham Cracker Crust | 1 pre-made (9-inch) | Or make your own with 1 ½ cups (150g) crushed graham crackers, ½ cup (115g) melted butter, and ¼ cup (50g) sugar |
- For a gluten-free option, use gluten-free graham crackers or a nut crust.
- If you’re allergic to peanuts, almond butter or sun butter can be substituted.
- Ensure the cream cheese is completely softened to avoid lumps in the filling.
- Keep an eye on the heavy cream while whipping; over-whipping can turn it into butter.
Necessary Kitchen Tools
To create your no-bake peanut butter cheesecake with ease, having the right tools on hand is essential. These kitchen tools ensure that you mix, assemble, and serve your cheesecake perfectly, achieving that creamy texture and delightful flavor.
| Item | Amount/Specification | Notes |
|---|---|---|
| Mixing Bowls | 2-3 medium-sized | Use for mixing crust and filling separately. |
| Hand Mixer | 1 | A handheld mixer makes whipping cream cheese and peanut butter easier. |
| Springform Pan | 9-inch | Allows for easy removal of the cheesecake. |
| Spatula | 1 | Use for smoothing the filling and lifting the cheesecake out. |
- Tip: A large mixing bowl works well for the crust; a medium bowl is perfect for the filling.
- Tip: If you don’t have a springform pan, you can use a regular pie dish, but it may be harder to remove the cheesecake.
- Tip: A silicone spatula is great for scraping down the sides of the bowl and folding in ingredients smoothly.
Step-by-Step Instructions
In this section, you’ll find detailed instructions for making the crust, preparing the filling, and chilling your no-bake peanut butter cheesecake. Each step is crucial for achieving that creamy, delightful texture and flavor, so follow along closely!
- Making the Crust: Start by preheating your oven to 350°F (175°C). In a mixing bowl, combine 1 ½ cups (150g) of graham cracker crumbs, ½ cup (100g) of granulated sugar, and ½ cup (115g) of unsalted melted butter. Mix until the crumbs are evenly coated and resemble wet sand. Press this mixture firmly into the bottom of a 9-inch (23 cm) springform pan, ensuring it’s compact. Bake the crust for 8-10 minutes or until it’s slightly golden and fragrant. Let it cool completely before adding the filling.
- Preparing the Filling: In a large mixing bowl, beat 16 ounces (450g) of cream cheese at room temperature until smooth, about 2-3 minutes. Gradually add 1 cup (250g) of creamy peanut butter, ½ cup (60g) of powdered sugar, and 1 teaspoon of vanilla extract. Mix until well combined and creamy. In a separate bowl, whip 1 cup (240ml) of heavy cream until stiff peaks form, which should take about 3-4 minutes. Carefully fold the whipped cream into the peanut butter mixture until there are no streaks visible, ensuring a light and airy texture.
- Chilling the Cheesecake: Pour the filling over the cooled crust and smooth the top with a spatula. Cover the springform pan with plastic wrap and refrigerate for at least 4 hours, or preferably overnight. When ready to serve, carefully remove the sides of the springform pan. The cheesecake should be firm to the touch and hold its shape. If it’s too soft, it may need more chilling time to set properly.
Expert Tips for Success
Creating a no-bake peanut butter cheesecake can be a delightful experience, but to ensure it turns out just right, there are a few tips to keep in mind. These pro tips will help you avoid common pitfalls and achieve the perfect texture and flavor.
- Avoiding Cracks: To prevent cracks in your cheesecake, make sure to mix the filling ingredients gently. Overmixing can incorporate too much air, which causes the cheesecake to crack as it sets. Use a rubber spatula to fold in the whipped cream until just combined.
- Perfecting Texture: For a creamy texture, use room temperature cream cheese and peanut butter. Cold ingredients can lead to lumps. Whisk them together at medium speed until smooth and fluffy, about 2-3 minutes. If it feels too thick, you can add a tablespoon of milk to loosen it up slightly.
- Serving Temperature: For the best flavor and texture, serve your cheesecake chilled but not too cold. Let it sit at room temperature for about 10-15 minutes before slicing. This will make it easier to cut and enhance the flavors, allowing the peanut butter to shine through more prominently.
- Common Mistakes: Avoid using natural peanut butter that separates. Stick to a creamy variety for a smoother consistency. Also, ensure your cheesecake is fully set in the fridge for at least 4 hours, or preferably overnight, before serving to achieve the right firmness.
Recipe Variations
There are plenty of delightful variations you can explore with this no bake peanut butter cheesecake, catering to different dietary preferences and flavor profiles. Whether you want to indulge in a chocolate twist, make it vegan, or ensure it’s gluten-free, these options will let you enjoy this dessert in various delicious ways.
Chocolate Peanut Butter Cheesecake
If you’re a chocolate lover, this variation is for you! Simply incorporate cocoa powder or melted chocolate into the filling for a rich chocolate peanut butter flavor. Here’s how:
- Mix in ½ cup (50g) unsweetened cocoa powder with the cream cheese and peanut butter.
- Alternatively, fold in 4 ounces (113g) of melted semi-sweet chocolate into the filling.
Vegan Options
This cheesecake can easily be made vegan by substituting a few key ingredients:
- Use 1 cup (240ml) of full-fat coconut milk in place of cream cheese.
- Opt for maple syrup instead of powdered sugar, using about ½ cup (120ml) for sweetness.
- Choose vegan graham crackers or nuts for the crust, blended with ¼ cup (60ml) melted coconut oil.
Gluten-Free Crust
For a gluten-free version, you can substitute the regular graham crackers. Here are a couple of options:
- Use 1 ½ cups (150g) gluten-free graham cracker crumbs mixed with ½ cup (120ml) melted butter.
- Alternatively, make a nut crust using 1 cup (100g) finely ground almonds or pecans combined with 2 tablespoons (30ml) coconut oil.
Chef’s tip: Always taste your filling before chilling to adjust sweetness or flavors as needed!
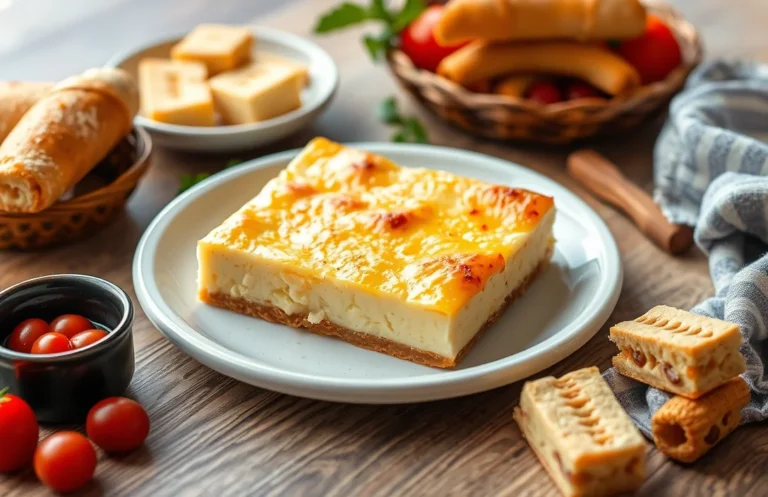
Serving and Plating Ideas
Presenting your no bake peanut butter cheesecake beautifully can elevate the dessert experience for your guests. Here are some garnishing techniques, pairing suggestions, and storage tips to ensure your cheesecake shines on the table.
Garnishing Techniques
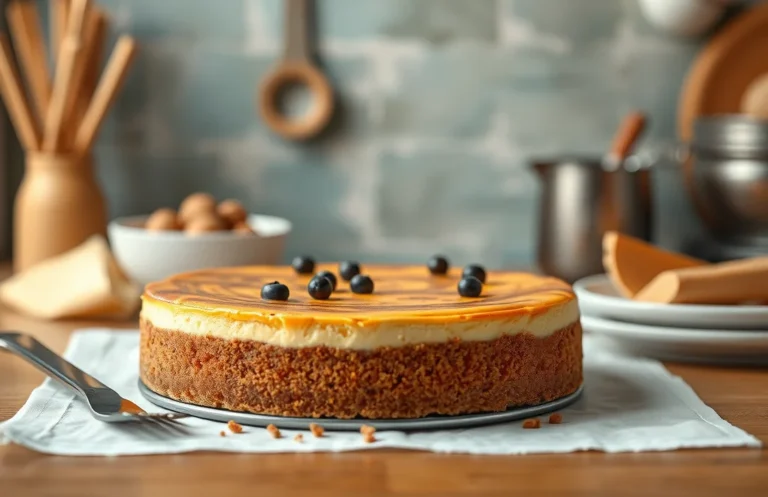
- Drizzle melted chocolate or caramel sauce over the top for a rich, glossy finish.
- Add a dollop of whipped cream on each slice and sprinkle with crushed peanuts for texture.
- Top with fresh fruit like banana slices or strawberries to add a pop of color and freshness.
Best Pairings
This cheesecake pairs wonderfully with:
- Coffee or espresso, which balances the sweetness of the dessert.
- A glass of cold milk, enhancing the creamy texture of the cheesecake.
- Vanilla ice cream for an indulgent treat.
Storing Leftovers
Chef’s tip: Always cover the cheesecake tightly with plastic wrap to prevent it from absorbing odors in the fridge.
To store your no bake peanut butter cheesecake:
- Refrigerate for up to 5 days in an airtight container.
- If freezing, wrap in plastic wrap and then in aluminum foil to maintain quality; it can last up to 2 months. Thaw in the refrigerator overnight before serving.
| Storage Method | Duration |
|---|---|
| Refrigerator | Up to 5 days |
| Freezer | Up to 2 months |
Quick Summary
| Prep Time | Cook Time | Total Time | Servings |
|---|---|---|---|
| 20 minutes | 0 minutes | 4 hours (chill time) | 8 servings |
- Crust preparation: Combine 1 ½ cups crushed graham crackers with ½ cup melted butter and press into a pie dish.
- Filling mix: Beat together 1 cup creamy peanut butter, 8 oz cream cheese, and 1 cup powdered sugar until smooth.
- Incorporate whipped cream: Gently fold in 1 ½ cups whipped heavy cream for a light texture.
- Chill: Refrigerate for at least 4 hours to set the cheesecake properly.
- Garnish: Top with chocolate shavings or crushed peanuts before serving for added flavor.
- Tip: Use room temperature ingredients for a smoother filling.
- Tip: Ensure your whipped cream is stiff to maintain the cheesecake’s structure.
Frequently Asked Questions
Can I make this ahead of time? How to store and reheat?
You can absolutely make this no bake peanut butter cheesecake a day in advance. Store it in the refrigerator, covered with plastic wrap, and it will stay fresh for up to 3 days.
What can I substitute for cream cheese?
You can use mascarpone cheese as a substitute for cream cheese for a creamier texture; just make sure to use 8 ounces for this recipe. Greek yogurt can also work, but it will make the cheesecake a bit tangier.
How do I know when it’s done?
This cheesecake is done when it is set and firm to the touch, usually after 4-6 hours in the refrigerator. It should not jiggle in the center when you gently shake the pan.
Can I freeze this? How long does it last?
Yes, you can freeze the cheesecake for up to 2 months if well-wrapped in plastic wrap and foil. Just remember to thaw it in the refrigerator overnight before serving.
Why did my cheesecake turn out too soft?
If your cheesecake is too soft, it may not have chilled long enough; try leaving it in the refrigerator for an additional 1-2 hours. You can also check that your cream cheese was fully softened and well-mixed to ensure proper consistency.

- Make Cheesecake Up to 3 Days Ahead: Tips for Best Flavor & Texture - March 4, 2026
- Easy No-Bake Cool Doen Cheesecake: Quick Recipe & Tips - March 4, 2026
- Decadent Dulce de Leche Cheesecake: Easy Step-by-Step Recipe - March 4, 2026