Diabetic-Friendly Cheesecake: 5 Easy Recipes & Tips for Enjoyment
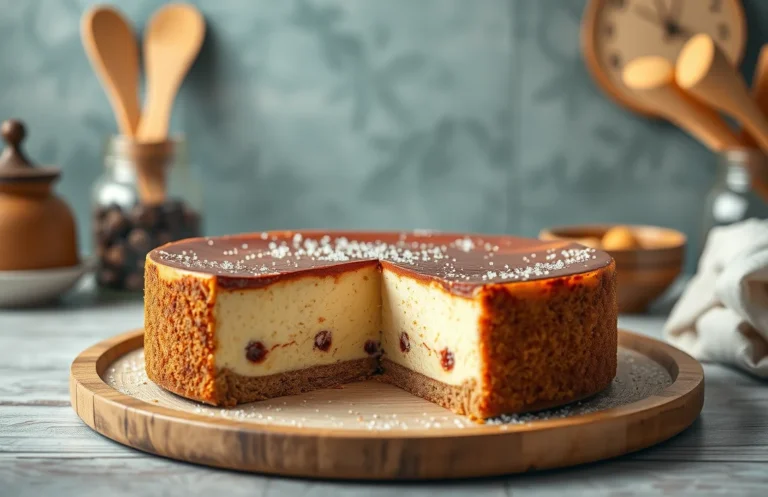
Cheesecake is one of those indulgent desserts that can brighten any day, and when made diabetic-friendly, it becomes a delightful treat without the guilt! Creamy, rich, and just the right amount of sweetness, this dessert can satisfy your cravings while keeping your blood sugar in check. Trust me; your taste buds will thank you!
Get ready for three delicious diabetic-friendly cheesecake recipes that are simple to make. Each recipe takes about 30 minutes of prep, has a baking time of 45 minutes, and serves 8. You’ll feel empowered to create desserts that fit within a diabetic diet!
| Prep Time | Cook Time | Total Time | Servings | Difficulty |
|---|---|---|---|---|
| 30 minutes | 45 minutes | 1 hour 15 minutes | 8 | Easy |
Cheesecake Origins and Significance
Cheesecake has a rich history that dates back thousands of years, making it not just a delightful dessert but also a cultural symbol in various regions. Understanding its origins and significance can help appreciate its enduring appeal, especially when considering dietary restrictions like those faced by diabetics.
Cultural Variations
Cheesecake has evolved significantly across different cultures, each adding its unique twist:
- Greek Cheesecake: Often made with fresh cheese and honey, this version is a staple in Greek celebrations.
- Italian Ricotta Cheesecake: Made with ricotta cheese, this variation is lighter and less sweet, perfect for those looking for a healthier option.
- American New York Cheesecake: Rich and creamy, this style is characterized by its dense texture and is typically served plain or topped with fruit.
- Japanese Cotton Cheesecake: Light and fluffy, this version is less sweet and has a soufflé-like texture, appealing to those who prefer a milder dessert.
When to Serve Cheesecake
Cheesecake is a versatile dessert that can be enjoyed on various occasions:
- Celebrations: Birthdays, anniversaries, and holidays often feature cheesecake as a special treat.
- Casual Gatherings: Friends and family gatherings are perfect for sharing a slice of cheesecake over coffee or tea.
- Seasonal Events: Seasonal flavors, like pumpkin in fall or berry in summer, make cheesecake a year-round favorite.
Pro tip: To cater to diabetics, consider using low-sugar or sugar-free ingredients when preparing cheesecake, allowing everyone to indulge without compromising their health.
With its historical significance and cultural variations, cheesecake remains a beloved dessert. As we look at its appeal, it’s essential to explore how it can be adapted for those managing diabetes, ensuring that everyone can enjoy a slice of this classic treat.
Ingredients for Diabetic Cheesecake
When creating a diabetic-friendly cheesecake, selecting the right ingredients is essential to keep the dessert both delicious and suitable for a diabetic diet. This section provides a detailed list of ingredients along with precise measurements, focusing on low-calorie sweeteners and alternative cream cheese options that help reduce sugar and calories.
| Item | Amount/Specification | Notes |
|---|---|---|
| Low-Calorie Sweetener (Stevia or Erythritol) | ¾ cup (150g) | Adjust based on sweetness preference. |
| Light Cream Cheese | 16 ounces (450g) | Use a low-fat option to reduce calories. |
| Plain Greek Yogurt | 1 cup (240g) | For creaminess; choose non-fat or low-fat. |
| Eggs | 3 large | Room temperature for better mixing. |
| Vanilla Extract | 1 teaspoon (5ml) | Adds flavor without sugar. |
| Almond Flour | 1 cup (100g) | For crust; gluten-free option. |
| Butter | ¼ cup (60g) | Melted, for crust binding. |
- Tip: If you’re lactose intolerant, use lactose-free cream cheese for the filling.
- Tip: Ensure all ingredients are at room temperature for a smoother batter.
- Warning: Avoid overmixing to prevent cracks in the cheesecake.
Essential Kitchen Equipment
To create a diabetic-friendly cheesecake, having the right kitchen tools will streamline the process and ensure consistent results. Here’s a rundown of the essential equipment you’ll need, along with some tips on choosing the best baking pans.
- Mixing Tools: A sturdy mixing bowl (at least 4-quart capacity) is essential for combining your ingredients. Use a hand mixer or a stand mixer fitted with a paddle attachment for creamy consistency. Mix until the batter is smooth and free of lumps, which usually takes about 2-3 minutes on medium speed.
- Spatula: A silicone spatula is perfect for scraping down the sides of the bowl and folding in ingredients. This ensures everything is well combined without overmixing, which can result in a dense cheesecake.
- Baking Pan Options: A 9-inch springform pan is ideal for cheesecakes as it allows for easy removal of the cake without damaging it. If you don’t have a springform pan, a 9-inch round cake pan lined with parchment paper will also work. Just make sure the edges are well-greased to prevent sticking.
- Measuring Tools: Accurate measurements are crucial for baking. Invest in a set of dry and liquid measuring cups, as well as measuring spoons. Precision will help you achieve the perfect texture and flavor.
- Cooling Rack: After baking, let your cheesecake cool completely on a wire cooling rack. This helps prevent condensation and keeps the crust crisp. It typically takes about 1-2 hours to cool at room temperature.
Step-by-Step Cheesecake Instructions
This section provides you with clear, step-by-step instructions for preparing a delicious diabetic-friendly cheesecake. By following these detailed guidelines, you can ensure that your cheesecake is not only satisfying but also fits within a diabetic diet.
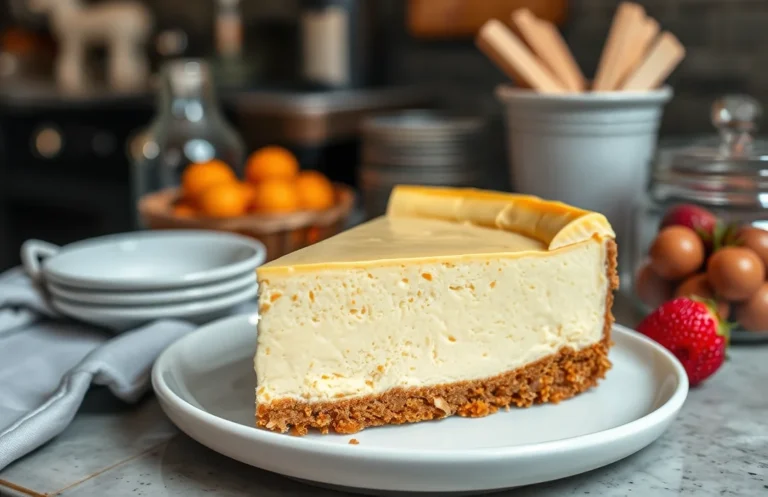
- Mixing the Base: Start by preheating your oven to 325°F (160°C). In a medium bowl, combine 1 ½ cups (150g) almond flour, 2 tablespoons of melted coconut oil, and 2 tablespoons of a sugar substitute like erythritol. Mix until the consistency resembles wet sand. Press this mixture firmly into the bottom of a 9-inch (23 cm) springform pan, making sure it’s even. Bake the crust for 10 minutes until lightly golden. Let it cool while you prepare the filling.
- Preparing the Filling: In a large mixing bowl, beat 16 ounces (450g) of cream cheese (softened), ½ cup (120ml) sour cream, and ½ cup (100g) erythritol until smooth. Use an electric mixer on medium speed for about 2-3 minutes until the mixture is creamy and free of lumps. Scrape down the sides of the bowl to ensure everything is well combined. You should smell the rich creaminess of the mixture by now.
- Baking the Cheesecake: Add 3 large eggs and 1 teaspoon of vanilla extract to the cream cheese mixture. Mix on low speed until just combined—do not overbeat. Pour this filling over the cooled crust in the springform pan. Bake for 50-60 minutes, or until the edges are set and the center slightly jiggles. The top should look lightly golden. Do not open the oven door during the first 30 minutes to prevent cracks.
- Cooling Time: Once baked, turn off the oven and crack the door open, allowing the cheesecake to cool slowly for about 1 hour. This step helps prevent cracking. Afterward, transfer the cheesecake to the fridge and chill for at least 4 hours or overnight. The texture should be firm yet creamy when you slice into it.
Pro Tips and Common Mistakes
Making a diabetic-friendly cheesecake can be both rewarding and challenging. Here, I’ll share essential tips to achieve the perfect texture and flavor while avoiding common pitfalls to ensure that your cheesecake is both delicious and suitable for diabetics.
Texture Troubles
- Don’t overmix the batter: Overmixing can lead to a dense and rubbery texture. Mix until just combined, allowing some lumps for a creamy cheesecake.
- Use room temperature ingredients: Ingredients like cream cheese, eggs, and sour cream should be at room temperature. This helps achieve a smooth, lump-free filling that bakes evenly.
- Check baking time: Overbaking can lead to cracks and a dry texture. The cheesecake should be set around the edges but slightly jiggly in the center. This will firm up as it cools.
Flavor Enhancements
- Add a citrus zest: A teaspoon of lemon or orange zest can brighten the flavor without adding sugar. This gives your cheesecake a refreshing twist.
- Consider natural sweeteners: Using erythritol or stevia can help maintain sweetness without affecting blood sugar levels. Adjust quantities according to the sweetness level of your chosen sweetener.
- Incorporate flavor extracts: A splash of vanilla extract or almond extract can enhance the overall flavor profile. Just a teaspoon will do, so start small and adjust to your taste.
Variations and Substitutions
This section highlights various delicious adaptations of cheesecake recipes suitable for diabetics, along with alternatives for those with dietary restrictions like gluten intolerance or vegan preferences. These variations allow you to enjoy cheesecake without compromising on flavor or your health needs.
Different Flavors
- Chocolate Cheesecake: Replace 1 cup of cream cheese with 1 cup of silken tofu blended with ¼ cup unsweetened cocoa powder for a rich chocolate flavor.
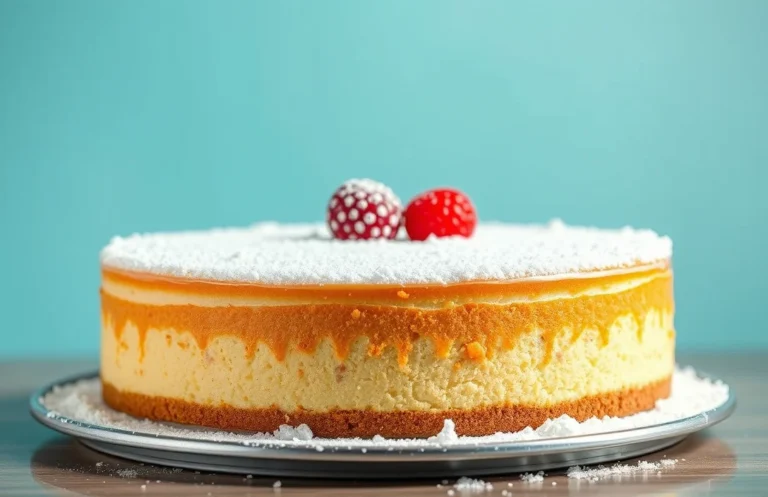
- Berry Swirl Cheesecake: Fold in ½ cup of pureed no-sugar-added berries (like strawberries or raspberries) into the filling for a fruity twist.
- Matcha Cheesecake: Add 2 teaspoons of matcha powder to the cream cheese mixture for a unique flavor and vibrant green color.
Crust Alternatives
Choosing the right crust can make a significant difference in both taste and health benefits. Here are some diabetic-friendly crust options:
- Almond Flour Crust: Combine 1 ½ cups almond flour, 3 tablespoons melted coconut oil, and 2 tablespoons erythritol. Press firmly into the bottom of your pan and bake at 350°F (175°C) for 10 minutes until golden.
- Oatmeal Cookie Crust: Mix 1 cup of gluten-free oats with ¼ cup of melted coconut oil and 2 tablespoons of honey. Press into the pan and bake at 350°F (175°C) for 8-10 minutes.
- Nut Crust: Blend 1 cup of mixed nuts (like walnuts and pecans) with 2 tablespoons of erythritol and 3 tablespoons of unsalted butter. Bake at 350°F (175°C) for 10 minutes.
Chef’s tip: Allow your crust to cool completely before adding the cheesecake filling to prevent it from becoming soggy.
| Ingredient | Measurement |
|---|---|
| Almond Flour Crust | 1 ½ cups |
| Melted Coconut Oil | 3 tablespoons |
| Erythritol | 2 tablespoons |
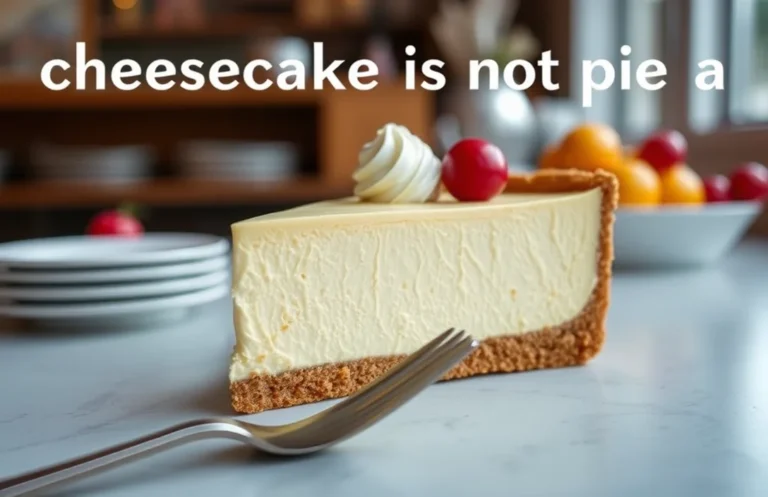
Serving and Plating Ideas
Serving diabetic cheesecake creatively can enhance both its appeal and enjoyment. Thoughtful presentation and the right flavor pairings not only make the dessert more inviting but also help manage portion sizes, which is crucial for a diabetic diet.
Pairing with Fruits
- Fresh Berries: Top your cheesecake with a mix of ½ cup sliced strawberries, ½ cup blueberries, and ½ cup raspberries for a burst of flavor and antioxidants.
- Peaches or Pears: Thinly slice one medium peach or pear (about 150g) and arrange it beautifully on the cheesecake for a sweet, juicy contrast.
- Citrus Zest: Add a sprinkle of lemon or orange zest to brighten the flavors and create a refreshing finish.
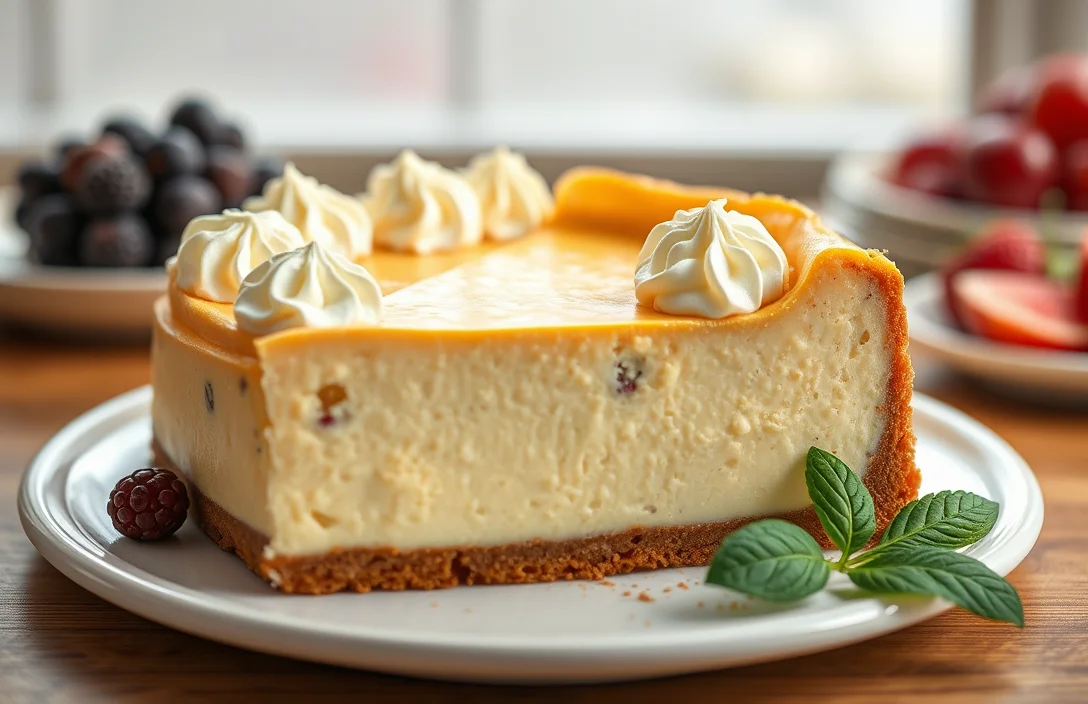
Garnishing Techniques
Garnishing your cheesecake not only elevates its visual appeal but also adds complementary flavors. Here are some ideas:
- Mint Leaves: A few fresh mint leaves can add a pop of color and a refreshing note.
- Dark Chocolate Shavings: Use 1 tablespoon of finely grated dark chocolate (70% cocoa or higher) for a rich touch that won’t spike blood sugar levels significantly.
- Nuts: Sprinkle 1 tablespoon of crushed walnuts or almonds for added texture and healthy fats.
Chef’s tip: Slice cheesecake using a warm knife for clean cuts. Dip the knife in hot water, wipe it dry, and then slice!
| Fruit/Garnish | Serving Size | Benefits |
|---|---|---|
| Berries | ½ cup | Low in sugar, high in fiber |
| Pears | 1 medium | Good source of fiber |
| Dark Chocolate | 1 tablespoon | Rich in antioxidants |
Quick Recipe Summary
This summary provides a quick glance at what diabetics should consider when enjoying cheesecake, including key ingredients and cooking times for diabetic-friendly recipes. Understanding these elements can help you create or choose a cheesecake that fits well within a diabetic diet without sacrificing flavor.
Key Ingredients
- 1½ cups almond flour (150g) for the crust
- 2 tablespoons unsweetened cocoa powder (15g) for added flavor
- ½ cup granulated erythritol (100g) as a sugar substitute
- 1 teaspoon vanilla extract (5ml) for aroma
- 16 ounces cream cheese (450g) at room temperature
- ½ cup Greek yogurt (120g) for creaminess
- 3 large eggs for binding
- Zest of 1 lemon for brightness
Cooking Times
| Task | Time |
|---|---|
| Prep Time | 15 minutes |
| Bake Time | 45-50 minutes at 325°F (160°C) |
| Cooling Time | 2 hours before serving |
Pro Tip: Allow the cheesecake to cool completely in the oven with the door ajar to prevent cracking.
Keep in mind that when substituting ingredients, such as using low-fat cream cheese or different sweeteners, the texture and flavor may vary. Always taste as you go to adjust sweetness levels according to your preference.
Quick Summary
| Prep Time | 15 minutes |
|---|---|
| Cook Time | 50 minutes |
| Total Time | 1 hour 5 minutes |
| Servings | 8 |
- Use low-carb sweeteners: Opt for erythritol or stevia to keep sugar levels in check.
- Choose full-fat cream cheese: It helps achieve a rich texture without excess carbs.
- Monitor baking temperature: Bake at 325°F (163°C) for even cooking.
- Cool gradually: Let the cheesecake cool in the oven to prevent cracks.
- Chill before serving: Refrigerate for at least 4 hours for best flavor and texture.
Frequently Asked Questions
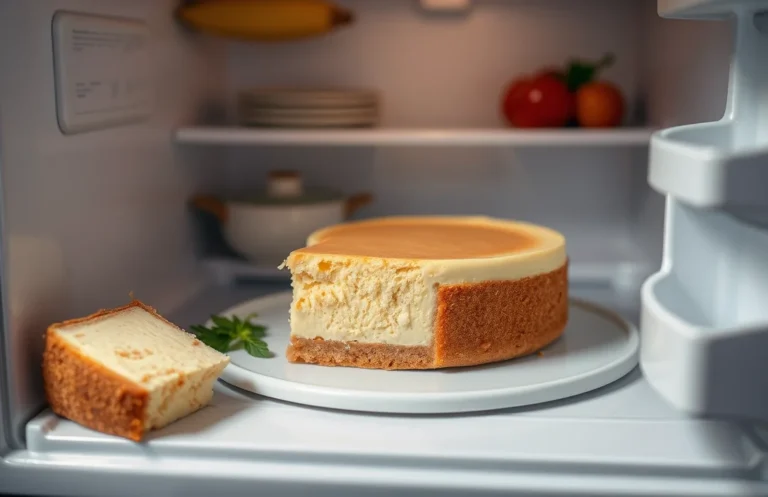
Can I make this ahead of time? How to store and reheat?
You can absolutely make cheesecake ahead of time; it actually tastes better after chilling for at least 4-6 hours or overnight. Store it in the refrigerator, covered tightly with plastic wrap, and it should last for about 5 days.
What can I substitute for sugar in this cheesecake recipe?
You can substitute sugar with stevia or erythritol, which are both great options for diabetics. Use them in a 1:1 ratio to replace sugar in the recipe.
How do I know when my cheesecake is done?
Your cheesecake is done when the edges are set but the center still has a slight jiggle; it should look slightly puffed and not liquidy. It will continue to firm up as it cools, so don’t overbake!
Can I freeze this cheesecake? How long does it last?
Yes, you can freeze cheesecake for up to 2-3 months if properly wrapped in plastic wrap and aluminum foil. Thaw it in the fridge overnight before serving for the best texture.
What if I don’t have a springform pan?
If you don’t have a springform pan, you can use a 9-inch round cake pan instead, but be sure to line it with parchment paper for easier removal. Just let the cheesecake cool completely before trying to take it out.

- 10 Best Cheese Knife With Holes For Smooth Slice 2026 - March 9, 2026
- Make Cheesecake Up to 3 Days Ahead: Tips for Best Flavor & Texture - March 4, 2026
- Easy No-Bake Cool Doen Cheesecake: Quick Recipe & Tips - March 4, 2026