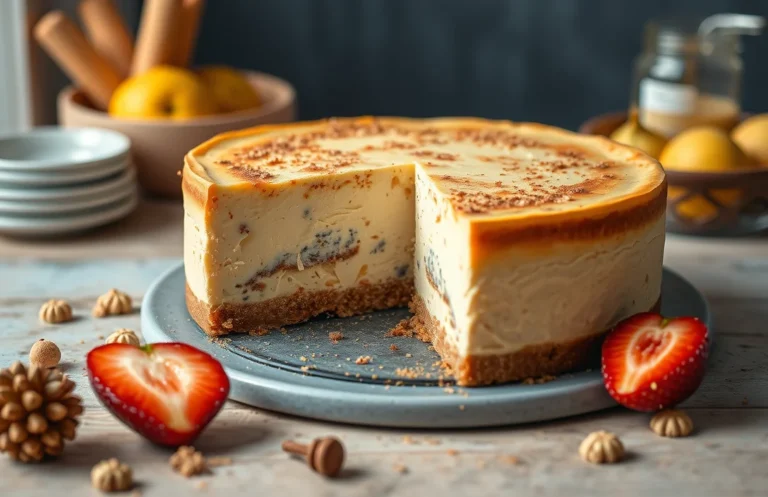
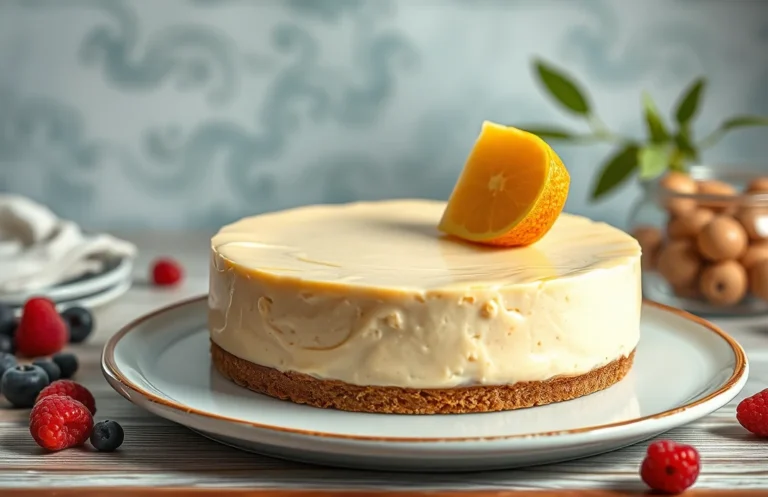
Diabetic-Friendly Cheesecake Recipes: Sweet Treats Under 5g Sugar
If you think cheesecake is off-limits for diabetics, think again! This creamy, dreamy dessert can be tailored to fit a diabetic-friendly diet without sacrificing flavor. Imagine slicing into a velvety cheesecake that’s not just indulgent but also kind to your blood sugar levels. It’s the perfect treat for any occasion, whether it’s a weeknight dessert or a special celebration.
Prepare to enjoy a delicious diabetic-friendly cheesecake in just 30 minutes of prep and 45 minutes of baking time, serving 8 people with a medium difficulty level.
| Prep Time | Cook Time | Total Time | Servings | Difficulty |
|---|---|---|---|---|
| 30 minutes | 45 minutes | 1 hour 15 minutes | 8 | Medium |
History of Cheesecake
Cheesecake has a rich history that spans across various cultures and centuries, making it a beloved dessert worldwide. Understanding its origins not only highlights its significance but also helps in adapting traditional recipes for dietary needs, such as those for diabetics.
- Ancient Greece: The earliest known cheesecake dates back to ancient Greece, where it was served to athletes during the first Olympic Games in 776 B.C. Made with simple ingredients like cheese and honey, it was both a nutritional source and a celebratory dish.
- Roman Influence: The Romans adapted the Greek cheesecake, adding ingredients like eggs and baking it. This version spread throughout their empire, influencing various regions and leading to local adaptations.
- European Variations: In Europe, cheesecake evolved into numerous regional forms. For instance, the Italian ricotta cheesecake and the German Käsekuchen are both rich in flavor yet distinct in texture and ingredients, showcasing how local tastes shape a beloved classic.
- Modern American Cheesecake: The New York-style cheesecake, created in the early 20th century, has become iconic. It features a creamy texture made from cream cheese, and its popularity has led to countless variations, some of which can be adapted for diabetic diets.
Knowing the history of cheesecake allows modern cooks to appreciate its versatility and find ways to create delicious diabetic-friendly versions that maintain the essence of this timeless dessert.
Ingredients for Diabetic Cheesecake
In this section, we’ll break down the essential ingredients for a diabetic-friendly cheesecake that satisfies your sweet tooth without compromising your health. Choosing the right components is crucial for keeping the sugar content low while ensuring a delicious outcome.
| Item | Amount/Specification | Notes |
|---|---|---|
| Cream Cheese | 16 ounces (450g) | Use low-fat or full-fat, softened |
| Sour Cream | 1 cup (240g) | Can substitute with Greek yogurt |
| Granulated Sweetener | ¾ cup (150g) | Use erythritol or stevia for low-carb option |
| Vanilla Extract | 1 teaspoon (5ml) | For added flavor |
| Eggs | 3 large | Room temperature for better mixing |
| Almond Flour (for crust) | 1 ½ cups (150g) | Low-carb alternative to traditional crust |
| Butter (for crust) | ½ cup (115g) | Melted, unsalted |
- For a nut-free crust, consider using crushed sugar-free cookies or a mixture of oat flour and butter.
- Ensure all ingredients are at room temperature to help achieve a smooth filling.
- When mixing the cream cheese, use a hand mixer at medium speed to avoid over-aerating, which can cause cracks in the cheesecake.
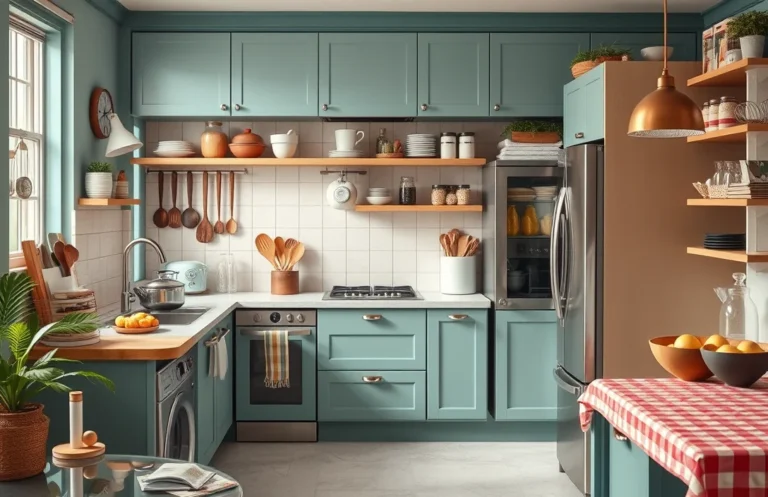
Essential Kitchen Tools
When preparing a diabetic-friendly cheesecake, having the right kitchen tools can make the process smoother and more enjoyable. Below are the essential tools you’ll need to create a delicious cheesecake that fits within a diabetic diet.
- Mixing Bowls: Invest in a set of mixing bowls in various sizes. For cheesecake, a large mixing bowl (at least 3-quart capacity) is ideal for combining the cream cheese and sweeteners. Choose glass or stainless steel for easy cleaning and durability. Ensure the bowl is wide enough to allow for easy mixing without splatters.
- Springform Pan: A 9-inch springform pan is essential for cheesecake. This type of pan allows for easy removal of the cheesecake without damaging its shape. Look for one with a sturdy latch that seals well to prevent leaks. Line the bottom with parchment paper for additional non-stick assurance.
- Electric Mixer: A hand or stand mixer is a must for achieving a smooth and creamy cheesecake filling. Use a hand mixer for ease and portability, or a stand mixer if you’re preparing larger batches. Start mixing on low speed to avoid splatters, gradually increasing to medium speed until the mixture is smooth and fluffy, which should take about 3-5 minutes.
Chef’s tip: Always ensure your cream cheese is at room temperature before mixing to prevent lumps and achieve a silky texture.
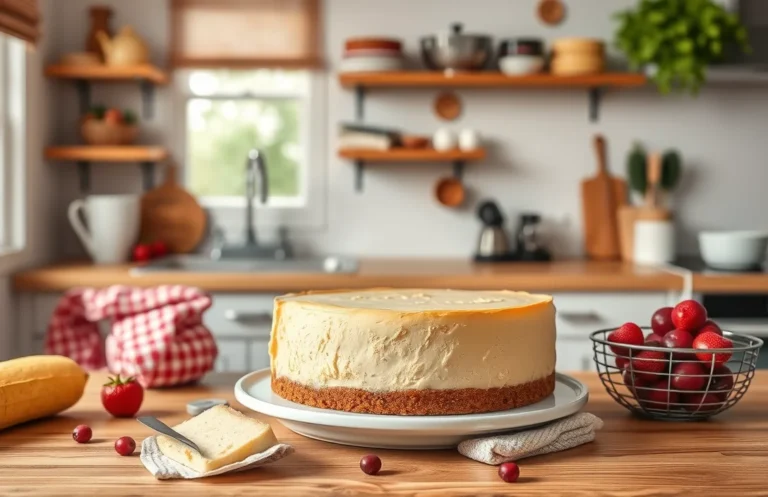
Step-by-Step Cheesecake Instructions
Making a cheesecake that is delicious yet suitable for a diabetic diet is entirely possible. This section will guide you through preparing a low-sugar cheesecake crust and filling, ensuring you can create a dessert that’s both satisfying and mindful of health needs.
- Preparing the Crust: Preheat your oven to 350°F (175°C). In a medium bowl, combine 1 cup of almond flour (100g) and 2 tablespoons of melted coconut oil. Mix until the texture resembles wet sand. Press this mixture firmly into the bottom of a 9-inch springform pan and bake for 10-12 minutes until lightly golden and fragrant. Let it cool while preparing the filling.
- Mixing the Filling: In a large mixing bowl, beat 16 ounces (450g) of cream cheese at room temperature until smooth, about 2-3 minutes. Gradually add ½ cup of erythritol (or your preferred sugar substitute) and continue to mix until well combined. Incorporate 3 large eggs, one at a time, mixing on low speed to avoid incorporating too much air, which can lead to cracks during baking.
- Baking Process: Pour the cheesecake filling over the cooled crust and smooth the top with a spatula. Bake in the preheated oven for 45-50 minutes, or until the edges are set but the center still has a slight jiggle. You should see a light golden color around the edges. Do not open the oven door during the first 30 minutes to maintain temperature stability. Once done, allow the cheesecake to cool in the oven with the door slightly ajar for about an hour before refrigerating for at least 4 hours or overnight.
Pro Tips for Perfect Cheesecake
To create a cheesecake that is not only delicious but also suitable for diabetics, it’s essential to follow some expert tips. These will help you avoid common pitfalls, enhance flavors, and ensure your cheesecake has the perfect texture without unwanted cracks.
- Avoid Cracks: To prevent cracks in your cheesecake, always bake it in a water bath. Wrap your springform pan with aluminum foil to keep water out. This method helps maintain a consistent temperature, resulting in a smooth surface. Additionally, bake at a lower temperature of 325°F (160°C) and turn off the oven once the edges are set but the center still jiggles slightly.
- Cooling Techniques: After baking, allow your cheesecake to cool gradually in the oven with the door ajar for about 1 hour. This prevents sudden temperature changes that can cause cracks. Once at room temperature, refrigerate for at least 4 hours or overnight. A well-chilled cheesecake will be easier to slice and serve.
- Flavor Enhancements: For a diabetic-friendly cheesecake, use natural sweeteners like erythritol or monk fruit instead of sugar. Incorporate flavor extracts, such as vanilla or almond, to elevate the taste without added calories. You can also add a zest of lemon or orange for a refreshing twist without compromising blood sugar levels.
Cheesecake Variations
Exploring cheesecake variations can be a delightful way to accommodate dietary needs, especially for those managing diabetes. With thoughtful substitutions and flavor infusions, you can enjoy a delicious cheesecake while keeping blood sugar levels in check.
Gluten-Free Options
For a gluten-free cheesecake, swap traditional graham cracker crust for a nut-based crust. Here’s a simple recipe:
- 1 cup almond flour (96g)
- 2 tablespoons coconut oil (melted)
- 2 tablespoons erythritol sweetener
- Preheat your oven to 350°F (175°C).
- In a bowl, combine almond flour, melted coconut oil, and erythritol. Mix until crumbly.
- Press the mixture firmly into the bottom of a 9-inch springform pan.
- Bake for 10 minutes until lightly golden. Let it cool completely before adding the filling.
Vegan Alternatives
If you’re looking for a vegan cheesecake, consider using cashews as a base. Here’s a quick recipe:
- 1 ½ cups raw cashews (soaked for 4 hours)
- ½ cup coconut cream (120ml)
- ⅓ cup maple syrup or agave syrup
- 1 teaspoon vanilla extract
- Drain and rinse the soaked cashews.
- In a blender, combine cashews, coconut cream, maple syrup, and vanilla extract. Blend until smooth and creamy.
- Pour over the cooled crust and refrigerate for at least 4 hours to set.
Flavor Infusions
To add unique flavors without increasing sugar, consider these infusion ideas:
- 1 tablespoon lemon zest for a fresh citrus twist.
- 1 teaspoon almond extract for a nutty flavor.
- 2 tablespoons cocoa powder for a chocolate cheesecake.
Chef’s tip: Always taste the filling before pouring it into the crust to adjust flavors according to your preference.
| Ingredient | Amount |
|---|---|
| Almond Flour | 1 cup (96g) |
| Coconut Oil | 2 tablespoons |
| Erythritol Sweetener | 2 tablespoons |
| Raw Cashews | 1 ½ cups |
| Coconut Cream | ½ cup (120ml) |
| Maple Syrup | ⅓ cup |
With these variations, you can enjoy a cheesecake that aligns with your dietary needs without sacrificing flavor. Remember, the key is to experiment and find what works best for you!
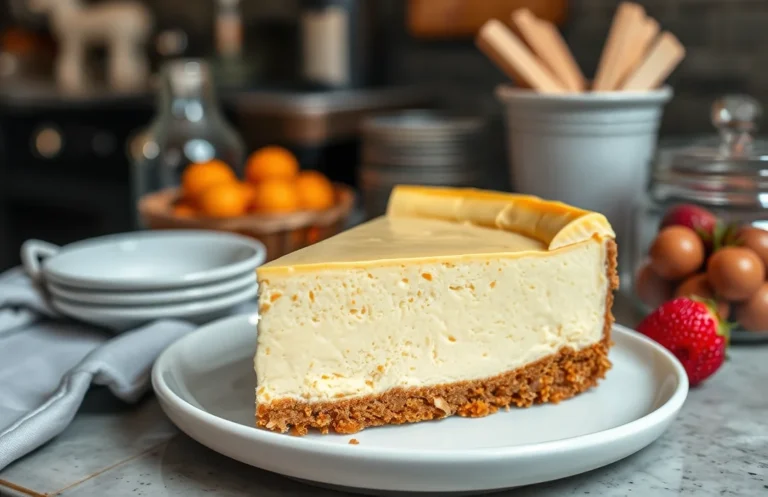
Serving and Plating Ideas
Presenting your diabetic-friendly cheesecake is just as important as the taste itself. Thoughtful garnishes and pairings can elevate the experience, making it not only visually appealing but also more enjoyable. Here are some ideas to enhance your cheesecake presentation.
Garnishes
- Fresh Berries: Top your cheesecake with a mix of fresh strawberries, blueberries, or raspberries. They add a pop of color and a touch of natural sweetness without significantly impacting blood sugar levels.
- Mint Leaves: A few sprigs of fresh mint can brighten up your plate and add a refreshing aroma. Place them artfully next to the cheesecake slice for a touch of elegance.
- Dark Chocolate Shavings: If your cheesecake recipe allows, sprinkle a few dark chocolate shavings on top for a decadent finish. Choose chocolate with at least 70% cocoa for lower sugar content.
Serving Temperature
- Chilled: Cheesecake is best served chilled. Allow it to cool at room temperature for about 1 hour after baking, then refrigerate for at least 4 hours (or overnight) before serving. This enhances the texture and flavor.
- Room Temperature: For a softer texture, let the cheesecake sit at room temperature for about 15-30 minutes before serving. This allows the flavors to bloom and makes it easier to slice.
Drink Pairings
- Herbal Tea: A warm cup of chamomile or peppermint tea complements the richness of cheesecake while being caffeine-free and diabetic-friendly.
- Sparkling Water: Serve your cheesecake with a glass of sparkling water infused with lemon or cucumber for a refreshing contrast.
- Unsweetened Almond Milk: This alternative offers a creamy texture without added sugars, making it a great pairing for cheesecake.
Quick Summary
| Prep Time | 20 minutes |
|---|---|
| Cook Time | 50 minutes |
| Total Time | 1 hour 10 minutes |
| Servings | 8 |
- Choose the right sweetener: Use a low-carb sweetener like erythritol or stevia.
- Monitor crust ingredients: Opt for almond flour for a low-carb crust.
- Bake at 325°F: This temperature helps prevent cracks.
- Cool gradually: Let the cheesecake cool in the oven to avoid sudden temperature changes.
- Chill before serving: Refrigerate for at least 4 hours for best texture.
- Portion wisely: Serve in small slices to manage carb intake effectively.
Frequently Asked Questions
Can I make this cheesecake ahead of time? How do I store and reheat it?
You can absolutely make this cheesecake ahead of time; in fact, it often tastes better after a day in the fridge. Store it in an airtight container in the refrigerator for up to 5 days, and avoid reheating as it’s best served chilled.
What can I substitute for sugar in cheesecake for a diabetic-friendly option?
You can substitute regular sugar with erythritol or stevia, which are both low-calorie sweeteners that don’t spike blood sugar levels. Just make sure to adjust the quantity according to the specific sweetener’s conversion chart.
How do I know when my cheesecake is done baking?
Your cheesecake is done when the edges are set, but the center still has a slight jiggle; this usually takes about 45-50 minutes at 325°F (163°C). It will continue to firm up as it cools, so don’t overbake!
Can I freeze this cheesecake? How long does it last?
Yes, you can freeze the cheesecake for up to 3 months if wrapped tightly in plastic wrap and aluminum foil. Just make sure to thaw it in the refrigerator overnight before serving for the best texture.
What if I don’t have a springform pan for the cheesecake?
If you don’t have a springform pan, you can use a regular cake pan lined with parchment paper; just make sure to grease it well. Once cooled, run a knife around the edges to help release the cheesecake when you’re ready to serve.

- Make Cheesecake Up to 3 Days Ahead: Tips for Best Flavor & Texture - March 4, 2026
- Easy No-Bake Cool Doen Cheesecake: Quick Recipe & Tips - March 4, 2026
- Decadent Dulce de Leche Cheesecake: Easy Step-by-Step Recipe - March 4, 2026