How Much Protein is in Cheesecake? Recipes & Comparisons Inside!
Cheesecake is that dreamy dessert that brings a smile to anyone’s face. With its creamy texture and rich flavors, it’s the perfect indulgence for a weeknight treat or a special gathering. Imagine sinking your fork into a slice that’s both velvety and satisfying—it’s pure bliss!
Curious about your favorite dessert’s nutritional profile? You’ll learn about the protein content in various types of cheesecake, along with some high-protein cheesecake recipes that don’t skimp on flavor. Expect to spend 30 minutes prepping and 1 hour baking for a delightful result!
| Prep Time | Cook Time | Total Time | Servings | Difficulty |
|---|---|---|---|---|
| 30 minutes | 1 hour | 1 hour 30 minutes | 8 servings | Easy |
Cheesecake Origins and Significance
Understanding the origins of cheesecake not only deepens our appreciation for this beloved dessert but also highlights its varied cultural significance throughout history. Cheesecake has evolved from ancient recipes to modern indulgences, each with its unique twist and flavor profile.
Historical Background
Cheesecake dates back to ancient Greece, where it was considered a nutritious food for athletes. The earliest recorded cheesecake recipe was found in the book “De Re Coquinaria” by the Roman gourmet Apicius. Over the centuries, cheesecake recipes spread across continents, adapting to local tastes and ingredients.
- Ancient Greece: Served to athletes during the first Olympic Games.
- Roman Era: Made with fresh cheese, flour, and honey.
- Middle Ages: Evolved into various forms across Europe, including the use of ricotta in Italy.
- Modern Day: The New York-style cheesecake became popular in the 20th century, featuring cream cheese for a rich, dense texture.
Cultural Variations
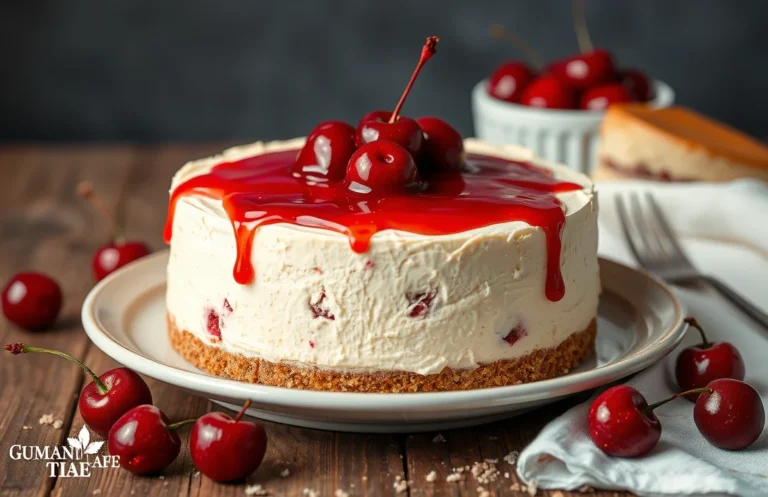
Cheesecake has numerous variations worldwide, each reflecting local ingredients and traditions:
- Japanese Cheesecake: Light and fluffy, made with soufflé techniques, often served chilled.
- Italian Ricotta Cheesecake: Made with ricotta cheese, offering a lighter, more delicate texture.
- German Käsekuchen: Uses quark cheese, producing a distinct tanginess.
“Every culture has its interpretation of cheesecake, showcasing the universal love for this creamy delight.”
As cheesecake has evolved, so has its nutritional profile. In the upcoming section, we’ll explore whether cheesecake is high in protein, comparing different recipes and their ingredients.
Protein Content in Cheesecake
Understanding the protein content in cheesecake can help you determine how this delicious dessert fits into your nutritional goals. Cheesecake varies widely in protein content depending on the ingredients used and the type of cheesecake prepared.
Protein per Serving
On average, a standard slice of traditional New York-style cheesecake (approximately 1 slice or 1/12 of a 9-inch cake) contains around 6-8 grams of protein. Here’s a breakdown of protein content in different types of cheesecake:
- New York-Style Cheesecake: 7 grams of protein per slice
- Ricotta Cheesecake: 9 grams of protein per slice
- No-Bake Cheesecake: 5 grams of protein per slice
- Chocolate Cheesecake: 6 grams of protein per slice
- Vegan Cheesecake: 4 grams of protein per slice (often made with tofu or cashews)
Comparison of Types
| Type of Cheesecake | Protein Content (per slice) |
|---|---|
| New York-Style | 7 grams |
| Ricotta | 9 grams |
| No-Bake | 5 grams |
| Chocolate | 6 grams |
| Vegan | 4 grams |
As you can see, ricotta cheesecake tends to have the highest protein content, while vegan options usually contain less. When making cheesecake at home, consider incorporating protein-rich ingredients like Greek yogurt or cottage cheese to boost the nutritional profile.
Chef’s tip: To enhance the protein content of your cheesecake, try adding a scoop of protein powder to the batter for an extra protein boost!
Ingredient List for Cheesecake
This section provides a comprehensive list of ingredients for a classic cheesecake, focusing on their individual contributions to the protein content of the dish. Understanding the protein levels in each ingredient helps you make informed choices when preparing a cheesecake that meets your dietary needs.
| Item | Amount/Specification | Notes |
|---|---|---|
| Cream Cheese | 24 ounces (680g) | Full-fat cream cheese provides about 6 grams of protein per ounce. |
| Sour Cream | 1 cup (240g) | Offers around 4 grams of protein per cup. |
| Granulated Sugar | 1 cup (200g) | No protein content, but balances flavors. |
| Eggs | 3 large | Each egg contains about 6 grams of protein. |
| Vanilla Extract | 2 teaspoons | Enhances flavor, minimal protein. |
| Graham Cracker Crumbs | 1 ½ cups (150g) | About 2 grams of protein per serving. |
| Butter | ½ cup (113g) | Provides richness, no protein content. |
- For a lower-fat option, you can substitute reduced-fat cream cheese; however, it may slightly alter the texture.
- Consider adding Greek yogurt instead of sour cream for a higher protein content.
- Always let your cream cheese soften at room temperature for about 30 minutes to ensure a smooth batter.
Essential Kitchen Equipment
To make a delicious cheesecake that’s not only creamy but also high in protein, having the right kitchen tools is essential. The right equipment will help you achieve the perfect texture and flavor while ensuring that you can mix and bake with ease. Here’s what you’ll need to get started.
- Springform pan: A 9-inch springform pan is ideal for cheesecakes. It allows for easy removal of the cake without damaging its delicate crust. Make sure to grease the sides lightly to prevent sticking.
- Mixing bowls: You’ll need at least two mixing bowls—one for the crust ingredients and another for the cheesecake filling. Use a large bowl for the filling to give you enough space for mixing without spilling.
- Electric mixer: A hand mixer or stand mixer is crucial for achieving a smooth and creamy filling. Mix the cream cheese and sugar on medium speed until the mixture is light and fluffy, about 2-3 minutes.
- Rubber spatula: Use a rubber spatula for folding in ingredients gently. This is particularly important when incorporating whipped cream or egg whites into the filling to maintain volume.
- Measuring cups and spoons: Accurate measurements are key in baking. Ensure you have a set of dry measuring cups for solids and liquid measuring cups for liquids. This will help you get the right quantities for the crust and filling.
- Food processor: If you’re making a crumb crust, a food processor will save you time by quickly blending graham crackers or cookies into fine crumbs. Aim for a texture similar to sand.
- Oven thermometer: Invest in an oven thermometer to ensure your oven is at the correct temperature (usually 325°F or 163°C for baking cheesecakes). This helps prevent overcooking or undercooking.
Step-by-Step Cheesecake Recipe
This section will guide you through the mixing and baking process of your cheesecake, ensuring you understand each step and its impact on the protein content. A well-executed cheesecake can be a delicious, protein-packed dessert, so let’s get started!
Ingredients
- 2 cups (480ml) cream cheese, softened
- 1 cup (200g) granulated sugar
- ½ cup (120ml) sour cream
- ½ cup (120ml) heavy cream
- 3 large eggs
- 1 teaspoon vanilla extract
- 1 cup (100g) graham cracker crumbs
- ¼ cup (60g) unsalted butter, melted
- Preheat your oven to 325°F (160°C). This ensures the cheesecake bakes evenly and helps set the structure, which is crucial for maintaining protein integrity.
- Mix the crust by combining 1 cup of graham cracker crumbs and ¼ cup of melted butter in a bowl. Press this mixture firmly into the bottom of a 9-inch springform pan, creating an even layer that should feel compact and slightly sticky.
- Bake the crust for 10 minutes until lightly golden. This step allows the crust to set, which will help it hold the filling later. You should notice a buttery aroma wafting through your kitchen.
- Prepare the filling by beating 2 cups of softened cream cheese in a large mixing bowl with an electric mixer on medium speed until smooth and creamy, about 2 minutes. The mixture should look fluffy and pale yellow with no lumps.
- Add sugar gradually, followed by ½ cup of sour cream and ½ cup of heavy cream. Mix until fully incorporated, which should take about 1-2 minutes. The filling should be thick yet pourable; taste for sweetness!
- Incorporate the eggs one at a time, mixing on low speed. Each egg should be fully blended before adding the next. This technique helps maintain a smooth texture and a light, airy finish.
- Pour the filling over the baked crust, smoothing the top with a spatula. Ensure there are no air bubbles in the mixture for a creamy texture; if you see any, gently tap the pan on the counter to release them.
- Bake the cheesecake for 50-60 minutes. The edges should be set, while the center will slightly jiggle when you shake the pan. This subtle wobble is ideal for a creamy finish!
- Cool the cheesecake in the oven with the door ajar for about 1 hour, which prevents cracking. Then, refrigerate for at least 4 hours or overnight to allow the flavors to develop and the texture to firm up.
Tips for Perfect Cheesecake
Creating a cheesecake that’s both delicious and high in protein can be a delightful challenge. Understanding texture issues and following specific baking tips will not only enhance your cheesecake but also ensure it meets your nutritional goals.
Texture Issues
- Use room temperature ingredients: For a smooth and creamy texture, all dairy ingredients, especially cream cheese, should be at room temperature. This prevents lumps from forming and allows for easy blending.
- Avoid overmixing: While it may be tempting to whip it hard, overmixing introduces too much air, leading to cracks. Mix just until combined; a few lumps are okay!
- Don’t rush the cooling process: After baking, let your cheesecake cool gradually in the oven with the door slightly ajar for at least 1 hour. This helps to prevent sudden temperature changes that can cause cracks.
Baking Tips
- Use a water bath: To maintain even temperature and moisture, place your cheesecake pan inside a larger baking dish filled with hot water. This method prevents the edges from cooking too quickly.
- Preheat your oven: Set your oven to 325°F (163°C) before baking. A properly preheated oven ensures even cooking throughout the cheesecake.
- Check for doneness: The cheesecake should be set around the edges but slightly jiggly in the center. It will firm up as it cools, so don’t overbake it!
Chef’s tip: For a protein boost, consider incorporating Greek yogurt into your filling for a creamy texture and added protein.
High-Protein Cheesecake Variations
If you’re looking to boost the protein content of your cheesecake without sacrificing flavor or texture, there are several delicious variations you can try. Utilizing ingredients like Greek yogurt and protein powder can significantly enhance the nutritional profile of your dessert while keeping it creamy and satisfying.
Using Greek Yogurt
Greek yogurt is a fantastic substitute for cream cheese in cheesecake recipes. It adds a tangy flavor and a creamy texture while packing a protein punch. Here’s how you can incorporate it:
- Replace 8 ounces of cream cheese with 1 cup (240g) of plain Greek yogurt.
- Mix the Greek yogurt with ½ cup (100g) of granulated sugar until smooth.
- Proceed with your usual cheesecake recipe, ensuring a creamy, high-protein outcome.
Protein Powder Options
Adding protein powder is another effective way to enhance the protein content of your cheesecake. Choose a flavor that complements your recipe, such as vanilla or chocolate. Here’s a simple way to incorporate it:
- For a basic cheesecake recipe, add 1 scoop (30g) of protein powder to the filling mixture.
- Mix it well with the cream cheese or Greek yogurt to avoid clumps.
- Reduce the amount of sugar by 2 tablespoons (25g) to balance the sweetness.
| Ingredient | Protein Content |
|---|---|
| 8 oz Cream Cheese | 14g |
| 1 cup Greek Yogurt | 20g |
| 1 scoop Protein Powder | 20-25g |
Chef’s tip: Always taste the filling before baking to adjust sweetness or flavor!
With these substitutions, you can create a cheesecake that not only satisfies your sweet tooth but also fuels your body with protein. Just remember to adjust the sweetness according to your taste, especially when using Greek yogurt or flavored protein powders.
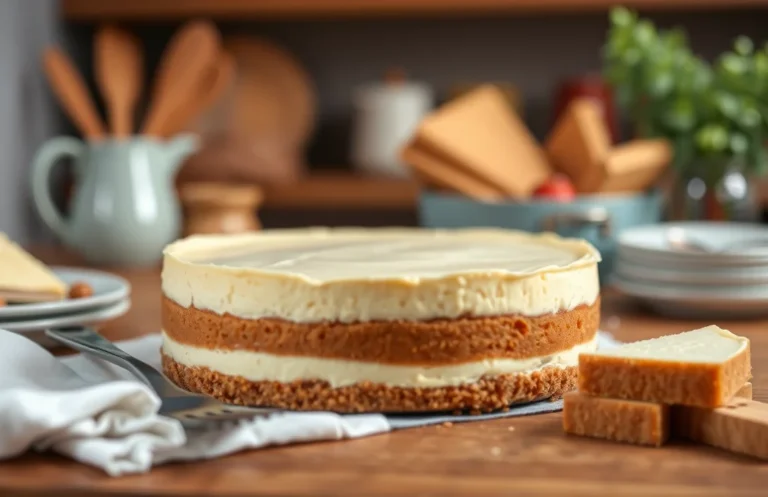
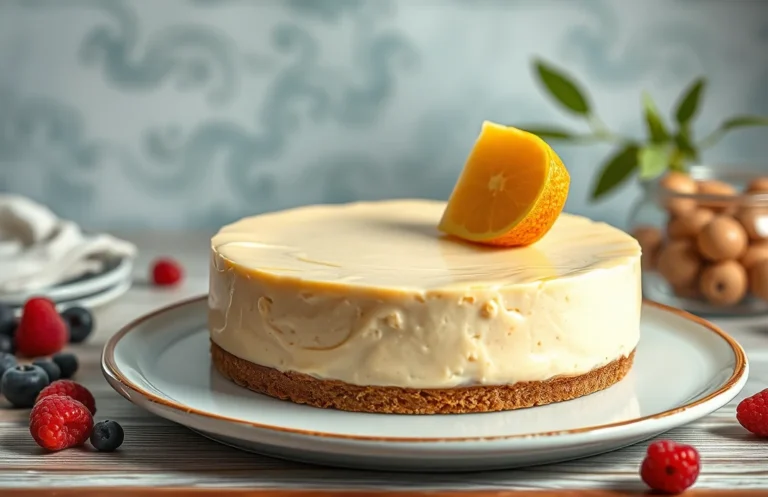
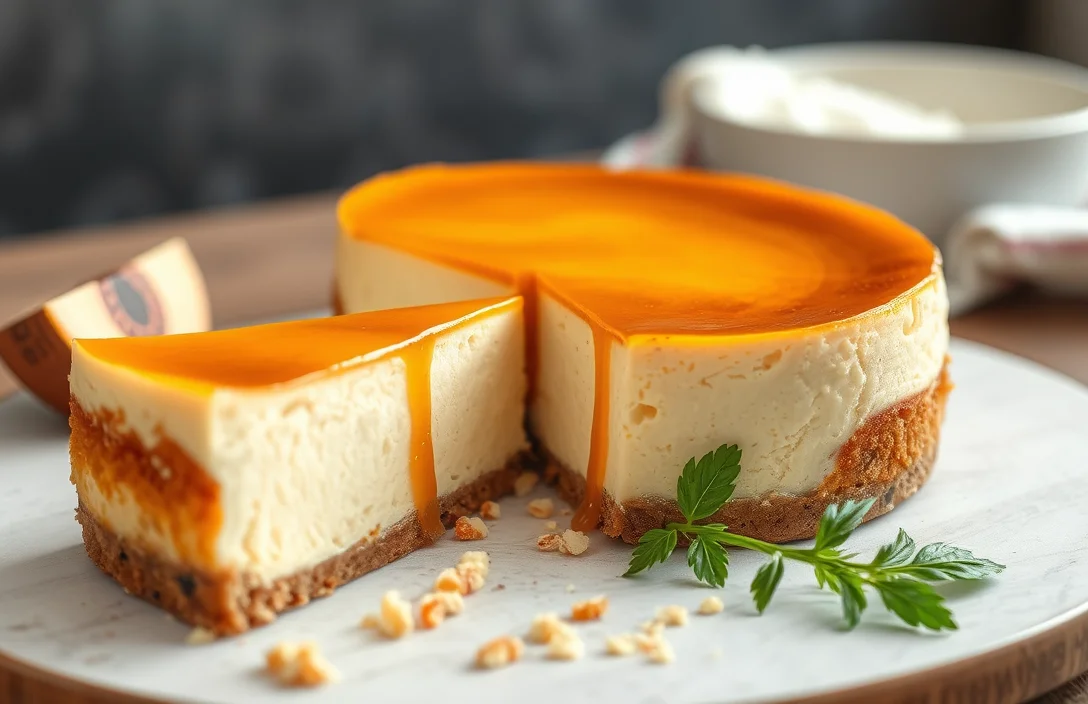
Serving and Plating Ideas
When it comes to serving cheesecake, presentation and pairing are key to enhancing the overall experience. A well-presented cheesecake not only looks inviting but also complements its flavors, especially considering its protein-rich profile that makes it a satisfying dessert.
Presentation Tips
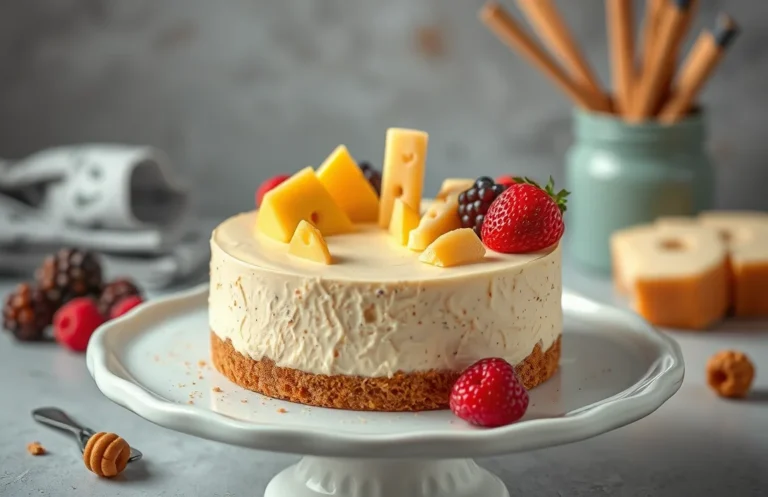
- Use a cake stand or a decorative plate to elevate the cheesecake, making it the centerpiece of your dessert table.
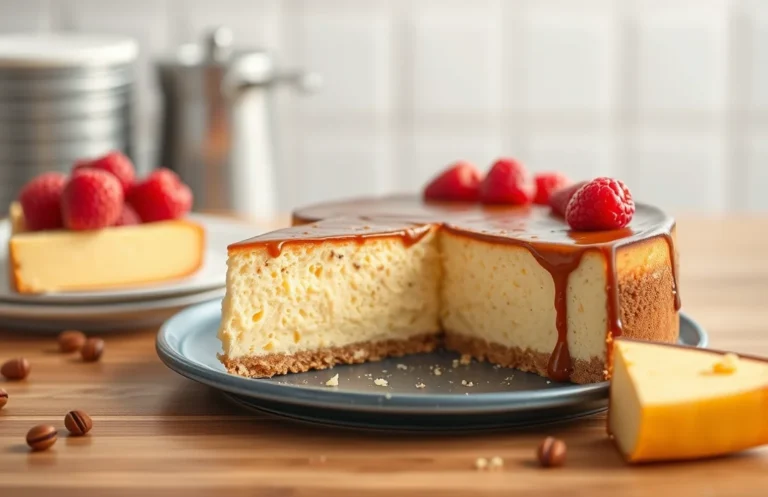
- Garnish with fresh berries, such as raspberries or blueberries, to add vibrant color and a burst of flavor. A handful of berries on top can add a lovely contrast.
- Drizzle a homemade fruit sauce or a chocolate ganache around the plate for an artistic touch. For a protein boost, you can even incorporate Greek yogurt into the sauce.
- Dust the cheesecake with powdered sugar just before serving for an elegant finish.
Drink Pairings
Choosing the right drink can elevate your cheesecake experience. Here are some delicious pairings:
- Coffee: A rich espresso or a creamy latte complements the creaminess of the cheesecake.
- Tea: A light green tea or a floral chamomile tea enhances the dessert without overpowering it.
- Wine: A sweet dessert wine, like Riesling or Moscato, pairs beautifully with the cheesecake’s sweetness.
Pro tip: If you’re serving a high-protein cheesecake, consider a protein shake or smoothie on the side for a fun, health-conscious twist!
Quick Summary
| Prep Time | Cook Time | Total Time | Servings |
|---|---|---|---|
| 15 minutes | 60 minutes | 1 hour 15 minutes | 8 |
- Use high-protein ingredients: Incorporate cream cheese and Greek yogurt for added protein.
- Monitor oven temperature: Bake at 325°F to prevent cracks and ensure even cooking.
- Cool gradually: Let the cheesecake cool in the oven to avoid sudden temperature changes.
- Chill before serving: Refrigerate for at least 4 hours for best texture and flavor.
- Check for doneness: The center should be slightly jiggly but set when done.
Frequently Asked Questions
Can I make this ahead of time? How to store and reheat?
You can definitely make cheesecake ahead of time; it actually tastes better after a day in the fridge. Store it covered in the refrigerator for up to 5 days, and there’s no need to reheat—enjoy it chilled!
What can I substitute for cream cheese?
You can substitute cream cheese with ricotta cheese for a lighter texture or mascarpone cheese for a richer flavor, but the protein content may vary slightly. Just keep in mind that the flavor and texture of your cheesecake will change with these alternatives.
How do I know when it’s done?
Your cheesecake is done when the edges are set and the center has a slight jiggle, which usually takes about 50-60 minutes at 325°F (163°C). It will continue to set as it cools, so don’t overbake!
Can I freeze this? How long does it last?
Yes, you can freeze cheesecake for up to 2-3 months if wrapped properly in plastic wrap and aluminum foil. Thaw it in the refrigerator overnight before serving for the best texture.
Why did my cheesecake turn out too dense?
If your cheesecake turned out too dense, it may be due to overmixing the batter or using cream cheese that’s too cold. Make sure to mix just until combined and use room temperature ingredients for a lighter texture.

- Make Cheesecake Up to 3 Days Ahead: Tips for Best Flavor & Texture - March 4, 2026
- Easy No-Bake Cool Doen Cheesecake: Quick Recipe & Tips - March 4, 2026
- Decadent Dulce de Leche Cheesecake: Easy Step-by-Step Recipe - March 4, 2026