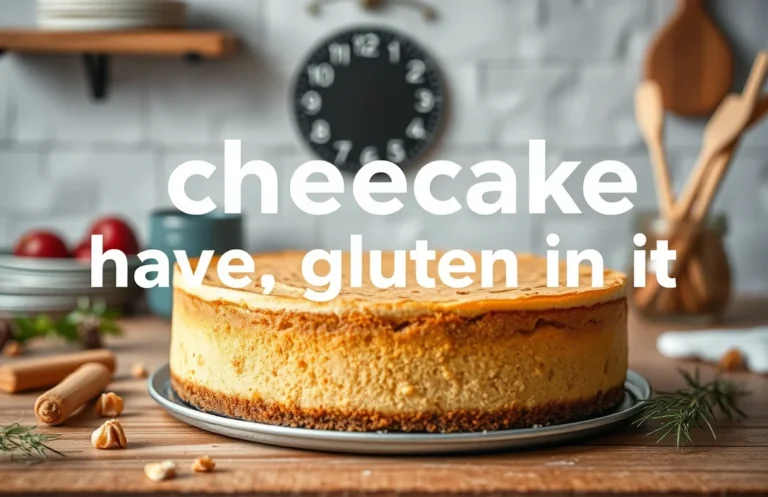
Does Cheesecake Need Refrigeration? Storage Tips & Signs of Spoilage
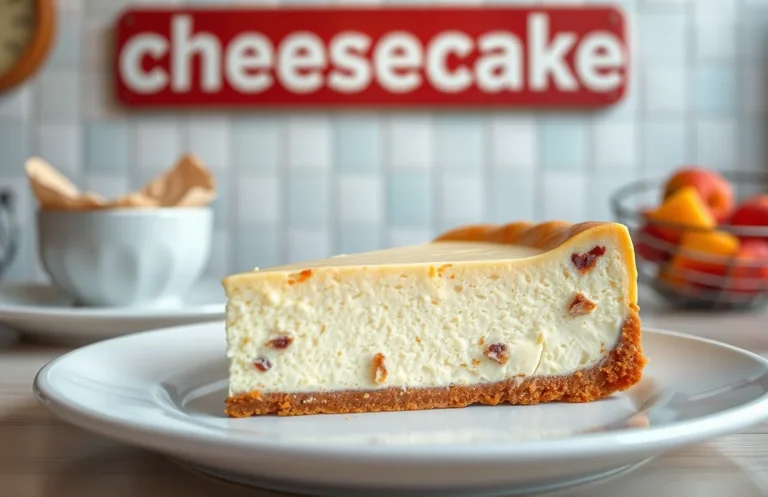
Cheesecake is one of those desserts that brings joy to any gathering. Its creamy, rich texture combined with a buttery graham cracker crust makes it a true crowd-pleaser. Whether it’s a festive occasion or a cozy weeknight treat, this cheesecake will leave everyone asking for seconds!
Wondering if your cheesecake needs to be refrigerated? You’re in the right place! Here’s what you’ll learn: total time: 4 hours, difficulty: easy, servings: 12.
| Prep Time | Cook Time | Total Time | Servings | Difficulty |
|---|---|---|---|---|
| 20 minutes | 1 hour | 4 hours | 12 | Easy |
Cheesecake Origins and Significance
Understanding the origins and significance of cheesecake provides insight into why proper storage, particularly refrigeration, is essential for maintaining its quality. This rich dessert has a long history and cultural relevance that varies across different regions and occasions.
Historical Background
Cheesecake dates back to ancient Greece, where it was served to athletes during the first Olympic Games in 776 B.C. The Romans later adopted and adapted the recipe, spreading it throughout Europe. Over centuries, various cultures have put their own spin on cheesecake. Here’s a quick overview:
- Greek Cheesecake: Made with simple ingredients like cheese, honey, and flour.
- Italian Ricotta Cheesecake: Uses ricotta cheese, resulting in a lighter texture.
- New York Cheesecake: Known for its dense and creamy texture, made with cream cheese.
Popular Variants
Today, cheesecake comes in countless variations, reflecting the local ingredients and tastes. It is commonly served at special occasions, including:
- Weddings
- Birthdays
- Holidays
Chef’s tip: For the best flavor, allow the cheesecake to chill in the refrigerator for at least 4 hours before serving.
Understanding these origins enhances our appreciation of cheesecake, and knowing how to store it properly ensures we enjoy its rich history and flavor without compromising safety. As cheesecake is primarily made with dairy, refrigeration is crucial to prevent spoilage and maintain its delightful taste and texture.
Ingredients for Cheesecake
This section details the essential ingredients needed for both baked and no-bake cheesecakes. Knowing the exact measurements and specifications helps ensure your cheesecake turns out perfectly every time, especially when considering how to store it safely after preparation.
For Baked Cheesecake
| Item | Amount/Specification | Notes |
|---|---|---|
| Graham cracker crumbs | 1 ½ cups (150g) | For the crust |
| Unsalted butter | ½ cup (115g) | Melted |
| Granulated sugar | 1 cup (200g) | For sweetness |
| Cream cheese | 4 (8 oz) packages (900g) | Softened to room temperature |
| Sour cream | 1 cup (240g) | Adds creaminess |
| Vanilla extract | 1 teaspoon (5ml) | For flavor |
| Eggs | 4 large | Room temperature |
For No-Bake Cheesecake
| Item | Amount/Specification | Notes |
|---|---|---|
| Graham cracker crumbs | 1 ½ cups (150g) | For the crust |
| Unsalted butter | ½ cup (115g) | Melted |
| Granulated sugar | ¾ cup (150g) | For sweetness |
| Cream cheese | 2 (8 oz) packages (450g) | Softened to room temperature |
| Heavy cream | 1 ½ cups (360ml) | Whipped to stiff peaks |
| Vanilla extract | 1 teaspoon (5ml) | For flavor |
| Lemon juice | 2 tablespoons (30ml) | Adds brightness |
- Ensure all dairy ingredients are at room temperature for a smooth texture.
- Substitutions: Use dairy-free cream cheese for a vegan option.
Essential Kitchen Tools
To create a delightful cheesecake and ensure it’s stored correctly, having the right kitchen tools is essential. These tools not only aid in the preparation but also help in maintaining the cheesecake’s texture and flavor during refrigeration.
| Item | Amount/Specification | Notes |
|---|---|---|
| Springform Pan | 9-inch | Allows for easy removal of the cheesecake after baking. |
| Mixing Bowls | 2-3 assorted sizes | One for the crust, one for the filling, and possibly a larger one for mixing. |
| Electric Mixer | Hand or stand mixer | Ensures smooth and creamy filling; avoid overmixing. |
| Rubber Spatula | 1 | For folding in ingredients and scraping down the sides of bowls. |
| Measuring Cups | 1 set | For precise ingredient measurements. |
| Measuring Spoons | 1 set | For accurate measurements of smaller quantities. |
| Cooling Rack | 1 | To cool the cheesecake completely before refrigerating. |
| Plastic Wrap or Airtight Container | 1 | For storing cheesecake in the fridge to prevent drying out. |
- Tip: Always allow your cheesecake to cool completely at room temperature before wrapping it for refrigeration. This helps to prevent condensation.
- For serving, use a sharp knife dipped in hot water to ensure clean slices.
- To extend the life of your cheesecake, store it in the fridge for up to 5 days. If you need to keep it longer, consider freezing it.
Cheesecake Cooking Instructions
Understanding the correct cooking instructions is essential for making a cheesecake that is not only delicious but also safe to eat. Proper cooking and cooling methods will help ensure your cheesecake maintains its texture and flavor and can be stored safely. Here’s a step-by-step guide to preparing and baking your cheesecake.
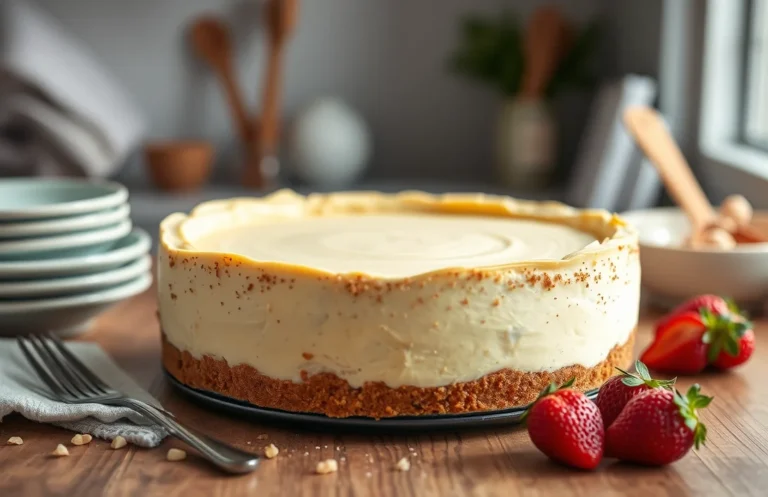
- Preparing the Crust: Start by preheating your oven to 350°F (175°C). In a medium bowl, combine 1 ½ cups of graham cracker crumbs with ½ cup of granulated sugar and ½ cup of melted unsalted butter. Mix until the crumbs are evenly coated and resemble wet sand. Press this mixture firmly into the bottom of a 9-inch springform pan, creating an even layer. Bake for 8-10 minutes until lightly golden, then remove from the oven and let cool.
- Mixing the Filling: In a large mixing bowl, beat 24 ounces (680g) of cream cheese at room temperature until smooth and creamy, about 2-3 minutes. Gradually add 1 cup of granulated sugar and continue mixing until fully combined. Add 3 large eggs, one at a time, mixing well after each addition. Finally, incorporate 1 teaspoon of vanilla extract and ½ cup of sour cream for a rich flavor. The mixture should be smooth and slightly thick.
- Baking Process: Pour the filling over the cooled crust and spread it evenly. Bake the cheesecake in the preheated oven for 50-60 minutes. The edges should be set, while the center may still have a slight jiggle. To prevent cracking, place a pan of water on the lower rack of the oven to create steam during baking.
- Cooling and Setting: Once baked, turn off the oven and leave the cheesecake inside for 1 hour to cool gradually. Afterward, remove it from the oven and let it cool at room temperature for an additional 30 minutes. Then, cover it with plastic wrap and refrigerate for at least 4 hours, or overnight, to allow it to fully set and enhance its flavor.
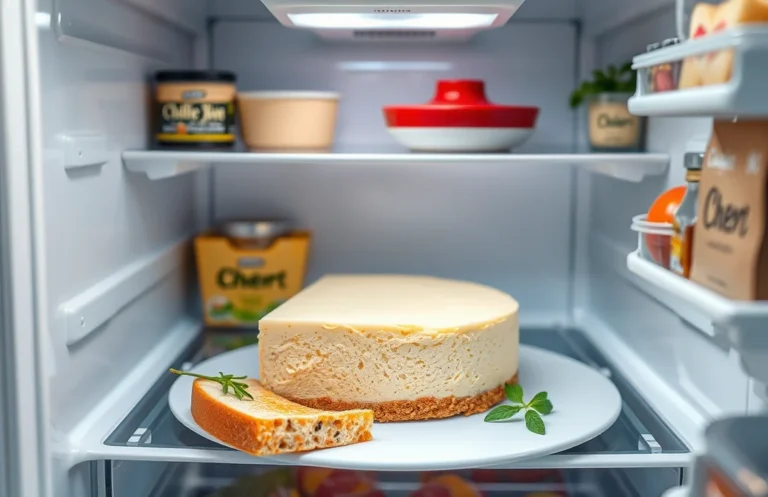
Storage Guidelines for Cheesecake
Proper storage is crucial for maintaining the freshness and safety of your cheesecake. Whether baked or no-bake, these creamy delights require specific temperature controls to ensure they remain delicious and safe to consume.
Baked vs No-Bake Storage
Baked cheesecakes and no-bake cheesecakes have slightly different storage requirements:
- Baked Cheesecake: Store in the refrigerator for up to 5-7 days. Ensure it is covered with plastic wrap to prevent drying.
- No-Bake Cheesecake: Also store in the refrigerator, but it is best consumed within 3-5 days for optimal texture and flavor. Keep it covered as well.
Room Temperature Limits
Cheesecake is sensitive to temperature, and it should not be left out for extended periods:
- Room Temperature: Cheesecake can be left out for a maximum of 2 hours. Beyond that, the risk of bacterial growth increases.
- Serving: If serving at a gathering, keep the cheesecake on ice or in a cool place until ready to serve to maintain its integrity.
Chef’s tip: If your cheesecake has been sitting out for a while, use a food thermometer to check if it’s below 70°F (21°C) before serving.
| Type of Cheesecake | Refrigerator Storage (Days) | Room Temperature Limit (Hours) |
|---|---|---|
| Baked Cheesecake | 5-7 | 2 |
| No-Bake Cheesecake | 3-5 | 2 |
Signs of Spoiled Cheesecake
Knowing how to identify spoiled cheesecake is crucial to ensure safety and quality. Cheesecake is a delicate dessert, and improper storage can lead to spoilage. Here are some key signs to look for that indicate your cheesecake has gone bad.
- Visual Indicators: Check for any discoloration or surface changes. If you notice a yellowish tint or any spots of mold, it’s a clear sign that the cheesecake should be discarded. Fresh cheesecake should have a smooth, creamy surface without any blemishes.
- Smell Test: Take a good whiff of your cheesecake. If you detect any sour or off-putting odors, it’s time to toss it. A fresh cheesecake has a rich and sweet aroma, often enhanced by the vanilla or fruit flavors used in the recipe.
- Texture Changes: Feel the texture of the cheesecake. If it has become excessively watery or has developed a grainy or curdled consistency, it’s best to avoid eating it. A fresh cheesecake should be firm yet creamy, holding its shape when cut.
- Taste Test (if safe): If everything seems fine but you’re still unsure, take a small taste. If the flavor is sour or just doesn’t taste right, err on the side of caution and discard the cheesecake.
By keeping an eye on these indicators, you can enjoy your cheesecake safely and ensure it remains a delightful treat!
Cheesecake Serving Tips
Serving cheesecake can elevate your dessert experience, making it not only delicious but visually appealing as well. Here are some tips on plating and pairing to enhance the flavor profile of your cheesecake while ensuring it remains safe to eat, especially after refrigeration.
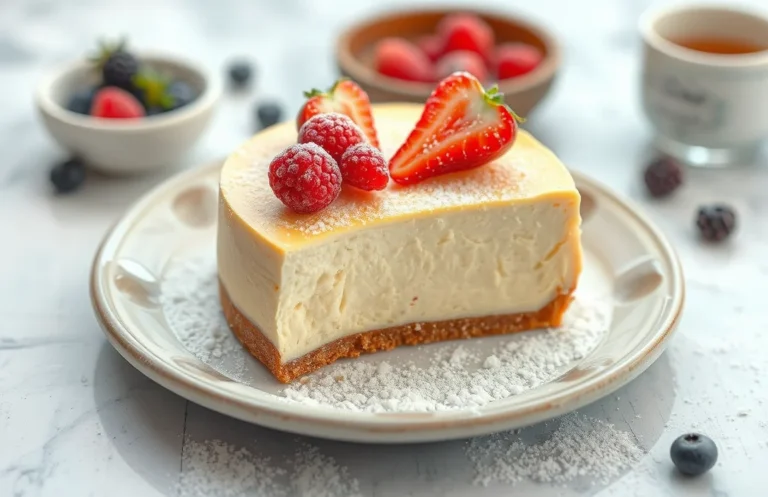
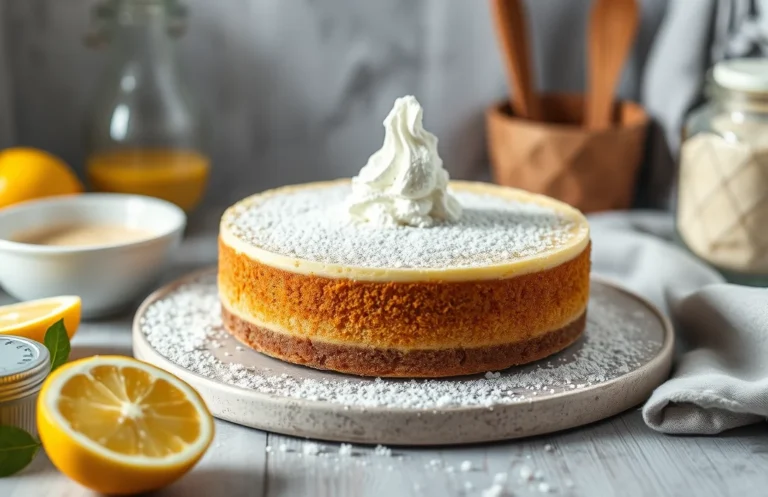
- Plating Techniques: Start by slicing your cheesecake with a warm knife to ensure clean edges. Dip the knife in hot water and wipe it dry before making each cut. For a beautiful presentation, serve each slice on a chilled plate, which helps maintain the cheesecake’s texture. Garnish with a dusting of powdered sugar or a drizzle of chocolate sauce to add visual flair.
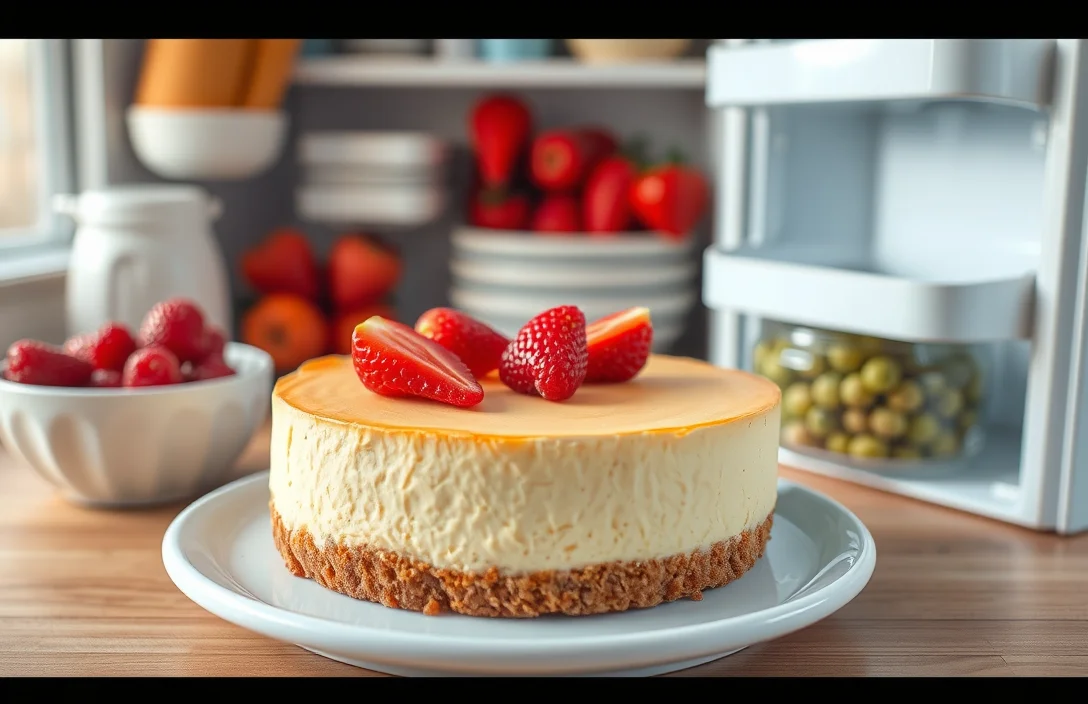
- Pairing Suggestions: Complement your cheesecake with fresh fruits like strawberries, raspberries, or blueberries. The acidity of the fruits balances the richness of the cheesecake. You can also serve it with a dollop of whipped cream or a scoop of vanilla ice cream for extra creaminess. If you prefer a more sophisticated touch, consider a berry compote made by simmering 1 cup of mixed berries with 2 tablespoons of sugar on medium heat until thickened, about 8-10 minutes.
- Serving Temperature: Always serve cheesecake chilled, but allow it to sit at room temperature for about 15-20 minutes before serving. This enhances the flavors and makes it easier to cut. Ensure that any leftovers are promptly refrigerated after serving to keep them safe for future enjoyment.
Quick Summary
| Prep Time | Cook Time | Total Time | Servings |
|---|---|---|---|
| 20 minutes | 60 minutes | 4 hours (including cooling) | 8 |
- Always refrigerate: Cheesecake must cool and set in the fridge for at least 4 hours.
- Wrap securely: Cover the cheesecake with plastic wrap to prevent drying.
- Use a water bath: Baking in a water bath helps prevent cracks and ensures even cooking.
- Check for doneness: The center should be slightly jiggly when you take it out of the oven.
- Let it cool: Cool the cheesecake at room temperature before refrigerating.
Frequently Asked Questions
Can I make this cheesecake ahead of time? How do I store it?
You can absolutely make cheesecake ahead of time! Just cover it tightly with plastic wrap and refrigerate for up to 5 days before serving.
What can I substitute for cream cheese in this recipe?
If you need a substitute for cream cheese, you can use mascarpone cheese or a mix of cottage cheese blended until smooth, but the flavor and texture will vary slightly.
How do I know when my cheesecake is done baking?
Your cheesecake is done when the edges are set and the center has a slight jiggle, indicating it’s still creamy; it should not be completely firm. For best results, use a digital thermometer to check that it reaches about 150°F (65°C).
Can I freeze cheesecake? How long does it last?
You can freeze cheesecake for up to 2 months if it’s wrapped tightly in plastic wrap and stored in an airtight container. Just thaw it in the refrigerator overnight before serving.
What if I don’t have a springform pan?
If you don’t have a springform pan, you can use a regular round cake pan lined with parchment paper; just ensure to grease it well for easy removal. Be careful when lifting it out, as it may not come out as neatly as with a springform pan.

- Make Cheesecake Up to 3 Days Ahead: Tips for Best Flavor & Texture - March 4, 2026
- Easy No-Bake Cool Doen Cheesecake: Quick Recipe & Tips - March 4, 2026
- Decadent Dulce de Leche Cheesecake: Easy Step-by-Step Recipe - March 4, 2026