Does Cheesecake Rise? Tips for Perfect Texture and Crack Prevention
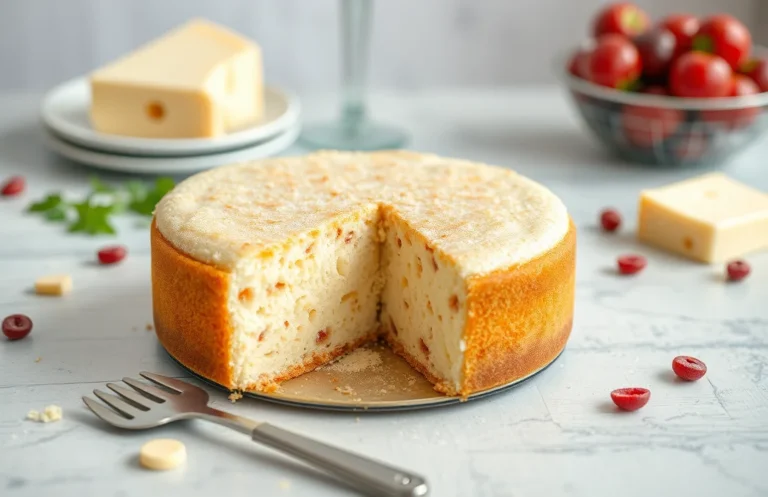
There’s nothing quite like sinking your fork into a slice of creamy cheesecake, with its velvety texture and rich flavor. Whether it’s a special occasion or a cozy weeknight treat, this dessert always impresses. The way it melts in your mouth is pure comfort, making it a favorite among friends and family.
Cheesecake does not rise significantly during baking, and understanding its texture is key to perfecting your recipe. This guide provides step-by-step instructions with precise measurements, cooking times, and troubleshooting tips to help you create the perfect cheesecake every time.
| Prep Time | 30 minutes |
|---|---|
| Cook Time | 1 hour |
| Total Time | 1 hour 30 minutes |
| Servings | 8 |
| Difficulty | Medium |
Cheesecake Origins and Significance
Cheesecake has a rich history that spans centuries and cultures, with each variant offering a unique twist on this beloved dessert. Understanding its origins and significance helps us appreciate the delicate balance of flavors and textures, especially when we consider how and why cheesecakes rise during baking.
History of Cheesecake
Cheesecake’s roots can be traced back to ancient Greece, where it was served to athletes during the first Olympic Games in 776 B.C. The Romans later adopted this dish, spreading it throughout Europe. By the Middle Ages, cheesecake recipes appeared in various forms across different cultures, leading to the diverse styles we enjoy today.
Cultural Variations
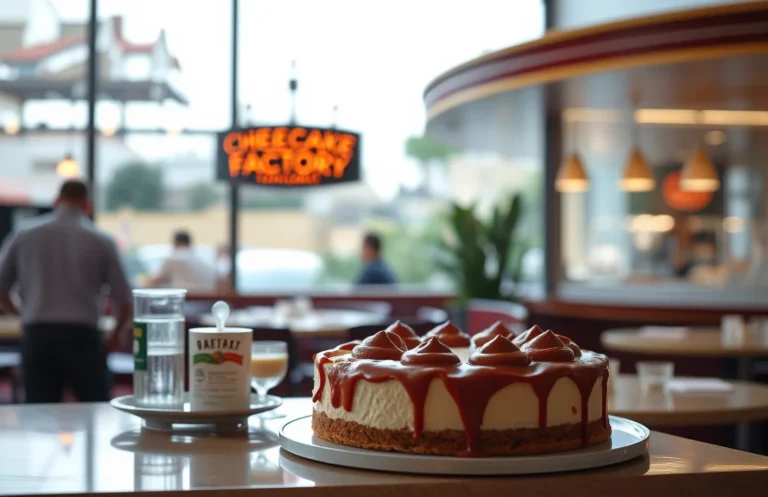
- New York Style: Known for its dense, creamy texture, this version uses cream cheese as the main ingredient.
- Japanese Cotton Cheesecake: Light and airy, it incorporates whipped egg whites for a soufflé-like consistency.
- Italian Ricotta Cheesecake: This variant features ricotta cheese, giving it a lighter texture and a slightly grainy mouthfeel.
When to Serve Cheesecake
Cheesecake is a versatile dessert suitable for various occasions, from birthdays to holidays. Whether served plain or topped with fruits, chocolate, or caramel, it always makes a statement. It is crucial to understand the baking process, especially how cheesecakes rise, to ensure they turn out perfectly every time.
Chef’s tip: Allow your cheesecake to cool gradually in the oven to prevent cracks on the surface.
Ingredients That Affect Rising
Understanding how specific ingredients contribute to the rising of cheesecake is essential for achieving that perfect texture. In this section, we will examine the key ingredients—cream cheese, eggs, and sugar—and how they play a role in the cheesecake’s rise during baking.
| Item | Amount/Specification | Notes |
|---|---|---|
| Cream Cheese | 24 ounces (680g) | Softened at room temperature; forms the base and provides structure. |
| Eggs | 4 large eggs | Room temperature; act as a binding agent and give lift when whipped. |
| Sugar | 1 cup (200g) | Granulated; adds sweetness and helps create a tender texture. |
- Tip: Always use full-fat cream cheese for a creamier texture and better rise.
- Tip: Whisk eggs until just combined—over-beating can incorporate too much air, causing cracks.
- Tip: Gradually add sugar to the cream cheese mixture to ensure even incorporation and avoid graininess.
- Common Mistake: Don’t overbake the cheesecake; it should be slightly jiggly in the center when you remove it from the oven.
Essential Kitchen Equipment
To create the perfect cheesecake that has just the right texture and rises appropriately, having the right tools on hand is essential. This section will detail the key equipment you’ll need, ensuring your cheesecake bakes evenly and comes out beautifully.
| Item | Amount/Specification | Notes |
|---|---|---|
| Springform Pan | 9-inch (23 cm) | Allows easy removal and helps maintain shape; ideal for cheesecakes. |
| Electric Mixer | Stand or Hand Mixer | Use to cream ingredients smoothly; avoid overmixing to prevent cracks. |
| Baking Dish | For water bath (optional) | Place the springform pan in a larger baking dish filled with water to ensure even baking. |
- Tip: Ensure your cream cheese is at room temperature (about 70°F/21°C) for smooth mixing.
- Tip: If using a hand mixer, keep the speed low to prevent incorporating too much air, which can cause the cheesecake to rise excessively and crack.
- Tip: Always line the bottom of the springform pan with parchment paper for easy removal and to prevent sticking.
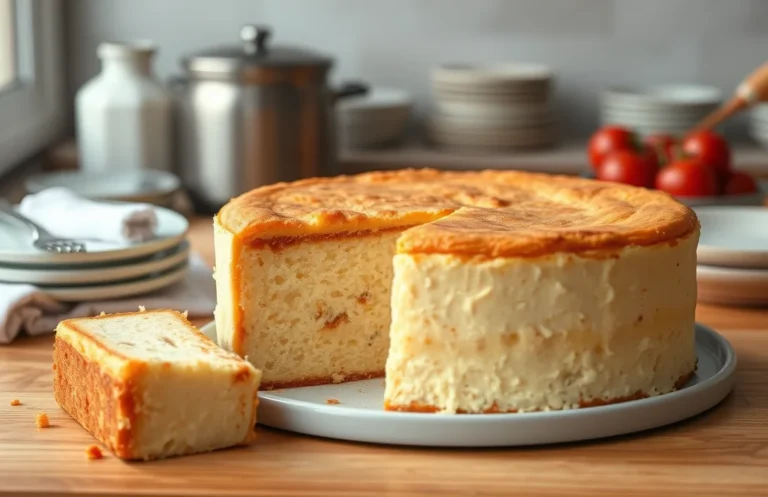
Step-by-Step Baking Instructions
This section covers the essential steps for preparing your cheesecake, including the crust, filling, and baking process. Understanding these steps is key to achieving a smooth, creamy texture and avoiding any unwanted rising or cracking.
- Prepping the Crust: Start by preheating your oven to 325°F (160°C). In a medium bowl, combine 1 ½ cups (150g) of graham cracker crumbs, ½ cup (100g) of granulated sugar, and ½ cup (115g) of melted unsalted butter. Mix until well combined and the texture resembles wet sand. Press this mixture firmly into the bottom of a 9-inch (23cm) springform pan, making sure it’s evenly distributed. Bake for 10 minutes until lightly golden, then remove and let cool for about 15 minutes.
- Mixing the Filling: In a large bowl, beat 4 (8-ounce) packages of softened cream cheese until smooth and creamy, about 2-3 minutes. Gradually add 1 cup (200g) of granulated sugar and 1 teaspoon of vanilla extract, mixing until fully incorporated. Add 4 large eggs, one at a time, mixing on low speed just until blended after each addition. The mixture should be smooth and glossy, with no lumps. Avoid over-mixing, as this can incorporate too much air and lead to cracking during baking.
- Baking Process: Pour the filling over the cooled crust. To prevent cracks, place a baking pan filled with hot water on the lower rack of the oven to create steam. Bake the cheesecake for 1 hour, until the edges are set but the center still has a slight jiggle. Do not open the oven door during the first 40 minutes, as this can disrupt the baking process. After baking, turn off the oven and let the cheesecake cool in the oven with the door slightly ajar for 1 hour to help it gradually cool.
Pro Tips for Perfect Cheesecake
Baking the perfect cheesecake requires attention to detail and a few expert techniques to avoid common pitfalls. Understanding how cheesecake rises, how to prevent cracks, and mastering cooling techniques can significantly enhance your baking success and ensure a creamy, smooth texture.
Preventing Cracks
Cracks in your cheesecake can occur due to rapid temperature changes or overmixing. To minimize this risk, follow these tips:
- Use room temperature ingredients: Allow your cream cheese (16 oz or 450g), sour cream (½ cup or 120g), and eggs (3 large) to sit at room temperature for about 30 minutes before mixing. This helps achieve a smooth batter.
- Mix gently: When combining your ingredients, stir until just incorporated. Overmixing introduces too much air, which can lead to cracks.
- Use a water bath: Place your cheesecake pan in a larger baking dish filled with hot water. This helps regulate the temperature, ensuring even baking.
Testing for Doneness
To determine if your cheesecake is done, look for the following signs:
- The edges should be set while the center remains slightly jiggly.
- Use a toothpick or a knife: Insert it about 1 inch from the edge; it should come out clean.
Chef’s tip: The cheesecake will continue to set as it cools, so don’t worry if the center seems a bit soft!
Cooling Techniques
Proper cooling is crucial for setting your cheesecake without cracks:
- After baking, turn off the oven and crack the door open, allowing the cheesecake to cool gradually for about 1 hour.
- Remove the cheesecake from the oven and cool at room temperature for 2 hours before refrigerating.
- Chill the cheesecake in the fridge for at least 4 hours, preferably overnight, for the best texture.
Cheesecake Variations and Substitutions
This section explores various cheesecake types and dietary alternatives, addressing how they may rise differently during baking. Understanding these variations can help you achieve the desired texture and height for your cheesecake, regardless of dietary needs or flavor preferences.
Gluten-Free Options
If you’re looking to make a gluten-free cheesecake, consider substituting traditional graham crackers with gluten-free alternatives. Here’s a simple recipe using almond flour for the crust:
- 1 ½ cups almond flour (150g)
- ¼ cup melted butter (60g)
- 2 tablespoons sugar (25g)
Mix these ingredients and press them into the bottom of your springform pan. Bake at 350°F (175°C) for about 10 minutes until slightly golden. This crust will not rise as much as a traditional one, but it will provide a delicious base.
Vegan Cheesecake
For a vegan cheesecake that remains dense and creamy without rising too much, use silken tofu or cashew cream. Here’s a quick recipe:
- 2 cups soaked cashews (300g)
- 1 cup coconut cream (240ml)
- ½ cup maple syrup (120ml)
- 2 tablespoons lemon juice (30ml)
Blend these ingredients until smooth and creamy. Pour into the crust and bake at 325°F (160°C) for 45-50 minutes. The cheesecake will firm up as it cools, but won’t rise significantly.
Pro tip: To prevent cracks in both gluten-free and vegan cheesecakes, ensure your ingredients are at room temperature and avoid overmixing.
Flavor Variations
Experimenting with flavors can also affect how your cheesecake rises. For example:
- Add 1 cup of pureed fruit (like strawberries or blueberries) for a fruit-infused cheesecake that may rise slightly more than a plain one.
- Incorporate ½ cup of cocoa powder for a chocolate cheesecake that tends to remain denser.
Monitor the baking time closely, as flavor additions can alter the moisture content.
Serving and Plating Suggestions
Serving a cheesecake is almost as delightful as making it! The presentation can elevate the dessert, making it even more enjoyable for your guests. Here are some ideas for garnishing, pairing with sauces, and serving temperatures to enhance your cheesecake experience.
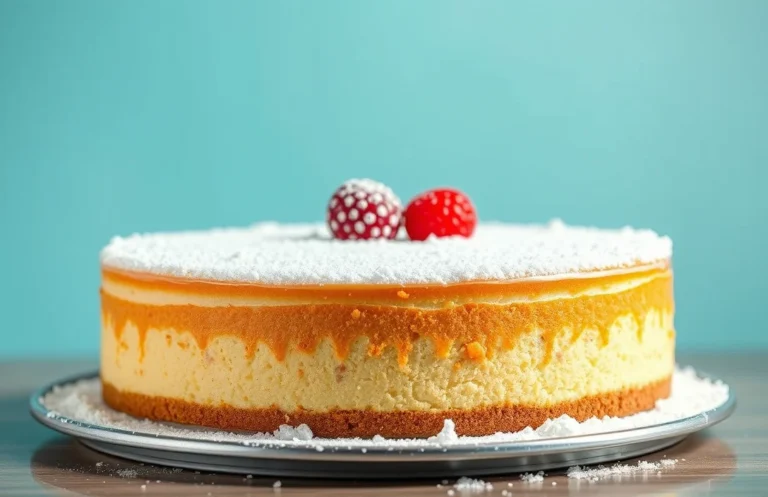
Garnishes
- Fresh Berries: Top your cheesecake with a mix of strawberries, blueberries, and raspberries for a vibrant touch.
- Whipped Cream: A dollop of homemade whipped cream adds a luscious texture. Use 1 cup of heavy cream, whipped until soft peaks form.
- Chocolate Shavings: Use a vegetable peeler to create chocolate curls from a bar of chocolate for an elegant finish.
- Mint Leaves: A few fresh mint leaves can offer a refreshing contrast and a pop of color.
Pairing with Sauces
Pairing sauces can enhance the flavor profile of your cheesecake:
| Type of Sauce | Flavor Profile |
|---|---|
| Berry Sauce | Sweet and tart, complements the creaminess |
| Caramel Sauce | Rich and buttery, adds depth |
| Chocolate Ganache | Decadent and rich, perfect for chocolate cheesecakes |
Serving Temperatures
Cheesecake is best enjoyed chilled. Aim for a serving temperature between 45°F (7°C) and 50°F (10°C). After baking, let it cool at room temperature for 1 hour, then refrigerate for at least 4 hours, preferably overnight. This allows the flavors to meld and the texture to set perfectly.
Chef’s tip: Always slice your cheesecake with a hot knife for clean edges. Dip the knife in hot water, wipe it dry, and cut for a beautiful presentation.
Quick Summary
| Prep Time | 20 minutes |
|---|---|
| Cook Time | 60 minutes |
| Total Time | 80 minutes |
| Servings | 8 |
- Preheat oven to 325°F for optimal baking temperature.
- Mix cream cheese until smooth to avoid lumps in your cheesecake.
- Add eggs one at a time to maintain a creamy texture.
- Bake in a water bath to prevent cracking and promote even cooking.
- Cool gradually to room temperature before chilling in the fridge.
- Tip: Use room temperature ingredients for a smooth batter.
- Tip: Don’t overmix the batter to avoid incorporating too much air.
Frequently Asked Questions
Can I make this cheesecake ahead of time? How to store and reheat?
You can definitely make this cheesecake ahead of time; it actually tastes better after chilling for at least 4 hours or overnight. To store, cover it tightly with plastic wrap and keep it in the refrigerator for up to 5 days.
What can I substitute for cream cheese?
If you’re looking for a substitute, you can use mascarpone cheese, which will give you a similar creamy texture. You can also try ricotta cheese, but blend it until smooth to avoid a grainy texture.
How do I know when my cheesecake is done?
Your cheesecake is done when the edges are set, and the center has a slight jiggle, which usually takes about 50-60 minutes at 325°F (160°C). It will firm up as it cools, so don’t worry if it looks a bit wobbly!
Can I freeze this cheesecake? How long does it last?
Yes, you can freeze cheesecake for up to 2-3 months; just wrap it well in plastic wrap and then aluminum foil. When you’re ready to enjoy it, thaw it in the refrigerator overnight for the best texture.
Why did my cheesecake crack on top?
If your cheesecake cracked, it might be due to baking at too high of a temperature—aim for 325°F (160°C). You can also try baking it in a water bath to help regulate the temperature and keep it moist.

- Make Cheesecake Up to 3 Days Ahead: Tips for Best Flavor & Texture - March 4, 2026
- Easy No-Bake Cool Doen Cheesecake: Quick Recipe & Tips - March 4, 2026
- Decadent Dulce de Leche Cheesecake: Easy Step-by-Step Recipe - March 4, 2026