Find Philadelphia No Bake Cheesecake Filling at Vons: Tips & Recipes
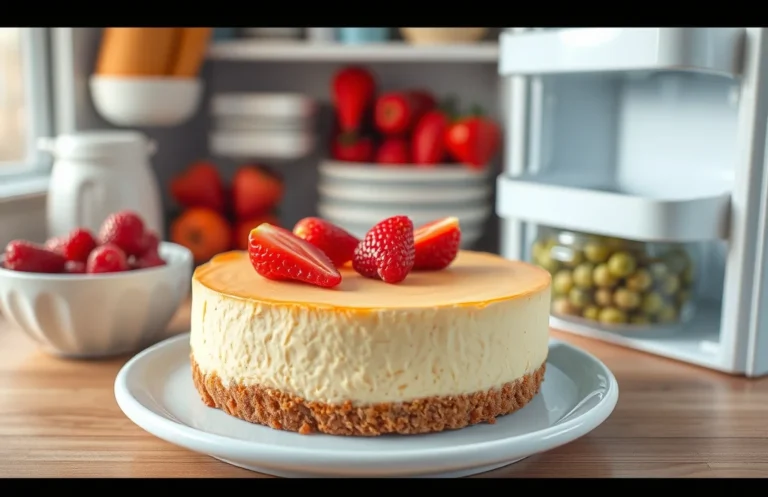
If you’re craving something creamy, dreamy, and oh-so-delicious, Philadelphia No Bake Cheesecake is your answer. This dessert is a crowd-pleaser that comes together effortlessly, making it perfect for any occasion. Each bite melts in your mouth, bringing a wave of comfort that feels like a warm hug from the inside out.
Key details: Total time: 15 minutes, Difficulty level: Easy, Servings: 8. You’ll be amazed at how simple it is to create a stunning cheesecake that tastes like it came from a bakery.
| Prep Time | Cook Time | Total Time | Servings | Difficulty |
|---|---|---|---|---|
| 15 minutes | 0 minutes | 15 minutes | 8 | Easy |
Origin of No-Bake Cheesecake
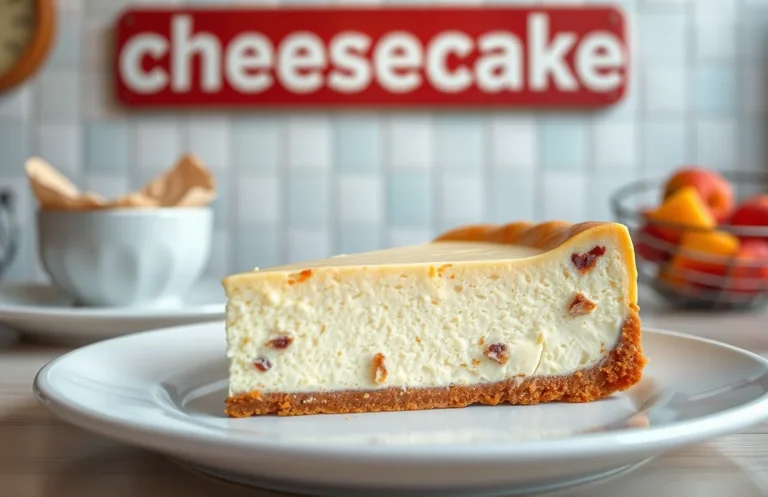
No-bake cheesecake has become a beloved dessert option for many, offering a creamy texture without the need for an oven. Understanding its history and significance helps us appreciate why products like Philadelphia No Bake Cheesecake Filling might be a staple in stores like Vons.
- History of Cheesecake: Cheesecake dates back to ancient Greece, where it was served to athletes during the first Olympic Games. Over the centuries, various cultures have adapted the basic recipe, leading to the rich, creamy versions we enjoy today.
- Why No-Bake is Special: No-bake cheesecake emerged as a modern solution for those wanting a quick and easy dessert. It typically uses cream cheese, whipped cream, and a graham cracker crust, resulting in a light and fluffy treat without the hassle of baking.
- Convenience and Versatility: The no-bake method allows for endless flavor combinations, making it a favorite for both home cooks and professional chefs. Plus, it’s a great option for warm weather when you’d rather not heat up the kitchen.
- Philadelphia’s Role: Philadelphia Cream Cheese has played a significant part in popularizing no-bake cheesecakes. Their no-bake filling simplifies the process, making it accessible for anyone to whip up this delicious dessert.
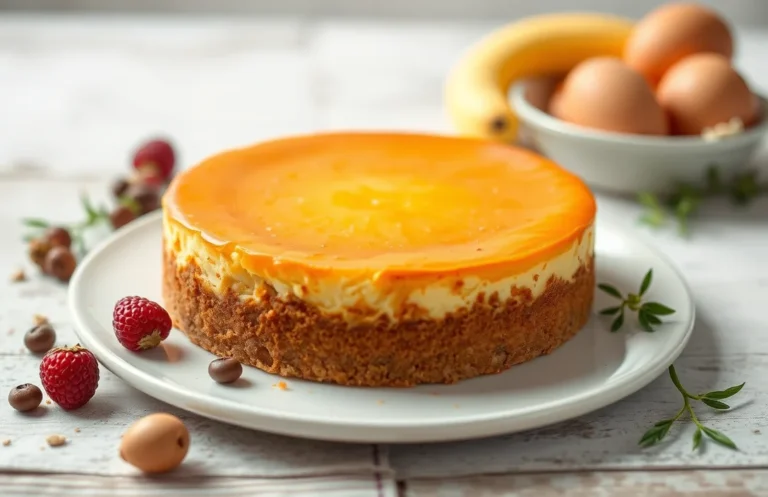
Ingredients for Cheesecake
This section provides a detailed list of ingredients necessary for making a delicious cheesecake using Philadelphia No Bake Cheesecake filling. If Vons grocery store carries this filling, knowing the exact amounts and specifications will help you create a delightful dessert with ease.
| Item | Amount/Specification | Notes |
|---|---|---|
| Philadelphia No Bake Cheesecake Filling | 1 package (8 oz or 227 g) | Make sure it’s well chilled before using. |
| Graham Cracker Crust | 1 pre-made crust (9-inch) | Can also use homemade crust if preferred. |
| Sugar | ¼ cup (50 g) | Adjust sweetness to taste. |
| Vanilla Extract | 1 teaspoon | For added flavor. |
| Whipped Topping | 1 cup (240 ml) | Use thawed if frozen, can substitute with non-dairy version. |
| Fresh Fruit or Toppings | As desired | Strawberries, blueberries, or chocolate drizzle work great! |
- For a gluten-free option, use gluten-free graham crackers for the crust.
- Make sure all ingredients are at room temperature for better mixing.
- Keep an eye on the filling consistency; it should be smooth and creamy.
- Don’t rush the chilling process; allow at least 4 hours in the fridge for the cheesecake to set properly.
Kitchen Tools Required
In this section, we’ll outline the essential kitchen tools you’ll need to prepare a delicious dessert with Philadelphia No Bake Cheesecake Filling. Having the right equipment on hand not only makes the process smoother but also ensures that your cheesecake turns out perfectly every time.
- Mixing Bowl: A large mixing bowl (at least 4 quarts) is essential for combining the cheesecake filling and any additional ingredients. Look for one that is sturdy and easy to clean.
- Electric Mixer: An electric hand mixer or stand mixer will make blending the Philadelphia No Bake Cheesecake Filling smooth and effortless. Mix on medium speed for about 2-3 minutes until the mixture is creamy and well combined.
- Spatula: A rubber or silicone spatula is perfect for scraping down the sides of the bowl to ensure all ingredients are incorporated evenly. Use it to fold in any whipped cream or other mix-ins gently.
- 9-inch Pie Dish or Springform Pan: A 9-inch pie dish or a springform pan will hold your cheesecake mixture as it sets. If using a springform pan, ensure it’s tightly sealed to prevent leaks.
- Measuring Cups and Spoons: Accurate measurements are crucial for baking success. Have a set of measuring cups (both dry and liquid) and measuring spoons ready to ensure you get the right ingredient ratios.
- Plastic Wrap: This will be necessary for covering your cheesecake while it sets in the refrigerator. Wrap it gently to avoid sticking to the surface of your dessert.
- Refrigerator: You’ll need a refrigerator to chill your cheesecake for at least 4 hours or until it’s firm. Make sure there’s enough space to accommodate your cheesecake pan.
Step-by-Step Instructions
This section outlines the precise steps to mix and chill your Philadelphia No Bake Cheesecake Filling, ensuring you achieve a smooth and delightful texture. Following these instructions will help you create a delicious cheesecake that sets perfectly for any occasion.
- Gather your ingredients: You’ll need 1 package (8 oz) of Philadelphia No Bake Cheesecake Filling, 1 cup (240 ml) of cold milk, and 1 cup (240 ml) of heavy cream. If you’re avoiding dairy, you can substitute with almond milk and coconut cream, though the flavor may differ slightly.
- Mix the filling: In a large mixing bowl, whisk together the cheesecake filling and cold milk on medium speed for about 2-3 minutes, until fully combined and smooth. The mixture should be creamy and free of lumps.
- Incorporate the heavy cream: Gradually add the heavy cream while continuing to whisk on medium speed for another 2-3 minutes. You’re looking for a thick and fluffy consistency similar to whipped cream — it should hold soft peaks when you lift the whisk out of the bowl.
- Transfer to the crust: Pour the cheesecake filling into your prepared crust (store-bought or homemade) and gently spread it evenly. The filling should look glossy and smooth as you level it off with a spatula.
- Chill the cheesecake: Cover the cheesecake with plastic wrap and refrigerate for at least 4 hours, or overnight if possible. This chilling time allows the filling to set properly, creating a firm texture that’s easy to slice. The surface should feel firm but still slightly springy when done.
Chef’s tip: For best results, let the cheesecake chill overnight for a richer flavor and a firmer texture.
Pro Tips for Perfection
This section shares essential tips and common pitfalls to avoid when looking for Philadelphia No Bake Cheesecake filling at Vons. Understanding these points can help ensure you find exactly what you need and create a delicious dessert.
- Check the Refrigerated Section: Philadelphia No Bake Cheesecake filling is typically stored in the refrigerated aisle. Be sure to look near other cream cheese products for easy access.
- Ask Store Staff: If you can’t find the filling, don’t hesitate to ask a Vons employee. They can quickly direct you to the right aisle or let you know if the product is out of stock.
- Verify Product Availability: Before heading to the store, check Vons’ online inventory or app for availability. This can save you time and frustration if the filling isn’t currently in stock.
- Consider Substitutions: If Vons doesn’t carry the Philadelphia filling, consider using a similar no-bake cheesecake mix from another brand. Just be sure to adjust the measurements according to package instructions.
- Don’t Skip the Tasting: If you find the filling, taste a small amount before using it in your recipe. Freshness makes a big difference in flavor; it should taste creamy and slightly tangy.
Variations and Substitutions
This section provides ideas for variations and substitutions if you’re looking to adapt your cheesecake recipe using Philadelphia No Bake Cheesecake Filling. Whether you have dietary preferences or restrictions, these options will help you create a delicious dessert that suits your needs.
Gluten-Free Options
If you’re aiming for a gluten-free cheesecake, there are simple adjustments you can make. Use gluten-free graham crackers or almond flour to create a crust that everyone can enjoy. Here’s a quick recipe for a gluten-free crust:
- 1 ½ cups gluten-free graham cracker crumbs
- ½ cup unsalted butter, melted
- ¼ cup sugar
- Preheat your oven to 350°F (175°C).
- In a bowl, mix the gluten-free graham cracker crumbs, melted butter, and sugar until well combined.
- Press the mixture firmly into the bottom of a 9-inch pie pan and bake for 10 minutes. Let it cool before adding the filling.
Vegan Cheesecake
To create a vegan version of your cheesecake, you can replace the Philadelphia No Bake Cheesecake Filling with a combination of silken tofu and coconut cream. Here’s how:
- 1 cup silken tofu, drained
- 1 cup coconut cream
- ½ cup powdered sugar
- 1 tablespoon vanilla extract
- In a blender or food processor, combine silken tofu, coconut cream, powdered sugar, and vanilla extract.
- Blend until the mixture is silky smooth and creamy, about 1-2 minutes.
- Pour into the cooled crust and chill for at least 4 hours before serving.
Chef’s tip: Taste your filling before adding it to the crust; adjust sweetness or flavorings as needed!
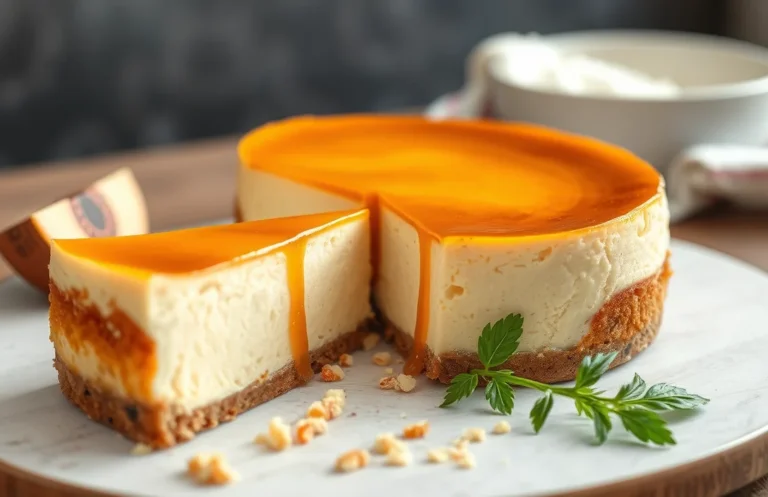
Serving and Plating Suggestions
When serving your Philadelphia No Bake Cheesecake, presentation can elevate your dessert from simple to stunning. Here are some tips on plating techniques and pairing suggestions that will make your cheesecake irresistible.
Plating Techniques
- Start with a clean, chilled plate to enhance the appearance of your cheesecake. Use a spatula to carefully transfer a slice of cheesecake onto the plate, tilting it slightly for a dramatic effect.
- For a pop of color, add a drizzle of fruit sauce (like raspberry or strawberry) around the cheesecake. Use a squeeze bottle or a spoon to create artistic swirls for an elegant finish.
- Garnish with fresh berries such as strawberries, blueberries, or raspberries stacked on top of the cheesecake. This not only adds visual interest but also a burst of natural flavor that pairs beautifully.
Pairing Suggestions
- Serve your cheesecake with a dollop of whipped cream on the side. This adds a light, airy texture that complements the richness of the cheesecake.
- A cup of freshly brewed coffee or espresso is a perfect beverage pairing, balancing the sweetness of the cheesecake with its slight bitterness.
- Consider adding a scoop of vanilla or lemon sorbet alongside the cheesecake for a refreshing contrast that cleanses the palate.
By using these plating techniques and pairing suggestions, your Philadelphia No Bake Cheesecake will not only taste delicious but also look spectacular on any table. Enjoy your culinary creation!
Quick Summary
| Prep Time | Cook Time | Total Time | Servings |
|---|---|---|---|
| 10 minutes | N/A | 10 minutes | 8 servings |
- Check Availability: Confirm if Vons stocks Philadelphia No Bake Cheesecake Filling before starting.
- Mix Carefully: Blend the filling with whipped cream until smooth for the best texture.
- Chill Time: Allow 4 hours in the fridge for optimal firmness and flavor.
- Graham Cracker Crust: Use pre-made or homemade crust for ease and flavor.
- Top Creatively: Garnish with fresh fruit or chocolate for added appeal.
- Key Tip: Always check expiration dates on the filling for best results.
- Serving Suggestion: Serve cold for the best taste and texture.
Frequently Asked Questions
Can I make this ahead of time? How to store and reheat?
You can prepare your cheesecake filling ahead of time and store it in an airtight container in the refrigerator for up to 5 days. Just give it a good stir before using it again.
What can I substitute for Philadelphia No Bake Cheesecake Filling?
If you can’t find Philadelphia No Bake Cheesecake Filling, you can use a mixture of cream cheese, powdered sugar, and whipped cream as a substitute in a 1:1 ratio.
How do I know when it’s done?
Your cheesecake filling is ready when it is smooth and creamy, with a thick consistency that holds its shape when piped or spread.
Can I freeze this? How long does it last?
You can freeze the cheesecake filling for up to 2 months in a tightly sealed container, but it may lose some texture upon thawing.
What if I don’t have a mixer?
You can still make the filling by using a whisk and some elbow grease to combine the ingredients, but it may require a bit more time and effort to achieve a smooth consistency.

- Make Cheesecake Up to 3 Days Ahead: Tips for Best Flavor & Texture - March 4, 2026
- Easy No-Bake Cool Doen Cheesecake: Quick Recipe & Tips - March 4, 2026
- Decadent Dulce de Leche Cheesecake: Easy Step-by-Step Recipe - March 4, 2026