Decadent Dulce de Leche Cheesecake: Easy Step-by-Step Recipe
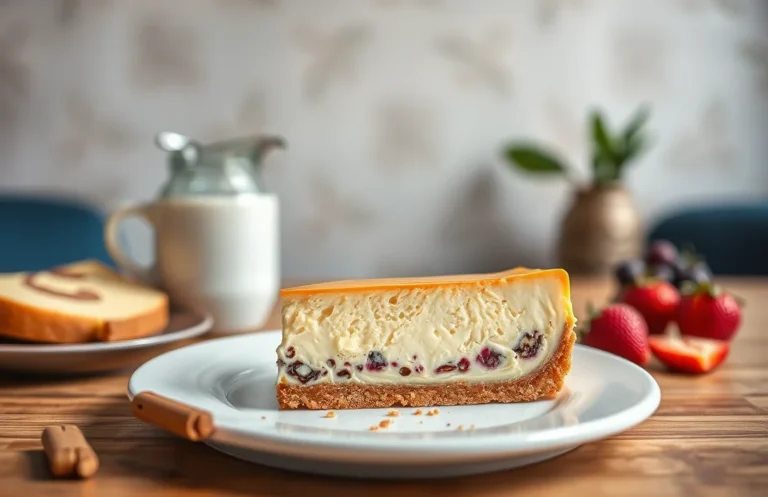
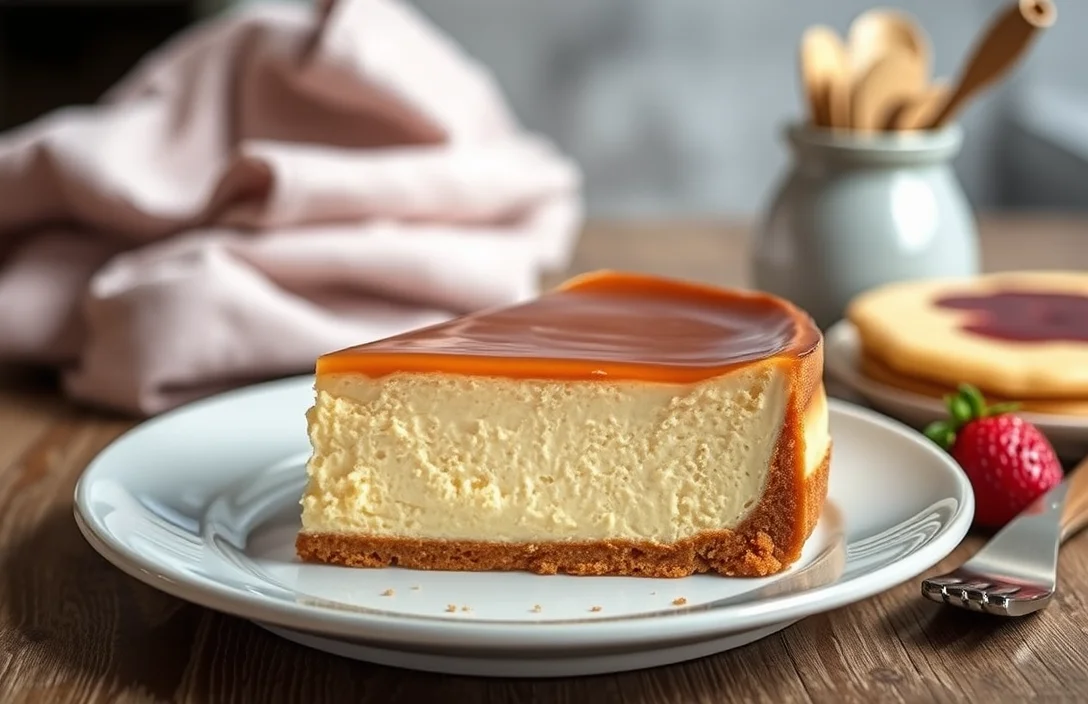
Dulce de leche cheesecake is the kind of dessert that feels like a warm hug after a long day. The rich, creamy texture combined with the caramel-like sweetness of dulce de leche makes every bite utterly irresistible. Perfect for gatherings or a cozy night in, this cheesecake will have everyone asking for seconds!
Total time: 5 hours (including chilling), Difficulty: Intermediate, Servings: 10 slices.
| Prep Time | Cook Time | Total Time | Servings | Difficulty |
|---|---|---|---|---|
| 30 minutes | 1 hour | 5 hours | 10 slices | Intermediate |
Dulce de Leche Origin
Dulce de leche, a beloved caramel-like treat, has a rich history that adds depth to its flavor profile. Understanding its origin enhances the appreciation for the delicious dulce de leche cheesecake we’re about to make.
- Historical Roots: The origins of dulce de leche can be traced back to Latin America, particularly Argentina, where it has been enjoyed for centuries. Its creation is often attributed to an accidental mix of milk and sugar that was heated to create a sweet, creamy confection.
- Cultural Significance: Dulce de leche holds a special place in Latin American cuisine, often used in desserts, pastries, and even as a spread. It symbolizes comfort and home, making it a staple in many households.
- Cheesecake Variations: Cheesecake has many variations worldwide, with different bases and toppings. The addition of dulce de leche to cheesecake transforms it into a rich, indulgent dessert that balances creaminess with caramel sweetness, a perfect blend for any occasion.
- Modern Adaptations: Today, dulce de leche cheesecake can be found in many bakeries and restaurants, showcasing the versatility of this classic treat. With its creamy texture and sweet flavor, it has become a favorite among dessert lovers everywhere.
Ingredients List
Gathering the right ingredients is crucial for creating a delicious dulce de leche cheesecake. Each component plays a key role in achieving the perfect flavor and texture, so let’s ensure you have everything you need before you start. Below is a detailed list of ingredients with exact measurements and any useful notes.
| Item | Amount/Specification | Notes |
|---|---|---|
| Cream Cheese | 24 ounces (680g) | Softened, at room temperature for easier mixing |
| Dulce de Leche | 1 cup (240ml) | Store-bought or homemade, for a richer flavor |
| Granulated Sugar | ¾ cup (150g) | Adjust sweetness to taste |
| Large Eggs | 3 | Room temperature for better incorporation |
| Vanilla Extract | 1 teaspoon (5ml) | Adds depth to the flavor |
| All-Purpose Flour | 2 tablespoons (15g) | Helps stabilize the cheesecake |
| Graham Cracker Crumbs | 1 ½ cups (150g) | For the crust, can substitute with gluten-free crumbs |
| Unsalted Butter | ½ cup (115g) | Melted, for binding crust ingredients |
| Dulce de Leche (for topping) | ½ cup (120ml) | Drizzle on top just before serving |
- For a lighter cheesecake, consider using low-fat cream cheese.
- If you’re allergic to gluten, use gluten-free graham cracker crumbs.
- Make sure to soften the cream cheese to prevent lumps in your batter.
Required Kitchen Equipment
To create a delicious dulce de leche cheesecake, having the right kitchen equipment is essential. Each tool serves a specific purpose that can make your baking process smoother and more efficient, ensuring your dessert turns out perfectly every time.
- Springform Pan: A 9-inch (23 cm) springform pan is ideal for cheesecake. Its removable sides allow for easy release without damaging the delicate structure of the cheesecake. Make sure to line the bottom with parchment paper for an extra layer of protection against sticking.
- Mixing Bowls: Prepare at least two mixing bowls—one large for the cheesecake batter and another smaller bowl for the crust. Using glass or stainless steel bowls is best, as they are easier to clean and won’t retain odors.
- Electric Mixer: A hand or stand mixer will save you time and ensure your cheesecake batter is smooth and creamy. Mix on medium speed until the ingredients are well combined and the mixture is fluffy, which typically takes about 2-3 minutes.
- Oven Preparation: Preheat your oven to 325°F (160°C) before you begin mixing your ingredients. A properly preheated oven helps the cheesecake set evenly. Also, prepare a large roasting pan filled with hot water to create a steam bath, which helps prevent cracking during baking.
Step-by-Step Instructions
In this section, we will break down the essential steps to create your delightful dulce de leche cheesecake. Each stage is vital to ensure a rich, creamy texture and an irresistible flavor profile, so let’s dive in!
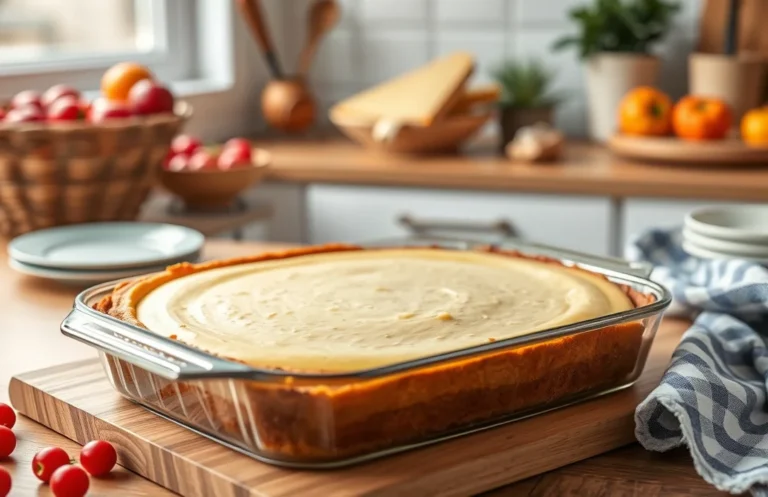
- Preparing the Crust: Preheat your oven to 350°F (175°C). In a medium bowl, combine 1 ½ cups (150g) of graham cracker crumbs, ¼ cup (50g) of granulated sugar, and ½ cup (115g) of melted unsalted butter. Mix until the crumbs are well-coated and resemble wet sand. Press the mixture firmly into the bottom and slightly up the sides of a 9-inch (23cm) springform pan for a compact crust.
- Baking the Crust: Bake the crust in the preheated oven for 8-10 minutes until it’s lightly golden and fragrant. Keep an eye on it to avoid burning; it should look dry and firm to the touch. Once done, remove it from the oven and let it cool while you prepare the filling.
- Making the Filling: In a large bowl, beat 24 ounces (680g) of cream cheese at room temperature with an electric mixer until smooth and creamy. Gradually add 1 cup (200g) of granulated sugar and continue to beat until fully incorporated. Add 1 cup (240ml) of sour cream, 1 teaspoon of vanilla extract, and 1 cup (300g) of dulce de leche, mixing until the filling is smooth and glossy.
- Baking the Cheesecake: Pour the filling into the cooled crust, smoothing the top with a spatula. Bake in the oven for 50-60 minutes until the edges are set but the center is still slightly jiggly. The cheesecake should have a slight golden hue on top, and the aroma will be delightful. Do not open the oven door during the first 40 minutes to maintain an even temperature.
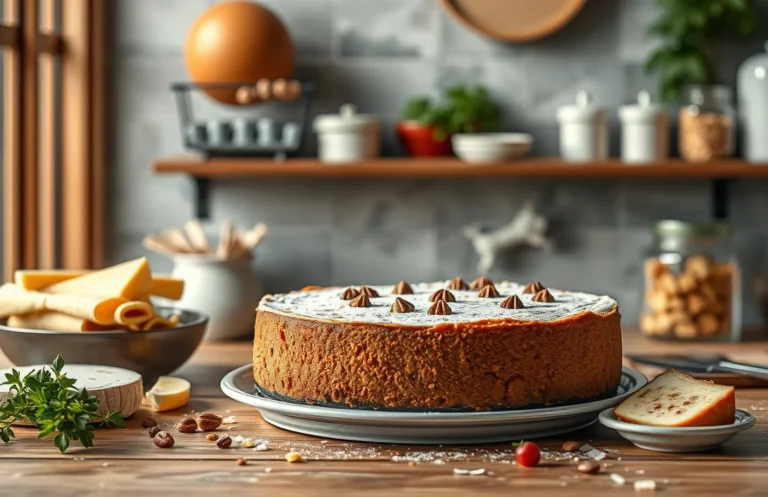
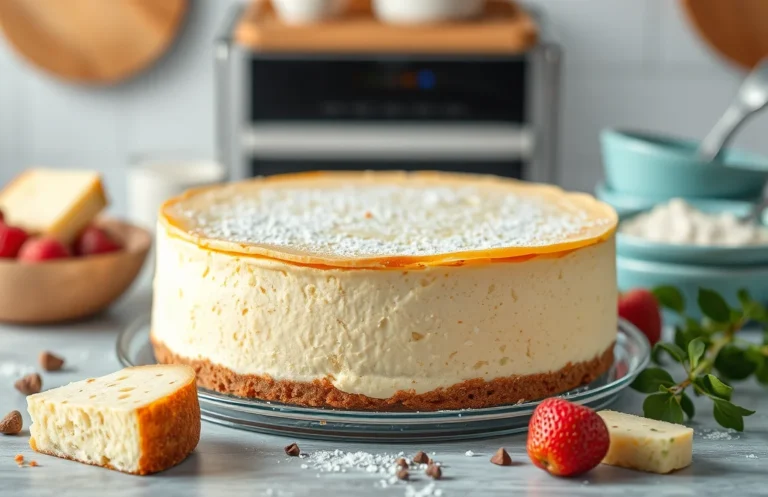
- Cooling and Chilling: After baking, turn off the oven and crack the door open, allowing the cheesecake to cool gradually for about 1 hour. This helps prevent cracks. Once cool, refrigerate for at least 4 hours, preferably overnight. The cheesecake should be firm to the touch and chilled thoroughly before serving, giving it a rich, creamy texture.
Pro Tips for Success
Creating the perfect dulce de leche cheesecake requires attention to detail to avoid common pitfalls and ensure a velvety texture. Here are some expert tips to help you achieve a flawless cheesecake that will impress your family and friends.
- Prevent cracks: To avoid unsightly cracks on the surface of your cheesecake, bake it in a water bath. Wrap the outside of your springform pan with aluminum foil to prevent water from seeping in, and place it in a larger pan filled with about 1 inch of hot water. This gentle cooking method helps maintain an even temperature and moisture level.
- Achieve a creamy texture: Make sure all your ingredients, especially cream cheese and eggs, are at room temperature before mixing. This allows for a smoother batter. Beat the cream cheese until it’s completely smooth and fluffy, which should take about 2-3 minutes. If you see lumps, continue mixing until they disappear before adding other ingredients.
- Baking techniques: Preheat your oven to 325°F (163°C) and bake the cheesecake for 60-70 minutes. The center should still have a slight jiggle when you gently shake the pan; it will firm up as it cools. After baking, turn off the oven and crack the door open, letting the cheesecake cool gradually to avoid sudden temperature changes, which can also lead to cracks.
- Cooling properly: Once baked, let the cheesecake cool on a wire rack for about an hour before refrigerating. This helps stabilize the structure and flavor. After cooling to room temperature, cover it and chill for at least 4 hours or overnight for the best texture and taste.
Variations and Substitutions
Finding the right ingredients for your dulce de leche cheesecake can make all the difference, especially if you have dietary preferences or restrictions. Here are some delicious alternatives to consider while ensuring your cheesecake remains rich and satisfying.
| Item | Amount/Specification | Notes |
|---|---|---|
| Gluten-Free Crust | 1 ½ cups almond flour (150g) | Replace graham crackers with almond flour and add 2 tablespoons melted butter. |
| Dairy-Free Cream Cheese | 8 oz (227g) | Use a vegan cream cheese alternative for a dairy-free version. |
| Vegan Sweetener | ¾ cup coconut sugar (150g) | Swap sugar for coconut sugar or maple syrup for sweetness without refined sugar. |
| Flavor Variations | 1 teaspoon vanilla extract or almond extract | Add to the filling for a different flavor profile. |
- For a chocolate twist: Melt 4 oz (113g) of dark chocolate and fold it into the cheesecake batter.
- To enhance the caramel flavor: Drizzle extra dulce de leche over the top before serving.
- Common mistakes: Avoid overmixing the batter, as this can lead to cracks in your cheesecake.
Serving Suggestions
Presenting your dulce de leche cheesecake beautifully can enhance its appeal and elevate your dessert experience. Here are some garnishing ideas, drink pairings, and serving temperature tips to make your cheesecake truly shine.
Garnishing Ideas
- Drizzle with extra dulce de leche for a rich finish.
- Top with whipped cream — about 1 cup (240ml) of heavy cream whipped to soft peaks works well.
- Add a sprinkle of sea salt to balance the sweetness.
- Garnish with chocolate shavings or crushed nuts for added texture.
- Fresh berries like raspberries or strawberries can add a bright color contrast and a hint of tartness.
Pairing with Drinks
For the perfect drink pairing, consider the following:
- Coffee: A rich espresso complements the creamy texture and sweetness.
- Sweet Dessert Wine: A glass of Sauternes or Tokaji adds a luxurious touch.
- Herbal Tea: Mint or chamomile tea can provide a refreshing contrast.
Serving Temperature
For the best flavor and texture, serve your dulce de leche cheesecake chilled. Aim for a temperature of about 50°F (10°C). Allow it to sit at room temperature for about 15-20 minutes before serving, so it softens slightly and becomes creamy.
Chef’s tip: If the cheesecake cracks, don’t worry! Cover it with whipped cream or a drizzle of dulce de leche for a beautiful disguise.
Quick Summary
| Prep Time | 20 minutes |
|---|---|
| Cook Time | 60 minutes |
| Total Time | 1 hour 20 minutes |
| Servings | 8 |
- Crust preparation: Combine 1 ½ cups crushed graham crackers, ½ cup melted butter, and ¼ cup sugar, then press into the bottom of a 9-inch springform pan.
- Cheesecake filling: Beat 16 oz cream cheese, 1 cup sugar, 3 large eggs, and 1 tsp vanilla until smooth.
- Dulce de leche addition: Swirl 1 cup dulce de leche into the cream cheese mixture before baking.
- Baking temperature: Bake at 325°F (163°C) for 60 minutes until set but still slightly jiggly.
- Cooling time: Let cool in the oven with the door ajar for 1 hour to prevent cracking.
- Chill before serving: Refrigerate for at least 4 hours or overnight for best texture.
- Tip 1: Use room temperature cream cheese for a smoother filling.
- Tip 2: Ensure your dulce de leche is well-mixed to avoid clumps.
Frequently Asked Questions
Can I make this ahead of time? How to store and reheat?
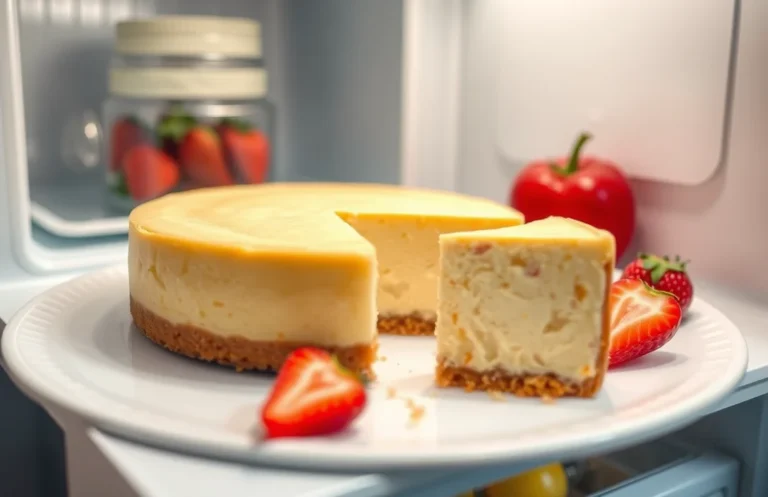
You can definitely make dulce de leche cheesecake ahead of time; it keeps well in the fridge for up to 5 days. Store it covered in plastic wrap or an airtight container, and reheat individual slices in the microwave for 10-15 seconds if desired.
What can I substitute for cream cheese?
If you’re looking for a substitute, you can use mascarpone cheese for a creamier texture or a mix of ricotta and Greek yogurt to lighten it up. Just keep in mind that the flavor and consistency may vary slightly.
How do I know when it’s done?
Your dulce de leche cheesecake is done when the edges are set but the center still has a slight jiggle, which typically takes about 50-60 minutes at 325°F (160°C). It will firm up as it cools, so don’t overbake it!
Can I freeze this? How long does it last?
Yes, you can freeze dulce de leche cheesecake for up to 3 months. Wrap it tightly in plastic wrap and aluminum foil to prevent freezer burn, and thaw it in the fridge overnight before serving.
Why did my cheesecake crack on top?
A cracked top often means your cheesecake has baked too quickly; try lowering your oven temperature to 300°F (150°C) next time and use a water bath for more even cooking. Also, avoid overmixing the batter which can incorporate too much air.

- Make Cheesecake Up to 3 Days Ahead: Tips for Best Flavor & Texture - March 4, 2026
- Easy No-Bake Cool Doen Cheesecake: Quick Recipe & Tips - March 4, 2026
- Decadent Dulce de Leche Cheesecake: Easy Step-by-Step Recipe - March 4, 2026