Decadent Dulce de Leche Cheesecake: Step-by-Step Recipe
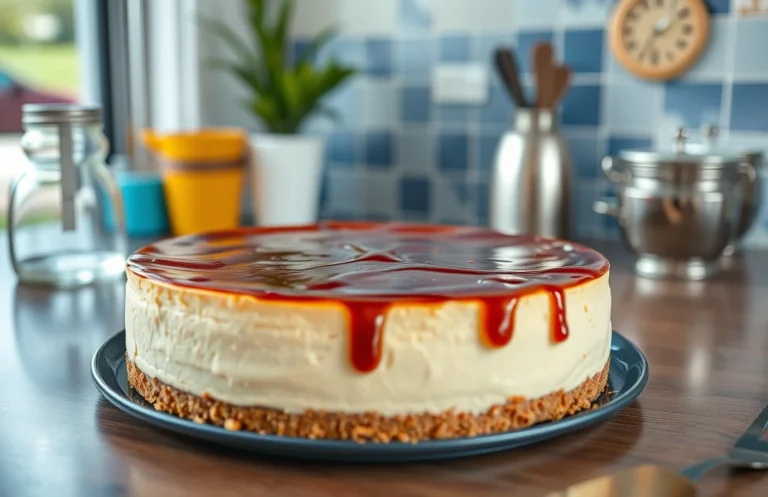
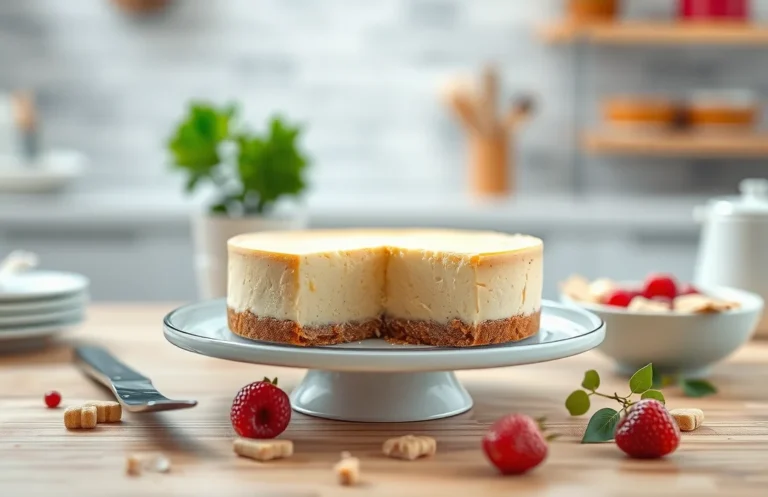
There’s something absolutely irresistible about a dulce de leche cheesecake. Its creamy texture, sweet caramel-like flavor, and slight tang from the cream cheese make it a dessert that feels like a warm hug. Perfect for special occasions or just a cozy night in, this cheesecake will leave your friends and family begging for seconds.
This recipe features easy-to-follow steps with exact measurements, total time of about 1 hour and 15 minutes, and yields 8 servings. It’s a great choice for both novice and experienced bakers looking for a delicious treat!
| Prep Time | Cook Time | Total Time | Servings | Difficulty |
|---|---|---|---|---|
| 20 minutes | 55 minutes | 1 hour 15 minutes | 8 | Moderate |
Dulce de Leche Origins
Dulce de leche, a rich and creamy caramel-like sauce, has a special place in the hearts of many cultures, particularly in Latin America. Understanding its origins and significance can enhance your appreciation for the dulce de leche cheesecake you’re about to create.
- Cultural Background: This delicious treat has roots in several Latin American countries, with Argentina often claiming it as its own. The name translates to “sweet milk,” and it is made by slowly heating sweetened milk until it caramelizes, creating a smooth, rich flavor that pairs beautifully with desserts.
- When to Serve: Dulce de leche is a versatile ingredient that is perfect for special occasions and everyday treats alike. You might find it drizzled over pancakes at breakfast, incorporated into cakes for celebrations, or simply enjoyed by the spoonful as a late-night snack.
Ingredients List
In this section, you’ll find a complete list of ingredients required to create a delicious dulce de leche cheesecake. Gathering these ingredients ahead of time ensures a smooth cooking process and helps you focus on achieving that perfect creamy texture and rich flavor.
| Item | Amount/Specification | Notes |
|---|---|---|
| Graham cracker crumbs | 1 ½ cups (150g) | Use finely crushed for a smoother base |
| Sugar | ¼ cup (50g) | Adjust sweetness to taste |
| Unsalted butter | ½ cup (115g), melted | Make sure it’s cooled slightly |
| Cream cheese | 16 oz (450g) | Room temperature for easy mixing |
| Sour cream | 1 cup (240g) | Adds creaminess |
| Dulce de leche | 1 cup (240g) | Homemade or store-bought |
| Vanilla extract | 1 teaspoon | Pure extract preferred |
| Eggs | 3 large | Room temperature for best results |
| Salt | ¼ teaspoon | Enhances overall flavor |
- For a gluten-free option, substitute graham cracker crumbs with gluten-free cookies or almond flour.
- Make sure all dairy ingredients are at room temperature to prevent lumps in your cheesecake batter.
- Store any leftover dulce de leche cheesecake in the refrigerator, covered, for up to 5 days.
Kitchen Equipment Needed
To create a perfect dulce de leche cheesecake, having the right kitchen tools is essential. This section outlines the necessary equipment and preparation steps to ensure a smooth baking experience, allowing you to focus on crafting that delicious cheesecake.
- Springform Pan (9-inch): This is crucial for easy removal of your cheesecake. The removable sides allow for a clean presentation, making it simple to slice and serve.
- Mixing Bowls: You will need a few mixing bowls of varying sizes. A large bowl for the cheesecake batter and a smaller one for the crust will make your process more organized.
- Electric Mixer: A stand mixer or hand mixer will help you achieve a smooth and creamy cheesecake filling. Make sure it’s powerful enough to beat cream cheese without lumps.
- Rubber Spatula: This is perfect for folding in ingredients and scraping down the sides of your mixing bowl. A sturdy spatula will help ensure everything is well combined.
- Measuring Cups and Spoons: Accurate measurements are key in baking. Use standard measuring cups for dry ingredients and liquid measuring cups for liquids.
- Food Processor: Ideal for crushing graham crackers for the crust. If you don’t have one, a resealable plastic bag and a rolling pin will also work.
- Whisk: A medium-sized whisk is useful for mixing ingredients together smoothly, particularly when combining eggs into the cream cheese mixture.
- Oven Thermometer: To ensure your oven is at the correct temperature (325°F or 163°C), this tool can help prevent overbaking or underbaking your cheesecake.
Chef’s tip: Always preheat your oven well before baking to ensure even cooking throughout the cheesecake.
Step-by-Step Instructions
In this section, we’ll detail each step for creating a delicious dulce de leche cheesecake, from preparing the crust to cooling and serving. Follow these instructions closely to ensure your cheesecake turns out perfectly creamy and indulgent.
- Preparing the Crust: Preheat your oven to 350°F (175°C). In a mixing bowl, combine 1 ½ cups (150g) of graham cracker crumbs, ½ cup (100g) of granulated sugar, and 1/2 cup (115g) of melted unsalted butter. Mix until the crumbs are well-coated and resemble wet sand. Press the mixture firmly into the bottom of a 9-inch (23cm) springform pan to create an even layer. Bake for 8-10 minutes until lightly golden and fragrant. Let it cool completely.
- Making the Filling: In a large mixing bowl, beat 24 ounces (680g) of softened cream cheese until smooth and creamy, about 2-3 minutes. Gradually add 1 cup (200g) of granulated sugar and 1 teaspoon of vanilla extract, mixing until fully incorporated. Next, add 3 large eggs, one at a time, mixing on low speed just until blended. Finally, gently fold in 1 cup (240ml) of dulce de leche until the mixture is uniform.
- Baking Process: Pour the filling over the cooled crust, smoothing the top with a spatula. Place the springform pan in a larger roasting pan and fill the roasting pan with hot water until it reaches halfway up the sides of the springform. Bake for 55-60 minutes, or until the edges are set but the center still has a slight jiggle. Keep an eye on it; if the top begins to brown too quickly, cover it loosely with foil.
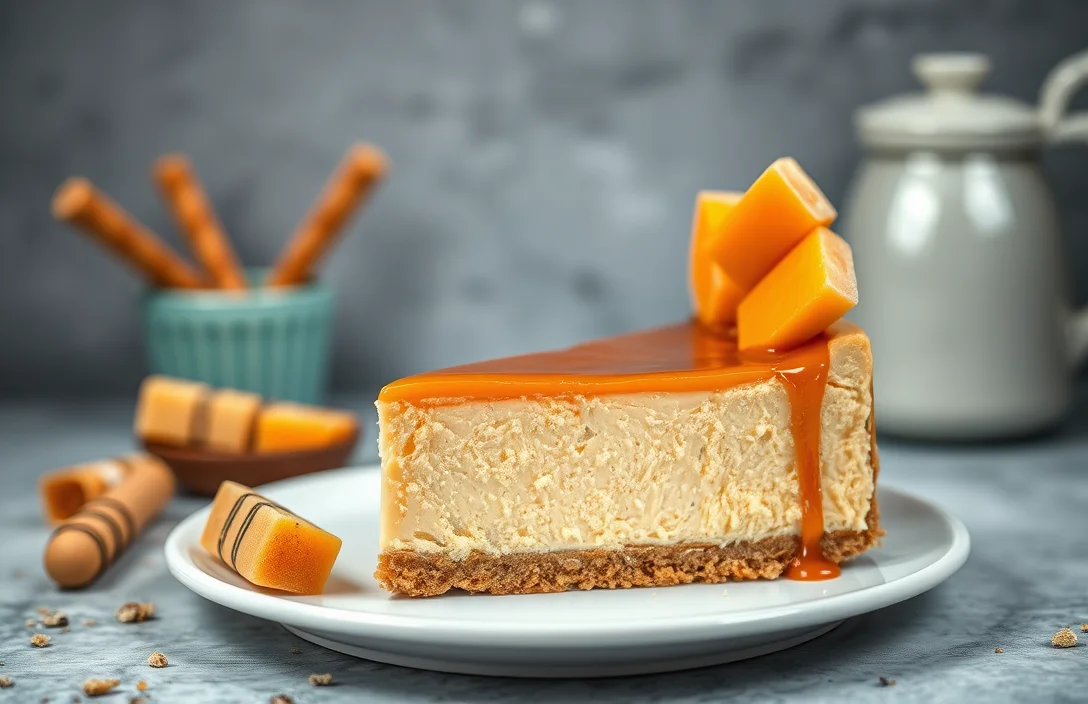
- Cooling and Serving: Once baked, turn off the oven and crack the door open, allowing the cheesecake to cool in the oven for 1 hour. This helps prevent cracks. Afterward, refrigerate for at least 4 hours, but overnight is best for optimal flavor. Before serving, drizzle additional dulce de leche on top and garnish with whipped cream, if desired. Enjoy your rich, creamy cheesecake!
Pro Tips for Success
A perfect dulce de leche cheesecake requires attention to texture and preventing cracks. These expert tips will help you achieve a creamy, smooth cheesecake while avoiding common pitfalls.
Achieving the Right Texture
- Use room temperature ingredients: Allow your cream cheese, eggs, and dulce de leche to sit out for about 30 minutes before mixing. This ensures a smooth batter without lumps that can affect the final texture.
- Don’t overmix: Mix your ingredients just until combined. Overmixing can incorporate too much air, leading to cracks during baking. Aim for a silky consistency without visible lumps.
- Water bath for even baking: Bake your cheesecake in a water bath by placing the cheesecake pan inside a larger pan filled with hot water. This method helps maintain a consistent temperature and prevents the edges from cooking faster than the center.
Avoiding Cracks
- Gradual cooling: After baking, turn off the oven and crack the door open. Let the cheesecake cool in the oven for about 1 hour. This gradual cooling helps prevent sudden temperature changes that can cause cracks.
- Run a knife around the edges: Before chilling, gently run a knife around the edge of the cheesecake to loosen it from the pan. This allows the cake to expand without cracking as it cools.
- Don’t rush the chilling process: Refrigerate the cheesecake for at least 4 hours, preferably overnight. This allows the flavors to meld and the texture to firm up properly.
Variations and Substitutions
Whether you’re accommodating dietary restrictions or simply looking to mix things up, there are plenty of ways to modify the dulce de leche cheesecake recipe to fit your needs. Below, you’ll find options for gluten-free and vegan alternatives that still result in a deliciously creamy cheesecake.
Gluten-Free Options
For a gluten-free version of this cheesecake, you can easily swap out the traditional crust. Here are some options:
- Use 1 ½ cups almond flour mixed with 2 tablespoons melted coconut oil and a pinch of salt for the crust.
- Crushed gluten-free cookies can also work; about 1 ½ cups should suffice. Just ensure they’re finely ground.
Vegan Alternatives
If you’re aiming for a vegan cheesecake, consider these substitutions:
- Replace the cream cheese with 1 ½ cups of soaked cashews (soaked for at least 4 hours and drained) blended until smooth.
- Use ½ cup coconut cream instead of sour cream for added creaminess.
- For dulce de leche, you can make a vegan version by simmering 1 can of coconut milk with 1 cup of brown sugar until thickened, about 30-40 minutes.
Chef’s tip: Always taste your filling before pouring it into the crust to ensure the sweetness and flavor balance is just right!
These modifications will keep your cheesecake rich and satisfying while catering to different dietary needs. Enjoy experimenting!
Serving and Plating Tips
Presenting your dulce de leche cheesecake beautifully can elevate the experience for your guests. Here are some garnishing ideas and beverage pairings that will complement the rich flavors of your cheesecake and enhance its appeal.
Garnishing Ideas
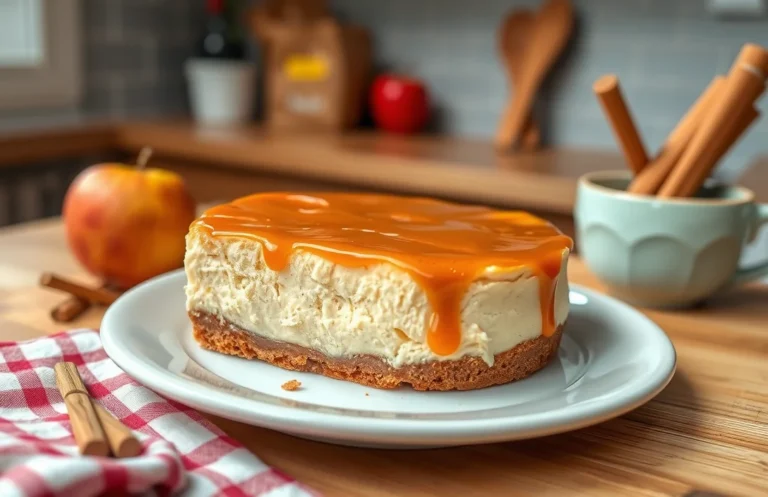
- Drizzle extra dulce de leche on top of the cheesecake for added sweetness and a gourmet touch.
- Sprinkle a pinch of sea salt over the top to balance the sweetness and enhance the flavor profile.
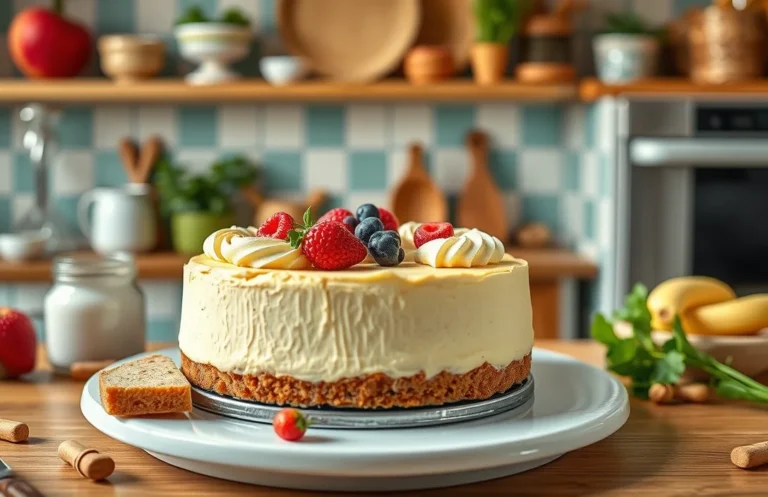
- Top with whipped cream, either homemade or store-bought, for a light and airy contrast.
- Add a handful of crushed nuts, such as pecans or walnuts, for a delightful crunch.
- Garnish with fresh fruit, such as sliced strawberries or raspberries, to provide a refreshing tartness.
Beverage Pairings
| Beverage | Description |
|---|---|
| Coffee | A rich, dark roast coffee complements the creamy texture and sweetness of the cheesecake. |
| Sweet Dessert Wine | A glass of late harvest Riesling or Sauternes enhances the caramel notes in the dulce de leche. |
| Tea | Chai or Earl Grey tea adds a fragrant, spiced note that pairs wonderfully with desserts. |
| Milkshake | A vanilla milkshake can provide a playful, nostalgic pairing that kids and adults alike will love. |
Chef’s tip: Serve the cheesecake chilled for the best texture and flavor. Allow it to sit at room temperature for about 15 minutes before slicing for easier cutting.
Quick Summary
| Prep Time | Cook Time | Total Time | Servings |
|---|---|---|---|
| 20 minutes | 60 minutes | 1 hour 20 minutes | 8 servings |
- Prepare the crust: Mix crushed graham crackers with melted butter and press into the pan.
- Make the filling: Blend cream cheese, sugar, eggs, and dulce de leche until smooth.
- Bake gently: Bake at 325°F (160°C) for 60 minutes until set.
- Cool completely: Let the cheesecake cool before refrigerating for at least 4 hours.
- Serve with topping: Drizzle additional dulce de leche on top before serving.
- Key Tip: Use room temperature cream cheese for a smooth texture.
- Key Tip: Avoid overmixing to prevent cracks in the cheesecake.
Frequently Asked Questions
Can I make this ahead of time? How to store and reheat?
You can absolutely make this dulce de leche cheesecake ahead of time; it keeps well in the fridge for up to 5 days. Just cover it tightly with plastic wrap or foil, and if you want to reheat, warm it in a 300°F (150°C) oven for about 10-15 minutes until just warmed through.
What can I substitute for cream cheese?
If you need a substitute for cream cheese, you can use mascarpone cheese for a similar texture and flavor, or a combination of Greek yogurt and sour cream for a lighter option. Keep in mind that the flavor might vary slightly but should still be delicious!
How do I know when it’s done?
Your cheesecake is done when the edges are set but the center still has a slight jiggle, indicating a creamy texture; it should look slightly puffed up and not cracked on top. For a precise check, look for an internal temperature of about 150°F (65°C).
Can I freeze this? How long does it last?
Yes, you can freeze dulce de leche cheesecake for up to 2 months; just wrap it well in plastic wrap and then in aluminum foil to prevent freezer burn. To thaw, place it in the fridge overnight before serving.
Why did my cheesecake turn out watery?
A watery cheesecake can result from overmixing the batter, which incorporates too much air, or if you didn’t bake it long enough. Make sure to mix just until combined and check that it’s fully set before removing it from the oven.

- Decadent Peanut Butter No-Bake Cheesecake: Easy Recipe to Indulge - April 3, 2026
- Delicious Mango No-Bake Cheesecake: Step-by-Step Recipe - April 3, 2026
- Decadent Raspberry No-Bake Cheesecake: Easy Step-by-Step Recipe - April 3, 2026