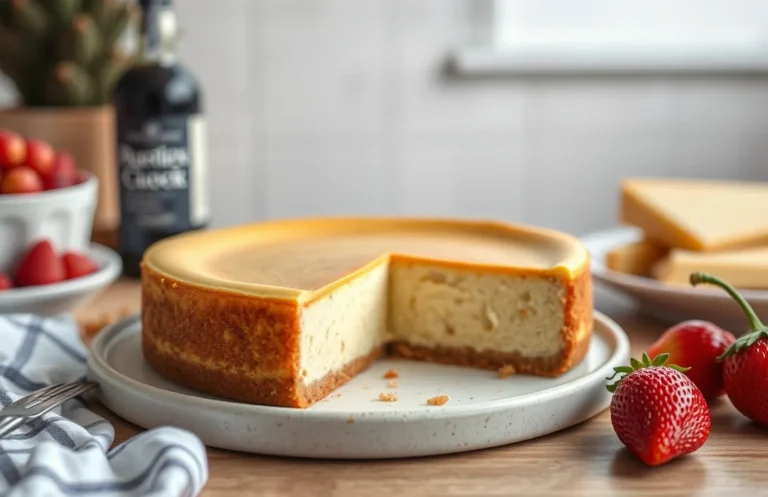
Easy Cannoli Cheesecake Recipe: No-Bake Delight for Sharing
If you’re looking for a dessert that perfectly combines the creamy richness of cheesecake with the delightful crunch of cannoli, this Cannoli Cheesecake is your answer! It’s an indulgent treat that’s sure to impress friends and family, making it the ideal centerpiece for any occasion. Trust me, one slice and you’ll be hooked!
Total time: 2 hours 30 minutes | Difficulty: Intermediate | Servings: 12
| Prep Time | Cook Time | Total Time | Servings | Difficulty |
|---|---|---|---|---|
| 30 minutes | 1 hour | 2 hours 30 minutes | 12 | Intermediate |
History of Cannoli Cheesecake
Cannoli cheesecake is a delightful fusion of two beloved desserts, bringing together the rich, creamy texture of cheesecake with the classic flavors of Italian cannoli. Understanding its origins helps us appreciate how this unique dessert has evolved and why it has become a favorite for sharing on platforms like Facebook.
Origin of Cannoli
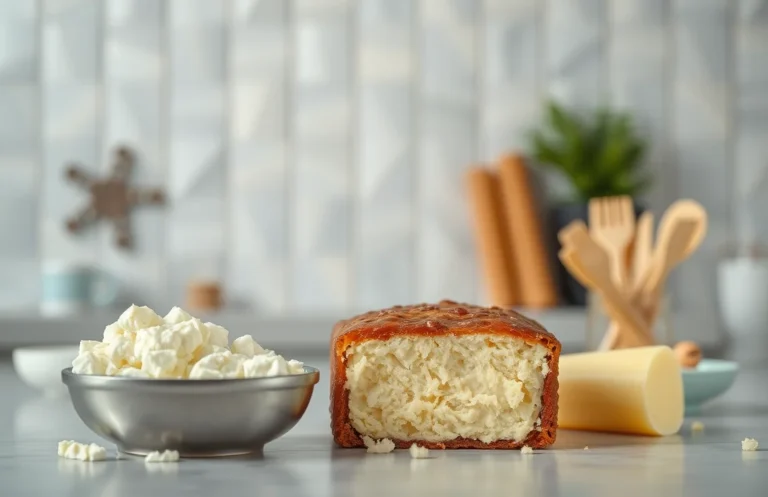
Cannoli originated in Sicily, Italy, where they have been enjoyed since the 9th century. Traditionally, they consist of a crispy pastry shell filled with a sweet, creamy filling made from ricotta cheese, often flavored with vanilla or chocolate. The key elements that define a classic cannoli include:
- Shell: Crispy and flaky, made from a dough that is rolled thin and fried.
- Filling: Creamy ricotta mixed with sugar, often enhanced with chocolate chips or citrus zest.
Evolution into Cheesecake
The transformation into cannoli cheesecake is a modern twist, combining the elements of both desserts. Cheesecake itself, with origins dating back to ancient Greece, took on various forms across cultures. The integration of cannoli flavors into cheesecake creates a rich, indulgent dessert perfect for celebrations and gatherings.
Chef’s tip: Use high-quality ricotta for the filling to achieve a smooth and creamy texture.
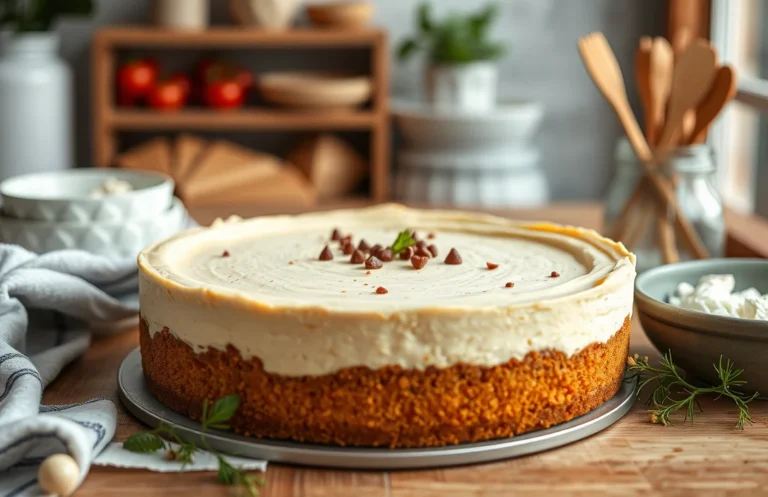
This dessert is not only visually stunning but also perfect for sharing on social media, especially Facebook, where its creamy layers and colorful toppings can attract attention. The combination of textures and flavors makes it a showstopper at any gathering.
Ingredients for Cannoli Cheesecake
In this section, you’ll find a detailed list of all the ingredients needed to create the perfect cannoli cheesecake. Each component is essential for achieving that rich, creamy texture and delightful flavor that makes this dessert so special. Let’s make sure you have everything ready for your delicious creation!
Cheesecake Base Ingredients
| Item | Amount/Specification | Notes |
|---|---|---|
| Graham cracker crumbs | 1 ½ cups (150g) | Finely crushed for a smooth base |
| Granulated sugar | ¼ cup (50g) | For sweetness |
| Unsalted butter | ½ cup (115g) | Melted and cooled |
| Cream cheese | 16 oz (450g) | Softened for easy mixing |
| Sour cream | 1 cup (240g) | Adds creaminess |
| Granulated sugar | 1 cup (200g) | For the cheesecake filling |
| Vanilla extract | 1 teaspoon | For flavor |
| Eggs | 3 large | Room temperature |
Cannoli Filling Ingredients
| Item | Amount/Specification | Notes |
|---|---|---|
| Ricotta cheese | 1 ½ cups (340g) | Drained well for a thicker texture |
| Powdered sugar | ¾ cup (90g) | For sweetness and smoothness |
| Mini chocolate chips | ½ cup (90g) | Optional, for a traditional cannoli touch |
| Ground cinnamon | ½ teaspoon | Adds warmth |
- For gluten-free options, substitute graham cracker crumbs with gluten-free alternatives.
- If you prefer a lighter cheesecake, you can use low-fat cream cheese and sour cream.
Essential Kitchen Equipment
To create a delicious cannoli cheesecake that not only tastes amazing but also looks stunning for sharing on Facebook, having the right kitchen equipment is essential. Below is a list of the necessary tools and prep steps to ensure your baking experience goes smoothly.
- 9-inch Springform Pan: This is crucial for easy removal of your cheesecake. The springform design allows you to release the sides without damaging the cake. Make sure to grease it lightly with butter or cooking spray to prevent sticking.
- Mixing Bowls: You’ll need a large mixing bowl for the cheesecake batter and a smaller one for the ricotta filling. Choose bowls that are at least 2-quart capacity to allow for easy mixing without spills.
- Electric Mixer: A hand mixer or stand mixer will save you time and effort when beating the cream cheese and ricotta to a smooth consistency. Aim for a fluffy texture without lumps, which should take about 2-3 minutes on medium speed.
- Rubber Spatula: Use this to fold in ingredients gently, especially when incorporating whipped cream into the cheesecake mixture. This helps maintain the light and airy texture.
- Measuring Cups and Spoons: Accurate measurements are key to the success of your recipe. Ensure you have both dry and liquid measuring tools for precise ingredient amounts.
- Whisk: A whisk is perfect for blending the dry ingredients together and ensuring there are no clumps in your mixture. It also comes in handy for the ricotta filling.
- Cooling Rack: After baking, allow your cheesecake to cool completely on a rack before refrigerating. This prevents condensation from forming on the cheesecake surface.
Step-by-Step Cooking Instructions
In this section, we’ll walk through the precise steps to create a delicious cannoli cheesecake, from preparing the crust to baking and cooling it perfectly. Following these instructions will ensure your cheesecake turns out beautifully, ready to impress your friends on Facebook!
-
Preparing the Crust
Preheat your oven to 350°F (175°C). In a medium bowl, combine 1 ½ cups of graham cracker crumbs, ⅓ cup of granulated sugar, and ½ cup of melted unsalted butter. Stir until the mixture resembles wet sand. Press the mixture evenly into the bottom of a 9-inch springform pan, making sure to pack it tightly. Bake for 10 minutes until lightly golden and fragrant. Remove and let cool completely.
-
Making the Filling
In a large mixing bowl, beat 16 ounces (450g) of cream cheese and 1 cup of granulated sugar with an electric mixer on medium speed until smooth, about 3-4 minutes. Add 1 teaspoon of vanilla extract, 1 teaspoon of lemon zest, and 2 large eggs, one at a time, mixing well after each addition. Fold in 1 cup of ricotta cheese and ½ cup of mini chocolate chips until fully incorporated.
-
Baking and Cooling
Pour the filling into the cooled crust and spread it evenly. Bake in the preheated oven for 50-60 minutes until the edges are set but the center still has a slight jiggle. Turn off the oven and crack the door open, letting the cheesecake cool gradually for 1 hour. Once cool, cover and refrigerate for at least 4 hours, preferably overnight, to firm up. A well-cooled cheesecake will slice neatly and look stunning for sharing on social media!
Pro Tips for Perfect Cheesecake
Creating a flawless cannoli cheesecake involves a few key techniques to ensure a smooth texture and avoid unsightly cracks. These tips will help you achieve a creamy filling that’s perfect for sharing on Facebook or impressing at any gathering.
Achieving Smooth Texture
- Use Room Temperature Ingredients: Make sure your cream cheese, ricotta, and eggs are at room temperature before mixing. This helps to create a smoother batter with fewer lumps. Let them sit out for about 30 minutes before starting.
- Mix Gently: When combining ingredients, use a hand mixer on low speed to avoid incorporating too much air. Overmixing can lead to cracks later on as the cheesecake rises and falls during baking.
- Strain the Ricotta: If using ricotta, strain it through a fine mesh sieve to remove excess moisture. This step is crucial for achieving that silky texture we all love in cheesecakes.
Avoiding Cracks
- Water Bath Method: Baking your cheesecake in a water bath (bain-marie) helps regulate the temperature and prevents cracks. Wrap the bottom of your springform pan in aluminum foil and place it in a larger pan filled with hot water before baking.
- Don’t Overbake: Check for doneness when the edges are set but the center still jiggles slightly. Remove the cheesecake from the oven at around 60-65 minutes at 325°F (163°C). It will continue to firm up as it cools.
- Cool Gradually: After baking, turn off the oven and crack the door ajar, allowing the cheesecake to cool slowly for about an hour. This gradual cooling helps prevent sudden temperature changes that can cause cracks.
Variations and Substitutions
This section highlights gluten-free options and vegan alternatives for your cannoli cheesecake, ensuring that everyone can enjoy a slice. Making these substitutions allows for dietary modifications without compromising on flavor or texture.
Gluten-Free Options
| Item | Amount/Specification | Notes |
|---|---|---|
| Gluten-Free Crust | 1 ½ cups gluten-free graham cracker crumbs (150g) | Use a brand that holds together well. |
| All-Purpose Gluten-Free Flour | 1 cup (120g) | Ensure it’s a 1:1 substitute blend. |
Vegan Alternatives
| Item | Amount/Specification | Notes |
|---|---|---|
| Cashews | 2 cups (300g), soaked | Soak for at least 4 hours for creaminess. |
| Maple Syrup | ¾ cup (180ml) | For sweetness; adjust to taste. |
| Coconut Cream | 1 cup (240ml) | Substitute for heavy cream. |
- For a chocolate twist, add ½ cup cocoa powder when blending the filling.
- Consider using vegan chocolate chips for garnish.
- For a nut-free option, substitute the cashews with silken tofu.
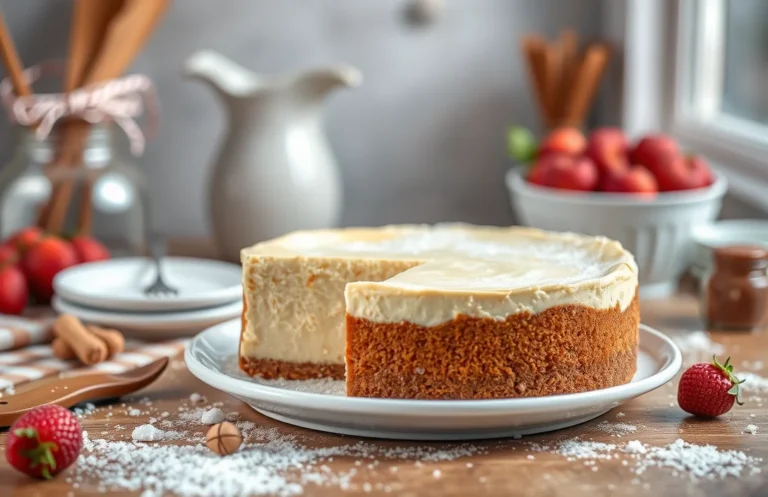
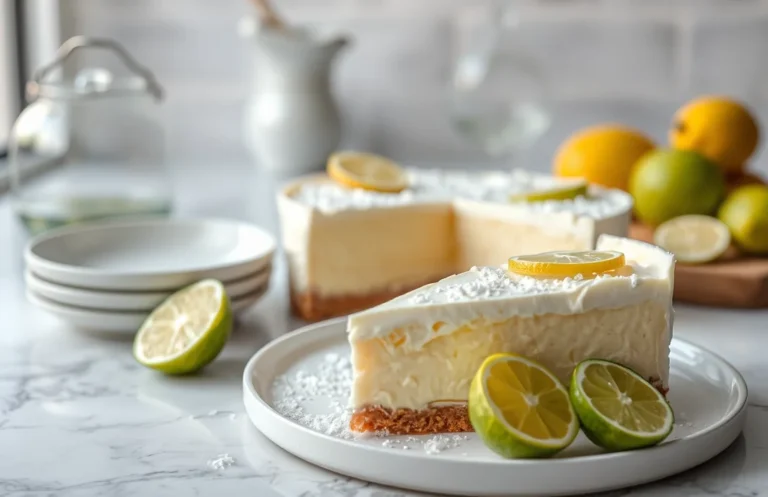
Serving and Plating Ideas
Presenting your cannoli cheesecake beautifully can elevate your dessert from delicious to stunning, especially when sharing on Facebook. With the right plating techniques and pairing suggestions, your cheesecake will not only taste great but also look irresistible.
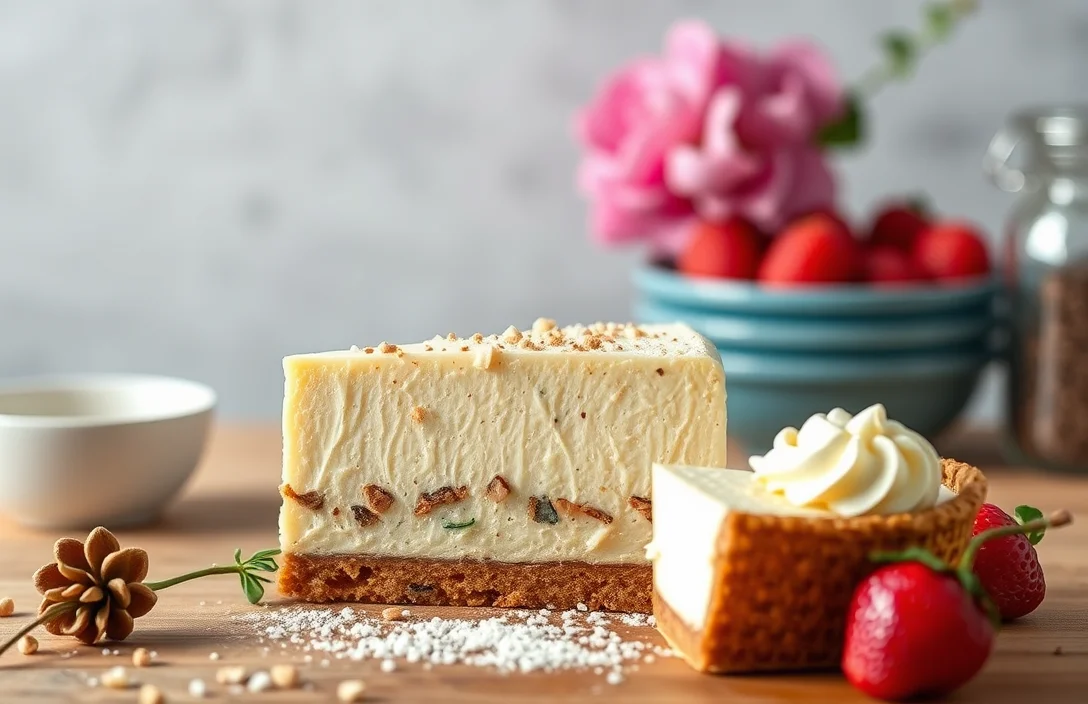
Plating Techniques
- Slice Presentation: Cut the cheesecake into even slices, aiming for about 1-inch thickness. Use a sharp knife dipped in hot water for clean edges.
- Garnish: Top each slice with a dollop of whipped cream and a sprinkle of mini chocolate chips or crushed pistachios for color contrast.
- Drizzle: Use a chocolate or caramel sauce to create an artistic drizzle across the plate, adding a touch of elegance.
- Plate Choice: White plates work wonders to highlight the cheesecake’s creamy texture and vibrant toppings. Consider using a square plate for a modern touch.
Pairing Suggestions
Enhancing your cheesecake with thoughtful pairings can make the experience even more delightful. Here are some ideas:
| Pairing | Description |
|---|---|
| Espresso | The rich bitterness of espresso complements the sweet, creamy cheesecake perfectly. |
| Fruit Compote | A raspberry or cherry compote adds a tart contrast that balances the sweetness. |
| Limoncello | This Italian lemon liqueur offers a refreshing citrus finish after the rich cheesecake. |
Chef’s tip: Always serve your cheesecake chilled for the best texture and flavor, and consider slicing it just before serving for a fresh look.
Quick Summary
| Prep Time | 30 minutes |
|---|---|
| Cook Time | 60 minutes |
| Total Time | 90 minutes |
| Servings | 12 |
- Make the crust: Combine 2 cups of crushed graham crackers with ½ cup of melted butter.
- Prepare the filling: Beat 16 oz cream cheese, 1 cup ricotta, and ¾ cup sugar until smooth.
- Add flavor: Mix in 1 tsp vanilla extract and ½ cup mini chocolate chips.
- Bake: Pour filling into crust and bake at 325°F for 60 minutes.
- Chill: Refrigerate for at least 4 hours before serving.
- Tip: Ensure cream cheese is at room temperature for a lump-free filling.
- Tip: Let the cheesecake cool completely in the oven to prevent cracking.
Frequently Asked Questions
Can I make this cannoli cheesecake ahead of time? How do I store and reheat it?
You can absolutely make this cannoli cheesecake up to 2 days in advance. Store it in the refrigerator, covered tightly with plastic wrap, and serve chilled without reheating for the best texture.
What can I substitute for ricotta cheese in the cannoli cheesecake?
If you don’t have ricotta cheese, you can use mascarpone cheese for a rich flavor, or a mix of cream cheese and Greek yogurt to maintain the creamy texture.
How do I know when the cannoli cheesecake is done baking?
The cheesecake is done when the edges are set and the center has a slight jiggle—it will firm up as it cools. It should be golden around the edges, but not browned.
Can I freeze this cannoli cheesecake? How long does it last?
You can freeze the cannoli cheesecake for up to 2 months if wrapped tightly in plastic wrap and foil. Thaw it in the refrigerator overnight before serving for the best texture.
What if I don’t have a springform pan for the cannoli cheesecake?
If you don’t have a springform pan, you can use a 9-inch round cake pan lined with parchment paper, but be careful when slicing to prevent it from sticking.

- 10 Best Cheese Knife With Holes For Smooth Slice 2026 - March 9, 2026
- Make Cheesecake Up to 3 Days Ahead: Tips for Best Flavor & Texture - March 4, 2026
- Easy No-Bake Cool Doen Cheesecake: Quick Recipe & Tips - March 4, 2026