Moist Vanilla Cupcakes with Self-Raising Flour: Easy Recipe
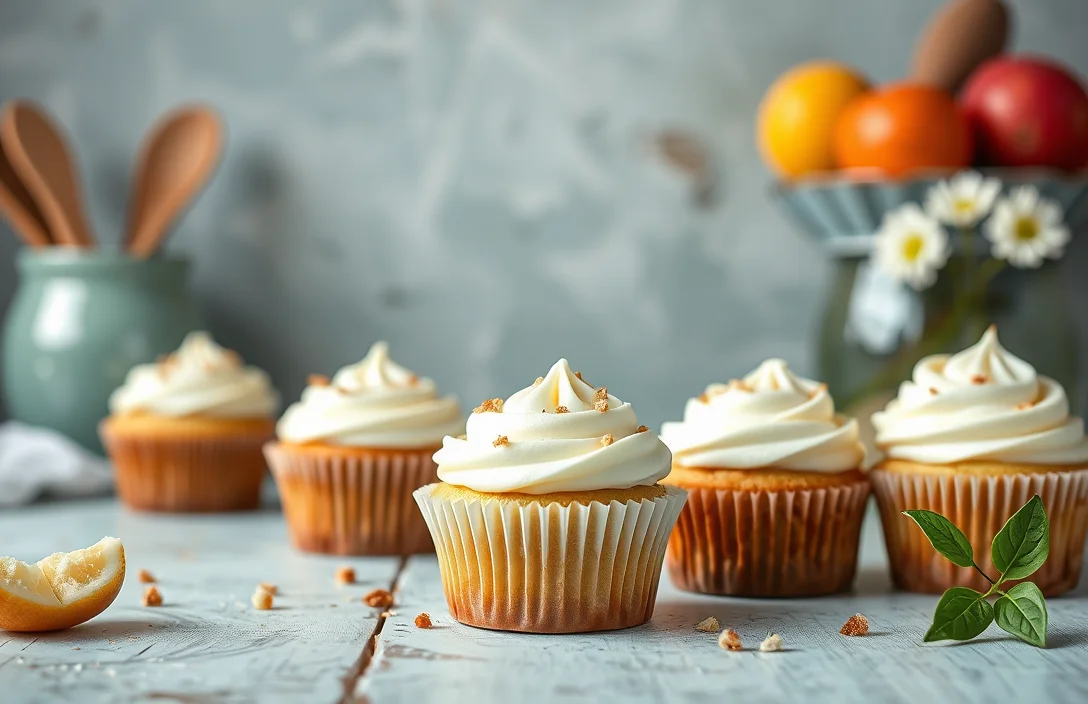
These easy, moist vanilla cupcakes are the perfect treat for any occasion, whether you’re celebrating a birthday or simply want to indulge your sweet tooth. With their fluffy texture and rich vanilla flavor, they are sure to impress your family and friends. Trust me, once you take a bite, you’ll be hooked!
Key details: Total time: 30 minutes, Difficulty level: Easy, Servings: 12 cupcakes.
| Prep Time | Cook Time | Total Time | Servings | Difficulty |
|---|---|---|---|---|
| 10 minutes | 20 minutes | 30 minutes | 12 | Easy |
History of Vanilla Cupcakes
Vanilla cupcakes have a delightful history that reflects their popularity across cultures and time. With their simple yet rich flavor, they have become a staple in many households, making them a perfect choice for various celebrations and everyday indulgence.
- Origins in the 19th Century: The cupcake as we know it began to take shape in the early 1800s in America. These small cakes, originally baked in individual molds, were often made with simple ingredients, making them accessible to home bakers.
- Cultural Significance: Vanilla, a flavor derived from the orchid plant, has been cherished for centuries. Its use in cupcakes reflects a broader trend in baking that emphasizes using quality ingredients to enhance flavor, connecting back to its origins in both European and American baking traditions.
- Modern Adaptations: Today’s vanilla cupcakes have evolved, incorporating various techniques and ingredients. The use of self-raising flour, as seen in the easy moist vanilla cupcakes by Preppy Kitchen, simplifies the baking process, allowing even novice bakers to achieve fluffy and moist results.
- Popularity in Celebrations: Vanilla cupcakes have become a popular choice for birthdays, weddings, and other special occasions, often adorned with colorful frosting and decorations. Their versatility allows for endless flavor combinations and presentations.
Ingredients List
This section provides a detailed list of ingredients you’ll need to create your easy moist vanilla cupcakes using self-raising flour, inspired by Preppy Kitchen. Having the right ingredients in precise measurements is crucial for achieving that perfect moist texture and delicious vanilla flavor.
| Item | Amount/Specification | Notes |
|---|---|---|
| Self-raising flour | 1 ½ cups (190g) | Ensure it’s fresh for best results. |
| Granulated sugar | 1 cup (200g) | Adjust based on sweetness preference. |
| Unsalted butter | ½ cup (115g), softened | Bring to room temperature for easy creaming. |
| Eggs | 2 large | Use room temperature eggs for better emulsification. |
| Whole milk | ½ cup (120ml) | Can be substituted with almond or oat milk. |
| Vanilla extract | 2 teaspoons | Pure vanilla extract is recommended for flavor. |
| Salt | ¼ teaspoon | Enhances the flavor of the cupcakes. |
- For a dairy-free version, substitute butter with coconut oil or a dairy-free spread.
- Make sure to sift the self-raising flour to avoid lumps.
- Room temperature ingredients help create a smooth batter.
- Keep an eye on baking time; overbaking can dry out the cupcakes.
Essential Kitchen Equipment
To achieve the perfect moist vanilla cupcakes, having the right tools on hand is crucial. The following kitchen equipment will help streamline the baking process and ensure consistent results. From mixing to baking, these tools will set you up for success.
| Item | Amount/Specification | Notes |
|---|---|---|
| Mixing bowls | 2 medium-sized | One for dry ingredients and one for wet ingredients |
| Electric mixer | 1 | Stand mixer or hand mixer for easy creaming |
| Cupcake tin | 1 standard 12-cup | Ensure it’s non-stick or line with cupcake liners |
| Measuring cups | 1 set | For accurate ingredient measurements |
| Measuring spoons | 1 set | For precise measurements of baking powder and vanilla |
| Rubber spatula | 1 | For folding in dry ingredients |
| Cooling rack | 1 | To cool cupcakes evenly after baking |
- Tip: Always preheat your oven to 350°F (175°C) before starting to mix your batter.
- Make sure your mixing bowls are clean and dry to avoid unwanted moisture.
- If you don’t have an electric mixer, a whisk will work, but it may take longer to cream the butter and sugar.
Step-by-Step Baking Instructions
This section will guide you through the precise steps for baking your easy moist vanilla cupcakes using self-raising flour. Following these instructions carefully will ensure your cupcakes turn out fluffy, delicious, and perfectly baked every time.
- Preheat the oven: Start by preheating your oven to 350°F (175°C). This is crucial as it allows the cupcakes to rise properly. Allow the oven to reach the desired temperature before you place your cupcakes inside; this usually takes about 10-15 minutes.
- Prepare the cupcake pan: Line a cupcake pan with paper liners or lightly grease each cup with cooking spray. This ensures easy removal of the cupcakes after baking. Make sure the liners are snug in the pan to prevent them from collapsing while baking.
- Mix the wet ingredients: In a large mixing bowl, whisk together ½ cup (120ml) of whole milk, ½ cup (100g) of granulated sugar, ½ cup (115g) of unsalted butter (softened), and 2 large eggs. Beat the mixture until it’s well combined and slightly frothy, about 2-3 minutes. You want it to feel light and airy at this stage.
- Incorporate the dry ingredients: Gradually sift in 1 ½ cups (190g) of self-raising flour and 1 teaspoon of vanilla extract into the wet mixture. Gently fold the ingredients together using a spatula until just combined. Be careful not to overmix; the batter should be slightly lumpy but without any dry flour visible.
- Fill the cupcake liners: Using a scoop or a spoon, fill each cupcake liner about two-thirds full with the batter. This allows the cupcakes to rise without spilling over. You should see the batter level just below the edge of the liner.
- Bake the cupcakes: Place the cupcake pan in the preheated oven and bake for 18-20 minutes. You’ll know they are done when they are lightly golden and a toothpick inserted into the center comes out clean. The tops should spring back when lightly pressed with your finger.
- Cool the cupcakes: Once baked, remove the cupcake pan from the oven and let it cool for about 5 minutes. Then, carefully transfer the cupcakes to a wire rack to cool completely. This helps prevent them from becoming soggy.
Expert Tips for Moist Cupcakes
Creating moist vanilla cupcakes is an art that combines the right ingredients and baking techniques. By paying attention to these details, you can ensure your cupcakes are soft, tender, and bursting with flavor.
- Use room temperature ingredients: Allow your butter, eggs, and milk to come to room temperature before mixing. This helps create a smooth batter and ensures even baking, resulting in cupcakes that rise beautifully and have a tender crumb.
- Don’t overmix the batter: When incorporating your self-raising flour, mix just until the ingredients are combined. Overmixing can develop gluten, leading to denser cupcakes. Aim for a smooth batter with a few small lumps, which will bake into light and fluffy treats.
- Incorporate moisture-rich ingredients: Adding 2 tablespoons of sour cream or yogurt can significantly enhance moisture levels in your cupcakes. These ingredients contribute to a tender texture and prevent dryness during baking.
- Proper oven temperature: Preheat your oven to 350°F (175°C) and use an oven thermometer to ensure accuracy. Baking at the right temperature helps your cupcakes rise evenly and prevents them from drying out.
- Check for doneness: Start checking your cupcakes at 18 minutes by inserting a toothpick in the center. It should come out clean or with a few moist crumbs. If it comes out wet, give them another minute or two, but be careful not to overbake.
- Store correctly: Once baked, let your cupcakes cool in the pan for 5 minutes before transferring them to a wire rack. Store cooled cupcakes in an airtight container at room temperature for up to 3 days to maintain their moisture.
Variations and Substitutions
When it comes to baking, it’s wonderful to have options that cater to various dietary needs and flavor preferences. Whether you’re looking to create gluten-free vanilla cupcakes or want to try a vegan version, these adaptations will ensure everyone can enjoy the deliciousness of moist vanilla cupcakes.
Gluten-Free Options
If you need a gluten-free cupcake, substituting the self-raising flour is essential. Here’s how to do it:
- Use 1 ½ cups gluten-free all-purpose flour (180g) that includes xanthan gum. If it doesn’t contain xanthan gum, add ½ teaspoon to your mixture.
- Be sure to whisk the gluten-free flour with 1 ½ teaspoons of baking powder and a pinch of salt before combining it with wet ingredients. This helps mimic the fluffiness of traditional self-raising flour.
Vegan Modifications
To make these cupcakes vegan-friendly, you can easily swap out a few ingredients:
- Replace ½ cup unsalted butter with ½ cup coconut oil or ½ cup of unsweetened applesauce for added moisture.
- Use 1 tablespoon of flaxseed meal mixed with 2.5 tablespoons of water as an egg substitute. Let it sit for 5 minutes until it thickens before adding to your batter.
- Opt for a non-dairy milk, such as almond milk or oat milk, in place of regular milk at a 1:1 ratio.
Chef’s tip: Always check your gluten-free flour blend to ensure it has a suitable structure for baking, as some blends can behave differently.
With these variations, you can still achieve that light, moist texture and delightful vanilla flavor that makes these cupcakes irresistible, no matter your dietary needs!
Serving and Plating Suggestions
Presenting your easy moist vanilla cupcakes can elevate their appeal and enhance the overall enjoyment. Here are some delightful frosting options and pairing suggestions that will make your cupcakes irresistible!
Frosting Options
- Classic Vanilla Buttercream: Whip together 1 cup (230g) unsalted butter, softened, with 4 cups (480g) powdered sugar, 2 teaspoons vanilla extract, and 2-3 tablespoons heavy cream until light and fluffy. This creamy frosting pairs beautifully with the vanilla flavor of the cupcakes.
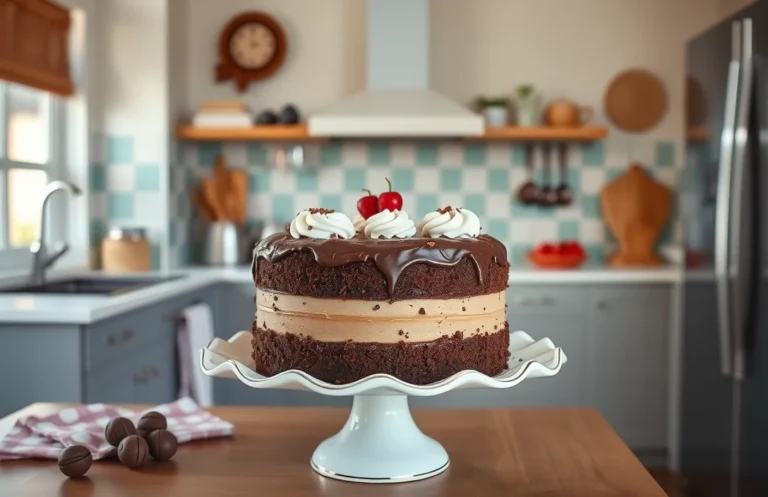
- Chocolate Ganache: Heat 1 cup (240ml) heavy cream until just boiling, then pour over 8 ounces (225g) of chopped chocolate. Let it sit for 5 minutes, then whisk until smooth. This rich ganache adds a decadent touch.
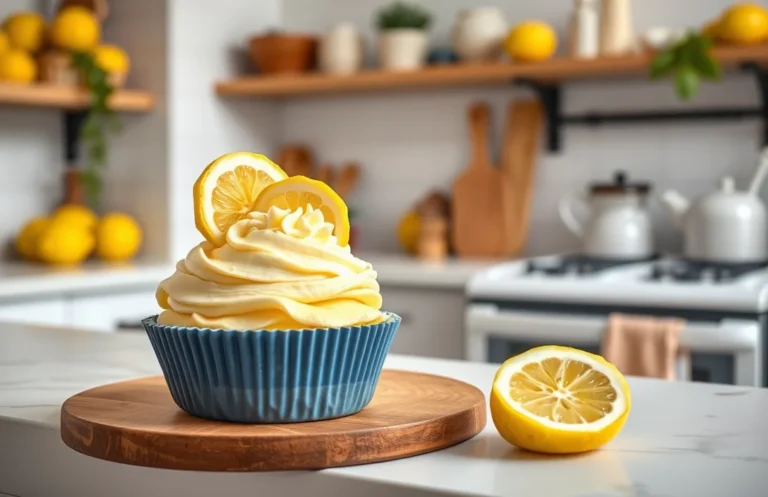
- Lemon Cream Cheese Frosting: Beat together 8 ounces (225g) cream cheese, ½ cup (115g) unsalted butter, 2 cups (240g) powdered sugar, and the zest of one lemon for a refreshing twist.
Pairing Suggestions
To enhance the flavors of your cupcakes, consider serving them with complementary sides:
- A scoop of vanilla ice cream or a dollop of whipped cream for a classic dessert pairing.
- A cup of freshly brewed coffee or tea to balance the sweetness.
- Fresh berries like strawberries or raspberries to add a tart contrast and vibrant color.
Chef’s tip: For a stunning presentation, pipe the frosting using a star tip and top with colorful sprinkles or edible flowers.
Quick Summary
| Prep Time | 15 minutes |
|---|---|
| Cook Time | 20 minutes |
| Total Time | 35 minutes |
| Servings | 12 cupcakes |
- Use self-raising flour: This ensures a light and fluffy texture.
- Preheat your oven: Set to 350°F (175°C) for even baking.
- Mix wet ingredients first: Cream butter and sugar before adding eggs and vanilla.
- Don’t overmix: Stir just until combined to maintain moistness.
- Check doneness: Insert a toothpick; it should come out clean.
- Cool completely: Allow cupcakes to cool before frosting for best results.
Key Tips: Measure flour accurately for moisture control. Use room temperature ingredients for better incorporation.
Frequently Asked Questions
Can I make this ahead of time? How to store and reheat?
You can make the cupcakes a day in advance; just store them in an airtight container at room temperature. If you need to reheat, pop them in the microwave for about 10-15 seconds to bring back their moisture.
What can I substitute for self-raising flour?
If you don’t have self-raising flour, you can use all-purpose flour combined with baking powder — for every cup of flour, add 1 ½ teaspoons of baking powder. Just remember to reduce the salt in your recipe since self-raising flour already contains some.
How do I know when it’s done?
Your cupcakes are done when they are <strong,golden brown and spring back lightly when touched, usually around 18-20 minutes at 350°F (175°C). You can also insert a toothpick into the center; if it comes out clean or with a few crumbs, they’re ready!
Can I freeze this? How long does it last?
You can freeze the cupcakes for up to three months; just make sure they are completely cooled and wrapped tightly in plastic wrap. To thaw, leave them at room temperature for a couple of hours or overnight in the fridge.
What if I don’t have a cupcake pan?
If you don’t have a cupcake pan, you can use muffin tins or even a regular baking dish — just adjust the baking time accordingly, as larger cupcakes may take a few extra minutes to bake through. Line your alternative pan with parchment paper for easy removal.

- 10 Best Cheese Knife With Holes For Smooth Slice 2026 - March 9, 2026
- Make Cheesecake Up to 3 Days Ahead: Tips for Best Flavor & Texture - March 4, 2026
- Easy No-Bake Cool Doen Cheesecake: Quick Recipe & Tips - March 4, 2026