Elegant Preppy Kitchen Cheesecake: Tips for Perfect Presentation
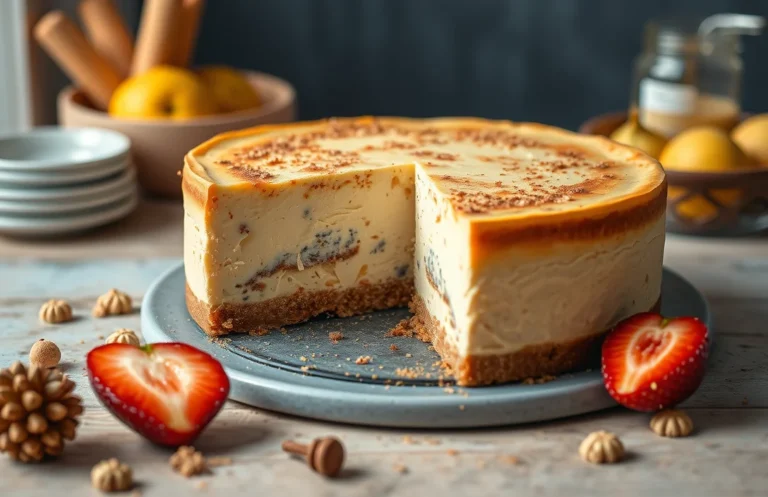
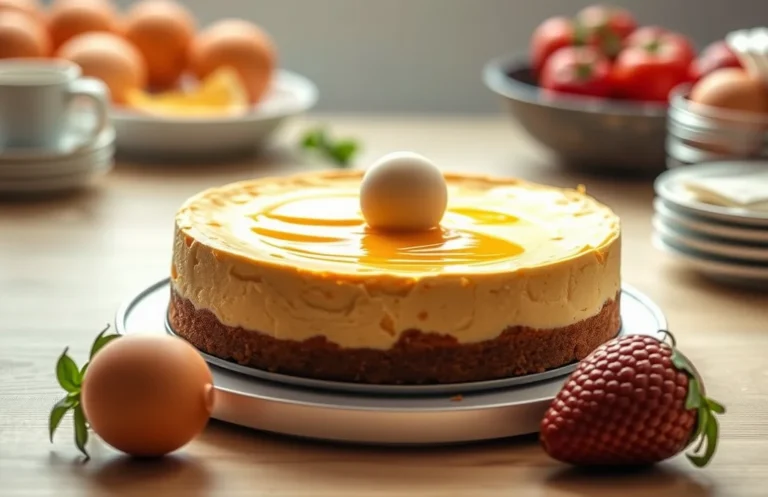
There’s something magical about a creamy cheesecake, especially when it’s lovingly crafted to perfection. This cheesecake is not just a dessert; it’s a showstopper that can transform any gathering into a celebration. The velvety texture paired with a buttery crust makes each slice irresistible, and trust me, your friends will be begging for the recipe!
Key details: This recipe takes a total of 1 hour and 15 minutes, has a medium difficulty level, and serves 8 people. Perfect for a weekend treat or a special occasion!
| Prep Time | Cook Time | Total Time | Servings | Difficulty |
|---|---|---|---|---|
| 20 minutes | 55 minutes | 1 hour 15 minutes | 8 | Medium |
Cheesecake Origins and Charm
Cheesecake has a rich history that spans centuries and cultures, making it a beloved dessert for many. Its creamy texture, combined with a crumbly crust, creates an indulgent treat that is perfect for any occasion, especially in a preppy kitchen where presentation and style matter.
Origin of Cheesecake
Cheesecake can trace its roots back to ancient Greece, where it was served to athletes during the first Olympic Games in 776 B.C. The Romans later adapted the recipe, spreading it throughout Europe. Over time, variations emerged, leading to the rich, smooth cheesecakes we know today.
What Makes It Special
- Versatility: Cheesecake can be flavored in countless ways, from classic vanilla to rich chocolate or fruity variations like strawberry and lemon.
- Texture: The creamy filling contrasts beautifully with the crunchy crust, creating a delightful mouthfeel.
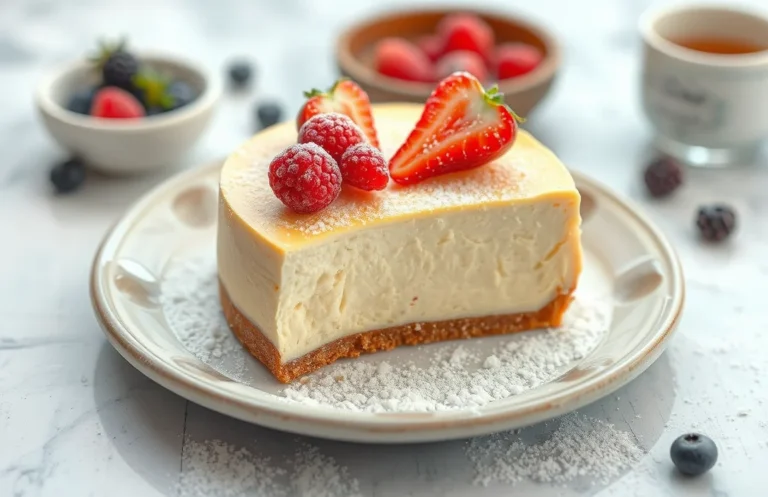
- Presentation: A well-made cheesecake can be a stunning centerpiece, often adorned with fresh fruits, whipped cream, or chocolate drizzles.
Ideal Occasions to Serve
This decadent dessert is perfect for a variety of gatherings:
- Birthdays
- Weddings
- Holiday celebrations
- Brunches with friends
Chef’s tip: A cheesecake served chilled, with a garnish of seasonal fruit, makes for an elegant presentation that is sure to impress your guests!
Ingredients List
This section provides a complete list of ingredients you’ll need to create a delicious cheesecake that embodies the Preppy Kitchen style. Whether you’re looking to impress at a gathering or simply enjoy a slice at home, having the right ingredients measured out ensures success in both flavor and presentation.
| Item | Amount/Specification | Notes |
|---|---|---|
| Graham cracker crumbs | 1 ½ cups (150g) | Use finely crushed for uniformity. |
| Unsalted butter | 6 tablespoons (85g) | Melted for crust binding. |
| Sugar | 2 tablespoons (25g) | Granulated, for crust sweetness. |
| Cream cheese | 24 ounces (680g) | Softened to room temperature. |
| Sour cream | 1 cup (240g) | Adds creaminess and tang. |
| Granulated sugar | 1 cup (200g) | For the filling. |
| Vanilla extract | 2 teaspoons | Pure vanilla for depth of flavor. |
| Eggs | 4 large | Room temperature for even mixing. |
| Heavy cream | ½ cup (120ml) | Optional for a silky texture. |
| Fresh fruit or chocolate | For topping | Choose seasonal fruits or chocolate shavings for presentation. |
- For a gluten-free option, substitute graham cracker crumbs with almond flour or gluten-free cookies.
- Ensure cream cheese is softened to prevent lumps in the filling.
- Use a springform pan for easy removal and a beautiful presentation.
Essential Kitchen Tools
Before you dive into making your cheesecake, it’s crucial to have the right tools on hand. The following equipment will ensure that your baking process is smooth and your cheesecake turns out beautifully, just like in a Preppy Kitchen.
- Springform Pan: A 9-inch springform pan is essential for cheesecakes, allowing for easy removal without damaging the delicate crust. Look for one with a tight seal to prevent leaks during baking.
- Mixing Bowls: Have at least two mixing bowls—one for the crust and another for the filling. A glass or stainless steel bowl is ideal as they hold up well to mixing and can be easily cleaned.
- Electric Mixer: A stand mixer or hand mixer will save you time and effort when beating the cream cheese to a smooth consistency. Aim for a fluffy texture without lumps, which should take about 3-4 minutes on medium speed.
- Rubber Spatula: This tool is perfect for folding in ingredients gently, especially when incorporating whipped cream into the cheesecake mixture. It ensures you maintain the airiness of the filling.
- Measuring Cups and Spoons: Accurate measurements are key to baking success. Use dry measuring cups for solids and liquid measuring cups for liquids to avoid mishaps.
- Food Processor: If you’re making a cookie crust, a food processor will help you achieve the perfect crumb texture. Pulse until you have fine crumbs, about 10-15 seconds.
- Oven Thermometer: Ensure your oven temperature is accurate, as cheesecakes are sensitive to temperature changes. This tool will help avoid overcooking or undercooking.
Chef’s tip: Always line the bottom of your springform pan with parchment paper to prevent sticking.
Step-by-Step Instructions
This section will guide you through the essential steps of preparing a delicious cheesecake, focusing on the crust, the filling, and the baking process. Follow these clear instructions to ensure your cheesecake is a showstopper, perfect for any occasion.
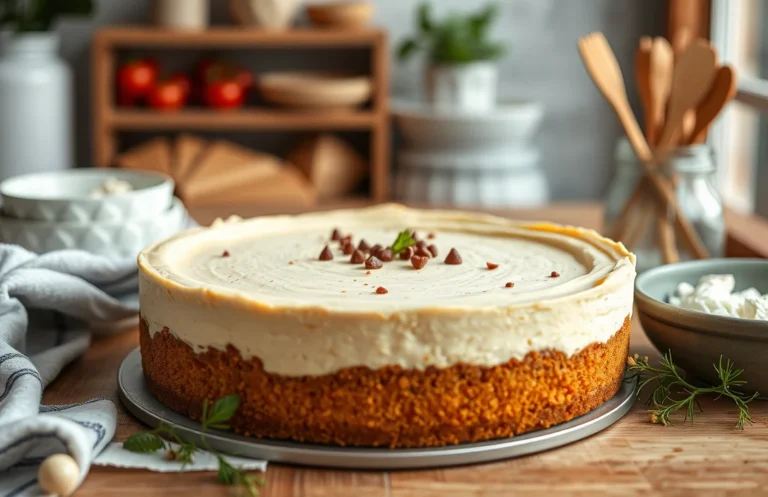
- Preparing the Crust: Preheat your oven to 350°F (175°C). In a mixing bowl, combine 1 ½ cups of graham cracker crumbs (150g), ⅓ cup of granulated sugar (70g), and ½ cup of melted unsalted butter (115g). Stir until the mixture resembles wet sand. Press the mixture firmly into the bottom of a 9-inch springform pan, making sure to create an even layer up the sides. Bake for 10 minutes until slightly golden and fragrant.
- Making the Filling: In a large mixing bowl, beat 24 ounces (680g) of cream cheese at room temperature with an electric mixer until smooth and creamy, about 2-3 minutes. Gradually add 1 cup (200g) of granulated sugar and continue to mix until well combined. Add 3 large eggs, one at a time, mixing on low speed until just incorporated. Finally, mix in 1 teaspoon of vanilla extract and 1 tablespoon of lemon juice for a refreshing flavor.
- Baking Process: Pour the filling over the crust in the springform pan. Place the pan in the center of the preheated oven and bake for 55-60 minutes. The cheesecake should be set around the edges but slightly jiggly in the center. Do not open the oven door during the first 50 minutes to maintain even heat. Once baked, turn off the oven and let the cheesecake sit inside for an additional hour to cool gradually.
Pro Tips and Common Mistakes
Creating the perfect cheesecake can be a delicate process, but with a few expert tips, you can achieve a creamy, crack-free dessert that looks as delightful as it tastes. Understanding common pitfalls will help you avoid mishaps and ensure your cheesecake reflects the elegance of the Preppy Kitchen style.
- Achieving Creamy Texture: Use room temperature ingredients, especially cream cheese, eggs, and sour cream. This helps them blend smoothly without lumps. When mixing, beat just until combined, as overmixing can incorporate too much air, leading to cracks during baking.
- Avoiding Cracks: To minimize cracks, bake your cheesecake in a water bath. Wrap the bottom of your springform pan tightly in aluminum foil to prevent leaks, then place it in a larger pan filled with hot water. This gentle cooking method ensures even heat distribution and keeps the surface moist.
- Proper Baking Temperature: Preheat your oven to 325°F (160°C) for optimal baking. A lower temperature allows the cheesecake to cook slowly and evenly. Remember to do not open the oven door during the first 30 minutes of baking, as sudden temperature changes can cause cracks.
Flavor Variations and Substitutions
This section will guide you through delightful variations and substitutions for your cheesecake, allowing you to customize the flavor profile to suit your taste or dietary needs. From fresh fruit toppings to decadent chocolate swirls, these options will elevate your cheesecake to match the Preppy Kitchen aesthetic.
Fruit Toppings
Fresh fruit is a classic topping that adds color and brightness to your cheesecake. Here are some popular options:
- 1 cup mixed berries (strawberries, blueberries, raspberries) — toss with 1 tablespoon of sugar to enhance sweetness.
- 1 cup sliced peaches or nectarines — macerate with 2 tablespoons of honey for a sweet glaze.
- 1 cup citrus segments (oranges, grapefruits) — add a sprinkle of mint for freshness.
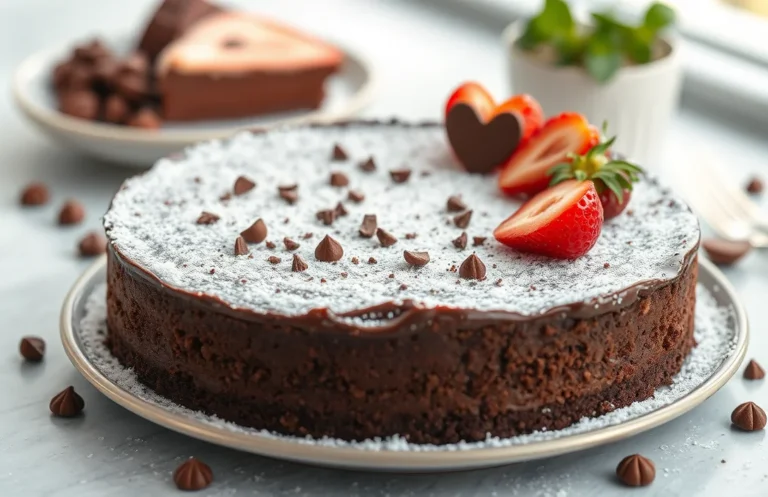
Chocolate Swirl
If you’re a chocolate lover, consider adding a chocolate swirl to your cheesecake. Here’s how:
- Melt 8 ounces of semi-sweet chocolate in a double boiler until smooth.
- Before baking, drop spoonfuls of the melted chocolate on top of the cheesecake batter.
- Using a knife, gently swirl the chocolate into the batter for a marbled effect.
Gluten-Free Options
If you need a gluten-free cheesecake, you can easily modify the crust and filling:
- Use 1 ½ cups of gluten-free graham cracker crumbs in place of regular crumbs for the crust.
- Ensure your cream cheese and sour cream are labeled gluten-free, as some brands may add gluten-containing stabilizers.
Chef’s tip: For a refreshing twist, try adding a tablespoon of lemon zest to the cheesecake filling for brightness!
Serving and Plating Ideas
Presenting your cheesecake beautifully can elevate any gathering and enhance the overall dining experience. Here are some thoughtful suggestions for plating, beverage pairings, and garnishing that reflect the clean and stylish aesthetic of a Preppy Kitchen.
-
Plating Tips
Start by removing the cheesecake from the springform pan and placing it on a decorative cake stand. Use a sharp knife dipped in hot water to slice the cheesecake into even pieces, ensuring clean edges. For a polished look, wipe the knife clean between cuts to avoid smudges.
-
Pairing Beverages
Complement your cheesecake with a light beverage. A chilled glass of Prosecco or a sweet Riesling pairs beautifully, enhancing the rich flavors of the cheesecake. For a non-alcoholic option, serve sparkling water infused with fresh lemon or mint for a refreshing contrast.
-
Garnishing Ideas
Add a touch of elegance to your cheesecake by garnishing it with fresh berries, such as raspberries or blueberries, arranged artfully on top. Drizzle a homemade berry coulis or a simple raspberry sauce over the cheesecake for a vibrant splash of color. You can also sprinkle a dusting of powdered sugar just before serving for a chic finishing touch.
Quick Summary
| Prep Time | Cook Time | Total Time | Servings |
|---|---|---|---|
| 20 minutes | 60 minutes | 4 hours (chill time included) | 8 servings |
- Preheat oven to 325°F for even baking.
- Crust first: Blend 1.5 cups graham cracker crumbs with 1/2 cup melted butter.
- Beat cream cheese: Whip 24 oz until smooth before adding other ingredients.
- Use a water bath: Prevents cracking for a smooth top.
- Cool in oven: Turn off heat and let cheesecake sit for 1 hour to firm up.
- Room temperature ingredients: Ensures a lump-free batter.
- Chill overnight: Enhances flavor and texture significantly.
Frequently Asked Questions
Can I make this cheesecake ahead of time? How to store and reheat?
You can definitely make this cheesecake up to 3 days ahead of serving. Store it in the refrigerator, covered tightly with plastic wrap, and serve it cold—no need to reheat!
What can I substitute for cream cheese?
If you’re looking for a substitute, you can use mascarpone cheese for a similar texture and a slightly sweeter flavor. Alternatively, ricotta cheese can work, but make sure to blend it until smooth to avoid graininess.
How do I know when the cheesecake is done?
Your cheesecake is done when the edges are set but the center still has a slight jiggle, which should take about 55-60 minutes at 325°F (163°C). It will firm up as it cools, so don’t overbake it!
Can I freeze this cheesecake? How long does it last?
Yes, you can freeze the cheesecake for up to 3 months; just wrap it tightly in plastic wrap and then in aluminum foil. When you’re ready to enjoy it, thaw it in the refrigerator for about 8 hours or overnight.
Why did my cheesecake turn out cracked?
Your cheesecake may crack if it was baked at too high a temperature or if it was overbaked; try baking at 300°F (150°C) next time. Additionally, letting it cool gradually in the oven with the door ajar can help prevent cracks!

- Make Cheesecake Up to 3 Days Ahead: Tips for Best Flavor & Texture - March 4, 2026
- Easy No-Bake Cool Doen Cheesecake: Quick Recipe & Tips - March 4, 2026
- Decadent Dulce de Leche Cheesecake: Easy Step-by-Step Recipe - March 4, 2026