Delicious Espresso Cake Recipe: Step-by-Step Preppy Kitchen Style
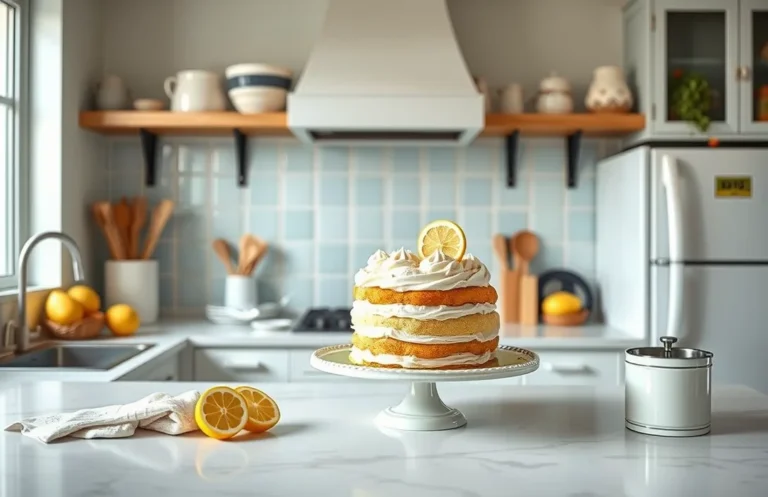
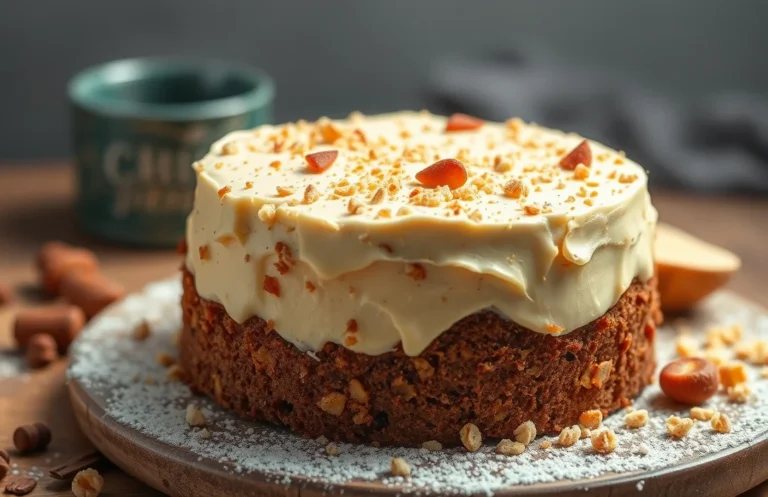
This espresso cake is not just a dessert; it’s a decadent treat that brings the rich, bold flavors of coffee into every bite. Perfect for an afternoon pick-me-up or a special occasion, this cake is moist, fluffy, and topped with a luscious espresso glaze that will make your taste buds dance with delight.
Ready to bake? This recipe takes about 1 hour from start to finish, has a medium difficulty level, and serves 8 people.
| Prep Time | Cook Time | Total Time | Servings | Difficulty |
|---|---|---|---|---|
| 20 minutes | 40 minutes | 1 hour | 8 | Medium |
Espresso Cake Story
Espresso cake is not just a dessert; it’s a delightful experience that combines the rich, bold flavors of espresso with the moist texture of cake. This section uncovers the origins of this beloved treat, what sets it apart, and perfect occasions for serving it.
- Origin of Espresso Cake: Espresso cake likely emerged in Italy, where coffee culture flourished. The rich flavor of espresso was incorporated into desserts to create a cake that embodies the spirit of Italian coffeehouses.
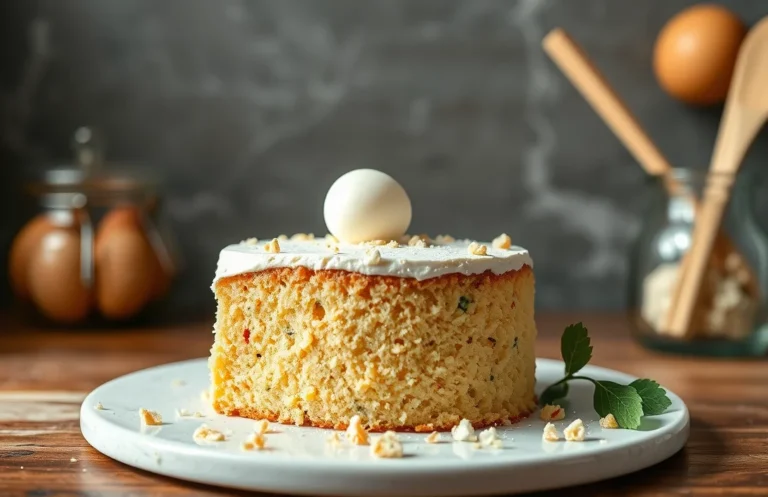
- What Makes It Unique: What distinguishes espresso cake from other coffee-flavored cakes is its intense depth of flavor, thanks to the use of real espresso. This gives the cake a moist crumb and a delightful aroma that fills the kitchen as it bakes.
- Occasions to Serve: Espresso cake is perfect for special occasions, such as brunches, birthdays, or as a delightful afternoon treat with coffee. Its sophisticated flavor profile makes it an excellent choice for gatherings where you want to impress your guests.
Ingredient List
To create a delightful espresso cake that mirrors the elegance of the Preppy Kitchen style, you’ll need a carefully curated list of ingredients. This section includes exact measurements for dry and wet ingredients, along with additional flavorings that will elevate your cake to the next level. Let’s make sure you have everything you need for a wonderfully rich and flavorful espresso cake!
| Item | Amount/Specification | Notes |
|---|---|---|
| All-purpose flour | 1 ¾ cups (220g) | Sifted for better texture |
| Granulated sugar | 1 cup (200g) | For sweetness and moisture |
| Baking powder | 2 teaspoons | Ensure freshness for proper rise |
| Baking soda | ½ teaspoon | Balances acidity of espresso |
| Salt | ½ teaspoon | Enhances flavors |
| Unsweetened cocoa powder | ¼ cup (25g) | Optional, for depth of flavor |
| Eggs | 3 large | Room temperature for better mixing |
| Buttermilk | ½ cup (120ml) | Adds moisture and tang |
| Espresso | 1 cup (240ml) | Brewed strong for punchy flavor |
| Vegetable oil | ½ cup (120ml) | Keeps cake moist |
| Vanilla extract | 2 teaspoons | For aromatic flavor |
- Substitution Tip: Use almond milk or coconut milk instead of buttermilk for a dairy-free option.
- Common Mistake: Make sure all wet ingredients are at room temperature to ensure smooth mixing.
- Consider adding ½ cup of chopped nuts for added texture, if desired.
Kitchen Equipment
To create a delightful espresso cake, having the right kitchen equipment is essential. This section outlines the tools you’ll need to ensure your baking process is smooth and successful.
Baking Equipment
- 9-inch Round Cake Pans (2): These will help you achieve a perfectly baked cake with even layers. Make sure to grease them with butter and dust with flour to prevent sticking.
- Cooling Rack: Once your cakes are baked, transferring them to a cooling rack allows air to circulate, preventing sogginess. Let the cakes cool completely before frosting.
- Oven: Preheat your oven to 350°F (175°C) before you start mixing your batter. An accurate temperature is crucial for even baking.
Mixing Tools
- Mixing Bowls: Use at least two medium-sized mixing bowls for combining wet and dry ingredients separately. Glass or stainless steel bowls are ideal as they won’t retain odors.
- Electric Mixer: A hand or stand mixer will save time and ensure a smooth batter. Cream the butter and sugar until light and fluffy, which should take about 3-4 minutes.
- Measuring Cups and Spoons: Precision is key when baking. Use dry measuring cups for flour and sugar, and liquid measuring cups for milk and espresso.
Prep Instructions
- Gather Ingredients: Before you start, measure out all your ingredients. This makes the process more efficient and helps avoid any surprises.
- Prepare Cake Pans: Grease and flour your cake pans. This step is vital to ensure your cakes come out cleanly without breaking.
- Set Up Your Work Area: Clear your countertop of any clutter to have ample space while mixing and pouring your batter. A tidy workspace enhances focus and efficiency.
Baking Instructions
This section provides you with detailed, step-by-step instructions to bake your delicious espresso cake, ensuring perfect results every time. Follow along to create a moist, flavorful cake that embodies the essence of a Preppy Kitchen treat.
- Preheat the Oven: Begin by preheating your oven to 350°F (175°C). This step is crucial to ensure your cake bakes evenly. While the oven is heating, prepare your baking pan by greasing it with butter and dusting it with flour, or you can line it with parchment paper for easy removal.
- Mixing the Batter: In a large mixing bowl, combine 1 ½ cups (180g) of all-purpose flour, 1 cup (200g) of granulated sugar, ½ cup (50g) of unsweetened cocoa powder, 1 teaspoon of baking powder, and ½ teaspoon of salt. Whisk these dry ingredients together until well combined. In a separate bowl, mix ½ cup (120ml) of brewed espresso, ½ cup (120ml) of buttermilk, and ½ cup (120ml) of vegetable oil. Gradually pour the wet ingredients into the dry mixture, stirring gently until just combined. Be careful not to overmix; the batter should be slightly lumpy.
- Baking Time: Pour the batter into your prepared baking pan and smooth the top with a spatula. Bake in the preheated oven for 25-30 minutes, or until a toothpick inserted into the center comes out clean. During baking, you should see the edges pulling away slightly from the pan, and the top will have a slight dome. Avoid opening the oven door during the first 20 minutes to prevent the cake from collapsing.
Pro Tips and Mistakes
Perfecting your espresso cake can elevate your baking game and impress your guests. In this section, we’ll cover common mistakes to avoid, expert tips for a flawless finish, and troubleshooting advice to ensure your cake turns out just right.
- Don’t skip the espresso: Using weak coffee instead of strong espresso can dilute the flavor of your cake. Aim for freshly brewed espresso for the best taste and aroma; it should be rich and robust.
- Measure ingredients accurately: Baking is a science, and even slight variations can affect the outcome. Use a kitchen scale for dry ingredients and measuring cups for liquids to ensure accuracy.
- Check your oven temperature: Oven temperatures can vary from what the dial indicates. Invest in an oven thermometer to ensure your cake bakes evenly at 350°F (175°C) for about 25-30 minutes, until a toothpick inserted comes out clean.
- Don’t overmix the batter: Overmixing can lead to a dense texture. Mix just until combined, and you’ll achieve a lighter, fluffier cake. The batter should look smooth with a few small lumps.
- Allow cooling before frosting: Frosting a warm cake can lead to melting and a messy finish. Let your cake cool in the pan for 10 minutes, then transfer it to a wire rack to cool completely before frosting.
Chef’s tip: For the best flavor, add a pinch of salt to your espresso cake batter to enhance the chocolate notes.
Troubleshooting Common Issues
- If your cake sinks: This may be due to underbaking or too much leavening agent. Ensure you follow the baking time and double-check your measurements.
- If the cake is dry: Overbaking or not enough moisture can cause dryness. Consider adding a little more liquid or replacing some sugar with applesauce for added moisture.
Variations and Substitutions
Whether you’re accommodating dietary restrictions or simply want to switch up the flavors in your espresso cake, there are plenty of options to consider. This section will guide you through gluten-free alternatives, vegan substitutions, and unique flavor variations that can elevate your cake while keeping it delicious.
Gluten-Free Options
If you or your guests are gluten-sensitive, you can easily make this espresso cake gluten-free. Here’s how:
- Replace the 1 ½ cups all-purpose flour with 1 ½ cups gluten-free all-purpose flour blend. Make sure it contains xanthan gum for the best texture.
- Keep the other ingredients the same, as they naturally do not contain gluten.
Chef’s tip: Always check the packaging of your gluten-free flour for any specific instructions regarding moisture levels or baking times.
Vegan Substitutions
To create a vegan version of your espresso cake, swap out the eggs and dairy as follows:
- Use 1 tablespoon ground flaxseed mixed with 2.5 tablespoons water for each egg. Let it sit for 5 minutes until it thickens.
- Substitute the ½ cup unsalted butter with ½ cup coconut oil or a vegan butter alternative.
- Replace the 1 cup milk with 1 cup almond milk or any plant-based milk of your choice.
Flavor Variations
Feel free to get creative with the flavors of your espresso cake:
- Add 1 teaspoon of vanilla extract or almond extract to the batter for a subtle depth of flavor.
- Incorporate ½ cup of chocolate chips or finely chopped nuts for added texture.
- For a mocha twist, mix 2 tablespoons of cocoa powder into the dry ingredients.
| Ingredient | Regular | Gluten-Free | Vegan |
|---|---|---|---|
| Flour | 1 ½ cups all-purpose | 1 ½ cups gluten-free blend | 1 ½ cups gluten-free blend |
| Butter | ½ cup unsalted | ½ cup coconut oil | ½ cup coconut oil |
| Milk | 1 cup | 1 cup almond milk | 1 cup almond milk |
With these variations and substitutions, your espresso cake can cater to different dietary needs while still being a delightful treat!
Serving and Plating
Serving your espresso cake beautifully enhances the overall experience and invites everyone to indulge. With thoughtful plating and drink pairings, you can elevate this dessert from simple to spectacular, making it a perfect centerpiece for any gathering.
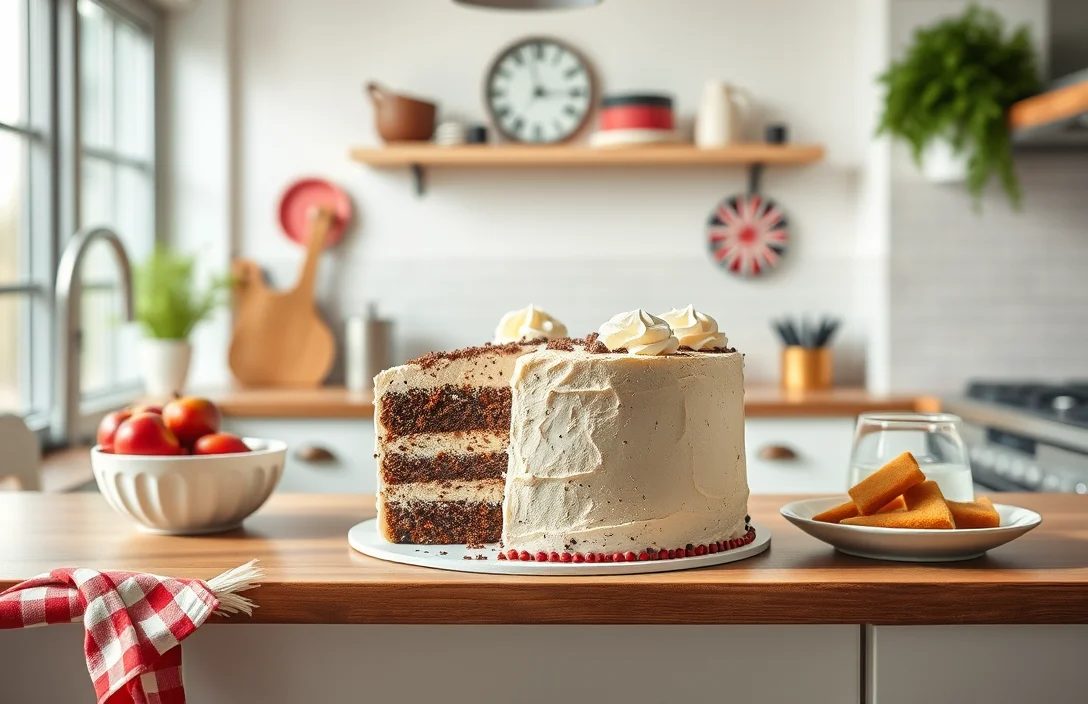
- Slice and Serve: Wait until the espresso cake has cooled completely before slicing, which helps maintain its structure. Use a serrated knife to cut even slices, about 1 inch thick, for a nice presentation.
- Plating Tips: Place each slice on a dessert plate and consider adding a dusting of powdered sugar for a touch of elegance. You can also drizzle a bit of chocolate ganache or a rich coffee sauce beside the cake to add visual appeal and an extra flavor dimension.
- Garnish Wisely: Fresh berries, such as raspberries or strawberries, make a vibrant garnish that contrasts beautifully with the dark tones of the cake. A dollop of whipped cream or a scoop of vanilla ice cream adds richness and complements the espresso flavor nicely.
Pairing Drinks
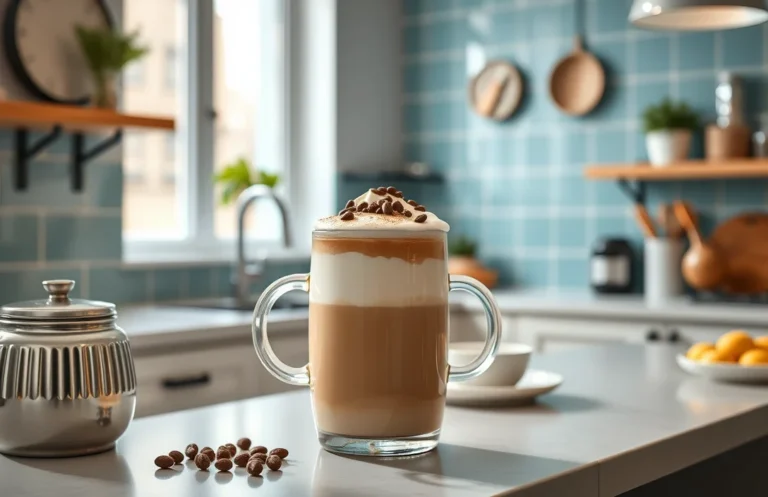
- Coffee: Serve a shot of espresso or a cup of rich black coffee alongside the cake to enhance its flavor profile. The bitterness of the coffee balances well with the sweetness of the cake.
- Tea: For a lighter option, consider pairing it with a nice Earl Grey tea, whose citrus notes complement the coffee flavors beautifully.
- Cocktails: If you’re hosting a gathering, a coffee-flavored cocktail, like an espresso martini, can be a delightful match, adding a sophisticated touch to your dessert table.
Chef’s tip: Make sure to serve the cake at room temperature for the best flavor and texture experience.
Quick Summary
| Prep Time | 20 minutes |
|---|---|
| Cook Time | 30 minutes |
| Total Time | 50 minutes |
| Servings | 8 |
- Preheat oven to 350°F (175°C) for even baking.
- Mix dry ingredients (flour, cocoa, baking powder) separately to avoid clumps.
- Beat eggs and sugar until light and fluffy for a tender crumb.
- Incorporate espresso gradually for a rich flavor without bitterness.
- Check doneness with a toothpick; it should come out clean.
- Cool completely before frosting to prevent melting.
- Tip: Use freshly brewed espresso for the best flavor.
- Tip: Ensure all ingredients are at room temperature for optimal mixing.
- Tip: Don’t overmix the batter; it should be just combined for a light texture.
Frequently Asked Questions
Can I make this ahead of time? How to store and reheat?
You can definitely make the espresso cake ahead of time; it keeps well in the fridge for up to 3 days. To reheat, simply warm it in the oven at 350°F (175°C) for about 10 minutes to refresh its texture.
What can I substitute for espresso powder?
If you don’t have espresso powder, you can use instant coffee granules instead, but use a bit less, about 2 teaspoons for every tablespoon of espresso powder needed.
How do I know when it’s done?
Your espresso cake is done when a toothpick inserted into the center comes out clean or with a few moist crumbs, which usually takes about 25-30 minutes in the oven at 350°F (175°C).
Can I freeze this? How long does it last?
You can freeze the espresso cake for up to 3 months; just wrap it tightly in plastic wrap and then in aluminum foil. When you’re ready to enjoy it, thaw it overnight in the fridge before serving.
Why did my cake turn out dry?
Your cake may have turned out dry if it was overbaked; always check for doneness a few minutes early. Additionally, make sure you measured your flour accurately—using a kitchen scale can help prevent this issue.

- Make Cheesecake Up to 3 Days Ahead: Tips for Best Flavor & Texture - March 4, 2026
- Easy No-Bake Cool Doen Cheesecake: Quick Recipe & Tips - March 4, 2026
- Decadent Dulce de Leche Cheesecake: Easy Step-by-Step Recipe - March 4, 2026