How to Freeze Cheesecake: Tips for Perfect Storage and Thawing
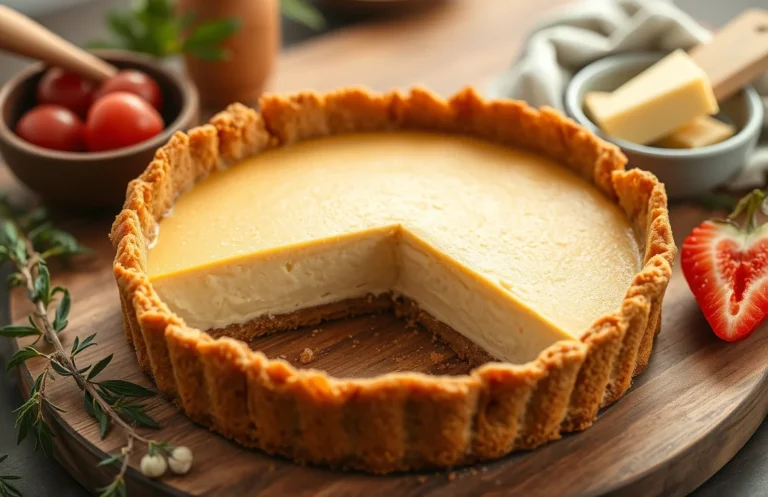
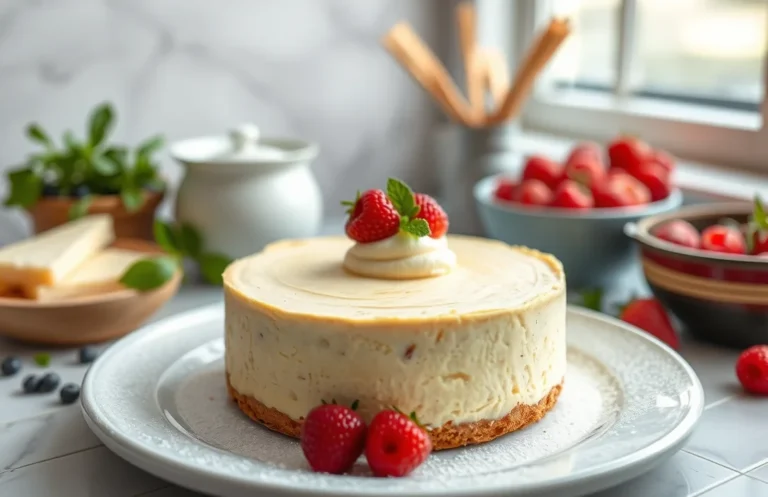
There’s something incredibly satisfying about sinking your fork into a slice of cheesecake, especially when it’s creamy, rich, and perfectly balanced with just the right amount of sweetness. Whether you’re celebrating a special occasion or simply indulging on a quiet evening, cheesecake is a dessert that never fails to impress and comfort.
With this guide, you’ll learn how to freeze cheesecake properly so you can enjoy it anytime. Expect total time of about 30 minutes for prep, difficulty level of easy, and it serves 8-10 people.
| Prep Time | Cook Time | Total Time | Servings | Difficulty |
|---|---|---|---|---|
| 20 minutes | 10 minutes | 30 minutes | 8-10 | Easy |
Cheesecake Background
Cheesecake has a rich history that spans centuries and continents, evolving into a beloved dessert with countless variations. Understanding its origins and significance can enhance your appreciation for this creamy delight, especially when considering how to freeze and preserve it for future enjoyment.
Origin of Cheesecake
- Ancient Roots: The earliest recorded cheesecake dates back to ancient Greece, where it was served to athletes at the first Olympic Games in 776 B.C. Made with simple ingredients like cheese, honey, and wheat, this early version was a far cry from the decadent desserts we enjoy today.
- Evolution Over Time: As cheesecake spread throughout Europe, it evolved into various regional styles. The Italian ricotta cheesecake, the fluffy Japanese cheesecake, and the dense New York-style cheesecake showcase the versatility of this dish across cultures.
Why Freeze Cheesecake
- Convenience: Freezing cheesecake allows you to prepare this indulgent dessert ahead of time, making it ideal for special occasions, holidays, or unexpected guests. You can enjoy a slice whenever you crave it without the need to bake from scratch.
- Preservation: Properly frozen cheesecake can maintain its flavor and texture for up to 3 months. This is particularly useful if you’ve made a large batch and want to enjoy it at a later date without sacrificing quality.
Ingredients for Cheesecake
This section outlines all the essential ingredients needed to create a delicious cheesecake that freezes beautifully. Knowing the right measurements and specifications is crucial for ensuring your cheesecake turns out perfectly every time, even after freezing.
| Item | Amount/Specification | Notes |
|---|---|---|
| Cream Cheese | 24 ounces (680g) | Softened to room temperature for easy mixing |
| Sugar | 1 cup (200g) | Granulated sugar works best for sweetness |
| Sour Cream | 1 cup (240g) | Provides moisture and tanginess |
| Vanilla Extract | 1 teaspoon (5ml) | Pure vanilla extract enhances flavor |
| Eggs | 3 large | At room temperature for better emulsification |
| Crust: Graham Cracker Crumbs | 1 ½ cups (150g) | Finely crushed for a smooth texture |
| Crust: Unsalted Butter | ½ cup (115g) | Melted for binding the crumbs |
| Crust: Sugar | ¼ cup (50g) | For added sweetness in the crust |
- For a gluten-free crust, substitute graham cracker crumbs with ground almonds or gluten-free cookies.
- Ensure your cream cheese is fully softened to avoid lumps in the batter, which can affect texture.
- If you prefer a lighter cheesecake, consider using Neufchâtel cheese in place of cream cheese, but keep in mind it may alter the flavor slightly.
- Always use fresh ingredients for the best-tasting cheesecake, especially the eggs and cream cheese.
Kitchen Equipment Needed
Preparing to freeze cheesecake requires some essential tools that make the process smoother and ensure your cheesecake stays fresh and delicious. Having the right kitchen equipment on hand will help you wrap and store your cheesecake properly, maintaining its texture and flavor for future enjoyment.
| Item | Amount/Specification | Notes |
|---|---|---|
| Mixing Bowls | 2 medium-sized | One for batter, one for crust |
| Springform Pan | 9-inch | Preferred for easy removal of cheesecake |
| Freezer Bags or Wraps | 1-2 large | Heavy-duty to prevent freezer burn |
- Tip: Make sure your mixing bowls are large enough to hold all the batter without spilling.
- Tip: If you don’t have a springform pan, you can use a regular cake pan, but lining it with parchment paper will help with the removal later.
- Tip: Use freezer bags that are specifically labeled as freezer-safe to keep your cheesecake tasting fresh.
- Tip: Label your freezer bags with the date and flavor for easy identification later.
Preparing Cheesecake for Freezing
Getting your cheesecake ready for freezing is crucial to preserve its flavor and texture. This section will guide you through the essential steps of baking, cooling, and chilling your cheesecake before it goes into the freezer.
- Baking the Cheesecake: Preheat your oven to 325°F (160°C). Grease a 9-inch (23 cm) springform pan with butter. Pour your prepared cheesecake batter into the pan and smooth the top with a spatula. Bake for 50-60 minutes, or until the center is set but still slightly jiggly. You want the edges to be firm and the center to look glossy.
- Cooling Process: Once baked, turn off the oven and crack the door open, allowing the cheesecake to cool gradually inside for about 1 hour. This helps prevent cracking. After an hour, remove the cheesecake from the oven and let it cool on a wire rack for another 1-2 hours until it reaches room temperature. The top should feel firm to the touch, and there should be no wet spots.
- Chilling Before Freezing: Once cooled, cover the cheesecake tightly with plastic wrap or aluminum foil. Refrigerate for at least 4 hours or overnight. This chilling step allows the flavors to meld and gives the cheesecake a firmer texture, making it easier to slice later. When ready to freeze, ensure that the cheesecake is completely chilled and firm to the touch.
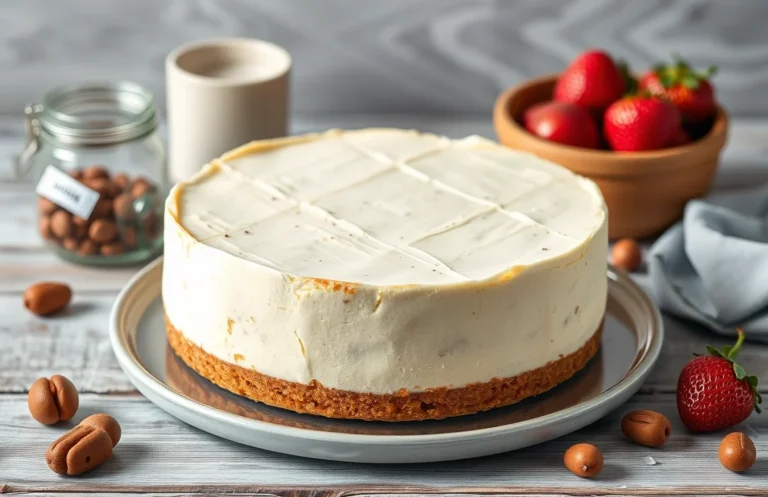
Wrapping and Storing Tips
Properly wrapping and storing your cheesecake is crucial to maintain its flavor and texture while freezing. This section will guide you through the best practices to prevent freezer burn and ensure your cheesecake remains delicious when you’re ready to enjoy it.
Plastic Wrap Techniques
- Allow your cheesecake to cool completely at room temperature for about 1 hour.
- Wrap the cheesecake tightly with plastic wrap, ensuring it is well-sealed. Use at least two layers to provide extra protection.
- For added security, press the wrap against the surface of the cheesecake to minimize air pockets, which can cause freezer burn.
Using Aluminum Foil
- After wrapping with plastic wrap, cover the cheesecake with a layer of aluminum foil. This will provide an additional barrier against moisture and air.
- Make sure to fold the edges of the foil tightly to prevent any openings.
Storage Containers
- If you prefer, you can place the wrapped cheesecake in an airtight storage container. Choose a container that fits snugly to minimize air exposure.
- Label the container with the date and type of cheesecake to keep track of storage times.
Chef’s tip: Always allow your cheesecake to cool completely before freezing. This prevents condensation from forming, which can lead to ice crystals.
| Storage Method | Pros | Cons |
|---|---|---|
| Plastic Wrap | Easy to use, minimizes air exposure | Can tear if not handled carefully |
| Aluminum Foil | Extra protection against moisture | May not seal as tightly as plastic |
| Airtight Container | Great for stacking, prevents crushing | Takes up more space in the freezer |
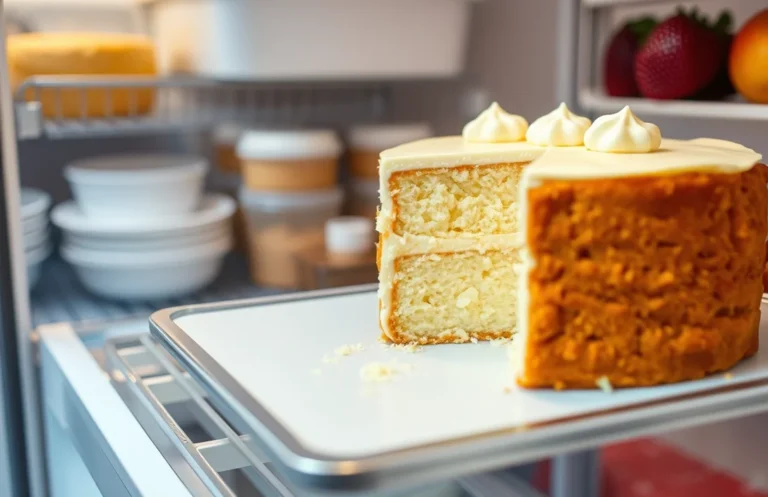
Recommended Freezing Durations
Understanding how long cheesecake can be safely frozen is key to maintaining its creamy texture and delightful flavor. Proper freezing durations ensure that your cheesecake remains a delicious treat even after being stored for some time.
- Short-term Freezing: For the best quality, freeze your cheesecake for no longer than 1-2 months. During this time, it retains its flavor and texture remarkably well. If you plan to consume your cheesecake within this period, simply wrap it tightly in plastic wrap and then in aluminum foil to prevent freezer burn.
- Long-term Freezing: If you want to keep your cheesecake for longer, it can be frozen for up to 6 months. While it remains safe to eat beyond 2 months, the quality may start to decline. Make sure to wrap it in multiple layers to protect against air exposure and to label it with the date for easy tracking.
Chef’s tip: Always allow your cheesecake to cool completely before wrapping it for freezing. This helps to lock in moisture and flavor.
Thawing your cheesecake properly is equally important, as it impacts texture and taste. Be sure to check the next section for tips on how to thaw and serve your frozen cheesecake beautifully.
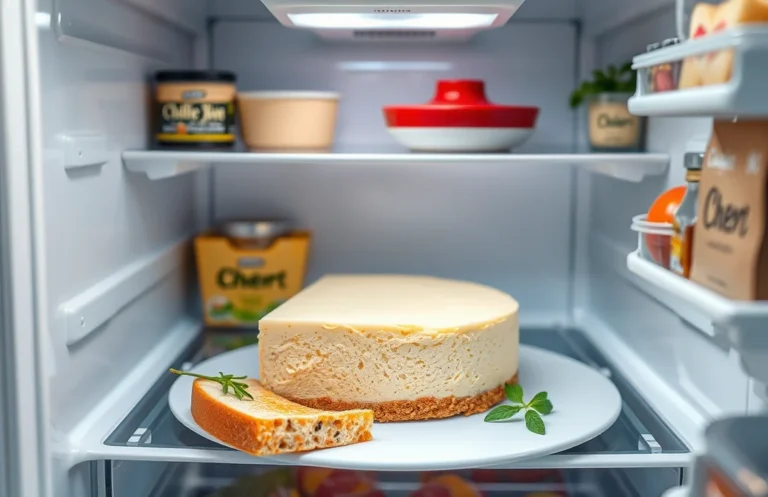
Thawing and Serving Cheesecake
Knowing how to properly thaw and serve your frozen cheesecake is key to preserving its creamy texture and delightful flavor. This section will guide you through effective thawing methods and offer serving suggestions to impress your guests.
- Refrigerator Thawing: The best method for thawing cheesecake is to transfer it from the freezer to the refrigerator. Allow it to thaw for approximately 6-8 hours or overnight. This slow thawing helps maintain the cheesecake’s texture and prevents it from becoming soggy.
- Countertop Thawing: If you’re short on time, you can thaw the cheesecake on the countertop. Remove it from the freezer, unwrap it, and let it sit at room temperature for about 1-2 hours. Keep an eye on it to avoid it getting too soft; it should be cool but not warm to the touch.
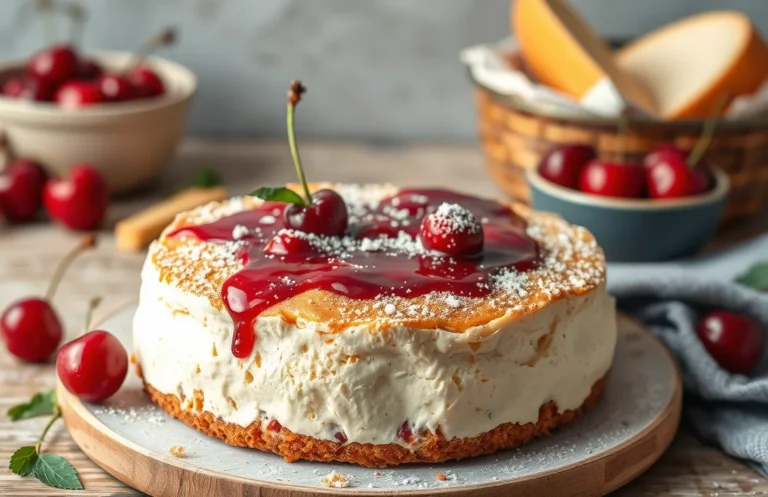
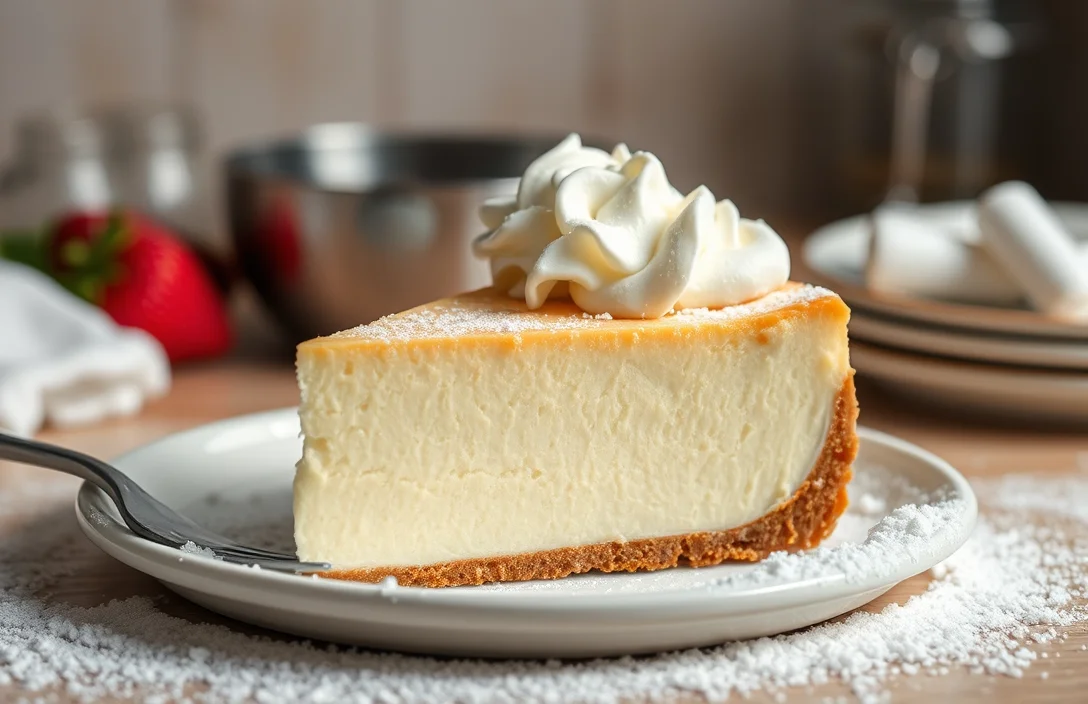
- Serving Suggestions: Once thawed, remove the cheesecake from the springform pan and place it on a serving platter. For a touch of elegance, drizzle with chocolate or caramel sauce and garnish with fresh berries or whipped cream. A light dusting of powdered sugar can also enhance its visual appeal.
- Storage Post-Thawing: After serving, if you have leftovers, cover the cheesecake with plastic wrap or store it in an airtight container. It can be kept in the refrigerator for up to 3 days. Avoid refreezing the cheesecake as it can affect the quality and texture.
Chef’s tip: For a more flavorful experience, consider serving cheesecake with a fruit compote or a homemade berry sauce for added freshness.
Quick Summary
| Prep Time | Cook Time | Total Time | Servings |
|---|---|---|---|
| 20 minutes | 1 hour | 1 hour 20 minutes | 8 |
- Cool Completely: Let cheesecake cool at room temperature for at least 2 hours before freezing.
- Wrap Well: Use plastic wrap and aluminum foil to prevent freezer burn.
- Freeze Flat: Place cheesecake on a flat surface in the freezer for even freezing.
- Thaw Properly: Thaw in the refrigerator overnight before serving for best texture.
- Use Parchment: Line the bottom of the pan with parchment paper for easy removal.
- Tip 1: Avoid freezing for more than 2 months to maintain flavor.
- Tip 2: For best results, freeze individual slices for quick access.
Frequently Asked Questions
Can I make this ahead of time? How to store and reheat?
You can absolutely make cheesecake ahead of time! Store it in an airtight container in the freezer for up to 3 months and thaw it in the refrigerator overnight before serving.
What can I substitute for cream cheese?
If you’re looking for a substitute, you can use ricotta cheese blended until smooth, but note that it may alter the texture slightly.
How do I know when it’s done?
Your cheesecake is done when the edges are set but the center still slightly jiggles; it will firm up as it cools. It should also look a little puffed and slightly cracked around the edges.
Can I freeze this? How long does it last?
You can definitely freeze cheesecake, and it will last in the freezer for up to 3 months. Just make sure to wrap it tightly in plastic wrap and then in aluminum foil to prevent freezer burn.
What if I don’t have a springform pan?
If you don’t have a springform pan, you can use a regular cake pan lined with parchment paper, but be careful when removing the cheesecake as it won’t come out as easily.

- 10 Best Cheese Knife With Holes For Smooth Slice 2026 - March 9, 2026
- Make Cheesecake Up to 3 Days Ahead: Tips for Best Flavor & Texture - March 4, 2026
- Easy No-Bake Cool Doen Cheesecake: Quick Recipe & Tips - March 4, 2026