How to Freeze No-Bake Cheesecake: Tips for Perfect Texture
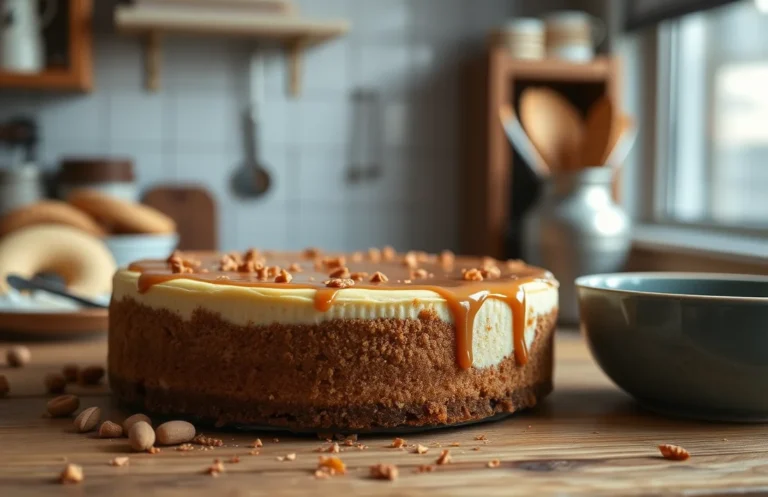
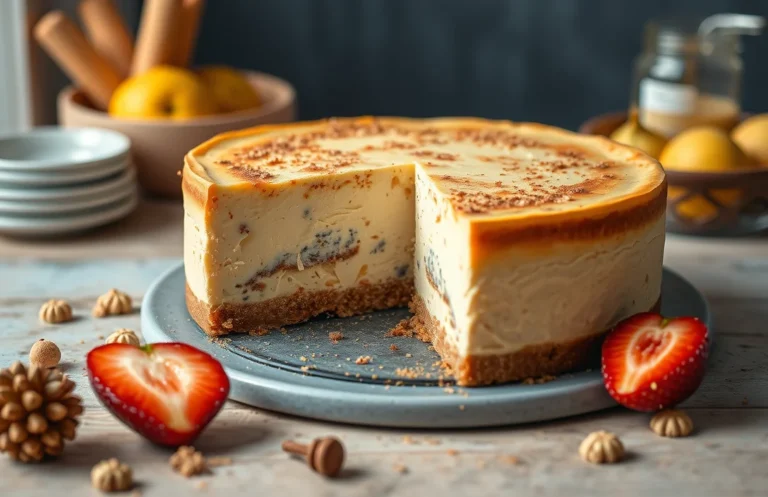
No-baked cheesecake is a celebration on a plate, with its creamy texture and luscious flavor that makes it a favorite for gatherings or a simple weeknight treat. Picture a velvety slice topped with fresh berries or chocolate sauce—it’s pure indulgence that never fails to impress your family and friends.
Here, you’ll find a step-by-step guide on how to properly freeze no-baked cheesecake, including tips for preparation and thawing. With a total time of 30 minutes for prep, this recipe yields 8 servings and is easy to make!
| Prep Time | Cook Time | Total Time | Servings | Difficulty |
|---|---|---|---|---|
| 30 minutes | 0 minutes | 30 minutes | 8 servings | Easy |
Origin of No-Bake Cheesecake
No-bake cheesecake has a rich history that reflects various cultural influences and special occasions. Understanding its origins can enhance our appreciation for this delightful dessert, especially when considering freezing techniques that preserve its unique texture and flavor.
- Cultural roots: The origins of cheesecake can be traced back to ancient Greece, where it was made with simple ingredients like cheese and honey. Over time, this concept evolved across cultures, with no-bake versions emerging as a lighter, easier alternative, particularly in the United States during the 20th century. This evolution showcases how culinary practices adapt to modern conveniences, making desserts accessible to all.
- Special occasions: No-bake cheesecakes have become a staple at celebrations such as birthdays, holidays, and potlucks. Their ease of preparation and the ability to freeze them in advance contribute to their popularity, allowing home cooks to prepare a delicious dessert without the fuss of baking. This significance shines through in how they bring families together, offering a sweet ending to memorable gatherings.
Ingredients for Freezing
When preparing your no-bake cheesecake for freezing, using the right ingredients is key to preserving its creamy texture and delicious flavor. In this section, you will find the exact measurements and specifications needed for the cheesecake base and crust, ensuring that it freezes well and stays delightful when you’re ready to enjoy it again.
| Item | Amount/Specification | Notes |
|---|---|---|
| Cream Cheese | 16 ounces (450g) | Softened at room temperature for easy mixing |
| Sugar | ¾ cup (150g) | Granulated sugar for sweetness; can substitute with powdered sugar for a smoother texture |
| Whipped Cream | 2 cups (480ml) | Heavy cream whipped to stiff peaks; ensures a light texture |
| Graham Cracker Crust | 1½ cups (150g) crushed graham crackers | Mix with ⅓ cup (75g) melted butter for a cohesive crust |
- Make sure the cream cheese is fully softened to avoid lumps in your cheesecake.
- For a gluten-free version, substitute graham crackers with gluten-free cookies.
- Consider adding a layer of plastic wrap directly on the surface of the cheesecake before freezing to prevent freezer burn.
- If using a springform pan, wrap the bottom with aluminum foil to catch any leaks during freezing.
Essential Kitchen Tools
Freezing a no-baked cheesecake requires a few key tools to ensure that your dessert maintains its delicious texture and flavor. Having the right equipment makes the process smoother and helps you achieve the best results when preparing, freezing, and thawing your cheesecake.
- Springform Pan: A high-quality springform pan is essential for making a no-baked cheesecake. It allows you to easily release the cheesecake without damaging its delicate structure. Choose a pan that is at least 9 inches (23 cm) in diameter for optimal results.
- Mixing Bowls: You’ll need a couple of mixing bowls—one for the crust and another for the filling. A large bowl (at least 3 quarts) is perfect for mixing the cream cheese, sugar, and other filling ingredients. Use a medium-sized bowl for combining the crust ingredients, ensuring everything is well incorporated.
- Spatula: A sturdy spatula is crucial for folding the whipped cream into the cheesecake filling gently. This helps maintain the airy texture of the cheesecake, which can be lost if over-mixed. Opt for a silicone spatula, as it easily scrapes the sides of the bowls and is heat resistant.
Freezing Process Steps
Freezing a no-bake cheesecake can be a fantastic way to preserve its deliciousness for later enjoyment. Properly preparing and wrapping your cheesecake before freezing is crucial to maintaining its delightful texture and flavor. Here’s a step-by-step guide to help you freeze your no-bake cheesecake effectively.
- Prepare the cheesecake: Ensure your no-bake cheesecake has set completely in the refrigerator for at least 4-6 hours, or until firm to the touch. The surface should be smooth and the filling should not jiggle when gently shaken. If you’re using a springform pan, make sure it’s fully chilled before moving on to the next step.
- Wrap properly: Once your cheesecake is set, carefully remove it from the springform pan. If it’s on a serving plate, you can leave it as is. Wrap the cheesecake tightly in plastic wrap, ensuring no air pockets remain. For added protection, wrap the cheesecake in aluminum foil to prevent freezer burn. Make sure to label the wrap with the date to keep track of its freezing duration.
- Freeze duration: Place the wrapped cheesecake in the freezer, where it can be stored for up to 2-3 months without significant loss of quality. After this period, it will still be safe to eat, but the texture and flavor may decline. To check for freezer burn, look for any dry or discolored spots on the cheesecake when unwrapping.
Pro Tips for Freezing
Freezing a no-baked cheesecake can be a great way to preserve its creamy texture and delicious flavor. However, improper freezing can lead to unwanted ice crystals and texture changes. Here are some expert tips to ensure your cheesecake remains delightful even after being frozen.
Avoiding Ice Crystals
- Before freezing, make sure the cheesecake is fully chilled in the refrigerator for at least 4 hours. This helps set the texture and reduces moisture during freezing.
- Cover the cheesecake with plastic wrap tightly, ensuring there are no gaps. This minimizes air exposure, which can lead to ice crystal formation.
- For extra protection, wrap the cheesecake in aluminum foil over the plastic wrap. This acts as an additional barrier against freezer burn.
Proper Wrapping Techniques
Using the right wrapping techniques can make all the difference in maintaining the quality of your cheesecake.
Chef’s tip: If you’re freezing individual slices, place parchment paper between slices before wrapping. This prevents them from sticking together.
Here’s a quick guide on how to wrap your cheesecake:
| Step | Description |
|---|---|
| 1 | Chill the cheesecake completely in the refrigerator. |
| 2 | Wrap in plastic wrap, ensuring no air pockets. |
| 3 | Wrap in aluminum foil for added protection. |
| 4 | Label with the date and type of cheesecake before freezing. |
Following these tips will help you enjoy your no-baked cheesecake later without compromising its quality. Happy freezing!
Cheesecake Variations
This section focuses on how you can adapt your no-baked cheesecake recipes to suit various dietary needs while ensuring they freeze beautifully. Whether you’re gluten-free or vegan, these variations will allow you to enjoy a delicious cheesecake without compromising on taste or texture.
Gluten-Free Options
For those avoiding gluten, you can easily modify your cheesecake crust. Here’s how to create a tasty gluten-free version:
- Use 1 ½ cups gluten-free graham cracker crumbs (about 150g) instead of regular crumbs.
- Combine the crumbs with ½ cup melted coconut oil (120ml) and 2 tablespoons sugar (25g) for sweetness.
- Press the mixture firmly into the bottom of your pan to create a solid crust.
Chef’s tip: Always check the labels of your ingredients to ensure they are certified gluten-free.
Vegan Alternatives
If you’re looking for a vegan cheesecake, the filling can be substituted while still freezing well:
- Use 2 cups cashews (300g), soaked in water for at least 4 hours, blended until smooth.
- Add ½ cup coconut cream (120ml) for a creamy texture.
- Sweeten with ⅓ cup maple syrup (100ml) and a splash of vanilla extract.
Prepare the crust using 1 ½ cups almond flour (150g) mixed with ¼ cup melted coconut oil (60ml) and 2 tablespoons agave syrup (30ml).
Pro tip: Freeze the vegan cheesecake for at least 4 hours for the best texture, and allow it to thaw in the fridge overnight before serving.
| Ingredient | Regular | Gluten-Free | Vegan |
|---|---|---|---|
| Crust | Graham cracker crumbs | Gluten-free crumbs | Almond flour |
| Filling | Cream cheese | Same as regular | Cashews and coconut cream |
Serving and Pairing Suggestions
Once your no-baked cheesecake is frozen and ready to be enjoyed, serving it with the right garnishes and beverages can elevate the experience. Here are some delightful suggestions for garnishing your cheesecake and pairing it with beverages that complement its creamy texture and flavor.
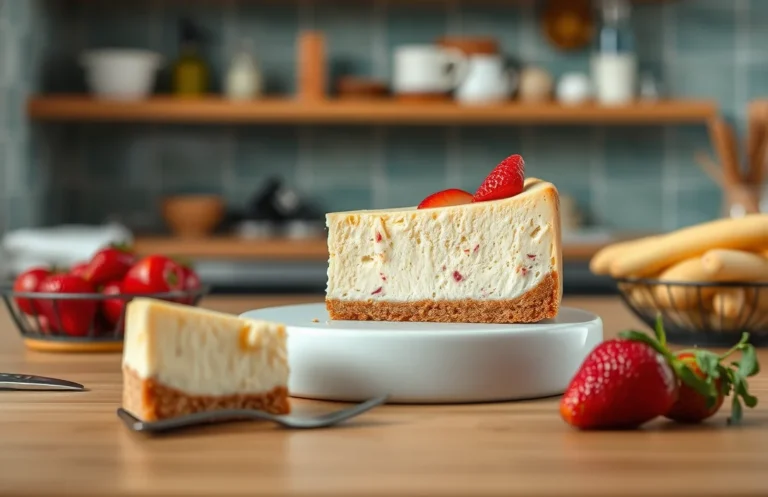
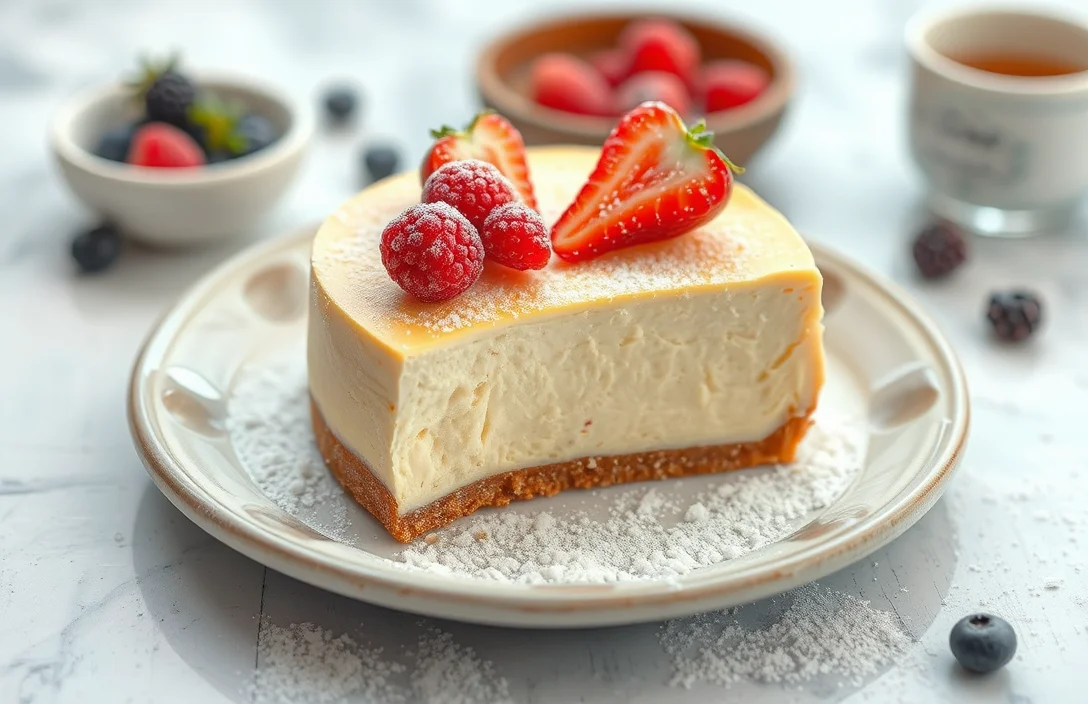
- Garnishing Ideas: Start by removing the cheesecake from the freezer and letting it sit at room temperature for about 10-15 minutes for easier slicing. For a beautiful presentation, top each slice with fresh berries such as strawberries, blueberries, or raspberries, which add a burst of color and a tart contrast to the sweetness of the cheesecake. Drizzle with a homemade berry sauce or a simple chocolate ganache for an indulgent touch.
- Whipped Cream: A dollop of whipped cream on top of each slice brings a light and airy feel to the dish. To make your own, whip 1 cup of heavy cream with 2 tablespoons of powdered sugar and a teaspoon of vanilla extract until soft peaks form. This enhances the richness of the cheesecake while adding a creamy texture.
- Beverage Pairings: For a refreshing drink, pair your cheesecake with a glass of sweet iced tea or a sparkling lemonade. If you prefer something with a kick, a light dessert wine like Moscato or a sweet Riesling complements the cheesecake’s sweetness beautifully. Coffee lovers can enjoy it alongside a rich espresso or a latte, which balances well with the creamy texture of the cheesecake.
Chef’s tip: Always slice your cheesecake with a warm knife for clean edges. Dip the knife in hot water and wipe it dry between cuts for a perfect finish.
Quick Summary
| Prep Time | 20 minutes |
|---|---|
| Chill Time | 4 hours |
| Total Time | 4 hours 20 minutes |
| Servings | 8 |
- Prepare crust: Mix 1 ½ cups crushed graham crackers with ½ cup melted butter and press into a springform pan.
- Make filling: Blend 16 oz cream cheese, 1 cup sugar, 1 tsp vanilla, and 1 cup whipped cream until smooth.
- Combine: Spread filling over the crust evenly and smooth the top.
- Chill: Refrigerate for at least 4 hours or until set.
- Freeze: Once set, wrap tightly in plastic wrap and freeze for up to 2 months.
- Tip: Use room temperature cream cheese for a smoother filling.
- Tip: Ensure the cheesecake is fully chilled before freezing to maintain texture.
Frequently Asked Questions
Can I make this ahead of time? How to store and reheat?
Yes, you can make no-baked cheesecake up to 2 days ahead of time. Store it covered in the refrigerator, and if frozen, wrap it tightly in plastic wrap and aluminum foil.
What can I substitute for cream cheese?
You can use mascarpone cheese or a combination of Greek yogurt and sour cream as a substitute for cream cheese. Just keep in mind that this may alter the texture slightly, making it a bit lighter.
How do I know when it’s done?
Your no-baked cheesecake is done when it has set around the edges and the center is slightly jiggly but not liquid. It should also feel firm to the touch, similar to the texture of soft butter.
Can I freeze this? How long does it last?
Yes, you can freeze no-baked cheesecake for up to 2-3 months. Make sure to wrap it tightly to avoid freezer burn, and thaw it in the refrigerator overnight before serving.
What if I don’t have a springform pan?
If you don’t have a springform pan, you can use a regular round cake pan lined with parchment paper. Just be sure to let it cool completely before attempting to remove it, and run a knife around the edges to help release it.

- 10 Best Cheese Knife With Holes For Smooth Slice 2026 - March 9, 2026
- Make Cheesecake Up to 3 Days Ahead: Tips for Best Flavor & Texture - March 4, 2026
- Easy No-Bake Cool Doen Cheesecake: Quick Recipe & Tips - March 4, 2026