Mastering Cheesecake: Overcome 5 Common Baking Challenges
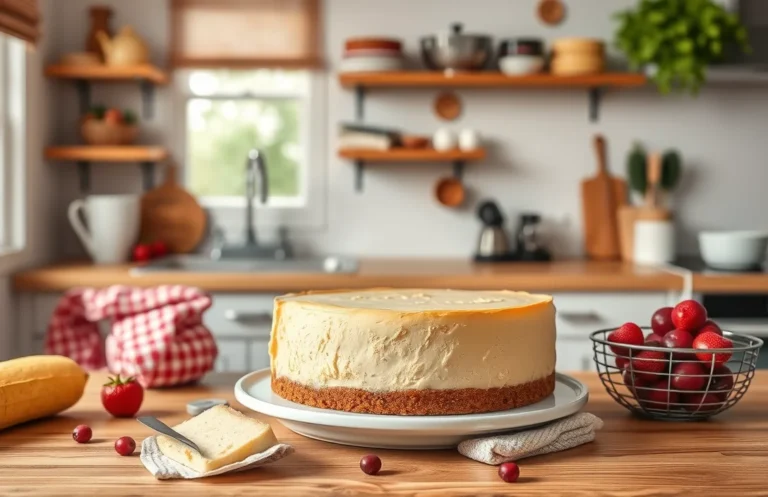
Cheesecake is one of those desserts that brings a smile to everyone’s face, whether it’s a creamy New York-style slice or a fruity no-bake version. There’s something incredibly satisfying about that silky texture and rich flavor, making it the perfect crowd-pleaser for gatherings or a comforting treat after a long day.
However, mastering cheesecake can be tricky. In this guide, I’ll share the common difficulties you might face, along with practical solutions and step-by-step troubleshooting tips. Expect to spend 30 minutes prepping, 60 minutes baking, and 4 hours chilling for about 8 servings of delicious cheesecake.
| Prep Time | Cook Time | Total Time | Servings | Difficulty |
|---|---|---|---|---|
| 30 minutes | 60 minutes | 4 hours 30 minutes | 8 | Moderate |
Origin of Cheesecake
Cheesecake’s history is as rich and varied as its flavor, with cultural significance spanning across continents. Understanding its origin can offer insight into the challenges of making this delightful dessert, especially when navigating different methods and styles.
- Ancient Roots: The earliest known cheesecake dates back to ancient Greece, where it was served to athletes during the first Olympic Games in 776 B.C. This historical significance can make recreating a perfect cheesecake feel daunting, as traditional techniques may differ from modern recipes.
- Regional Variations: Cheesecake varies widely around the world, from the dense New York style to the light Italian ricotta version. Each type comes with unique preparation methods, which can complicate the process for those trying to master a specific style.
- When to Serve: Cheesecake is often a centerpiece in celebrations, from birthdays to holidays. Knowing when to serve can add pressure to get it just right, as timing affects texture and flavor development.
By understanding these aspects of cheesecake’s origin, you can appreciate the nuances involved in its preparation and be better equipped to tackle the challenges of making a stellar dessert.
Ingredients for Cheesecake
Getting the ingredients right is crucial when making cheesecake, as they form the foundation of your dessert. The quality and measurements of each component can make the difference between a dense, overbaked cake and a creamy, luscious one. Here’s what you need to gather before you start mixing!
| Item | Amount/Specification | Notes |
|---|---|---|
| Cream Cheese | 24 ounces (680g) | Softened to room temperature for easier mixing |
| Sugar | 1 cup (200g) | Granulated sugar for sweetness |
| Sour Cream | 1 cup (240g) | Adds creaminess and tang |
| Vanilla Extract | 1 teaspoon (5ml) | Use pure vanilla for best flavor |
| Eggs | 3 large | Room temperature for even mixing |
| Graham Cracker Crumbs | 1 ½ cups (150g) | For the crust, finely crushed |
| Unsalted Butter | ½ cup (113g) | Melted, for binding the crust |
- Ensure your cream cheese is softened; it should feel smooth and easy to stir.
- For a gluten-free option, use gluten-free cookie crumbs for the crust.
- Room temperature ingredients blend more evenly, reducing the risk of lumps.
- Be careful not to overmix once you add the eggs; this can lead to cracking.
Kitchen Tools Required
To successfully navigate the challenges of making cheesecake, having the right kitchen tools is essential. The equipment you use can significantly impact the texture and flavor of your cheesecake, so let’s ensure you’re well-equipped for this culinary task.
Mixing Tools
- Stand Mixer or Hand Mixer: A stand mixer is ideal for achieving a smooth, creamy batter without overmixing. If using a hand mixer, be prepared to mix for longer to ensure no lumps remain.
- Mixing Bowls: Use at least two mixing bowls, one for the crust and one for the filling. A large mixing bowl (at least 4 quarts) is best for the filling, while a medium bowl (2-3 quarts) suffices for the crust.
- Spatula: A silicone spatula is perfect for scraping down the sides of the bowl to ensure all ingredients are well incorporated. This will help prevent lumps in your cheesecake filling.
Baking Equipment
- Cake Pan: A 9-inch springform pan is the best choice for cheesecakes. It allows for easy removal without damaging the sides. Ensure it’s well-greased for a smooth release post-baking.
- Aluminum Foil: You’ll need heavy-duty aluminum foil to wrap the outside of the springform pan. This prevents water from seeping in during the water bath method, which is crucial for preventing cracks in the cheesecake.
- Baking Tray: A large baking tray is required to create a water bath for your cheesecake. This helps regulate the temperature and keeps the cheesecake moist while baking.
Chef’s tip: Make sure to preheat your oven to 325°F (163°C) while you prepare your batter to ensure even baking.
Step-by-Step Instructions
Making cheesecake can be daunting, especially when it comes to preparing the crust and baking the filling. These steps require precision to achieve that creamy, smooth texture and a crust that holds together perfectly. Follow these detailed instructions to navigate through the toughest parts of cheesecake-making with confidence.
- Preparing the Crust: Preheat your oven to 350°F (175°C). In a medium bowl, combine 1 ½ cups (150g) of graham cracker crumbs, ¼ cup (50g) of granulated sugar, and ½ cup (115g) of melted unsalted butter. Mix until the texture resembles wet sand. Press the mixture firmly into the bottom of a 9-inch (23cm) springform pan to create an even layer. Bake for 10 minutes until slightly golden and fragrant. Let it cool completely before adding the filling.
- Baking the Filling: Lower the oven temperature to 325°F (160°C). In a large mixing bowl, beat 24 ounces (675g) of softened cream cheese until smooth, approximately 2-3 minutes. Gradually add 1 cup (200g) of granulated sugar, mixing until well combined. Add 3 large eggs, one at a time, mixing on low speed after each addition to prevent overmixing. The mixture should be creamy and free of lumps.
- Slowly incorporate 1 teaspoon of vanilla extract and ½ cup (120ml) of sour cream, mixing gently until just combined. Pour the filling over the cooled crust, smoothing the top with a spatula. To prevent cracking, place a shallow pan with water on the bottom rack of the oven while the cheesecake bakes. Bake for 55-60 minutes until the edges are set but the center still has a slight jiggle.
- Once baked, turn off the oven and crack the door open, allowing the cheesecake to cool slowly for about 1 hour. This helps prevent cracks from forming. After cooling, refrigerate for at least 4 hours or overnight before serving. The cheesecake should be firm to the touch and have a smooth surface.
Chef’s tip: If you see cracks forming during baking, don’t worry! They can often be covered with toppings like fruit or whipped cream before serving.
Common Mistakes to Avoid
Making a cheesecake can be tricky, and understanding common mistakes can save you from a disappointing dessert. This section focuses on two major pitfalls: overmixing the batter and incorrect cooling methods, both of which can ruin your cheesecake’s texture and flavor.
- Overmixing the Batter: When combining your cream cheese, sugar, and eggs, be gentle! Overmixing can introduce too much air into the batter, leading to cracks as the cheesecake bakes. Mix on low speed just until combined — the mixture should be smooth and creamy, with no lumps, but not airy. Aim for a consistency similar to thick yogurt.
- Incorrect Cooling: Cooling your cheesecake properly is crucial for achieving the right texture. After baking, turn off the oven and crack the door open for about 1 hour to let the cheesecake cool gradually; this helps prevent cracks from forming due to sudden temperature changes. After that, remove it from the oven and allow it to cool to room temperature before refrigerating it for at least 4 hours, or preferably overnight. The cheesecake should feel firm to the touch but still slightly soft in the center.
Chef’s tip: If you see cracks forming during baking, you can cover them up with a fruit topping after cooling!
Variations and Substitutions
Making cheesecake can be challenging, especially when it comes to dietary restrictions and flavor preferences. Thankfully, there are plenty of variations and substitutions to ensure that everyone can enjoy a slice. Whether you’re opting for a gluten-free crust or a vegan cheesecake, these tips will help you navigate these challenges with confidence.
Gluten-Free Crust
For those avoiding gluten, a delicious gluten-free crust can be made using alternative flours or nut-based options. Here’s a simple recipe:
- 1 ½ cups almond flour (150g)
- ¼ cup coconut oil, melted (60ml)
- 2 tablespoons maple syrup (30ml)
- Pinch of salt
To prepare the crust, mix the almond flour and salt in a bowl. Pour in melted coconut oil and maple syrup, stirring until the mixture is crumbly but holds together when pressed. Press this mixture into the bottom of a 9-inch (23cm) springform pan. Bake at 350°F (175°C) for 8-10 minutes until lightly golden.
Vegan Alternatives
If you’re making a vegan cheesecake, you can substitute traditional dairy ingredients without compromising flavor or texture:
- 1 cup soaked cashews (150g)
- ½ cup coconut cream (120ml)
- ½ cup maple syrup (120ml)
- 2 tablespoons lemon juice (30ml)
Blend the soaked cashews, coconut cream, maple syrup, and lemon juice in a high-speed blender until smooth and creamy. Pour this filling over your prepared crust and refrigerate for at least 4 hours or until set.
Chef’s tip: Always taste your filling before setting it in the fridge; you can adjust sweetness or acidity as needed!
Using these variations, you can create a cheesecake that fits various dietary needs while still being delicious and satisfying!
Serving and Plating Ideas
Presenting your cheesecake beautifully can elevate its appeal and enhance the dining experience. Here are some tips on perfect toppings and beverage pairings that will complement your cheesecake perfectly.
Toppings
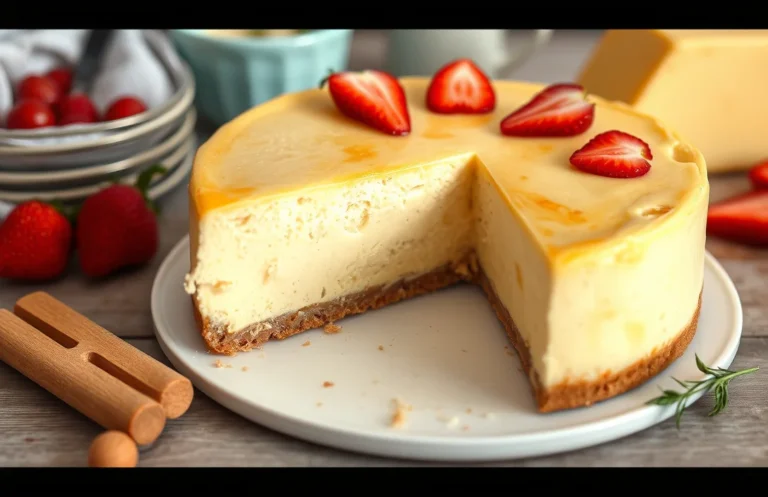
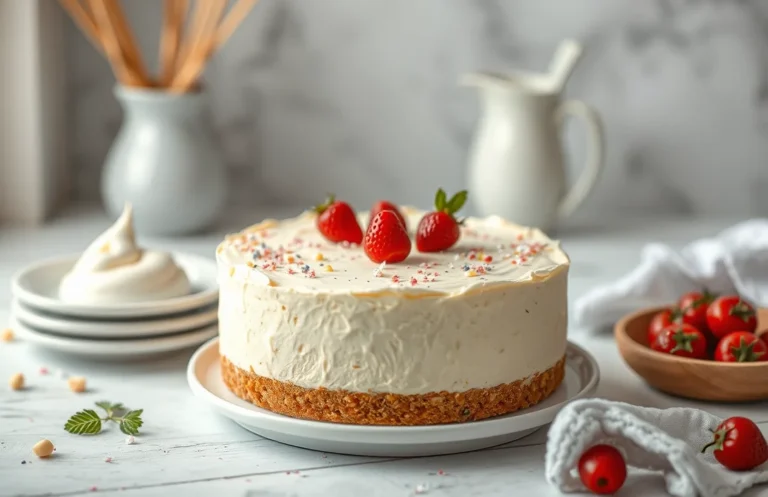
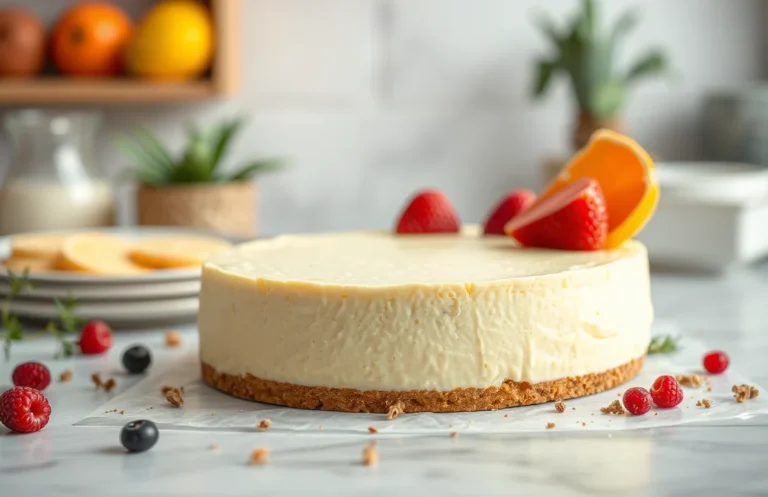
- Fresh Fruit: Top your cheesecake with a mixture of fresh berries like strawberries, blueberries, and raspberries. Aim for about 1 cup of mixed berries for a vibrant and colorful finish. The sweetness and acidity of the fruit will balance the richness of the cheesecake.
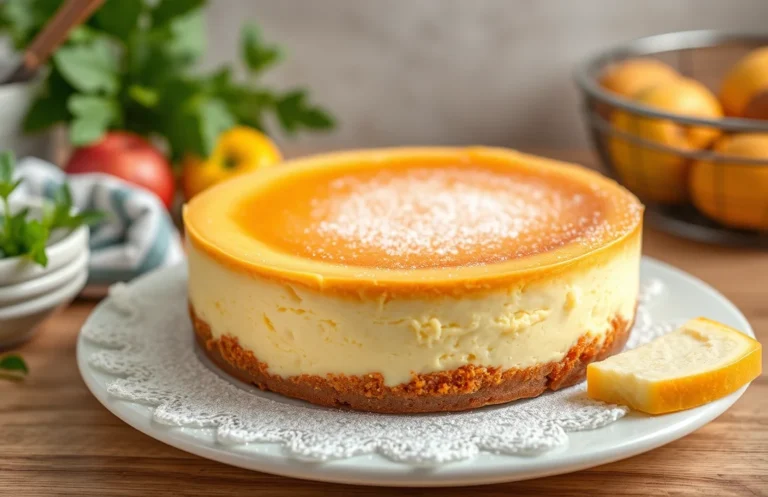
- Chocolate Ganache: For a decadent touch, drizzle ½ cup of warm chocolate ganache over the cooled cheesecake. To make ganache, heat ½ cup of heavy cream until simmering, then pour it over 1 cup of chopped chocolate and let it sit for 5 minutes before stirring until smooth.
- Caramel Sauce: A homemade caramel sauce can add a luscious flavor. Combine 1 cup of sugar, 6 tablespoons of butter, and ½ cup of heavy cream in a saucepan. Heat over medium until the sugar dissolves and the mixture turns golden, about 8-10 minutes. Drizzle it over the cheesecake just before serving.
Beverage Pairings
- Coffee: A rich cup of coffee pairs excellently with cheesecake. The bitterness of the coffee contrasts beautifully with the creamy sweetness of the dessert. Serve it hot or iced, depending on your preference.
- Sweet Wine: A dessert wine, like a late-harvest Riesling or Moscato, enhances the flavors of the cheesecake. Aim for a glass of wine that has a good balance of sweetness and acidity to complement the cheesecake’s richness.
- Herbal Tea: For a lighter pairing, serve a warm herbal tea like chamomile or mint. The soothing flavors of the tea can provide a refreshing contrast after the creamy cheesecake.
Quick Summary
| Prep Time | 20 minutes |
|---|---|
| Cook Time | 1 hour |
| Total Time | 1 hour 20 minutes |
| Servings | 8 |
- Use room temperature ingredients: This ensures a smooth batter and prevents lumps.
- Bake in a water bath: This helps maintain moisture and prevents cracks.
- Cool slowly: Let the cheesecake cool in the oven to prevent sudden changes in temperature.
- Don’t overmix: Mix just until combined to avoid incorporating too much air.
- Chill properly: Refrigerate for at least 4 hours before serving for best texture.
Frequently Asked Questions
Can I make this ahead of time? How to store and reheat?
You can make cheesecake up to 3 days in advance and store it in the refrigerator, covered tightly. To serve, simply slice and enjoy cold or let it sit at room temperature for about 30 minutes before serving for a softer texture.
What can I substitute for cream cheese?
If you’re out of cream cheese, you can use mascarpone cheese or a mixture of Greek yogurt and sour cream for a similar creamy texture. Just keep in mind that the flavor may change slightly.
How do I know when it’s done?
Your cheesecake is done when the edges are set but the center still has a slight wobble to it, which usually takes about 50-60 minutes at 325°F (163°C). It will continue to firm up as it cools, so don’t overbake!
Can I freeze this? How long does it last?
Yes, you can freeze cheesecake for up to 2 months. Just wrap it tightly in plastic wrap and aluminum foil to prevent freezer burn, and thaw it overnight in the fridge before serving.
What if I don’t have a springform pan?
If you don’t have a springform pan, you can use a regular round cake pan lined with parchment paper, but be sure to let it cool completely before attempting to remove it. Just be gentle when slicing to ensure it stays intact!

- Make Cheesecake Up to 3 Days Ahead: Tips for Best Flavor & Texture - March 4, 2026
- Easy No-Bake Cool Doen Cheesecake: Quick Recipe & Tips - March 4, 2026
- Decadent Dulce de Leche Cheesecake: Easy Step-by-Step Recipe - March 4, 2026