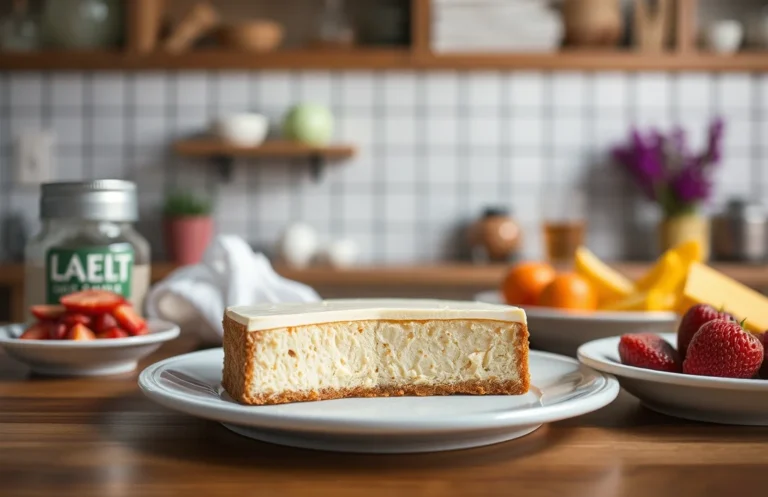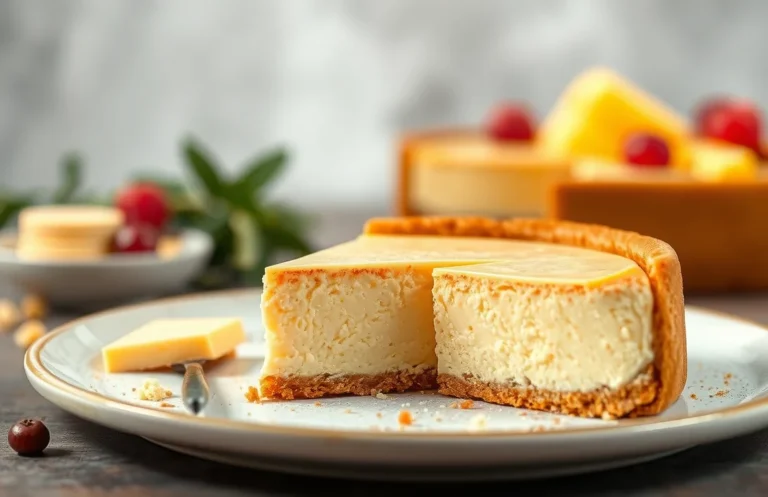
3 Quick Methods to Defrost Cheesecake Without Losing Flavor
Defrosting a cheesecake doesn’t have to feel like a daunting task. Whether you’ve baked it for a special occasion or just for a cozy night in, a perfectly creamy cheesecake can be a true delight. Imagine cutting into that velvety slice, the rich flavors melting in your mouth. It’s pure bliss!
In this guide, you’ll discover three quick methods to defrost your cheesecake without compromising its luscious texture and taste. Each method is straightforward, with exact timings and tips to make sure you get it just right.
| Prep Time | Cook Time | Total Time | Servings | Difficulty |
|---|---|---|---|---|
| 5 minutes | Varies | 30-120 minutes | 8 servings | Easy |
Cheesecake Background
Understanding the origins and special qualities of cheesecake can enhance your appreciation for this beloved dessert. Knowing its roots and the occasions it graces can also inform how you choose to serve it, especially when you need to defrost one quickly without compromising its delightful texture and flavor.
Origin of Cheesecake
Cheesecake has a rich history that dates back to ancient Greece, where it was served to athletes during the first Olympic Games. The Romans then adapted the recipe, introducing it to other parts of Europe. Today, it has evolved into various styles, from the dense New York cheesecake to the light and airy Italian ricotta cheesecake.
Why Cheesecake is Special
- Versatility: Cheesecake can be enjoyed plain, topped with fruits, or infused with flavors like chocolate, pumpkin, or matcha.
- Texture: The creamy texture melts in your mouth, offering a rich experience that pairs wonderfully with a crumbly crust.
- Occasions: Perfect for celebrations, gatherings, or simply as a delightful treat at the end of a meal.
When to Serve Cheesecake
Cheesecake shines on special occasions like birthdays, holidays, or dinner parties. It can also make an ordinary day feel special. When preparing to serve cheesecake, you might find yourself needing to defrost it quickly. Here are some tips to consider:
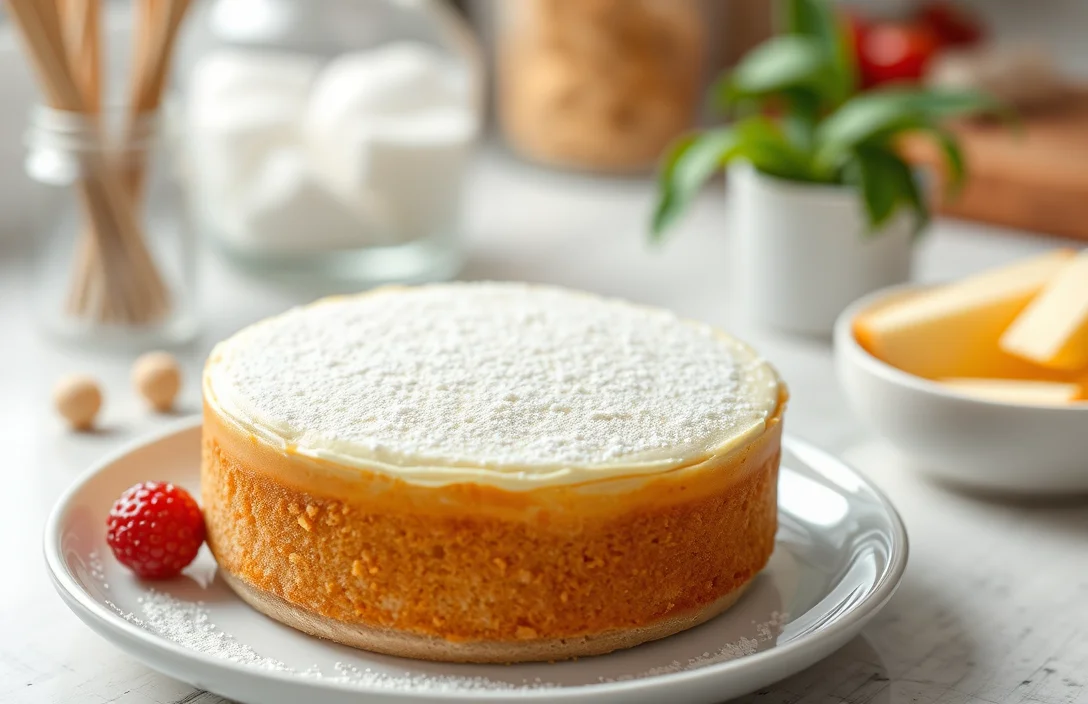
Chef’s tip: Always allow cheesecake to reach room temperature after defrosting for optimal flavor and texture.
| Occasion | Recommended Style |
|---|---|
| Birthdays | Classic New York Cheesecake |
| Holidays | Pumpkin Cheesecake |
| Casual Gatherings | Fruit-Topped Cheesecake |
Ingredients Overview
This section outlines the essential ingredients for making a cheesecake, which is crucial for understanding how to quickly and effectively defrost your dessert without compromising its quality. Knowing the components will help you appreciate how each ingredient plays a role in the cheesecake’s texture and flavor.
| Item | Amount/Specification | Notes |
|---|---|---|
| Cream Cheese | 16 ounces (450g) | Softened for easier mixing |
| Sugar | 1 cup (200g) | Granulated sugar works best |
| Eggs | 3 large | Room temperature for better emulsification |
| Crust Ingredients | 1 ½ cups (150g) graham cracker crumbs | For a classic cheesecake crust |
| Butter | ½ cup (115g) | Melted, for binding crust ingredients |
- For a gluten-free option, substitute graham cracker crumbs with crushed gluten-free cookies.
- If you’re dairy-free, consider using vegan cream cheese or blended silken tofu.
- Ensure your cream cheese is fully softened to avoid lumps in the batter.
Essential Kitchen Tools
When it comes to defrosting cheesecake quickly and effectively, having the right tools on hand can make all the difference. This section identifies the essential kitchen equipment you’ll need to ensure your cheesecake retains its delicious texture and flavor during the defrosting process.
| Item | Amount/Specification | Notes |
|---|---|---|
| Microwave | N/A | For quick defrosting; use the low power setting. |
| Container for Water Bath | 1 large bowl | Fill with warm water; helps gently thaw cheesecake. |
| Fridge | N/A | Best for slow defrosting to preserve texture. |
- Ensure your microwave has a defrost setting to prevent uneven thawing.
- When using a water bath, keep the water warm, not hot, to avoid melting the cheesecake.
- For the fridge method, place the cheesecake on a plate to catch any condensation.
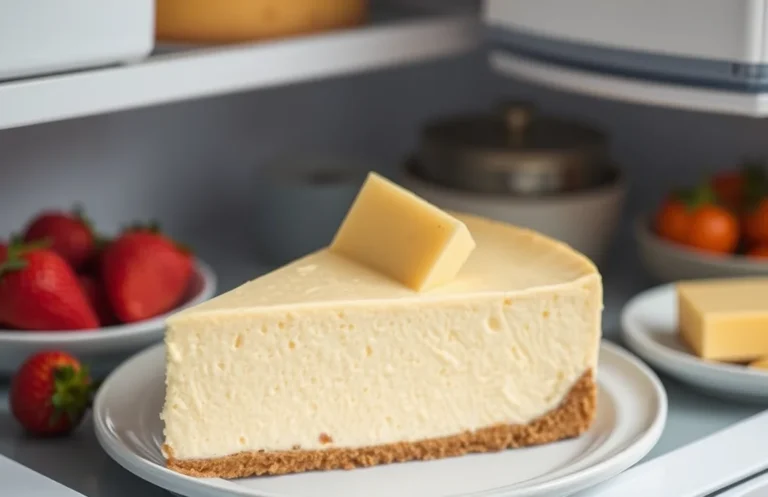
Refrigerator Method Steps
Defrosting cheesecake in the refrigerator is one of the best methods to preserve its creamy texture and rich flavor. This method allows for a gradual thaw, minimizing the risk of excessive moisture or structural changes in the cheesecake.
- Remove the cheesecake from the freezer. If it’s in a springform pan, consider leaving it in the pan for an easier transfer. Place the cheesecake on a plate or a cutting board to catch any condensation that may form as it thaws.
- Cover the cheesecake with plastic wrap or aluminum foil to prevent it from absorbing any odors from the refrigerator. This will also help maintain the moisture level, ensuring the texture remains smooth and creamy.
- Set the cheesecake in the refrigerator and allow it to thaw for approximately 6 to 8 hours, or overnight if you have the time. The cheesecake should feel firm but slightly yielding when gently pressed, indicating that it’s thawing properly.
- Check the cheesecake after 6 hours. The edges should be soft, and the center should still be a bit firm. If it’s not fully thawed, let it sit for another hour or two. Avoid rushing this process, as a proper thaw is crucial for maintaining texture.
- Once fully thawed, the cheesecake should feel smooth to the touch and have a slight chill. If you notice any water pooling on the surface, gently blot it with a paper towel to remove excess moisture before serving.
Water Bath Method Steps
The water bath method is an effective way to quickly defrost a cheesecake while preserving its creamy texture and flavor. This technique uses gentle heat from warm water to thaw the cheesecake evenly, preventing cracks and maintaining its delicious consistency.
- Gather Your Equipment: You’ll need a large, deep baking dish or pan and hot water. Make sure the baking dish is big enough to hold your cheesecake while allowing for at least 1 inch of water around it. This setup ensures even heat distribution during the defrosting process.
- Prepare the Cheesecake: Remove the cheesecake from the freezer and unwrap it carefully. Place the cheesecake in its springform pan directly into the center of the baking dish. Avoid using a plate, as that could retain cold and slow down the thawing process.
- Add Hot Water: Heat water to about 120°F (49°C) — not boiling, as that could harm the cheesecake. Pour the hot water into the baking dish until it reaches halfway up the sides of the cheesecake pan. The warm water will create a gentle environment for defrosting.
- Timing is Key: Allow the cheesecake to sit in the water bath for about 30-45 minutes. Check the cheesecake after 30 minutes by gently pressing the center. It should feel soft but not warm, and the edges should be starting to soften.
- Texture Check: After about 45 minutes, carefully remove the cheesecake from the water bath. The surface should look smooth and glossy, with no visible cracks. If it still feels frozen in the center, return it to the water bath for an additional 10-15 minutes.
Microwave Method Steps
The microwave method is the quickest way to defrost your cheesecake while keeping its texture and flavor intact. It requires careful attention to timing and power settings to avoid overheating, which can compromise your delicious dessert.
- Begin by removing any plastic wrap or foil from the cheesecake. Place it on a microwave-safe plate. This ensures that the cheesecake will not steam and lose its creamy texture during defrosting.
- Set your microwave to a low power setting, around 30% (or the “defrost” mode if your microwave has one). This allows the cheesecake to thaw gradually and helps prevent any sections from cooking.
- Microwave the cheesecake for 30 seconds initially. After the time is up, check the cheesecake by gently pressing the center with your finger. It should feel slightly soft but not warm. If it’s still frozen, continue with 15-second intervals.
- Repeat the 15-second intervals until the cheesecake is soft enough to slice. This process usually takes about 1-2 minutes of total microwave time, depending on the size and thickness of the cheesecake. Be patient to avoid overheating!
- Once defrosted, let the cheesecake rest at room temperature for about 5-10 minutes before serving. This helps restore its texture and flavor, making it more enjoyable. Remember, the cheesecake should not feel hot; it should just be soft enough to cut through easily.
Pro tip: If you notice any melting around the edges, stop the microwave immediately and let it sit for a few minutes; residual heat will continue the thawing process without further cooking.
Texture and Flavor Tips
Defrosting a cheesecake properly is essential to maintaining its rich, creamy texture and delightful flavor. Whether you choose the refrigerator or microwave method, there are specific tips to ensure your cheesecake retains its quality during the quick defrosting process.
- Avoiding Ice Crystals: To prevent unwanted ice crystals from forming, make sure to wrap your cheesecake tightly in plastic wrap or aluminum foil before freezing. This helps create a barrier against moisture and air, which can lead to textural changes when thawing.
- Refrigerator vs. Microwave Effects: While the refrigerator method is the gentlest and preserves texture best, it can take several hours. If you opt for the microwave for a quicker thaw, use the lowest power setting (30% power) and check every 30 seconds to avoid overheating. Overheating can lead to a rubbery texture and loss of creaminess.
- Let It Rest: After using the microwave, let the cheesecake sit at room temperature for about 10-15 minutes. This allows the heat to distribute evenly, preventing hot spots that could affect the texture.
- Check for Softness: When using the microwave, gently press the center of the cheesecake with your finger. It should feel soft but not warm. If it’s still firm, give it another short burst of microwave time, checking frequently.
- Flavor Preservation: To maintain the cheesecake’s flavor, avoid defrosting in water as it can dilute the flavors. Stick to methods that minimize contact with moisture.
Common Defrosting Mistakes
Understanding common mistakes when defrosting cheesecake can save you from ruining this delicious dessert. By avoiding these pitfalls, you can maintain the cheesecake’s creamy texture and rich flavor while speeding up the defrosting process.
Overheating in Microwave
Microwaving cheesecake can be a quick method, but it’s easy to overheat it, leading to a rubbery texture. When using the microwave:
- Set the microwave to defrost mode or 30% power to gently warm the cheesecake.
- Heat in 15-20 second intervals, checking after each interval to ensure it remains cool to the touch.
- Avoid leaving it unattended, as overheating can cause the filling to separate and the crust to become soggy.
Chef’s tip: If the edges feel warm while the center is still frozen, rotate the cheesecake to ensure even heating.
Skipping the Refrigerator Method
While it may be tempting to rush the process, skipping the refrigerator method can lead to a less-than-ideal cheesecake. Here’s why it’s a crucial step:
- Defrosting in the refrigerator (around 35°F or 1.6°C) allows the cheesecake to thaw slowly, preserving its creamy texture.
- Plan for at least 4-6 hours for this method, allowing enough time for the cheesecake to defrost evenly.
- Check for doneness: it should be soft but still slightly firm in the center when ready to serve.
By avoiding these common mistakes, you’ll ensure your cheesecake remains as delightful as the day you made it!
Quick Summary
| Prep Time | 5 minutes |
|---|---|
| Cook Time | 0 minutes |
| Total Time | 30-60 minutes |
| Servings | 8 |
- Remove from freezer: Take the cheesecake out of the freezer and unwrap it.
- Room temperature method: Place on the counter for 30-60 minutes, depending on size.
- Microwave trick: Use the defrost setting for 15-30 seconds for smaller slices.
- Water bath option: Immerse the wrapped cheesecake in warm water for quicker thawing.
- Check texture: Ensure it’s soft but not too warm to maintain quality.
- Tip: Avoid direct heat to prevent cracks.
- Tip: Keep the cheesecake covered to retain moisture.
Frequently Asked Questions
Can I make this ahead of time? How to store and reheat?
You can make cheesecake ahead of time and store it in the freezer for up to 3 months. When you’re ready to serve, simply defrost it in the refrigerator overnight.
What can I substitute for cream cheese?
If you need a substitute, you can use ricotta cheese or a mix of mascarpone and Greek yogurt for a similar texture. Just keep in mind that the flavor may differ slightly.
How do I know when the cheesecake is done defrosting?
Your cheesecake is fully defrosted when it’s soft to the touch but still slightly firm, usually taking about 4-6 hours in the refrigerator. If you’re in a hurry, a warm water bath can speed this up to about 1-2 hours.
Can I freeze this cheesecake again after defrosting?
It’s not recommended to refreeze cheesecake after it has been defrosted as it can affect the texture and flavor. Once thawed, enjoy it within a week for the best taste.
What if I don’t have a microwave for quick defrosting?
If you lack a microwave, you can place the cheesecake in a sealed plastic bag and submerge it in a bowl of cold water for about 1-2 hours. Just make sure to change the water every 30 minutes for even defrosting.

- 10 Best Cheese Knife With Holes For Smooth Slice 2026 - March 9, 2026
- Make Cheesecake Up to 3 Days Ahead: Tips for Best Flavor & Texture - March 4, 2026
- Easy No-Bake Cool Doen Cheesecake: Quick Recipe & Tips - March 4, 2026