Perfect Cheesecake: Know When It’s Done in 5 Simple Steps
Cheesecake is one of those desserts that feels like a warm hug after a long day. The creamy texture and rich flavor make it a perfect treat for special occasions or a cozy weeknight dessert. Each bite melts in your mouth, leaving you craving just one more slice!
Get ready to master your cheesecake baking skills with clear indicators for doneness! This guide covers everything from visual cues to temperature checks, ensuring you know exactly when your cheesecake is perfectly baked. Total Time: 1 hour 30 minutes, Difficulty: Easy, Servings: 8.
| Prep Time | Cook Time | Total Time | Servings | Difficulty |
|---|---|---|---|---|
| 20 minutes | 1 hour | 1 hour 30 minutes | 8 | Easy |
Cheesecake Origin and Specialties
Cheesecake is more than just a dessert; it reflects a rich history that spans various cultures and occasions. Understanding its origins and significance can help you appreciate the nuances of perfecting this beloved dish, especially when determining how to know if it’s done baking.
- Historical Background: Cheesecake has roots dating back to ancient Greece where it was served to athletes during the first Olympic Games in 776 B.C. The Romans later adapted the recipe, introducing it to various parts of Europe, leading to its evolution into the varieties we enjoy today.
- Cultural Variations: Different cultures have made cheesecake their own. For example, the New York-style cheesecake is famously dense and creamy, while Italian ricotta cheesecake offers a lighter texture. These variations not only highlight regional ingredients but also influence baking techniques, impacting how we determine doneness.
- Occasions for Serving: Cheesecake is often the star of celebrations, from birthdays to holidays. Knowing how to ensure your cheesecake is perfectly baked is key to making those occasions even more special, preventing any disappointment when you slice into the cake.
Essential Ingredients List
To achieve a perfectly baked cheesecake, the quality and proportions of your ingredients are essential. Each component plays a crucial role in the texture and flavor, helping you understand when your cheesecake is done baking.
| Item | Amount/Specification | Notes |
|---|---|---|
| Cream Cheese | 24 ounces (680g) | Softened to room temperature for easy mixing |
| Sugar | 1 cup (200g) | Granulated sugar for sweetness and stability |
| Eggs | 3 large | Room temperature for better emulsification |
| Vanilla Extract | 1 teaspoon (5ml) | Pure vanilla extract enhances flavor |
| Sour Cream | 1 cup (240g) | Adds creaminess and tanginess |
- Ensure cream cheese is fully softened; it should feel smooth and spreadable.
- When mixing, aim for a silky texture; lumps can cause uneven baking.
- For a gluten-free option, substitute the crust with ground nuts or a gluten-free cookie base.
- Always check the cheesecake’s edges; they should be set while the center remains slightly jiggly.
Required Kitchen Equipment
To achieve a perfectly baked cheesecake, having the right kitchen equipment is essential. These tools not only help in the baking process but also ensure that you can accurately check if your cheesecake is done. Here’s a list of what you’ll need:
- Mixer: A stand mixer or hand mixer is crucial for achieving a smooth and creamy cheesecake batter. Beat the cream cheese until it’s fluffy and free of lumps, which typically takes about 2-3 minutes on medium speed. Make sure to scrape down the sides of the bowl occasionally for even mixing.
- Springform Pan: This type of pan allows you to easily remove the cheesecake without damaging its delicate structure. Choose a 9-inch (23 cm) springform pan for most recipes. Ensure it’s properly greased to prevent sticking.
- Measuring Cups and Spoons: Accurate measurements are vital for baking success. Use dry measuring cups for flour and sugar, and liquid measuring cups for ingredients like cream and milk. Level off dry ingredients with a straight edge for precision.
- Thermometer: An instant-read thermometer is your best friend in determining doneness. Insert it into the center of the cheesecake; it should read between 150°F to 160°F (65°C to 70°C) when fully baked. This ensures a safe and perfectly set filling.
Step-by-Step Baking Instructions
Knowing how to determine when your cheesecake is perfectly baked is crucial for achieving that creamy, smooth texture we all love. This section will guide you through the essential steps of preheating your oven, preparing the crust, mixing the filling, and the baking duration, ensuring you’ll know exactly when your cheesecake is done.
- Preheat the Oven: Begin by preheating your oven to 325°F (163°C). This lower temperature helps prevent cracks in your cheesecake. Allow the oven to fully preheat, which usually takes about 15-20 minutes.
- Prepare the Crust: If using a graham cracker crust, combine 1 ½ cups of crushed graham crackers, ½ cup of granulated sugar, and ½ cup of melted butter in a bowl. Press this mixture firmly into the bottom of a 9-inch springform pan. Bake the crust for 10 minutes until lightly golden and fragrant, then remove it from the oven and let it cool.
- Mix the Filling: In a large mixing bowl, beat 24 ounces (680g) of softened cream cheese until smooth. Gradually add 1 cup (200g) of granulated sugar and mix until well combined. Add 3 large eggs, one at a time, mixing on low speed until just blended. The mixture should be creamy without lumps, and you can gently scrape down the sides of the bowl as needed.
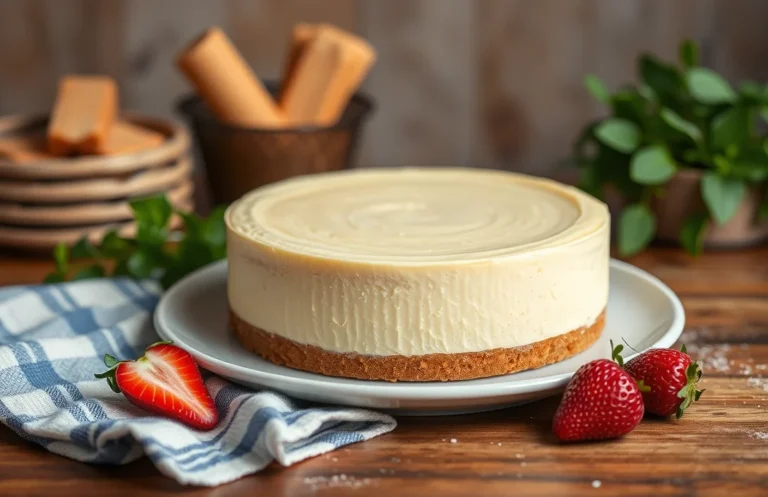
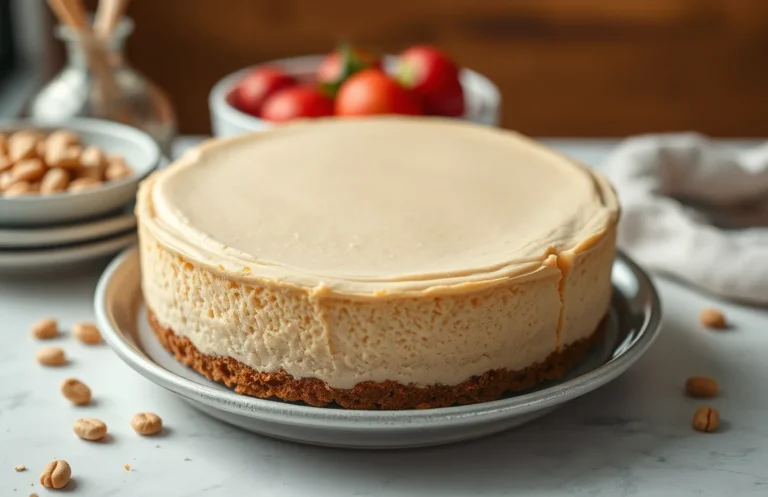
- Bake Duration: Pour the filling over the cooled crust and bake in the preheated oven for 55-65 minutes. You’ll know it’s done when the edges are set, but the center still has a slight jiggle. A toothpick inserted should come out clean or with a few moist crumbs. Avoid overbaking, as this can lead to a dry cheesecake.
Pro Tips for Perfect Cheesecake
Knowing when your cheesecake is perfectly baked is crucial for achieving that creamy, smooth texture we all love. This section provides expert tips and common pitfalls to help you determine if your cheesecake is done, ensuring a delightful dessert every time.
- Avoid Overmixing: When preparing your cheesecake batter, mix until just combined. Overmixing incorporates too much air, leading to cracks during baking. Aim for a smooth consistency, but remember that a few lumps are okay! Your batter should look velvety and uniform without bubbles.
- Cooling Tips: After baking, let your cheesecake cool in the pan for about 1 hour. This gradual cooling helps prevent cracks. Once at room temperature, cover and refrigerate for at least 4 hours, ideally overnight. The cheesecake should feel firm to the touch but still slightly jiggly in the center when properly chilled.
- Checking for Doneness: To check if your cheesecake is done, gently shake the pan. The edges should be set, while the center should have a slight wobble. For a more precise method, insert a toothpick or skewer 1 inch from the edge; it should come out clean, with only a few moist crumbs. The internal temperature should reach 150°F (65°C) for the perfect texture.
Variations and Substitutions
Understanding how to adapt your cheesecake recipe can elevate your baking experience, especially for those with dietary restrictions or a desire for unique flavors. Here, we’ll explore gluten-free crust options, vegan alternatives, and exciting flavor additions that can help you achieve the perfect cheesecake while ensuring it’s done to perfection.
Gluten-Free Crust
If you’re looking for a gluten-free crust, you can substitute traditional graham crackers with gluten-free options. Here’s a simple recipe:
- 1 ½ cups gluten-free cookie crumbs (about 150g)
- ⅓ cup granulated sugar (70g)
- ½ cup unsalted butter, melted (115g)
Mix the crumbs, sugar, and melted butter until combined. Press the mixture firmly into the bottom of your springform pan. Bake at 350°F (175°C) for 10 minutes until slightly golden, then allow to cool before adding the cheesecake filling.
Vegan Alternatives
For a vegan cheesecake, consider using cashews instead of cream cheese. Soak 1 ½ cups of raw cashews (about 225g) in water for at least 4 hours, then drain. Blend the cashews with:
- ½ cup maple syrup (120ml)
- ½ cup coconut cream (120ml)
- 1 tablespoon lemon juice (15ml)
Blend until smooth and creamy, then pour into your prepared crust. Bake at 325°F (160°C) for 30-35 minutes, until the edges are firm but the center is slightly jiggly.
Flavor Additions
To enhance your cheesecake with different flavors, consider adding:
- 1 teaspoon vanilla extract (5ml) for classic flavor
- 2 tablespoons cocoa powder (15g) for a chocolate twist
- ½ cup fruit puree (120ml) like raspberry or mango for a fruity kick
Adjust the sugar accordingly if adding sweetness from fruits. Remember, the center should still have a slight jiggle when you remove it from the oven.
Tip: Always let your cheesecake cool completely at room temperature before chilling it in the fridge. This helps avoid cracks!
Serving and Plating Ideas
Once your cheesecake is perfectly baked and you know it’s done, the next step is to serve it beautifully. Presenting your cheesecake with thoughtful garnishes and pairing it with the right beverages can elevate the experience for your guests. Here are some ideas to make your cheesecake shine on the plate.
Garnishes
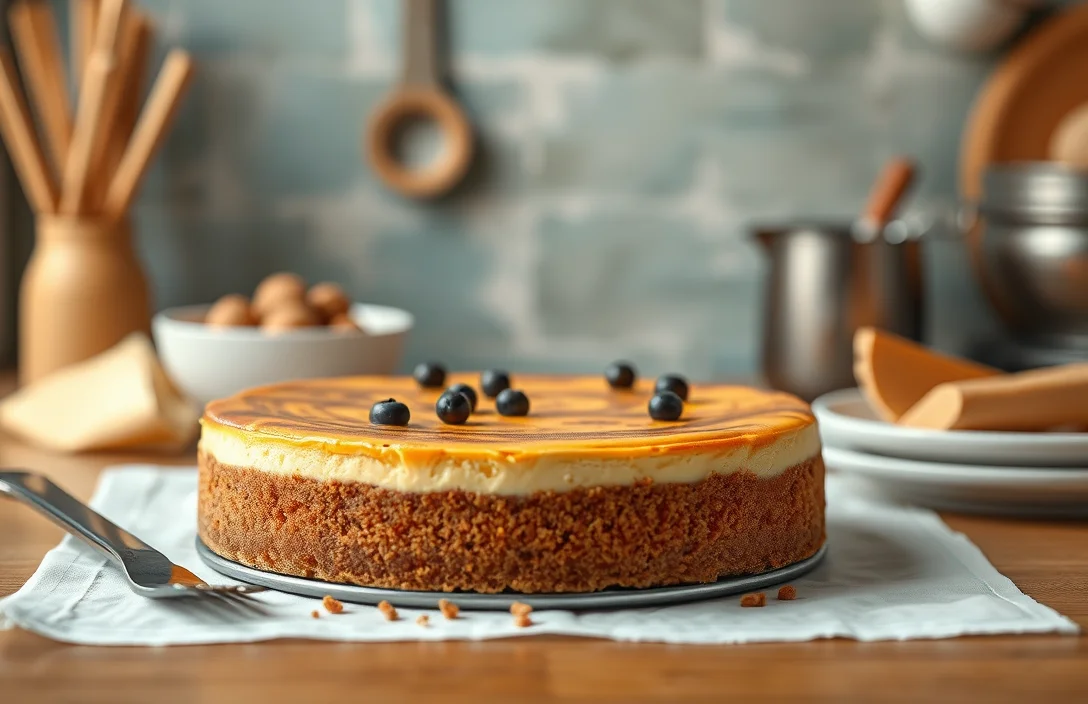
- Fresh Berries: Top with ½ cup mixed berries (strawberries, blueberries, raspberries) for a pop of color and freshness.
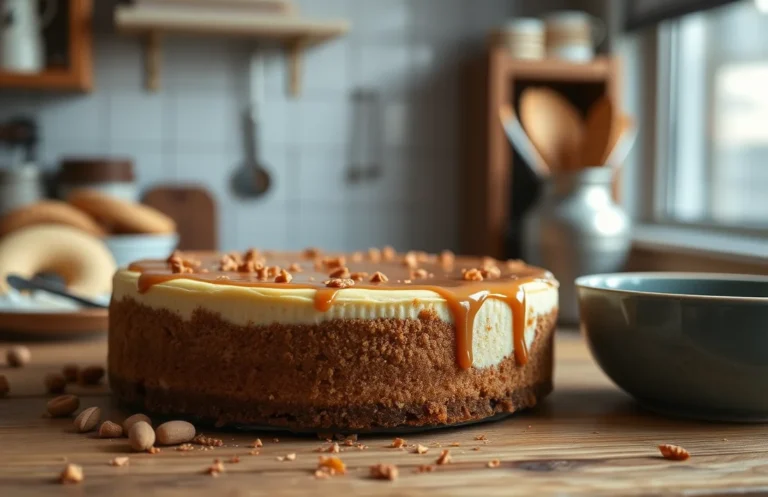
- Chocolate Drizzle: Melt 2 ounces of dark chocolate and drizzle over the cheesecake for a rich touch.
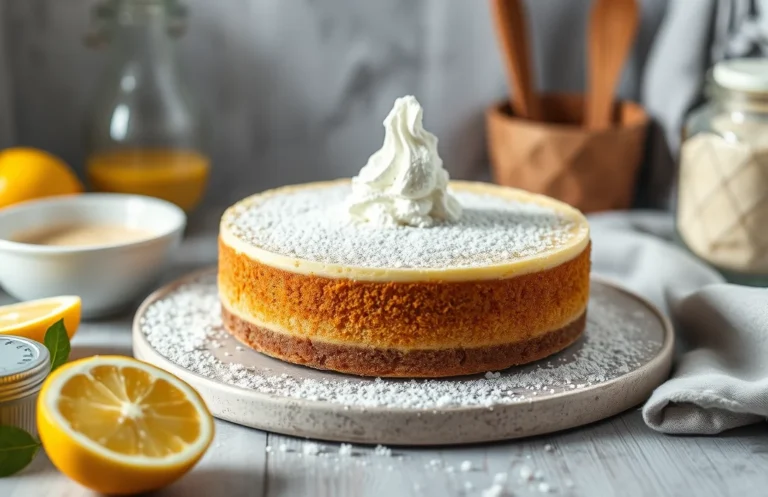
- Whipped Cream: Add a dollop of homemade whipped cream (1 cup heavy cream, whipped to soft peaks) on each slice for creaminess.
- Mint Leaves: Garnish with fresh mint leaves for a refreshing finish.
Beverage Pairings
Complement your cheesecake with beverages that enhance its flavors:
- Coffee: A cup of freshly brewed espresso or a latte pairs beautifully with the richness of cheesecake.
- Tea: Consider serving with a light herbal tea, like chamomile, for a calming effect.
- Wine: A glass of dessert wine, like a late harvest Riesling, enhances the sweetness of the cheesecake.
Chef’s tip: Serve your cheesecake chilled, allowing it to set in the refrigerator for at least 4 hours after baking for the best flavor and texture.
Presentation Tips
For a stunning presentation, consider these tips:
- Use a cake stand to elevate your cheesecake, making it the focal point of the table.
- Slice the cheesecake with a hot, wet knife for clean edges.
- Arrange garnishes artistically rather than haphazardly to create an inviting look.
Quick Summary
| Prep Time | 15 minutes |
|---|---|
| Cook Time | 60 minutes |
| Total Time | 1 hour 15 minutes |
| Servings | 8 slices |
- Check the jiggle: Cheesecake should slightly jiggle in the center when done.
- Use a toothpick: Insert a toothpick; it should come out mostly clean.
- Look for browning: Edges should be lightly browned, while the center remains pale.
- Cooling time matters: Allow cheesecake to cool slowly in the oven to prevent cracks.
- Chill before serving: Refrigerate for at least 4 hours for best texture.
- Tip: Avoid overmixing to prevent air bubbles.
- Tip: Use room temperature ingredients for a smooth batter.
Frequently Asked Questions
Can I make this cheesecake ahead of time? How to store and reheat?
You can absolutely make cheesecake ahead of time; it’s best to refrigerate it for up to 5 days before serving. Just cover it tightly with plastic wrap and avoid reheating, as cheesecake is best enjoyed chilled.
What can I substitute for cream cheese?
If you don’t have cream cheese, you can use mascarpone cheese or a mixture of cottage cheese blended until smooth, but it will slightly alter the flavor and texture. Keep in mind that mascarpone is richer, which could enhance the creaminess!
How do I know when the cheesecake is done?
Your cheesecake is done when the edges are set but the center still has a slight jiggle, which should take about 55-60 minutes at 325°F (163°C). It will firm up as it cools, so don’t worry if it looks a bit wobbly!
Can I freeze this cheesecake? How long does it last?
You can freeze cheesecake for up to 3 months; just make sure it’s wrapped tightly in plastic wrap and then aluminum foil. Thaw it in the refrigerator overnight before serving for the best texture.
What if I don’t have a springform pan?
If you don’t have a springform pan, you can use a regular cake pan, but be sure to line the bottom with parchment paper for easy removal. Just allow it to cool completely before attempting to take it out, and use a knife to gently loosen the edges.

- Make Cheesecake Up to 3 Days Ahead: Tips for Best Flavor & Texture - March 4, 2026
- Easy No-Bake Cool Doen Cheesecake: Quick Recipe & Tips - March 4, 2026
- Decadent Dulce de Leche Cheesecake: Easy Step-by-Step Recipe - March 4, 2026