Perfect Cheesecake Filling Recipe: Easy Steps & Tips for Success
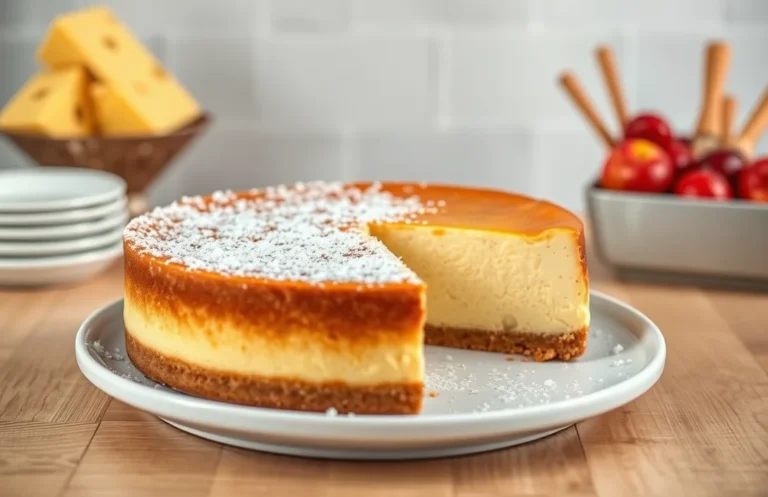
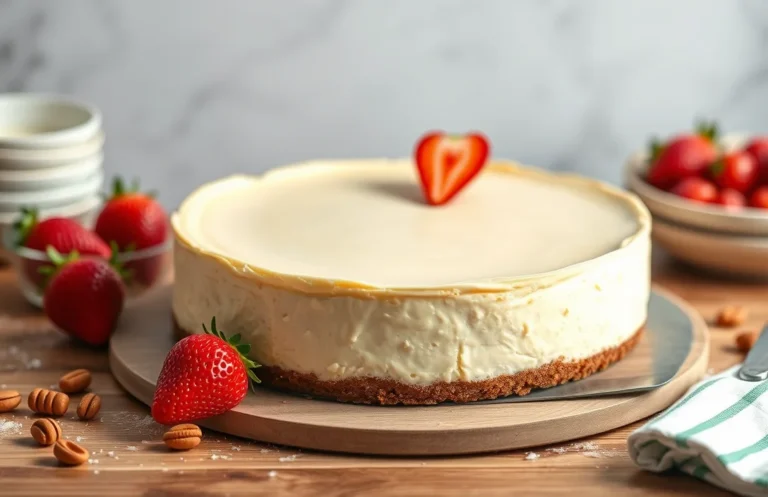
Cheesecake filling is pure bliss in a bowl, rich and creamy, making it the star of any dessert table. Whether you’re celebrating a special occasion or simply indulging on a weeknight, this filling will have everyone coming back for seconds. Get ready for smooth, velvety goodness that melts in your mouth!
With this recipe, you’ll master the art of cheesecake filling in just 15 minutes of prep time, and it sets beautifully in the fridge. This recipe serves 8 people and is easy enough for beginners!
| Prep Time | Cook Time | Total Time | Servings | Difficulty |
|---|---|---|---|---|
| 15 minutes | 0 minutes | 15 minutes | 8 | Easy |
Cheesecake Filling History
Understanding the history of cheesecake filling adds depth to the dish, highlighting its cultural significance and evolution over centuries. This creamy delight has roots that stretch back to ancient Greece, where it was enjoyed as a simple yet satisfying dessert.
- Originated in ancient Greece, with the earliest known cheesecake recipe dating back to 2000 B.C.
- Greek athletes consumed cheesecake for energy during the first Olympic Games.
- Roman invaders brought cheesecake to Europe, leading to varied regional adaptations.
By the Middle Ages, cheesecake had transformed and spread throughout Europe, particularly in Italy and France, where it began to incorporate richer ingredients like cream and eggs. The development of cream cheese in the United States in the 19th century led to the beloved New York-style cheesecake we know today.
“Cheesecake is more than just a dessert; it embodies centuries of culinary evolution and cultural expression.”
This versatile filling can be served on various occasions, from festive gatherings to casual family dinners. Its adaptability allows for endless flavor variations, making it suitable for any palate.
| Year | Key Development |
|---|---|
| 2000 B.C. | First recorded cheesecake recipe in Greece. |
| Middle Ages | Cheesecake spreads through Europe with new ingredients. |
| 19th Century | Creation of cream cheese in the U.S. leads to New York-style cheesecake. |
With its rich history and beloved status, cheesecake filling remains a timeless favorite, worthy of a place at any table.
Ingredients for Cheesecake Filling
This section outlines the essential ingredients you’ll need to create a rich and creamy cheesecake filling. Using the right measurements and quality ingredients is crucial for achieving that perfect texture and flavor that makes cheesecake a beloved dessert.
| Item | Amount/Specification | Notes |
|---|---|---|
| Cream Cheese | 16 ounces (450g) | Softened to room temperature |
| Sour Cream | ½ cup (120g) | Full-fat for best results |
| Granulated Sugar | 1 cup (200g) | Adjust for sweetness preference |
| Vanilla Extract | 1 teaspoon (5ml) | Use pure vanilla for richer flavor |
| Eggs | 3 large | At room temperature |
| All-Purpose Flour | 2 tablespoons (15g) | Helps stabilize the filling; optional |
- For a gluten-free option, substitute all-purpose flour with cornstarch or a gluten-free flour blend.
- Ensure the cream cheese is at room temperature to avoid lumps in the filling.
- For a lighter texture, beat the cream cheese well before adding other ingredients.
- Don’t overmix once the eggs are added; this can incorporate too much air and cause cracks.
Essential Kitchen Equipment
To create a smooth and creamy cheesecake filling, you’ll need some essential kitchen equipment that will streamline the process and ensure perfect results. Having the right tools can make all the difference in achieving that velvety texture and rich flavor.
- Mixing Bowl: A large mixing bowl (at least 3 quarts) is crucial for combining your cream cheese and other ingredients without making a mess. Glass or stainless steel bowls are ideal as they won’t retain odors.
- Electric Mixer: A hand mixer or stand mixer will help you beat the cream cheese until it’s completely smooth. If you’re using a hand mixer, ensure it has multiple speed settings for better control over the mixing process.
- Rubber Spatula: A flexible rubber spatula is perfect for scraping down the sides of your bowl to ensure all ingredients are fully incorporated. It also helps in folding in any additional flavors or whipped cream without deflating it.
- Measuring Cups and Spoons: Accurate measurements are key to a successful cheesecake filling. Use dry measuring cups for solids and liquid measuring cups for liquids to ensure precision.
- Cheese Grater (Optional): If you’re adding zest from citrus fruits for flavor, a microplane grater will give you fine zest without the bitter pith.
- Food Processor (Optional): If you prefer a super-smooth filling, a food processor can blend the cream cheese and other ingredients to a silky consistency. Just be sure to scrape down the sides often.
Chef’s tip: Allow your cream cheese to sit at room temperature for at least 30 minutes before mixing to prevent lumps and achieve that creamy texture.
Step-by-Step Instructions
Making a creamy cheesecake filling is essential for achieving that rich and smooth texture that everyone loves. Follow these detailed steps to ensure your filling turns out perfectly every time.
- 2 (8 oz) packages cream cheese (room temperature)
- ½ cup granulated sugar (100g)
- ½ teaspoon vanilla extract
- 2 large eggs (room temperature)
- ½ cup sour cream (120g)
- 1 tablespoon all-purpose flour (8g) – optional for stability
- Prep the Cream Cheese: Start by taking 2 packages (16 oz total) of cream cheese out of the refrigerator and let them sit at room temperature for about 30 minutes. This will soften the cream cheese, making it easier to blend and ensuring a smooth filling.
- Blend the Cream Cheese: Using a hand mixer or stand mixer, beat the softened cream cheese on medium speed for about 2-3 minutes until it is creamy and free of lumps. The mixture should be smooth and glossy, with no visible clumps.
- Add Sugar and Vanilla: Gradually add ½ cup of granulated sugar and ½ teaspoon of vanilla extract to the cream cheese. Continue mixing on medium speed for another 1-2 minutes until well combined, and the mixture appears fluffy and airy.
- Incorporate Eggs: Crack 2 large eggs into a separate bowl and whisk them lightly. Slowly add the eggs to the cream cheese mixture, one at a time, beating on low speed just until blended. Make sure not to over-mix, as this can incorporate too much air, leading to cracks during baking.
- Add Sour Cream: Fold in ½ cup of sour cream gently using a spatula until fully combined. This adds richness and a slight tang to your filling, contributing to that classic cheesecake flavor. The mixture should be smooth and slightly thicker than a pancake batter.
- Optional Flour Addition: If you want extra stability, mix in 1 tablespoon of all-purpose flour. This can help prevent the filling from cracking as it bakes. Stir gently until just combined, ensuring not to overmix.
- Check Consistency: Your cheesecake filling should be thick, creamy, and smooth without any lumps. If you notice any lumps, you can pass it through a fine-mesh sieve to achieve a velvety texture.
Chef’s tip: Make sure all ingredients are at room temperature for the best blending and texture.
Pro Tips and Common Mistakes
Creating the perfect cheesecake filling involves a few essential techniques and an awareness of common pitfalls that can affect the texture and flavor. This section will guide you through the best practices to achieve a creamy, smooth filling and help you avoid those frustrating mistakes.
- Use room temperature ingredients: Make sure your cream cheese, eggs, and sour cream are at room temperature before mixing. This helps achieve a smooth consistency without lumps and ensures even blending, making the filling creamy and rich.
- Don’t overmix: While it’s important to thoroughly combine your ingredients, overmixing can incorporate too much air into the filling, leading to cracks during baking. Mix just until smooth and combined to maintain that dense, velvety texture.
- Scrape the bowl frequently: As you mix, be sure to scrape down the sides and bottom of the mixing bowl. This ensures that all ingredients are evenly incorporated and prevents any clumps from forming, resulting in a consistent filling.
- Choose the right pan: Use a springform pan for your cheesecake. This allows for easy removal without damaging the sides. Line the bottom with parchment paper to ensure the cheesecake doesn’t stick and maintain its beautiful shape.
- Watch the baking time: Cheesecake filling should be set around the edges but slightly jiggly in the center when done. This usually takes about 50-60 minutes at 325°F (160°C). Overbaking can lead to a dry filling, so keep an eye on it!
- Cool gradually: After baking, let your cheesecake cool in the oven with the door ajar for about an hour to prevent sudden temperature changes that can cause cracks. Then refrigerate for at least 4 hours before serving for the best texture.
Variations and Substitutions
When crafting your cheesecake filling, there are numerous variations and substitutions to consider that can cater to dietary preferences and enhance flavors. Whether you’re looking for a gluten-free option, a vegan alternative, or simply want to switch up the flavors, these tips will help you create the perfect cheesecake filling tailored to your needs.
Gluten-Free Options
- For a gluten-free crust, use 1 ½ cups gluten-free graham cracker crumbs instead of regular crumbs.
- Ensure that any other ingredients, like baking powder or flavor extracts, are labeled gluten-free.
Vegan Variations
If you want a vegan cheesecake filling, substitute the cream cheese with an equal amount of vegan cream cheese. You can also use:
- 1 cup silken tofu blended until smooth as a base.
- ½ cup coconut cream for richness and creaminess.
Be sure to add a little extra sweetener, like maple syrup, to balance the flavors.
Flavor Additions
To customize your cheesecake filling, consider these flavor enhancements:
- For chocolate cheesecake, mix in ½ cup cocoa powder with your cream cheese.
- For a fruity twist, fold in 1 cup pureed fruit (like strawberries or blueberries) into the filling.
- Add 1 teaspoon vanilla extract or ½ teaspoon almond extract for added depth.
Chef’s tip: Always taste your filling before baking to adjust sweetness or flavor intensity as needed!
Serving and Plating Suggestions
Serving your cheesecake filling beautifully can elevate the entire dessert experience. Here are some suggestions to help you plate your cheesecake filling creatively and pair it with complementary flavors.
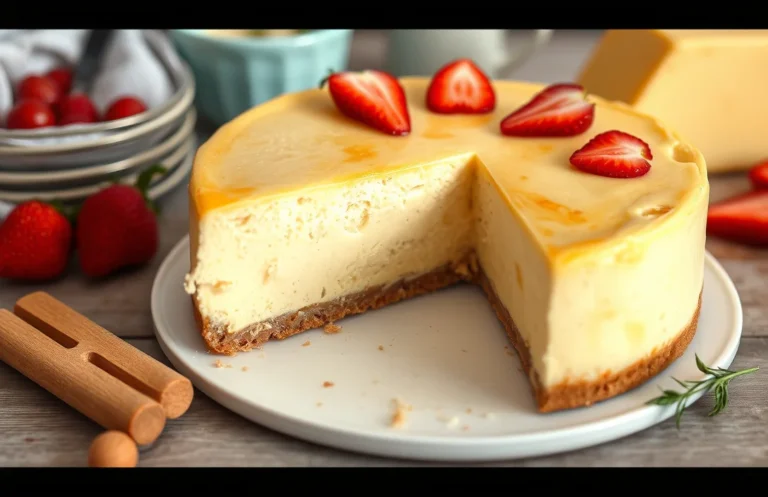
- Garnish with fresh fruit: Top your cheesecake with a mix of fresh berries such as strawberries, blueberries, or raspberries. The bright colors and natural sweetness will contrast beautifully with the creamy filling.
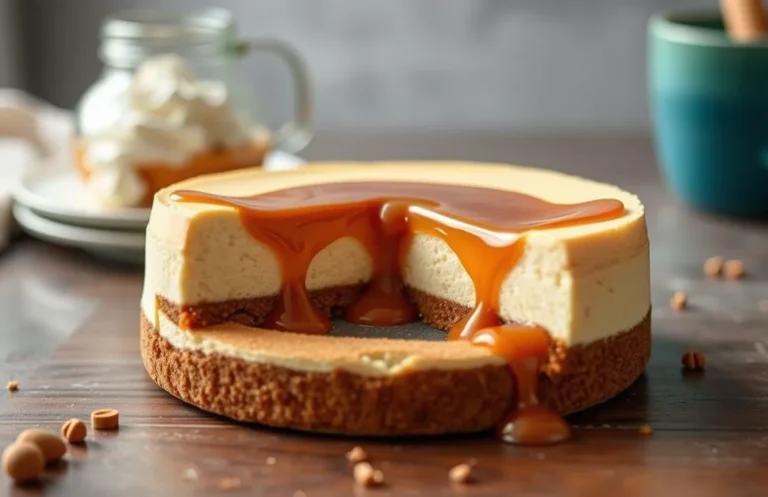
- Drizzle with sauces: Consider drizzling caramel, chocolate, or berry sauce over the cheesecake. This not only adds a visual element but also enhances the flavor profile. Use a squeeze bottle for precise control over the presentation.
- Chocolate shavings: For a touch of elegance, use a vegetable peeler to create chocolate shavings from a dark chocolate bar. Sprinkle these over the top for a rich, decadent look.
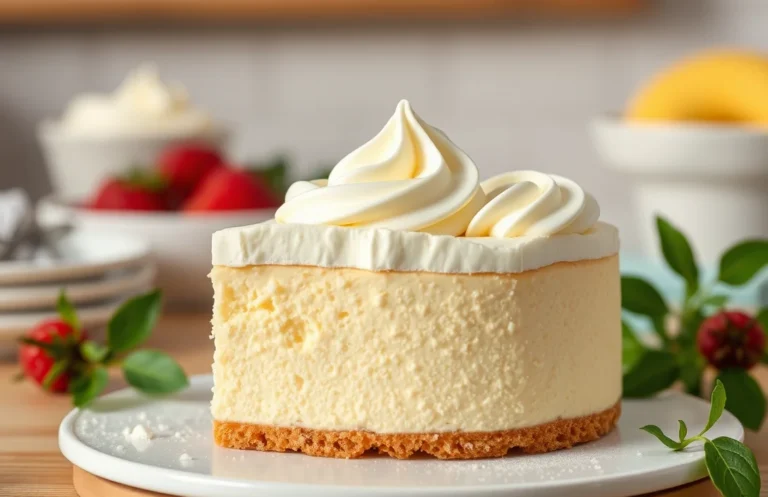
- Serve with whipped cream: A dollop of freshly whipped cream can add a light, airy texture that contrasts nicely with the dense filling. Whip 1 cup of heavy cream with 2 tablespoons of sugar until soft peaks form for a perfect topping.
- Layered dessert cups: For a fun twist, layer the cheesecake filling in individual dessert cups with crushed graham crackers and fruit. This makes for an appealing presentation and is perfect for portion control.
- Herb accents: Use fresh mint leaves as a garnish for an unexpected flavor combination that brightens the dish. Place a few sprigs on top of the cheesecake or alongside it for a fresh touch.
Quick Summary
| Prep Time | Cook Time | Total Time | Servings |
|---|---|---|---|
| 15 minutes | 60 minutes | 75 minutes | 8 servings |
- Soften cream cheese: Leave 2 (8 oz) packages at room temperature for at least 30 minutes.
- Mix ingredients: Beat cream cheese with 1 cup sugar until smooth; add 1 tsp vanilla and 3 large eggs, one at a time.
- Prepare the crust: Use a pre-baked graham cracker crust for best texture.
- Bake water bath: Place cheesecake in a baking dish filled with hot water to prevent cracks.
- Chill properly: Refrigerate for at least 4 hours before serving for optimal texture.
- Room temperature ingredients: Ensure all ingredients are at room temperature for a smooth filling.
- Don’t overmix: Overmixing can incorporate too much air, leading to cracks.
Frequently Asked Questions
Can I make this ahead of time? How to store and reheat?
You can make cheesecake filling up to 2 days in advance. Store it in an airtight container in the fridge and simply stir it before using.
What can I substitute for cream cheese?
If you don’t have cream cheese, you can use mascarpone cheese or a blend of cottage cheese and sour cream for a similar texture. Just keep in mind that the flavor may be slightly different.
How do I know when it’s done?
Your cheesecake filling is done when it appears smooth and slightly thickened, and when you gently shake the bowl, it should have a slight jiggle but not look liquidy. A good test is to check that the edges are set and the center is still a bit soft.
Can I freeze this? How long does it last?
You can freeze cheesecake filling for up to 2 months. Just make sure to store it in a freezer-safe container and thaw it in the fridge overnight before using.
What if I don’t have a mixer?
If you don’t have a mixer, you can use a whisk and some elbow grease to combine the ingredients by hand, though it will take longer. Make sure to beat the cream cheese until it’s very smooth before adding the other ingredients.

- Decadent Peanut Butter No-Bake Cheesecake: Easy Recipe to Indulge - April 3, 2026
- Delicious Mango No-Bake Cheesecake: Step-by-Step Recipe - April 3, 2026
- Decadent Raspberry No-Bake Cheesecake: Easy Step-by-Step Recipe - April 3, 2026