Make Cheesecake Ahead: Tips for Storage and Serving Freshness
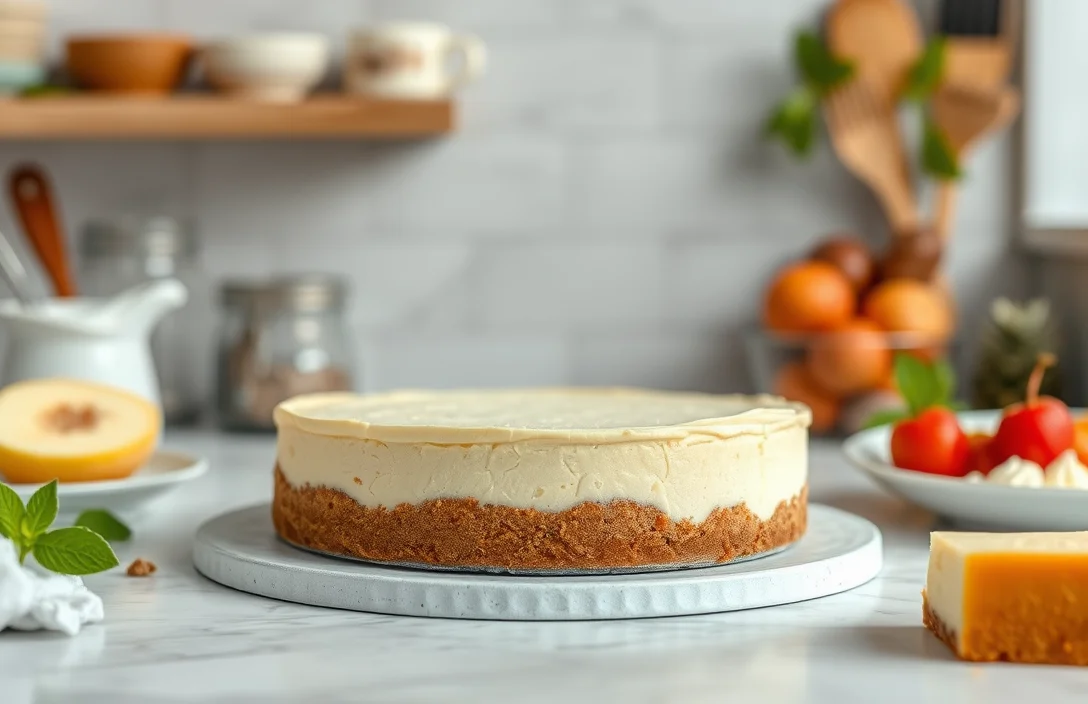
Cheesecake is that creamy, dreamy dessert that brings a smile to every face at the table. Whether you’re celebrating a special occasion or just treating yourself after a long day, this luscious treat never disappoints. The rich texture paired with a buttery crust makes it irresistible, leaving everyone wanting more!
Wondering how far in advance you can make this delicious dessert? You’re in the right place! This guide covers maximum preparation times, storage methods, and serving tips to ensure your cheesecake is always a hit.
| Prep Time | Cook Time | Total Time | Servings | Difficulty |
|---|---|---|---|---|
| 20 minutes | 60 minutes | At least 4 hours (chill time) | 8 servings | Medium |
Cheesecake Origins and Significance
Understanding the origins and significance of cheesecake can enhance your appreciation for this beloved dessert, especially when planning to make it ahead of time. Cheesecake has a rich history that spans cultures and centuries, making it a special treat often served on festive occasions.
History of Cheesecake
Cheesecake dates back to ancient Greece, where it was considered a nourishing food for athletes during the Olympic Games. The Romans later adopted and adapted the recipe, introducing it to different regions as they expanded their empire. Over the years, various cultures have put their own spin on cheesecake:
- Greek Style: Made with thick yogurt and honey, offering a tangy flavor.
- Italian Style: Utilizes ricotta cheese, resulting in a lighter texture.
- New York Style: Features cream cheese for a dense, rich taste, often served plain or topped with fruit.
Cultural Importance
Cheesecake is more than just a dessert; it symbolizes celebration in many cultures. It is often served during:
- Birthdays
- Weddings
- Holidays such as Thanksgiving and Christmas
“A well-made cheesecake brings people together, creating memories around the table.” – Chef’s tip
When preparing cheesecake ahead of time, consider that its flavors often deepen after a day in the refrigerator. This means you can safely make it 1-2 days in advance for optimal taste. Just remember to store it properly to maintain its texture and freshness!
Ingredients for Cheesecake
Understanding the ingredients for a classic cheesecake is essential, especially if you’re planning to make it ahead of time. Each component plays a significant role in the overall texture and flavor, so it’s important to use precise measurements and quality ingredients to ensure a delicious result, even after storing.
| Item | Amount/Specification | Notes |
|---|---|---|
| Graham cracker crumbs | 1 ½ cups (150g) | For crust; can substitute with gluten-free crumbs |
| Unsalted butter | ½ cup (115g) | Melted, for crust |
| Granulated sugar | 1 cup (200g) | For filling and crust |
| Philadelphia cream cheese | 24 oz (680g) | Softened, for filling |
| Sour cream | 1 cup (240g) | For a creamy texture |
| Vanilla extract | 1 teaspoon | Pure vanilla for flavor |
| Large eggs | 3 | Room temperature, for filling |
| All-purpose flour | 2 tablespoons (15g) | Optional; helps with texture |
- For a gluten-free crust, substitute graham cracker crumbs with almond flour or gluten-free cookies.
- Ensure the cream cheese is at room temperature to avoid lumps when mixing.
- Let the cheesecake cool completely before refrigerating to prevent condensation.
Essential Kitchen Tools
Before diving into making your cheesecake, it’s crucial to gather the right kitchen tools. Having everything prepared will streamline the process, ensuring your cheesecake turns out perfectly every time. Here’s what you’ll need for a successful cheesecake-making experience.
- Springform Pan (9-inch): This is essential for cheesecakes as it allows for easy removal without damaging the sides. Make sure it’s well-greased to prevent sticking.
- Mixing Bowls: Use a large mixing bowl for the cream cheese mixture and a smaller one for the crust. Glass or stainless steel bowls are best as they withstand temperature changes well.
- Electric Mixer: A hand mixer or stand mixer will make it easier to achieve a smooth, creamy consistency for the cheesecake filling. Mix on medium speed until no lumps remain.
- Spatula: A flexible rubber spatula is perfect for folding in ingredients and scraping the sides of the mixing bowl. This ensures all ingredients are well combined.
- Measuring Cups and Spoons: Accurate measurements are key for baking. Use dry measuring cups for solids and liquid measuring cups for liquids.
- Parchment Paper: Lining the bottom of the springform pan with parchment paper helps in removing the cheesecake easily. Cut a circle to fit the base before greasing it.
- Food Processor (optional): If you’re making a crumb crust, a food processor can quickly pulse cookies or graham crackers into fine crumbs.
Having these tools ready will make your cheesecake-making process smooth, and you’ll be more confident in how far ahead you can prepare your dessert!
Step-by-Step Cheesecake Preparation
Preparing a cheesecake involves several critical steps to ensure a creamy texture and rich flavor. This section outlines how to make the crust, prepare the filling, bake your cheesecake, and properly cool it, which is essential if you’re planning to make it ahead of time.
- Making the Crust: Start by preheating your oven to 350°F (175°C). In a mixing bowl, combine 1 ½ cups (150g) of graham cracker crumbs, ¼ cup (50g) of granulated sugar, and ½ cup (115g) of melted unsalted butter. Mix until the crumbs are evenly coated and resemble wet sand. Press this mixture firmly into the bottom of a 9-inch (23cm) springform pan, ensuring it’s packed tightly. Bake for 10 minutes until lightly golden, then let it cool while you prepare the filling.
- Preparing the Filling: In a large bowl, beat 24 oz (680g) of room temperature cream cheese with a hand mixer until smooth, approximately 2-3 minutes. Gradually add 1 cup (200g) of granulated sugar, mixing until combined. Incorporate 3 large eggs one at a time, mixing on low speed to prevent overmixing. Finally, add 1 teaspoon of vanilla extract and ½ cup (120ml) of sour cream, blending until smooth. The filling should be creamy with no lumps.
- Baking Instructions: Pour the filling over the cooled crust and smooth the top with a spatula. Bake in the preheated oven for 55-60 minutes, or until the edges are set but the center still has a slight jiggle. Do not open the oven door during the first 40 minutes to prevent cracks. Once done, turn off the oven and leave the cheesecake inside for an additional hour to cool gradually.
- Cooling Process: After an hour in the oven, remove the cheesecake and let it cool at room temperature for another hour. Then, cover it with plastic wrap and refrigerate for at least 4 hours, or overnight for best results. Chilling overnight enhances the flavors and improves the texture, making it ideal for preparing ahead of time.
Storage Tips for Cheesecake
Proper storage is essential for keeping your cheesecake fresh and delicious, especially when you make it ahead of time. Whether you’re refrigerating or freezing, following these tips will help maintain its creamy texture and rich flavor.
- Refrigeration Methods: If you’re planning to enjoy your cheesecake within 5-7 days, storing it in the refrigerator is ideal. Wrap the cheesecake in plastic wrap or aluminum foil to prevent it from absorbing odors. Place it in an airtight container or on a plate covered with plastic wrap to keep it moist. When ready to serve, let it sit at room temperature for about 30 minutes, which enhances the flavor and texture.
- Freezing Techniques: For longer storage, cheesecake can be frozen for up to 3 months. First, let the cheesecake cool completely after baking. Then, wrap it tightly in plastic wrap, followed by a layer of aluminum foil to protect it from freezer burn. If you want to freeze individual slices, cut the cheesecake and wrap each slice individually. When you’re ready to enjoy, transfer it to the refrigerator to thaw overnight, or for quicker results, leave it at room temperature for 1-2 hours.
Chef’s tip: Always label your cheesecake with the date it was made and whether it’s a whole cheesecake or slices to keep track of freshness!
Quality Changes Over Time
Understanding how the taste and texture of cheesecake evolve over time is essential for planning your dessert. As cheesecake sits, its flavors develop and its texture can adjust, which can enhance or detract from the overall experience.
- Flavor Development: Cheesecake flavors mature as they chill. If you prepare your cheesecake a day or two in advance, you’ll notice a more pronounced flavor profile. The tanginess from cream cheese and any added ingredients, like vanilla or citrus zest, become more harmonious. For optimal flavor, allow your cheesecake to rest in the fridge for at least 4 hours before serving, but a full 24 hours is ideal.
- Texture Adjustments: The texture of cheesecake can change as it sits due to moisture absorption and chilling. After being refrigerated, the cheesecake should feel dense yet creamy. However, if stored for too long, it may become overly firm or dry. To counteract this, consider serving with a drizzle of fruit sauce or whipped cream if you notice the texture has become less desirable after a few days in the fridge.
- Signs of Quality Decline: If your cheesecake has been stored for more than a week, check for signs of spoilage such as an off smell or a change in color. The surface may also develop a slight sheen or moisture, indicating it’s time to discard it. Always trust your senses; if it looks or smells questionable, it’s best not to take the risk.
Serving Cheesecake After Storage
Once your cheesecake has been properly stored, serving it can be a delightful experience. Understanding how to thaw and present your cheesecake will ensure that it maintains its delicious flavor and appealing texture, even after some time in the fridge or freezer.
Thawing Tips
- Refrigerator Thawing: The best method to thaw cheesecake is in the refrigerator. Simply move the cheesecake from the freezer to the fridge at least 6-8 hours before you plan to serve it. This slow thawing helps preserve the texture and moisture.
- Room Temperature Thawing: If you’re short on time, you can let the cheesecake sit at room temperature for about 30-60 minutes. Keep an eye on it to avoid it becoming too warm, which can affect its texture.
- Microwave Caution: Avoid using the microwave to thaw your cheesecake, as it can lead to uneven heating and a compromised texture. If you must use it, set the microwave to low power and check every 10 seconds.
Presentation Ideas
- Garnish Wisely: Fresh fruit, whipped cream, or a drizzle of chocolate or caramel sauce can elevate the presentation. Aim for a colorful contrast to the creamy cheesecake.
- Slice Neatly: Use a sharp knife dipped in hot water for clean cuts. Wipe the knife with a paper towel after each slice to keep the edges neat and tidy.
- Serve with a Side: Pair slices with a scoop of ice cream or a small cup of coffee for a delightful dessert experience.
Common Cheesecake Questions
Understanding how far ahead you can make a cheesecake is essential for planning special occasions or simply enjoying this delicious dessert at your leisure. Proper storage practices and adjustments can help maintain its flavor and texture, ensuring it remains a delightful treat when you’re ready to serve it.
How Far Ahead Can I Make It?
You can make a cheesecake 2 to 3 days in advance, and it will still taste fresh and delicious. If you need to prepare it even earlier, consider freezing it instead.
- For refrigeration: Store your cheesecake in the refrigerator for up to 3 days.
- For freezing: Wrap it tightly in plastic wrap and aluminum foil, then freeze for up to 2 months.
Best Storage Practices
Proper storage is key to preserving the quality of your cheesecake.
Chef’s tip: Always allow your cheesecake to cool completely before refrigerating or freezing to avoid condensation, which can affect texture.
- Refrigerate in an airtight container or cover with plastic wrap to avoid absorbing odors.
- For frozen cheesecakes, label them with the date and type for easy identification.
Adjusting Flavor Over Time
Cheesecakes can develop deeper flavors as they sit, but be cautious with certain ingredients.
- Fruit toppings can become soggy, so consider adding them just before serving.
- If your cheesecake has a graham cracker crust, it may soften after a few days; a quick toast in the oven can revive its crunch.
| Storage Method | Duration |
|---|---|
| Refrigerator | Up to 3 days |
| Freezer | Up to 2 months |
Quick Summary
| Prep Time | 20 minutes |
|---|---|
| Cook Time | 1 hour |
| Total Time | 6 hours (including cooling) |
| Servings | 8-10 |
- Chill Time: Refrigerate cheesecake for at least 4 hours before serving.
- Make Ahead: Cheesecake can be made up to 3 days in advance.
- Room Temperature: Let cheesecake sit at room temp for 30 minutes before slicing.
- Bake Carefully: Use a water bath to prevent cracks during baking.
- Flavor Boost: Add vanilla extract or lemon zest to the batter for extra flavor.
Frequently Asked Questions
Can I make this ahead of time? How to store and reheat?
You can make cheesecake up to 3 days in advance and store it in the refrigerator. Just cover it tightly with plastic wrap to prevent it from drying out.
What can I substitute for cream cheese?
If you don’t have cream cheese, you can use mascarpone cheese or a blend of ricotta cheese and sour cream for a similar texture. Keep in mind that this might slightly alter the flavor.
How do I know when it’s done?
Your cheesecake is done when the edges are set, but the center still has a slight jiggle when you gently shake the pan. It will firm up as it cools, so don’t overbake!
Can I freeze this? How long does it last?
Yes, you can freeze cheesecake for up to 2 months. Make sure to wrap it tightly in plastic wrap and then aluminum foil to prevent freezer burn.
What if I don’t have a springform pan?
If you don’t have a springform pan, you can use a regular cake pan lined with parchment paper, but you’ll need to chill the cheesecake longer before serving to help it hold its shape. Just be careful when removing it from the pan!

- Decadent Peanut Butter No-Bake Cheesecake: Easy Recipe to Indulge - April 3, 2026
- Delicious Mango No-Bake Cheesecake: Step-by-Step Recipe - April 3, 2026
- Decadent Raspberry No-Bake Cheesecake: Easy Step-by-Step Recipe - April 3, 2026