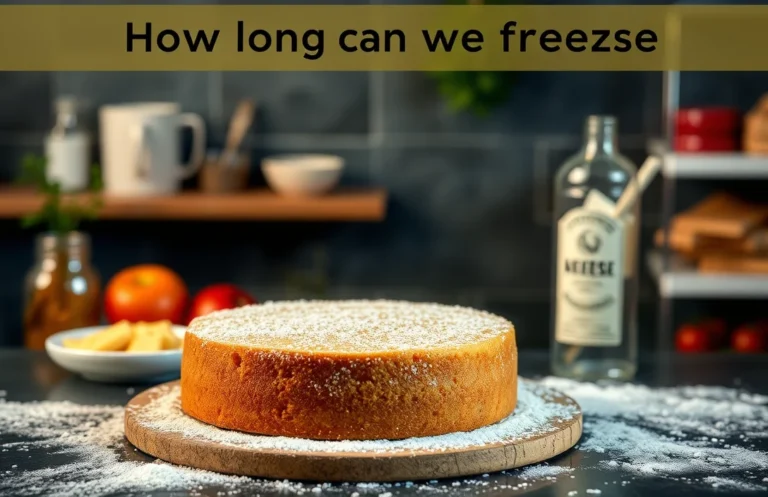
Make Cheesecake Ahead: Best Storage Tips & Timing for Freshness
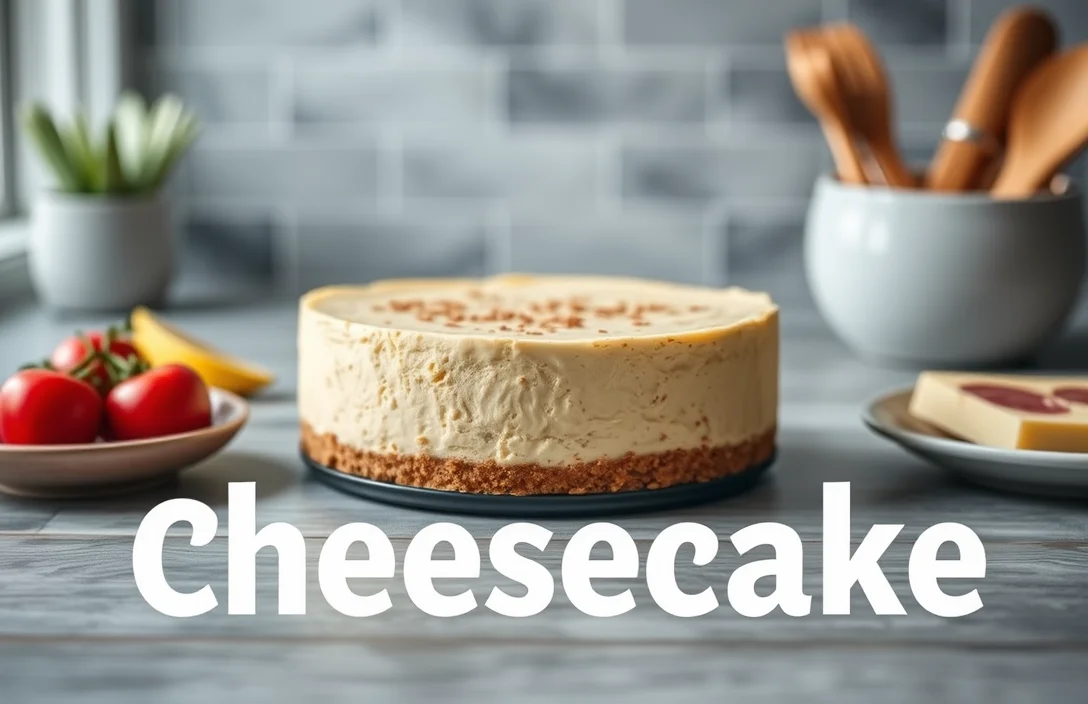
Cheesecake is one of those desserts that brings pure joy with every creamy, luscious bite. Whether it’s a special occasion or a cozy weeknight treat, this velvety dessert is a crowd-pleaser that never fails to impress. The buttery crust paired with the rich filling is enough to make anyone weak in the knees!
Wondering how far in advance you can make cheesecake? This guide provides clear time frames for making your cheesecake up to one week ahead, along with expert tips for storage methods to keep it fresh, and signs to check if it’s still good.
| Prep Time | Cook Time | Total Time | Servings | Difficulty |
|---|---|---|---|---|
| 30 minutes | 1 hour | 1 hour 30 minutes | 8 servings | Moderate |
Origin of Cheesecake
The history of cheesecake is rich and varied, reflecting cultural traditions and special occasions across the globe. Understanding its origins can help you appreciate the significance of this delightful dessert and why planning ahead for its preparation can enhance your experience.
- Ancient Beginnings: The earliest known cheesecake dates back to ancient Greece, where it was served to athletes during the first Olympic Games in 776 B.C. This simple mixture of cheese, flour, and honey was both nourishing and celebratory, marking the start of cheesecake’s long-standing association with special occasions.
- Roman Influence: The Romans adopted the Greek recipe and added their own twists, introducing eggs and baking it in a crust. This version spread throughout Europe, evolving into the many regional variations we see today, from the rich, creamy New York-style cheesecake to the lighter Italian ricotta cheesecake.
- Modern Celebrations: Cheesecake has firmly established itself as a favorite for celebrations, including birthdays, weddings, and holidays. Its versatility allows for countless flavor profiles, making it suitable for any occasion. Knowing how far in advance you can make cheesecake ensures that you can serve this beloved dessert at its freshest and most flavorful.
Understanding the origins of cheesecake not only enriches your culinary experience but also helps you plan your baking effectively. Most cheesecakes can be made a day or two in advance, but knowing the right storage methods ensures they remain delicious up until serving time.
Ingredients for Cheesecake
Understanding the ingredients needed for a cheesecake is crucial for planning ahead. Knowing how long each component can last before baking can help you make your cheesecake at the right time, ensuring it’s fresh and flavorful for your special occasion.
| Item | Amount/Specification | Notes |
|---|---|---|
| Cream Cheese | 16 ounces (450g) | Softened to room temperature for easy blending |
| Sugar | 1 cup (200g) | Granulated sugar works best |
| Graham Cracker Crust | 1 ½ cups (150g) crushed graham crackers | Combine with ½ cup (113g) melted butter and ¼ cup (50g) sugar |
| Sour Cream | 1 cup (240ml) | Adds creaminess and a slight tang |
| Vanilla Extract | 1 teaspoon | Use pure vanilla for the best flavor |
| Eggs | 3 large | Room temperature for easier mixing |
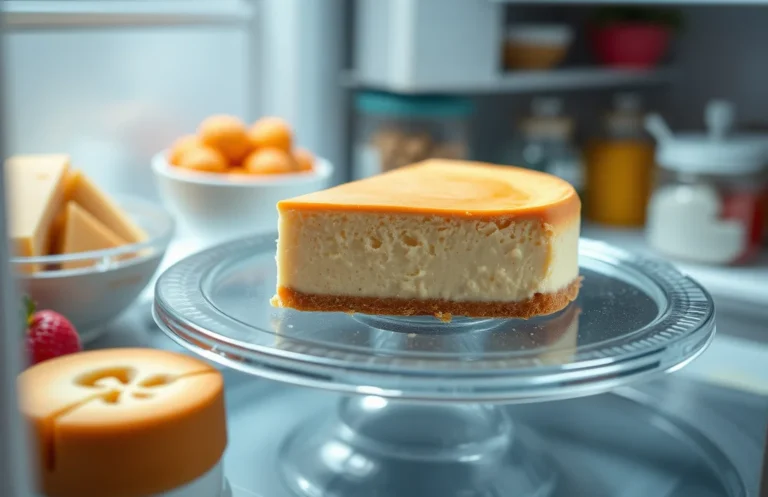
- For the best results, prepare the cheesecake up to 2 days in advance. Store it in the refrigerator.
- Make sure to cover the cheesecake tightly with plastic wrap or aluminum foil to prevent drying out.
- If you need to make it even further in advance, consider freezing it. Wrap it well and it can last for up to 2 months.
- When thawing a frozen cheesecake, place it in the refrigerator overnight to maintain texture and taste.
Necessary Kitchen Equipment
To make cheesecake successfully and store it for optimal freshness, you’ll need a few essential kitchen tools and equipment. Having the right tools not only makes the process easier but also ensures your cheesecake turns out perfectly every time.
- Mixing Tools: You’ll need a large mixing bowl (preferably glass or stainless steel) and an electric mixer or whisk. For best results, use a stand mixer fitted with the paddle attachment. This will ensure your cream cheese is smooth and free of lumps. Make sure the cream cheese is at room temperature for easier mixing.
- Baking Pan: A 9-inch (23 cm) springform pan is ideal for baking cheesecake. This type of pan allows for easy removal without damaging the cake. Line the bottom with parchment paper to prevent sticking, and grease the sides lightly with butter or non-stick spray.
- Storage Containers: After your cheesecake is baked and cooled, you’ll want to store it properly. Use an airtight container or wrap it tightly in plastic wrap to keep it fresh in the refrigerator. If you plan to freeze the cheesecake, consider using a freezer-safe container or wrapping it in aluminum foil for longer storage. This will help maintain its flavor and texture.
Pro tip: Always allow your cheesecake to cool completely before storing it. This prevents condensation from forming inside the container, which can lead to a soggy crust.
Making Cheesecake in Advance
Knowing how to properly make cheesecake in advance is essential for any home cook who wants to enjoy a stress-free dessert experience. This section will guide you through the preparation steps, baking time, and cooling process, ensuring your cheesecake is perfect and ready when you need it.
- Preparation: Start by gathering your ingredients: 1 ½ cups (150g) graham cracker crumbs, ½ cup (100g) granulated sugar, ½ cup (115g) unsalted butter (melted), 4 (8 oz or 227g each) packages of cream cheese (softened), 1 cup (200g) granulated sugar, 1 teaspoon vanilla extract, 4 large eggs, and 1 cup (240ml) sour cream. Preheat your oven to 325°F (163°C). Grease a 9-inch (23cm) springform pan with butter or non-stick spray, and then mix the graham cracker crumbs, sugar, and melted butter in a bowl until well combined. Press the mixture firmly into the bottom of the pan.
- Baking: In a large mixing bowl, beat the softened cream cheese with 1 cup of sugar and 1 teaspoon of vanilla extract until smooth and creamy, about 2-3 minutes. Gradually add in the eggs, one at a time, mixing just until combined. Pour the batter over the crust in the springform pan. Bake for 55-60 minutes, or until the edges are set but the center still has a slight jiggle. You want the top to appear slightly puffed and lightly golden.
- Once baked, turn off the oven and crack the door open, letting the cheesecake cool in the oven for about 1 hour. This helps prevent cracks. Afterward, remove it from the oven and let it cool at room temperature for an additional 2 hours. Once cooled, cover the cheesecake with plastic wrap and refrigerate for at least 4 hours, or overnight for best results. The texture should be firm yet creamy, and the flavors will meld beautifully over time.
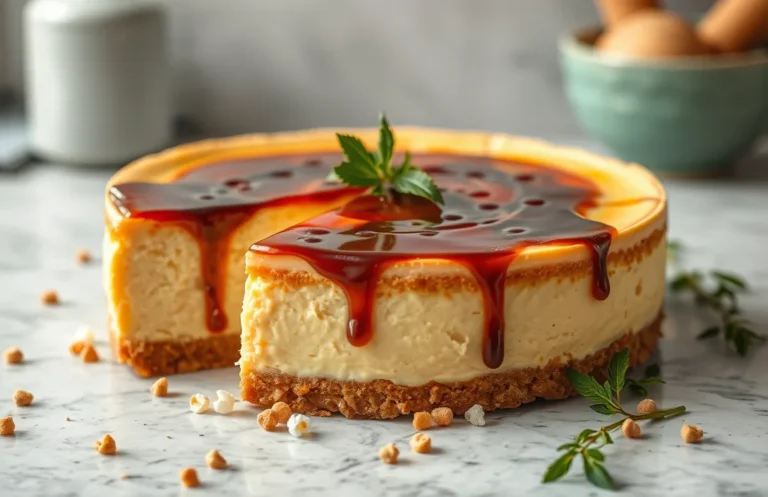
Chef’s tip: If you notice cracks forming on the surface, don’t worry! A dollop of sour cream or whipped cream on top can cover them up beautifully.
Storage Recommendations
Understanding how to properly store cheesecake is crucial for maintaining its delicious flavor and creamy texture. Here’s a guide on refrigeration, freezing, and best practices to ensure your cheesecake stays fresh and enjoyable for as long as possible.
-
Refrigerating Cheesecake
After baking your cheesecake, allow it to cool completely at room temperature for about 1-2 hours. Once cooled, cover it tightly with plastic wrap or aluminum foil, ensuring no air pockets remain, and refrigerate. Cheesecake can be stored in the refrigerator for up to 5 days without significant loss of quality.
-
Freezing Cheesecake
If you want to make your cheesecake further in advance, freezing is a great option. Wrap the cooled cheesecake in two layers of plastic wrap followed by a layer of aluminum foil to prevent freezer burn. Properly stored, cheesecake can be frozen for up to 3 months. When ready to serve, thaw it in the refrigerator for 24 hours before enjoying.
-
Best Practices
For optimal storage, consider cutting the cheesecake into slices before freezing. This allows you to take out and thaw only what you need while keeping the rest in good condition. Always check for signs of spoilage, such as off smells or discoloration, especially if it has been stored for an extended period. Also, avoid adding toppings until just before serving to keep the cheesecake fresh.
Maintaining Texture and Flavor
Keeping your cheesecake tasting fresh and maintaining its creamy texture over time is essential, especially if you’re making it in advance. Here are some tips on how to cover and serve your cheesecake to ensure it stays delicious.
- Cover Properly: After your cheesecake has fully cooled at room temperature, wrap it tightly in plastic wrap or aluminum foil to prevent air exposure. If you’re storing a whole cheesecake, make sure to cover the entire surface. For individual slices, use a cake dome or place them in an airtight container. This prevents any freezer burn or drying out.
- Optimal Storage Temperature: Store your cheesecake in the refrigerator at 34°F to 38°F (1°C to 3°C) if you plan to eat it within a week. If you want to keep it longer, freeze it at 0°F (-18°C). Just remember that freezing can alter the texture, so it’s best to consume the cheesecake within 2-3 months for optimal flavor.
- Serving Temperature: For the best flavor and texture, remove the cheesecake from the fridge about 30-60 minutes before serving. This allows it to come to room temperature, enhancing its creamy consistency and making it easier to slice. A cold cheesecake can be too firm, which may mask its flavors.
- Flavor Preservation: If you’ve added toppings or sauces, consider adding them just before serving. Toppings can sometimes make the cheesecake soggy if they sit for too long, so keep them separate until you’re ready to enjoy.
Signs of Spoilage
Knowing how to identify spoilage in cheesecake is essential for ensuring food safety and quality. Cheesecake can last in the fridge for about 5-7 days, but it’s crucial to check for signs of spoilage before indulging in your delicious creation.
- Visual Cues: Inspect the surface of the cheesecake for any discoloration or mold. A fresh cheesecake should have a smooth, even surface, while spoilage may present as dark spots or a fuzzy appearance. If you notice any liquid pooling on top, this could indicate that the cheesecake is no longer good to eat.
- Smell Test: Take a whiff of your cheesecake; it should have a pleasant, creamy aroma. If it smells sour, rancid, or has an off-putting odor, it’s best to discard it. The smell is often the quickest way to determine spoilage since dairy products can develop undesirable scents as they go bad.
By keeping an eye out for these signs, you can ensure that your cheesecake remains safe and enjoyable for everyone. Always remember to store your cheesecake properly in an airtight container to extend its freshness and quality.
Quick Reference Chart
This section provides essential information on how far in advance you can make cheesecake, including optimal storage times and methods. Understanding these details will ensure your cheesecake remains delicious and maintains its perfect texture when it’s time to serve.
- Storage Time in the Refrigerator: You can make cheesecake up to 3 days in advance and store it in the refrigerator. Ensure it’s covered tightly with plastic wrap or placed in an airtight container to prevent moisture loss and absorption of odors.
- Freezing Options: If you want to make cheesecake even further in advance, you can freeze it. Wrap the cheesecake in plastic wrap and then in aluminum foil to prevent freezer burn. It can be frozen for up to 2 months. To thaw, place it in the refrigerator for 24 hours before serving.
- Effects on Taste and Texture: Cheesecake made ahead of time often tastes better as the flavors meld together. However, freezing can slightly alter the texture, making it less creamy. Always allow it to thaw completely to restore some of its original texture.
- Final Toppings: If you plan to add toppings, such as fruit or whipped cream, do this just before serving. Toppings can become soggy if added too early, especially if the cheesecake has been frozen.
- Common Mistakes: Avoid storing cheesecake in the fridge without cover, as it can absorb other flavors and dry out. If you find your cheesecake is too dense after freezing, try incorporating a little more cream cheese or sour cream next time for a lighter texture.
Quick Summary
| Prep Time | 20 minutes |
|---|---|
| Cook Time | 60 minutes |
| Total Time | 1 hour 20 minutes |
| Servings | 8 |
- Chill time: Refrigerate for at least 4 hours or overnight for best flavor.
- Make-ahead: Cheesecake can be made up to 3 days in advance.
- Storage: Wrap tightly in plastic wrap to prevent drying out.
- Cooling: Allow to cool completely before refrigerating.
- Flavor boost: Consider adding a fruit topping before serving for extra freshness.
- Tip: Use room temperature ingredients for a smoother filling.
- Tip: Avoid overmixing to prevent cracks in the cheesecake.
Frequently Asked Questions
Can I make this ahead of time? How to store and reheat?
You can make cheesecake up to 2-3 days in advance and store it in the refrigerator, covered tightly with plastic wrap. If you need to reheat, gently warm individual slices in the microwave for about 10-15 seconds on low power.
What can I substitute for cream cheese?
If you’re looking for a substitute, you can use mascarpone cheese or a blend of ricotta and sour cream for a similar creamy texture. Keep in mind that the flavor might vary slightly.
How do I know when it’s done?
Your cheesecake is done when the edges are set and the center is still slightly jiggly; it will firm up as it cools. A good rule of thumb is to check at around 50-60 minutes of baking time.
Can I freeze this? How long does it last?
Yes, you can freeze cheesecake for up to 2-3 months if wrapped tightly in plastic wrap and aluminum foil. Just make sure to let it thaw in the refrigerator overnight before serving.
Why did my cheesecake crack on top?
Your cheesecake may crack due to too much heat or overmixing the batter, which incorporates too much air. To avoid this, bake at a lower temperature and mix until just combined.

- Decadent Peanut Butter No-Bake Cheesecake: Easy Recipe to Indulge - April 3, 2026
- Delicious Mango No-Bake Cheesecake: Step-by-Step Recipe - April 3, 2026
- Decadent Raspberry No-Bake Cheesecake: Easy Step-by-Step Recipe - April 3, 2026