Make Cheesecake Ahead: Tips for Perfect Storage and Timing
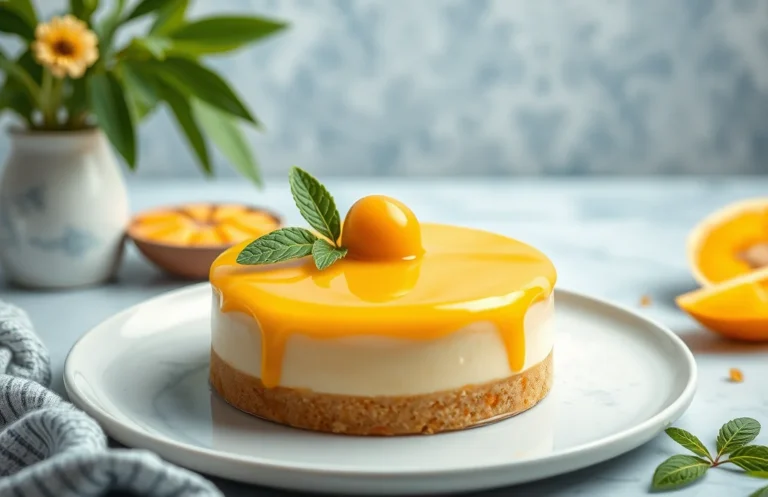
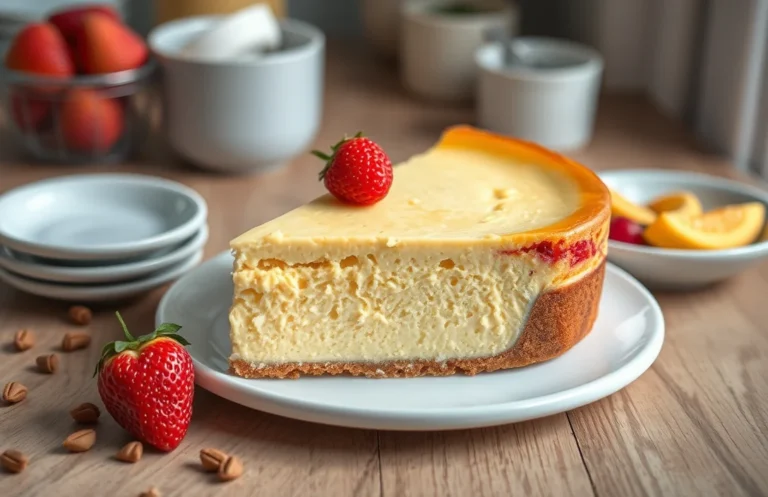
Cheesecake is one of those desserts that feels like a warm hug, creamy and rich with a buttery crust that melts in your mouth. Whether it’s a holiday gathering or a simple weeknight treat, this crowd-pleaser never fails to impress. Let’s get you salivating over that luscious, velvety texture!
Wondering how far in advance you can make cheesecake? You’ll find everything you need here, including storage tips, optimal serving times, and how to ensure it tastes just as good later. Total time is around 6 hours including chilling, and it’s easy enough for beginners with 8 servings to enjoy.
| Prep Time | Cook Time | Total Time | Servings | Difficulty |
|---|---|---|---|---|
| 30 minutes | 1 hour | 6 hours | 8 | Easy |
History of Cheesecake
Understanding the history of cheesecake can enhance your appreciation for this beloved dessert, especially when considering how to prepare it in advance. Cheesecake has evolved over centuries, and knowing its roots can inform your choices in the kitchen.
- Origin Stories: Cheesecake is thought to have originated in ancient Greece, where it was served to athletes during the first Olympic Games in 776 B.C. The Greeks made a simple cake from cheese, flour, and honey, which laid the groundwork for modern recipes.
- Evolving Traditions: As cheesecake traveled through Europe, various regions adapted the recipe. The Romans added eggs and cream, while the New York style cheesecake, developed in the 20th century, introduced cream cheese, which gives it that rich, creamy texture.
- When to Serve: Cheesecake is often associated with special occasions like birthdays and holidays. Its rich flavor and elegant presentation make it a favorite for celebrations. Understanding its origins can inspire you to serve it with a touch of tradition, perhaps at family gatherings or festive dinners.
Knowing when and how far in advance to make cheesecake is crucial for achieving the best flavor and texture. Traditional cheesecakes benefit from chilling, so preparing them at least a day ahead is ideal. This allows the flavors to meld and the texture to set perfectly, ensuring a delightful dessert experience.
Ingredients for Cheesecake
This section outlines the essential ingredients you’ll need to create a delicious cheesecake, which is crucial for planning ahead. Knowing your ingredients and their measurements allows you to prepare your cheesecake in advance, ensuring optimal flavor and texture when it’s time to serve.
| Item | Amount/Specification | Notes |
|---|---|---|
| Cream Cheese | 24 ounces (680g) | Softened at room temperature for easier blending |
| Sugar | 1 cup (200g) | Granulated sugar for sweetness |
| Sour Cream | 1 cup (240g) | Adds creaminess and a slight tang |
| Vanilla Extract | 1 teaspoon (5ml) | Pure vanilla for flavor |
| Eggs | 3 large | Room temperature for better incorporation |
| Graham Cracker Crumbs | 1 ½ cups (150g) | For the crust, can substitute with gluten-free crumbs |
| Butter | ½ cup (113g) | Melted, for binding crust ingredients |
- Ensure all dairy ingredients are at room temperature for a smooth texture.
- For a gluten-free option, substitute graham cracker crumbs with almond flour or gluten-free cookies.
- Store leftovers properly in an airtight container in the refrigerator for up to 5 days.
- If the cheesecake cracks while baking, don’t worry! A dollop of sour cream on top can cover it beautifully.
Essential Kitchen Tools
Preparing cheesecake ahead of time requires a few essential kitchen tools that will help you create a smooth, creamy dessert. Having the right equipment not only ensures a successful bake but also makes the entire process smoother and more enjoyable.
- Mixing Bowls: Use at least two mixing bowls, one for the crust and another for the filling. Opt for medium-sized glass or stainless-steel bowls, as they are non-reactive and allow you to easily see the mixture’s texture. A large bowl is ideal for combining cream cheese and sugar until smooth.
- Electric Mixer: A handheld or stand mixer is crucial for achieving a lump-free batter. Mix the cream cheese at medium speed for about 2-3 minutes, until it is creamy and smooth. If you notice any lumps, continue mixing until the consistency is silky.
- Baking Dish: A 9-inch (23 cm) springform pan is perfect for baking cheesecake. The removable sides allow for easy release after cooling. Make sure to line the bottom with parchment paper to prevent sticking.
- Spatula: Use a silicone spatula for folding in ingredients gently. This tool is essential for combining the filling without deflating the whipped cream, which should be light and airy after beating for 2-3 minutes until soft peaks form.
- Cooling Rack: After baking, place your cheesecake on a cooling rack for at least 1 hour. This helps prevent condensation and maintains the cake’s texture. Once cooled, refrigerate for at least 4 hours or overnight for the best flavor.
Cheesecake Preparation Steps
Understanding the preparation steps for cheesecake is essential, especially if you’re planning to make it in advance. This section will guide you through mixing ingredients, baking time, and the cooling process, ensuring your cheesecake is perfectly set and ready to serve.
- Mixing Ingredients: Begin by preheating your oven to 325°F (160°C). In a large mixing bowl, combine 2 cups (480g) of cream cheese, softened to room temperature, with 1 cup (200g) of granulated sugar. Use an electric mixer on medium speed for about 2-3 minutes until the mixture is smooth and creamy, ensuring no lumps remain. Gradually add ½ cup (120ml) of sour cream and 1 teaspoon of vanilla extract, mixing until fully incorporated.
- Baking Time: Pour the cheesecake batter into a greased 9-inch (23cm) springform pan. Bake in the preheated oven for 50-60 minutes, or until the edges are set and the center slightly jiggles when gently shaken. The top should look dry and not cracked. To prevent cracking, place a small pan of water on the rack below the cheesecake during baking for humidity.
- Cooling Process: Once baked, turn off the oven and crack the door open, allowing the cheesecake to cool gradually in the oven for about 1 hour. This helps prevent sudden temperature changes that can cause cracks. Afterward, remove the cheesecake from the oven and let it cool at room temperature for an additional 1 hour before refrigerating. Chill in the refrigerator for at least 4 hours, preferably overnight, before serving. The cheesecake should be firm and creamy, ready to slice beautifully.
Storage Tips for Cheesecake
Proper storage is essential for maintaining the freshness and flavor of your cheesecake, especially if you plan to make it in advance. Here’s how to store your cheesecake in both the refrigerator and freezer to ensure it tastes just as delicious as the day you made it.
Refrigerator Storage
Cheesecake can be stored in the refrigerator for up to 5 days. Here’s how to do it correctly:
- Allow the cheesecake to cool completely at room temperature for about 1 hour before refrigerating.
- Wrap the cheesecake tightly with plastic wrap to prevent it from absorbing any odors from the fridge.
- For extra protection, place the wrapped cheesecake in an airtight container.
Freezer Storage
If you want to store your cheesecake for a longer period, freezing is a great option. Here’s how to freeze and thaw your cheesecake:
- Before freezing, ensure the cheesecake is fully cooled and set, which usually takes about 4 hours in the refrigerator.
- Wrap the cheesecake in plastic wrap, followed by a layer of aluminum foil to prevent freezer burn.
- Label the cheesecake with the date and type before placing it in the freezer. It can be stored for up to 3 months.
Chef’s tip: To thaw, transfer the cheesecake to the refrigerator for 24 hours before serving for the best texture.
| Storage Method | Duration |
|---|---|
| Refrigerator | Up to 5 days |
| Freezer | Up to 3 months |
Serving Cheesecake After Storage
Serving cheesecake after it has been stored properly requires a few steps to ensure it tastes as delightful as when it was first made. Whether you’ve made it days or weeks in advance, following the right thawing and presentation methods will elevate your dessert experience.
- Thawing Instructions: If your cheesecake has been frozen, transfer it from the freezer to the refrigerator at least 24 hours before you plan to serve it. This gradual thawing helps maintain the creamy texture. After thawing, let it sit at room temperature for about 30 minutes to 1 hour before serving, allowing the flavors to become more pronounced.
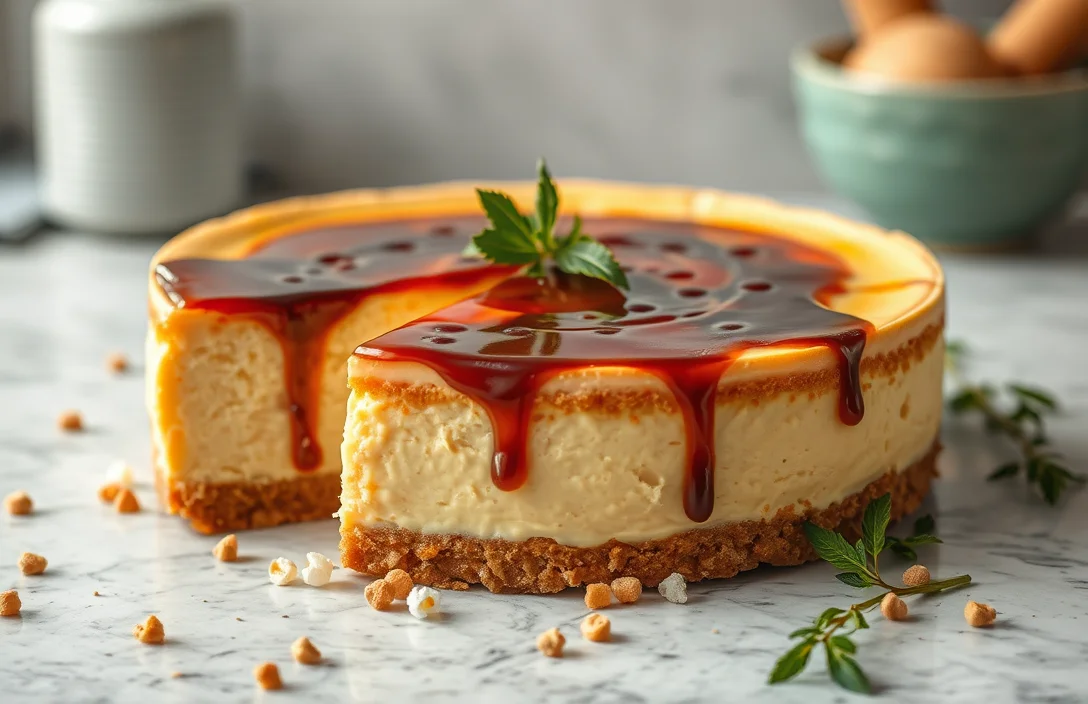
- Presentation Tips: For an impressive presentation, use a sharp knife dipped in warm water to slice the cheesecake. Wipe the knife clean between cuts for clean, beautiful slices. Consider garnishing with fresh fruit like strawberries or blueberries, or a drizzle of chocolate sauce for added visual appeal and flavor.
- Serving Temperature: Cheesecake is best served chilled but not ice-cold. Aim for a serving temperature of around 50°F to 60°F (10°C to 15°C) to enhance its creamy texture. You can also serve it with a dollop of whipped cream for a touch of decadence.
Chef’s tip: If you notice the cheesecake has developed any condensation after thawing, gently dab it with a paper towel before slicing to avoid sogginess.
Common Mistakes to Avoid
Making cheesecake ahead of time can save you stress, but there are some common pitfalls that can compromise the texture and flavor of your dessert. Here’s a guide to help you avoid these mistakes, ensuring your cheesecake remains delicious even after storing it for days.
- Overmixing the batter: Be careful not to overmix your cheesecake batter when incorporating the cream cheese and other ingredients. Overmixing can introduce excess air, causing the cheesecake to rise and then crack as it cools. Mix just until smooth and creamy, about 1-2 minutes on medium speed.
- Forgetting to cool gradually: After baking, let your cheesecake cool in the oven with the door ajar for at least 1 hour. This gradual cooling helps prevent cracking. If you move it to the fridge too soon, the drastic temperature change can cause the surface to split.
- Not using a water bath: A water bath helps maintain even baking temperatures and keeps moisture around the cheesecake. If you skip this step, you may end up with a dry texture. To create a water bath, wrap your springform pan in aluminum foil and place it in a larger baking dish filled with hot water halfway up the sides of the pan.
- Skipping the chilling time: Cheesecake needs at least 4 hours in the refrigerator to set properly, but overnight is best. Rushing this step can lead to a loose or runny texture. Aim for a firm feel when you gently touch the top of the cheesecake before serving.
- Improper storage: If you plan to make cheesecake in advance, be sure to cover it well with plastic wrap or foil. If left uncovered, it can absorb odors from the fridge, affecting its flavor. A tightly sealed container is key to maintaining freshness.
Variations and Modifications
This section highlights alternative cheesecake recipes and dietary options, allowing home cooks to tailor their cheesecakes to specific preferences or restrictions. Knowing how to adapt your cheesecake can enhance your baking experience and ensure everyone can enjoy this delightful dessert.
Gluten-Free Options
If you or your guests are following a gluten-free diet, you can easily modify your cheesecake recipe. Here’s how to create a gluten-free crust and filling:
- For the crust, substitute traditional graham crackers with 1 ½ cups gluten-free graham cracker crumbs (150g).
- Mix the crumbs with ½ cup unsalted butter, melted (115g) and 2 tablespoons sugar (25g) before pressing into the bottom of your springform pan.
- Ensure that your cream cheese and any flavorings (like vanilla extract) are gluten-free, which most are.
Chef’s tip: Always check labels on packaged ingredients to confirm they’re gluten-free.
Flavored Cheesecakes
Flavored cheesecakes can bring a twist to the classic recipe. Here are a couple of ideas:
- Chocolate Cheesecake: Add 1 cup melted dark chocolate (170g) to your original batter for a rich chocolate flavor.
- Fruit-Infused Cheesecake: Blend in 1 cup pureed fruit (like strawberries or raspberries) for a refreshing taste.
| Flavor | Main Ingredient | Amount |
|---|---|---|
| Chocolate | Melted Dark Chocolate | 1 cup (170g) |
| Fruit | Pureed Fruit | 1 cup |
Feel free to experiment with different flavors and toppings, such as caramel sauce or fresh fruit, to further personalize your cheesecake experience!
Quick Summary
| Prep Time | 30 minutes |
|---|---|
| Cook Time | 55 minutes |
| Total Time | 6 hours (including chilling) |
| Servings | 8 slices |
- Chill Time: Refrigerate cheesecake for at least 4 hours before serving.
- Make Ahead: Cheesecake can be prepared 2-3 days in advance.
- Room Temperature: Allow cheesecake to cool at room temperature before chilling.
- Water Bath: Use a water bath to prevent cracks in your cheesecake.
- Serving: Slice with a hot knife for clean edges.
- Tip: Use full-fat cream cheese for the best texture.
- Tip: Let ingredients come to room temperature for even mixing.
Frequently Asked Questions
Can I make this ahead of time? How to store and reheat?
You can make cheesecake up to 3 days in advance and store it in the refrigerator covered with plastic wrap. For reheating, simply slice and let it come to room temperature or warm it gently in the oven at 200°F for about 10 minutes.
What can I substitute for cream cheese?
If you don’t have cream cheese, you can use Greek yogurt or a mixture of ricotta cheese and sour cream as a substitute. Just keep in mind that the texture may be a bit different, but it will still be delicious!
How do I know when it’s done?
Your cheesecake is done when the edges are set, and the center has a slight jiggle but is not liquid. It will continue to firm up as it cools, so don’t overbake it!
Can I freeze this? How long does it last?
You can freeze cheesecake for up to 2 months if wrapped tightly in plastic wrap and then aluminum foil. Thaw it in the refrigerator overnight before serving for the best texture.
What if I don’t have a springform pan?
If you don’t have a springform pan, you can use a 9-inch round cake pan lined with parchment paper, but be careful when removing the cheesecake. Allow it to cool completely before inverting it onto a plate.

- Decadent Peanut Butter No-Bake Cheesecake: Easy Recipe to Indulge - April 3, 2026
- Delicious Mango No-Bake Cheesecake: Step-by-Step Recipe - April 3, 2026
- Decadent Raspberry No-Bake Cheesecake: Easy Step-by-Step Recipe - April 3, 2026